Blog

Easy, Fast Kimchi Recipe {Mak Kimchi}

I like kimchi and most fermented foods, but it’s expensive to buy in the UK. You can only get them from a few health stores, or at a premium price in limited supermarkets, but not local to me. As part of my health approach following the Christmas excess, I decided to have a go at making my own kimchi.

This recipe from Foodie with Family was practical and easy to make; it only took a few hours. It’s spicy, delicious, and brilliant for your gut health; I have it daily. There is a Korean casserole that I want to try that incorporates kimchi, so watch this space! And my new favourite addition to soups and stocks is miso paste.

I’ve researched a few more helpful tips on other sites, which I will add where needed.

Ingredients

  • 3-8 pounds napa cabbage (I used two large Chinese cabbages which has filled two Kilner jars)
  • 2 bunches green onions trimmed of the root bits
  • 2-3 large carrots peeled, thinly julienned
  • 1/2 cup kosher salt
  • 1/2 cup korean chili powder (This is the one I bought).
  • 15-20 cloves garlic, peeled (I used 17 cloves). Note: make sure you don’t overdo the garlic, as it will stay on your breath longer than usual
  • 4-6 inches ginger peeled, roughly chopped
  • 1 tablespoon fish sauce
  • unsweetened pear juice or unsweetened apple juice (I used a 250ml bottle of unsweetened cloudy apple juice)
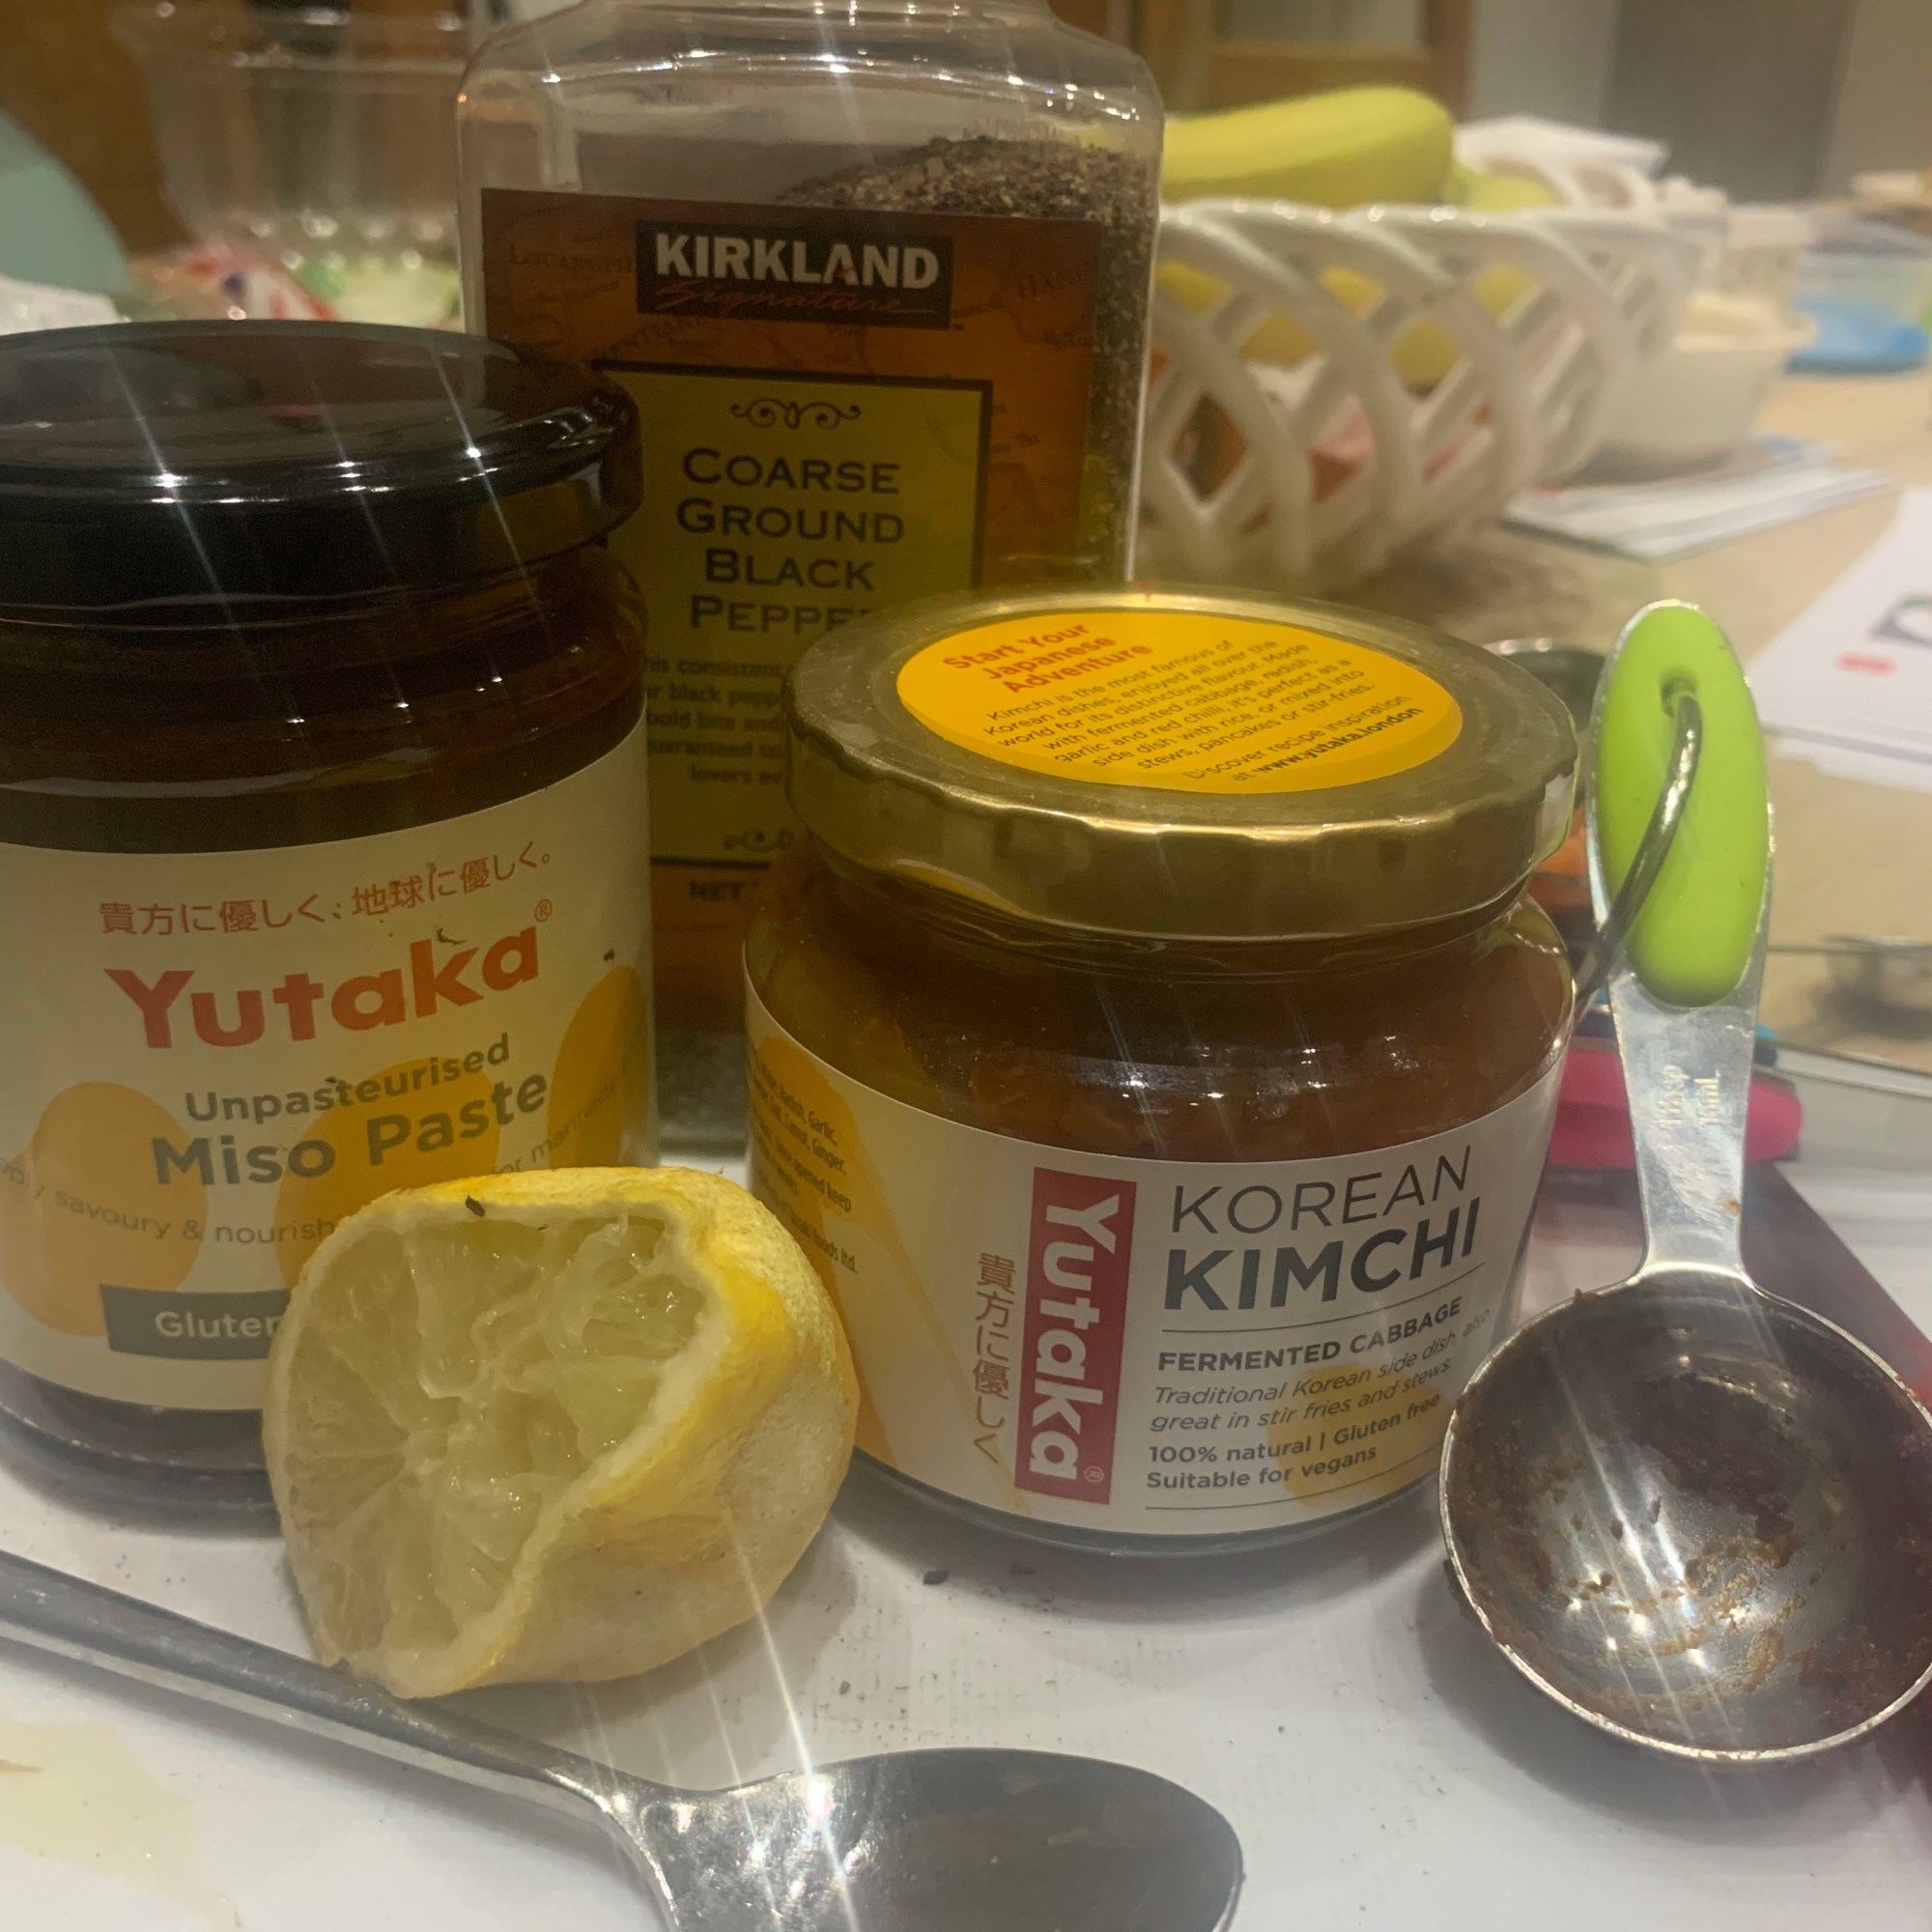
  • 4 tablespoons white miso paste

Method

  • Cut the cabbage in half longways, then in half again longways. Cut the core out of the four quarters. Cut the cabbage into squares (about 2-3 inches square), pop it in a bowl with the carrots.
  • Sprinkle with the 1/2 cup kosher salt, massage so everything is coated in salt and starting to soften and wilt. Use cold, chlorine-free water to cover the vegetables well and let it soak for at least 1 1/2 hours.
  • Pour the cabbage/carrots and liquid into a strainer. Let the brine drain away.
  • Cut off the white bits of the green onions and put them in a food processor with the garlic cloves, ginger, miso paste, and Korean pepper powder. Process it on high until it’s smooth. I used the Ninja processor programme on puree.
  • Add in the fish sauce, gradually adding pear or apple juice and process it until it’s about pancake batter consistency… maybe a bit thinner. To get it to this consistency, I used 250ml of apple juice.
  • Put the brined cabbage/carrots in a big, anti-reactive (glass, enamel, or stainless steel) bowl. Roughly chop the green parts of the onions, then add those to the cabbage and carrots.
  • Pour the chili paste mixture over the cabbage. You definitely need to wear gloves to massage it all over the cabbage/carrots/green onions so everything is completely covered. This took me about 8 minutes.
  • Pack the kimchi mix tightly into the jars. CRAM it in there. I used the end of a wooden rolling pin to pack it down.
  • Add a two-piece lid, but just set the ring in place so it holds the lid down without screwing it in place. Place it on a rimmed baking dish, to catch any spill-over. Let it sit at room temperature for up to 72 hours, until it is bubbly and fragrant.
  • Once every day, insert a clean chopstick or butterknife to release air bubbles. If needed, pour in some additional brine to keep all the vegetables submerged.
  • I made some extra brine that I keep in a jar in the fridge to make sure the kimchi is covered with brine. To make the brine add 4 tbsp of kosher/sea salt to 4 cups of filtered water. Every time I add it I use a long wooden skewer to release air bubbles.
  • Store on a rimmed sheet in the refrigerator for up to six months, being sure that the vegetables are submerged the whole time. The older it gets, the stronger it will become.

Nutrition

Calories: 9kcal | Carbohydrates: 1g | Sodium: 1894mg | Potassium: 29mg | Vitamin A: 645IU | Vitamin C: 0.8mg | Calcium: 7mg | Iron: 0.1mg

Low Carb Keto Granola Bars – gluten-free & lactose-free

I needed something sweet and healthy as I’m trying to cut down and get fit. Standard granola bars can be full of carbs which is not what I need. Keto bars are often over-priced so I found this recipe on a site called Sugar Free Londoner. We had all the ingredients, which is unusual so I tried the recipe out yesterday. They are easy to make, and the recipe works well, with only 2.7 net carbs per bar. Though, the website says this increases to 3 net carbs per bar if you use 85% dark chocolate. This makes 12 granola bars.

Make sure you let the baked granola cool completely before you cut it into bars; you need a heavy sharp knife to chop down or it might crumble and break. They are very moreish and crunchy.

Ingredients

Method

1.) Preheat the oven to 180C/160C fan assisted/350 F electric.

2.) Line a 6×9 inch baking tray with parchment paper. 

3.) Pulse the nuts and seeds in a food processor until you have some smaller and some larger pieces. 

4.) Mix all dry ingredients in a bowl, leaving a few chocolate chips to decorate on top.

5.) Add the whisked egg white, vanilla extract and almond butter and stir until combined. Check and adjust sweetener if necessary. I found it didn’t need adjusting.

6.) Pour the granola bar mix into the tray and press down well to compact the mixture. Press the remaining chocolate chips on top. 

7.) Bake for approximately 20-25 minutes or until lightly browned.

8.) Remove from the oven and let cool completely before cutting into 12 bars. 

Note: The website suggests the option of drizzling melted chocolate over the bars. Melt either 1/4 cup of sugar free chocolate chips or 4 squares of dark chocolate (85% or 90% cocoa solids) and drizzle over the bars. 

Storage: Airtight container at room temperature for 4-5 days or in the fridge for about 1 week. Suitable for freezing.

Nutrition

Serving: 30g | Calories: 203kcal | Carbohydrates: 6.7g | Protein: 5.9g | Fat: 17.4g | Saturated Fat: 2.3g | Fiber: 4g | Sugar: 1.1g

Miso mushrooms

This is a healthy, easy and quick recipe taken from The Doctor’s Kitchen. A good recipe for the New Year! I wanted to try something new and miso is known to be good for your gut; it is low-carb so it’s great for my IBS. The original recipe served the mushrooms on toast, but I chose to serve mine with cauliflower rice and a side of organic and gluten-free Korean kimchi.

Ingredients

  • 400g mushrooms, sliced
  • 1 tbsp olive oil
  • 1 tbsp Miso paste (I used this one, as its gluten-free and organic)
  • a handful of fresh parsley
  • a squeeze of lemon juice
  • black pepper

Method

1) In a frying pan, fry your mushrooms in oil until soft; about 5 minutes.

2) Add the miso paste and black pepper to the mushrooms, stir and cook for a few more minutes.

3) Finish the mushrooms with a squeeze of lemon juice and chopped parsley. Then serve, I chose cauliflower rice and Korean kimchi to go with mine. But you could choose to serve with toast, like the original recipe. Enjoy!

Sticky Soy and Honey Roasted Chicken with Asparagus & Sugar Snap Peas (Keto, Low Carb, Dairy-free and Gluten-free)

This recipe is amended from a recently published cook book. The original recipe used salmon and honey. I used slices of chicken fillet instead of salmon but it would be nice with fish or beef too. Instead of honey I used this Sukrin keto syrup. This is a one-tray meal that took 30 minutes. It had a depth of flavour that is like a Thai dish. I added two sliced garlic cloves as they go well with ginger and chilli. It served three people generously and we served it with steamed cauliflower rice.

This is a flexible recipe as you could vary the protein and vegetables depending on what you have in the fridge or freezer.

Ingredients

  • 200g broccoli florets (tenderstem broccoli is in the original recipe but there was none available in store)
  • 125g asparagus spears
  • 200g sugar snap peas
  • 150g quartered mushrooms (this wasn’t in the original recipe)
  • 1 tsp of sea salt flakes
  • 1 Tbsp sesame oil
  • cauliflower rice to serve

For the chicken glaze

  • 2 large chicken fillets (cut into thick even slices that will cook in 25 minutes)
  • 2 Tbsps of good gluten-free soy sauce (I use this one)
  • 2 Tbsps of Sesame oil
  • 2 Tbsps of Sukrin fibre syrup (or honey if you are not keto)

For the dressing

  • 6cm fresh ginger, grated (I wasn’t going to measure it so I guesstimated it)
  • Juice of 1 lime
  • 1 Tbsp sesame oil
  • 1 red chilli finely sliced
  • 2 cloves of finely sliced garlic
  • optional, a handful of peanuts roughly chopped
  • 3 spring onions finely sliced ( I used pea sprouts to sprinkle over)

Method

  • Preheat the oven to 200C/180C Fan/Gas 6.
  • Put the broccoli into a large bowl, cover with boiling water, leave to stand for 1 min, then drain thoroughly.
  • Put the broccoli, sugar snaps, asparagus, mushrooms and 1tbsp of the sesame oil in a roasting tin and mix together. Arrange the chicken slices on top.
  • To make the chicken glaze, mix the 2 tbsp sesame oil with the 2 Tbsp of soy sauce and 2 Tbsp of Sukrin syrup (or honey). This is where I would simmer this glaze for a few minutes and spread over the chicken fillets. Roast for 20-25 mins until the chicken is cooked through.
  • Meanwhile, to make the dressing, mix the grated ginger, lime juice, sliced red chilli, garlic cloves and spring onions (if using) with 1tbsp of the sesame oil. Taste and adjust the lime juice as needed. Once the chicken is cooked, pour the dressing over the vegetables.
  • I put the tray back in the oven for 3 minutes although the original recipe doesn’t say that.
  • Scatter over the peanuts and serve immediately.

Keto Turkey Pot Pie (Keto, Lactose-free, Low-carb, Gluten-free)

After Christmas, I felt the need to go for a walk. The whole family has a subscription to Martin Mere Wetland Centre (WWT), it’s only a 15 minute drive from home. The Mere is a vast marsh and is home to many birds as well as other animals. It is the most beautiful and peaceful place to walk and has a great cafe too. I do like a decent coffee and their gluten-free chicken and watercress sandwiches. It is a true antidote to Christmas excess.

We arrived about 2.30pm as I wanted to see the sunset. It was cold and as the sun set, it felt freezing. So I planned to make a hearty and warming meal, using the leftover Christmas turkey and gammon. This recipe from Sugar Free Mom ticked all the boxes. As usual, I modified it, adding gammon and lots of baby portobello mushrooms. I have included the original recipe ingredients below; even those I did not use. The butter, cheese, and cream I used were all lactose-free.

The original recipe says it serves 6; this is accurate as it’s a filling meal, as you can see from the last picture below. The biscuits are fluffy underneath and crisp on top, it freezes and reheats well.

Ingredients

Turkey Pot Pie Filling

  • 1 cup celery diced ( I chose not use this, as personally I don’t think it adds anything to the dish)
  • 1/2 cup carrots diced (I chose not to include these)
  • 1 cup of sliced mushrooms (I added these, instead of the above)
  • 3 cups chicken broth
  • 2 tbsp extra virgin olive oil
  • 1 cup onion diced
  • 2 tbsp coconut flour
  • 1/3 cup heavy cream (I used a lactose-free cream. I added another 1/3 cup when the filling was complete, as it looked too thick with the Xanthan gum)
  • 1 tsp Xanthan gum (see note in the instructions)
  • 3 cups turkey cooked, diced ( I added 2 cups of turkey, and 1 1/2 cups of diced gammon)
  • 1 tsp Italian seasonings (I used Herbes de Provence)
  • 1/4 tsp salt (I also added the same of black pepper)

Method

1) Add oil to a pan, and cook onions over a medium heat for around 4-5 minutes, or until tender.

2) Sprinkle coconut flour over the onions, then add cream. Stir until all the flour is combined.

3) Add chicken broth to the mixture, then gradually sprinkle on the Xanthan gum and whisk very thoroughly into the sauce (Note: to prevent any lumps which is a tendency when using Xanthan gum). Bring the sauce to a boil, then reduce to a low heat, continuously stirring until it begins to thicken (around 10 minutes).

4) Once thickened, take the mixture off the heat and add turkey, gammon, and sliced mushrooms, as well as seasonings. Taste, and adjust the salt and pepper, if needed. I added an additional 1/3 cup of cream at this point, as I felt the sauce was too thick.

5) Pour the mixture into a baking dish.

6) Preheat the oven to 375 degrees F, or 190 degrees C.

Keto Drop Biscuits

  • 1/3 cup of coconut flour
  • 1/4 tsp salt
  • 1 tbsp baking powder
  • 1/2 tsp garlic powder
  • 1/2 tsp onion powder
  • 1/4 cup butter, melted (I used lactose-free butter)
  • 4 eggs, beaten
  • 1 tbsp fresh basil, chopped (I chose not to use basil)
  • 1 tbsp fresh parsley, chopped (I used dried parsley instead)
  • 1/2 cup of cheddar cheese, grated (I used lactose-free cheese)

Method

1) In a large mixing bowl, whisk flour, baking powder, onion and garlic powder.

2) Stir in melted butter, and mix until no lumps remain.

3) Add eggs, grated cheese, and parsley to the mixture. Stir until fully incorporated. Freeform 6 large biscuit mounds and drop on top of the turkey mixture.

4) Bake in the oven for 20-25 minutes, until biscuits are golden brown.