Bread is something I enjoy, so I am always searching for the best version. Believe me, I have made several failed bread recipes, usually keto, that have never reached my blog. This recipe is good and comes from a book called The Diabetes Weight-loss Cookbook. It is usually £20 but is currently £6 on Amazon UK. You can get it on Amazon.com too. It is reduced only because the authors have just published a new book. There is also a website with recipes on that I have used for low carb recipes. None of us are diabetic, nor do we want to be! It has the advantage of one of the authors being a chef and input from a qualified nutritionist.
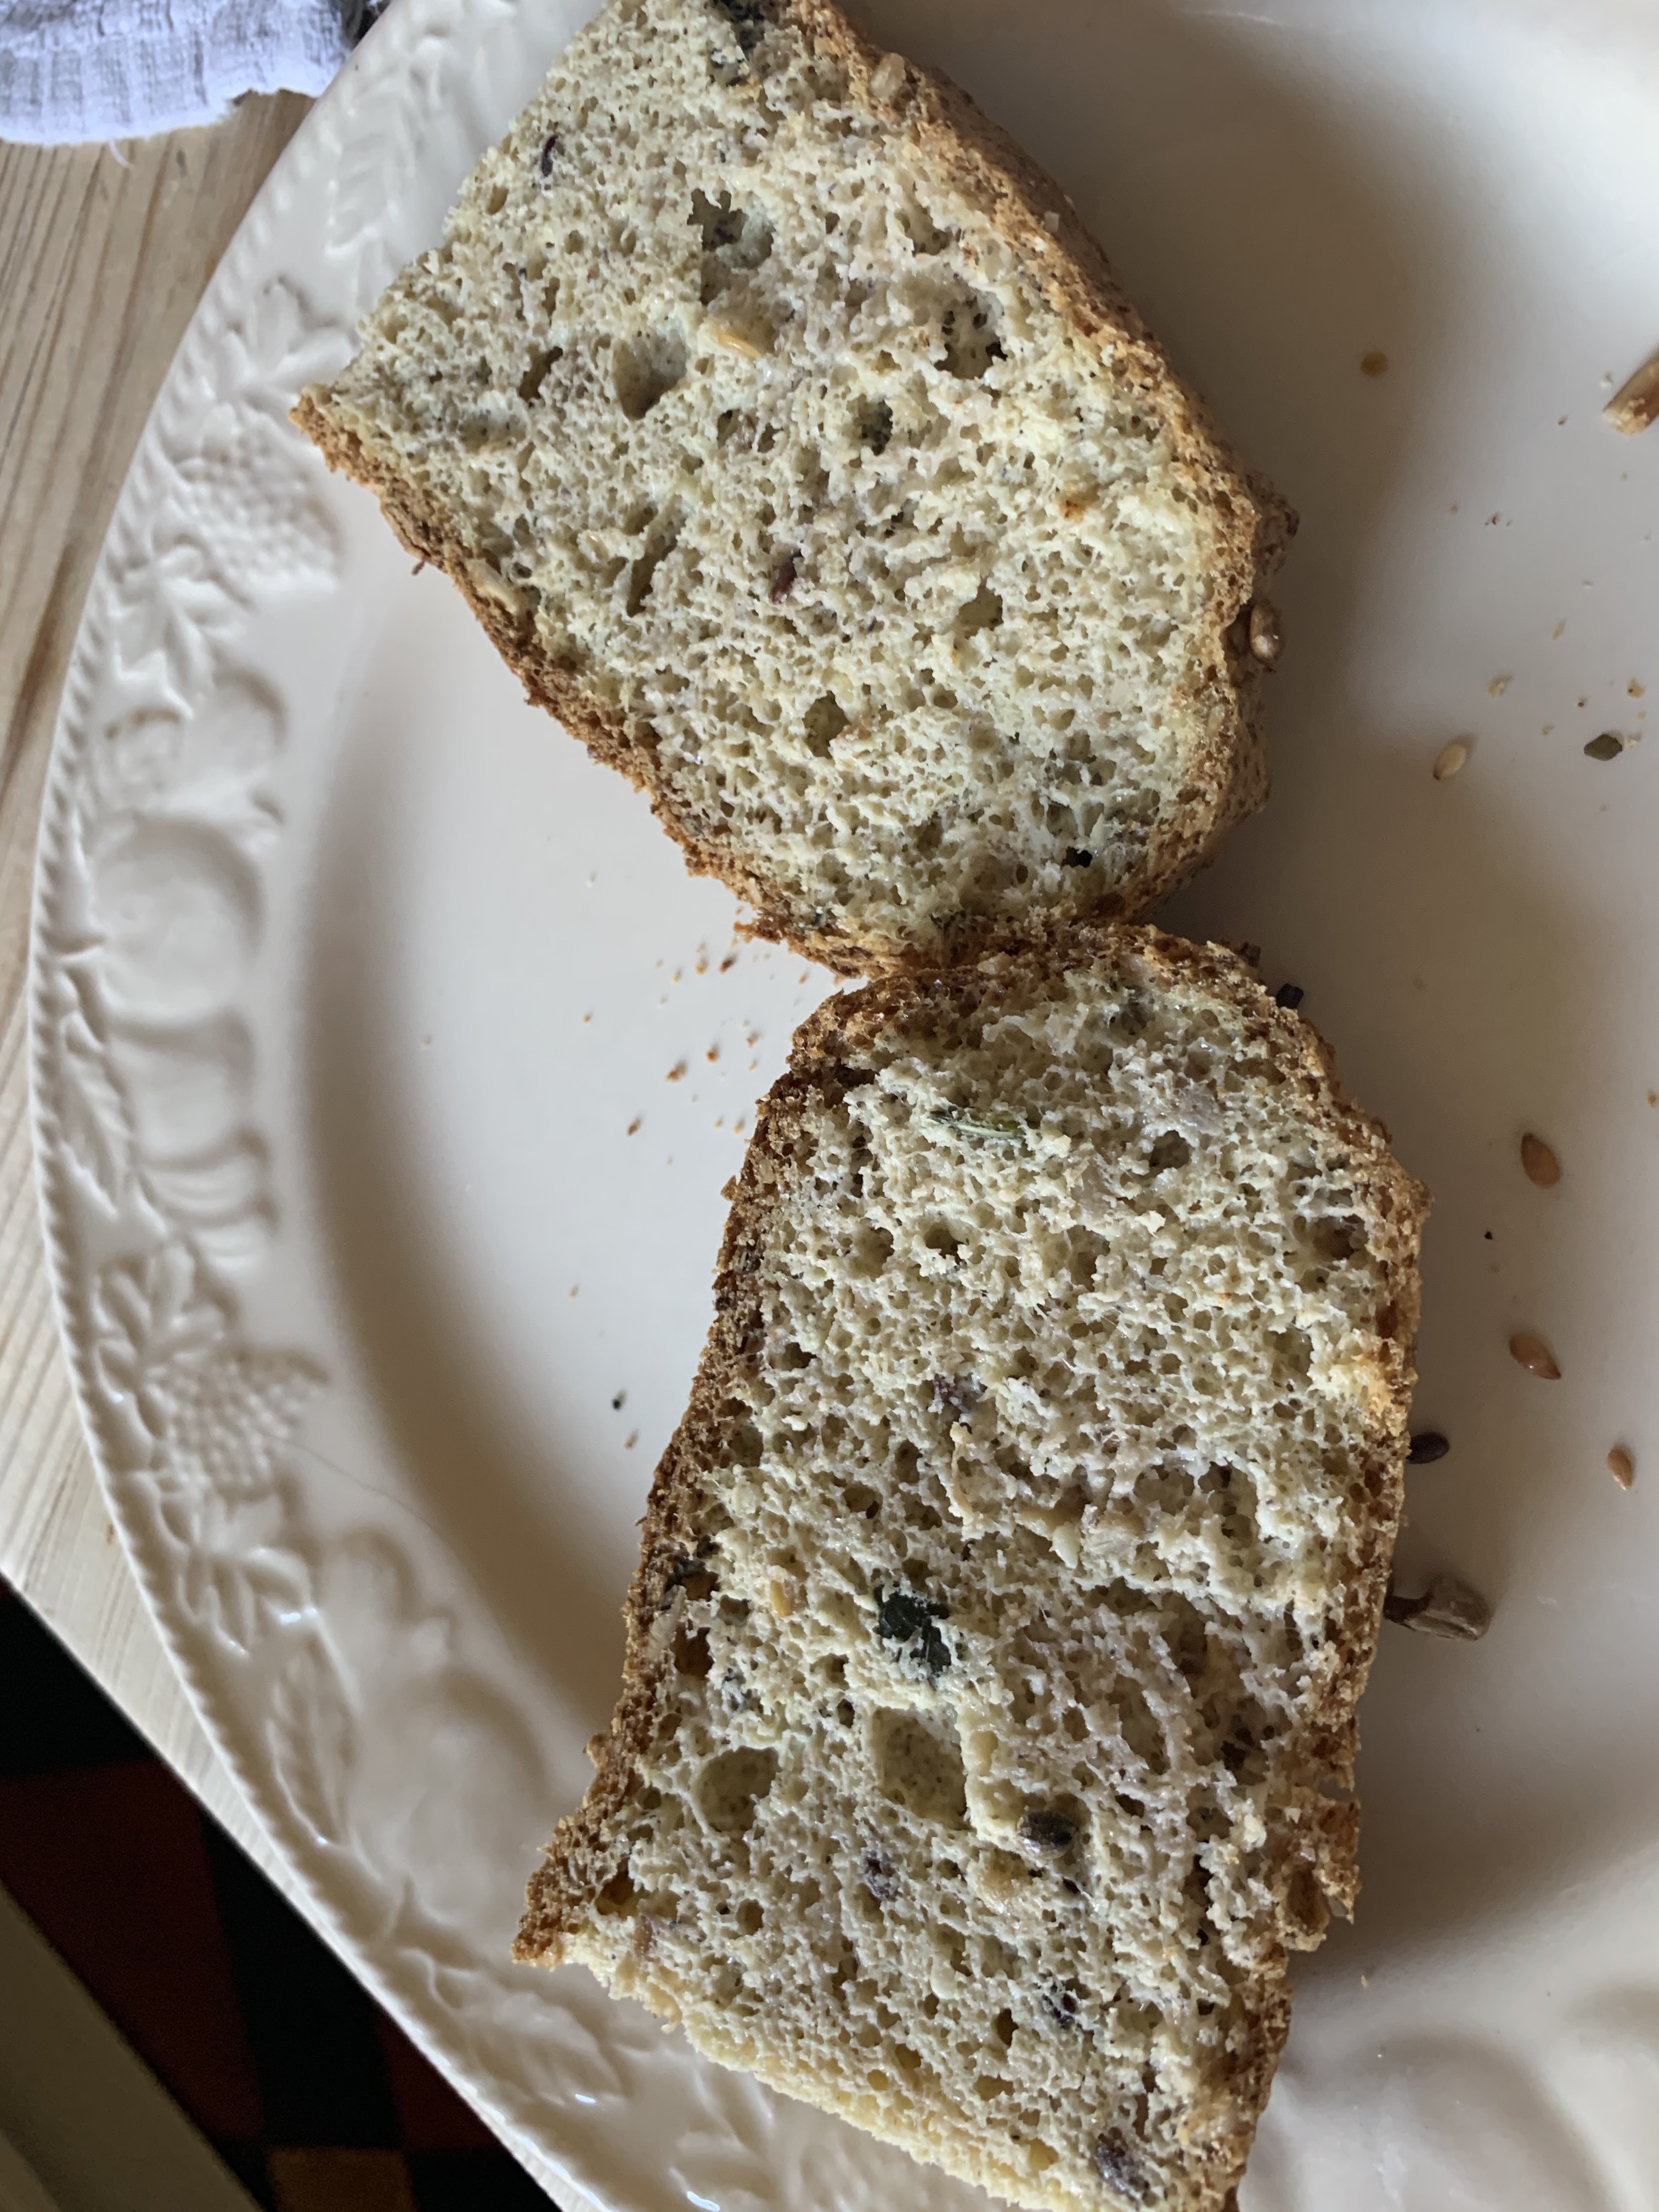
When I read the recipe, I wasn’t sure it would work but it worked beautifully. The texture is excellent and holds well together as a sandwich with a good amount of filling. Even better the texture when you eat it is good, none of that soggy texture that some keto breads turn into when you eat them! I put seeds into the mixture as well as on the top; I like crunch. The book gives variations and how to use it to make focaccia or mini rolls. The bread, once cooked and cooled, lasts three days in the bread in and it freezes well too. There are other bread recipes on the website.
Each serving is a quarter of a baguette and provides 2.3g carbs, 8.1g protein, 1.4g fat, 1.2g fibre, 194kcal. I am making focaccia next!
Ingredients
150g (5oz) almond flour or ground almonds
5 tablespoons of ground psyllium husk powder
2 teaspoons baking powder
1/2 teaspoon fine sea salt
250ml (9fl oz) boiling water
3 medium eggs (I used 2 large as that’s all we have)
2 tablespoons seeds to decorate (optional)
Method
Preheat the oven to 200C (392F)/180C fan/gas mark 6.
Grease a baking tray with a little oil.
Mix the dry ingredients in the bowl of a stand mixer or food processor.
Pour the boiling water into the dry mixture and stir through with a dough hook or plastic blade. You can do this by hand with a metal spoon, but mixers are easier.
Add the eggs and mix once more to combine.
Remove the dough from the bowl and drizzle a little oil onto your hands. I needed to do this a few times. It is now ready to shape.
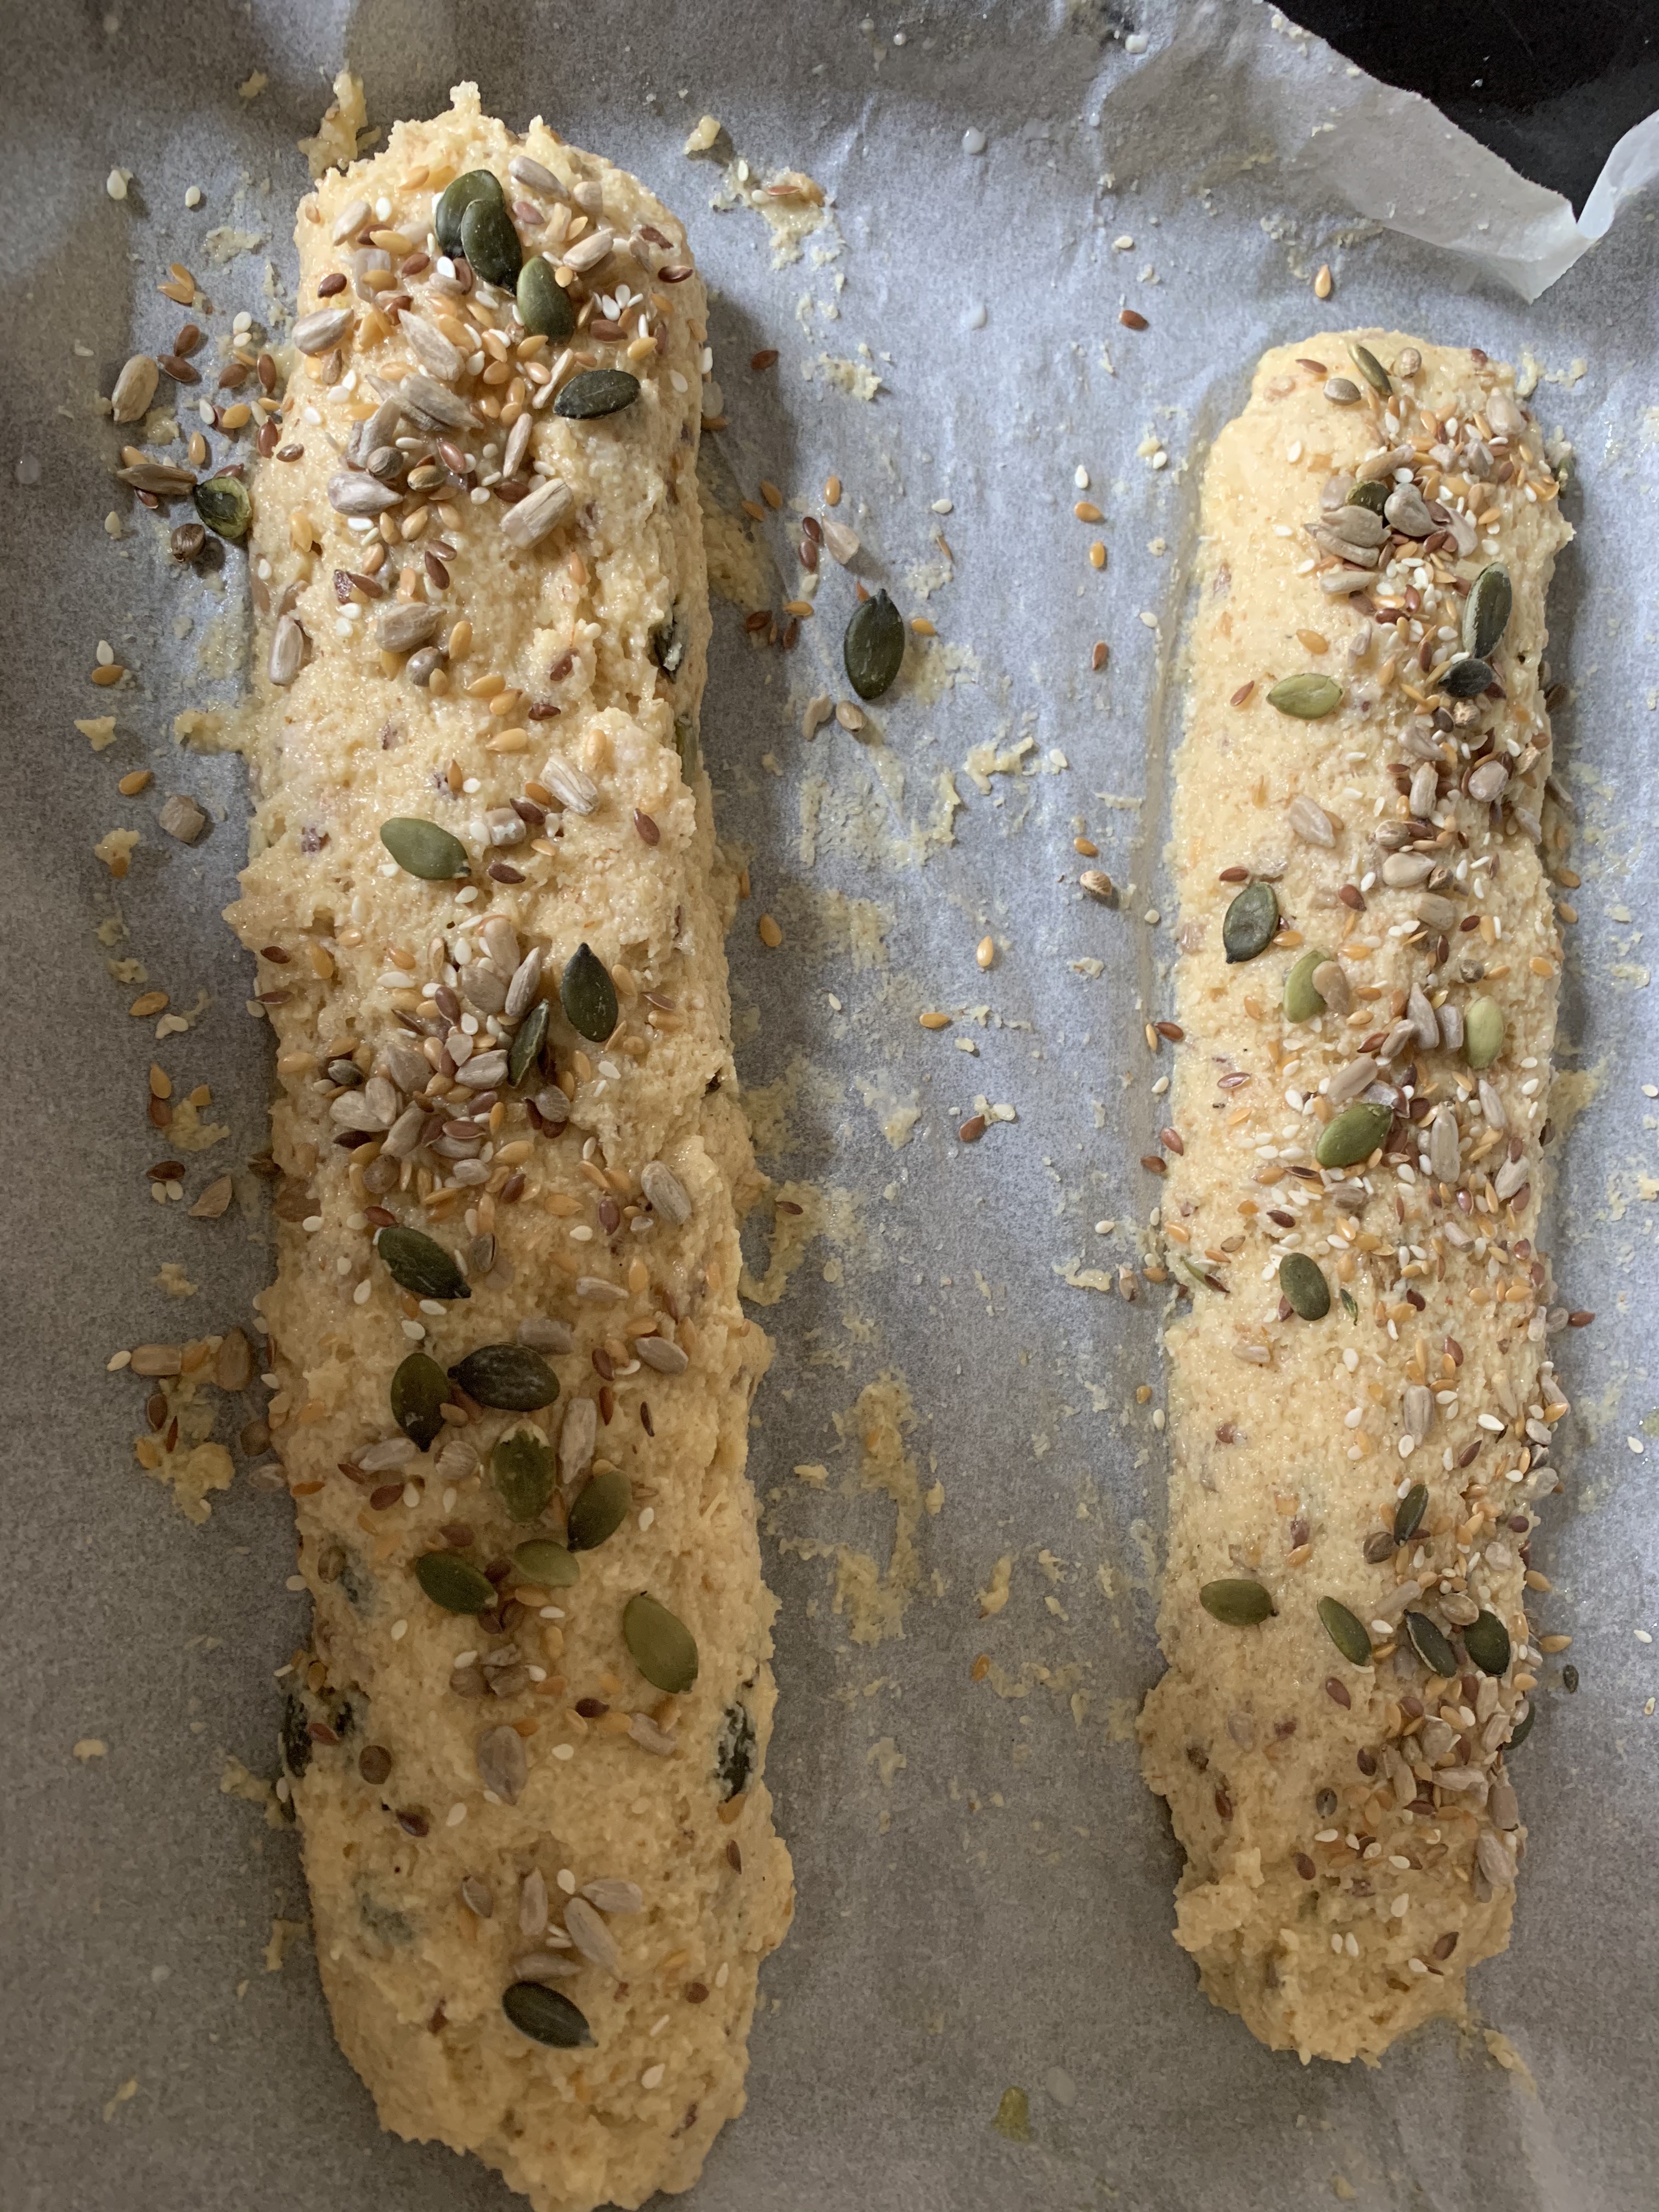
To make baguettes, roll and stretch the dough into two even-sized long baguettes with lightly oiled hands. Each one will be about 35cm (14in) long, just shorter than the length of a baking tray, and about 6cm (2.5in) wide.
Lay them onto the greased tray and sprinkle with seeds (optional). Bake for 50 minutes (mine cooked in 45 minutes) or until they sound hollow when you tap them on the base.
Leave to cool to room temperature before cutting and eating.
Please note, The psyllium husk firms up as it cools, so don’t be tempted to eat any before it is at room temperature or you might find a soggy consistency. It’s worth waiting!
This is a a chocolate chip recipe taken from SugarFreeLondoner. As I am having a walk every day along the coast, I like to take a biscuit with me. A little dark, sugar-free chocolate always lifts my spirits which is much needed in the current situation. It was a very easy and accurate recipe. I made mine a little thicker so it gave a chewier cookie. I will definitely make these again.
The recipe made 10 cookies. The original recipe states that for one cookie the nutrition is: 132 cals, 3.6g carbs, 2.8g protein, 11.2g fat, 1.8g fibre, and 1.2g sugar.
Ingredients:
100g almond flour (or you can use ground almonds, just add another 2tbsp)
1 medium egg
2 tbsp double cream (I used a plant-based double cream).
2 tbsp butter, at room temperature ( I used a lactose-free butter)
Preheat the oven to 356F/180C/ 160C fan-assisted oven
In a bowl add all the ingredients, except for the chocolate chips, and mix until fully combined. Then, let the cookie dough sit for a few minutes, so any moisture can be absorbed by the flour.
Chop the dark chocolate into small pieces, if you’re not using chocolate chips, and add into the cookie dough.
Form the dough into even shaped balls, you can use your hands to do this or you can use an ice cream scoop to ensure even sizes. Place the dough balls onto a baking tray lined with grease proof paper, and flatten slightly into your desired shape, aim for around 1/2cm thick.
Bake for around 13 minutes, or until the edges are nicely browned. The cookies will be soft when first taken out of the oven, but firm up as they cook.
Note: if you prefer chewier cookies, make them slightly thicker, and reduce the cooking time to around 10 minutes.
This is the view I had on my walk as I stopped to eat cookies:
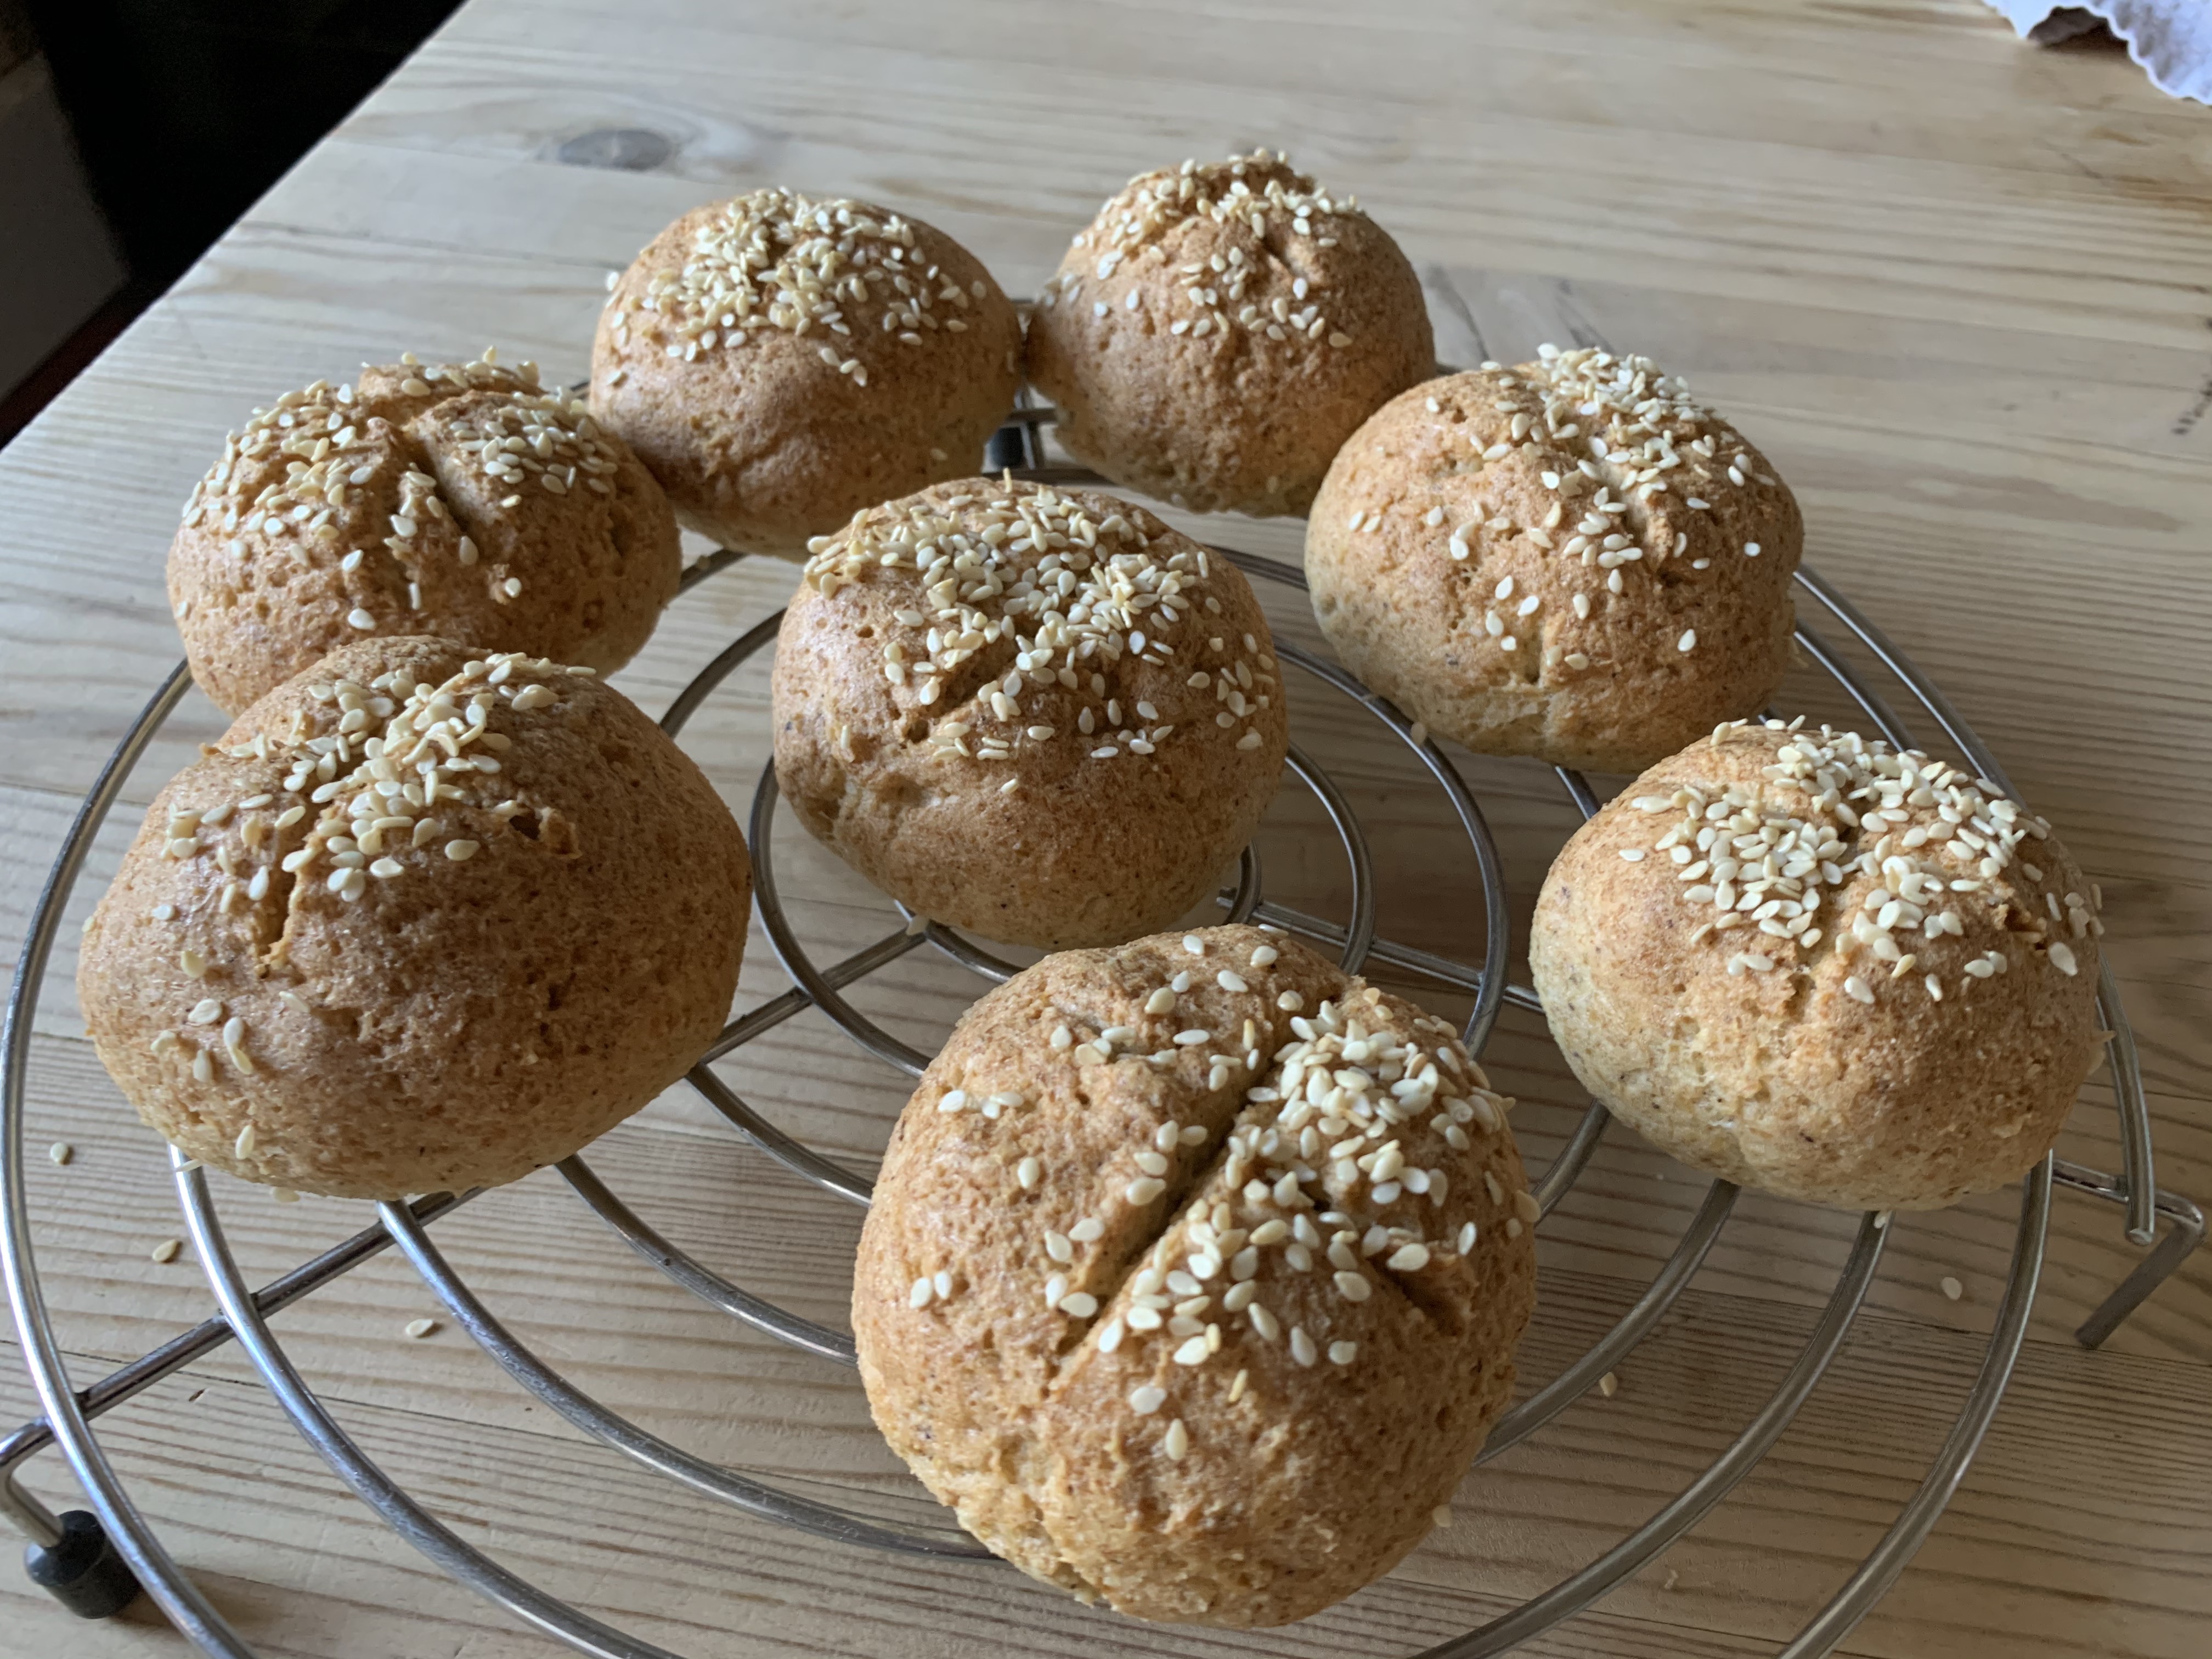
I saw this recipe on SugarFreeLondoner and thought I’d give it a try! I enjoy soup but it’s not the same without a bread roll with a decent crust. Initially, I thought these would be complex to make but it was actually easy. I just used the Kenwood stand mixer which made it easier as I could just swap between the whisk and beater attachments. The dough came together well. I think next time I make these, I will make four larger buns for bean burgers. The texture is the best I have had from Keto bread. I would suggest trying to work quicker when shaping the rolls and not over-handle it. It is very important to have the eggs at room temperature so you get volume when you whisk.
The recipe made 8 bread rolls. The original recipe states that for each 50g roll it is 190 cals, 6.5g carbs, 9g protein, 14.5g fat, 1.5g saturated-fat, 4.5g fibre, and 1.2g sugar.
Ingredients:
200g almond flour
4 egg whites, at room temperature
2 egg yolks, at room temperature
3 tbsp/ approx 24g psyllium husk powder
120ml hot water
2 tbsp baking powder
1/2 tsp xanthan gum
a pinch of salt
Method:
Preheat the oven to 360F, 180 degrees Celsius/160C fan-assisted oven
Separate the eggs. Then whisk all 4 egg whites, until stiff peaks form. In a separate bowl, whisk the 2 egg yolks, until they have doubled in size and are pale.
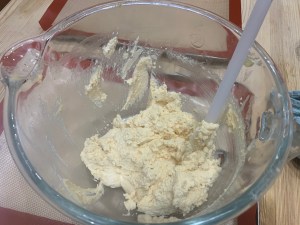
Mix the almond flour, psyllium husk powder, xanthan gum and baking powder together. Combine the dry ingredients alongside, egg yolks, and egg whites together with hot water, until fully incorporated. Be careful not to over-blend!
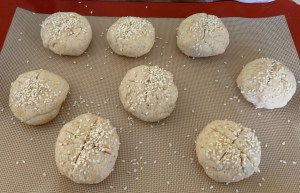
Wet your hands with water, or you can oil them slightly, so the dough does not stick to your hands. Form a dough ball, and cut into 8 pieces. Then, form into 8 rolls, and place onto a baking tray lined with grease proof paper. Optional: cut a cross on the tops of your rolls and sprinkle with poppy/sesame/nigella seeds. I sprinkled mine with sesame seeds.
Bake for around 25-30 minutes, on the middle shelf, until the bread rolls have browned on top.
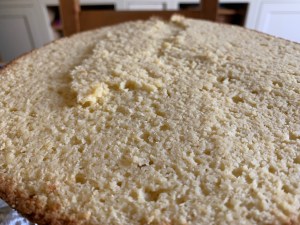
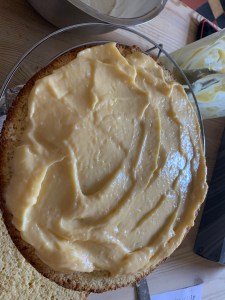
This cake encapsulates two recipes, Keto lemon pound cake and low carb lemon curd. I wanted a special Easter cake so I decided to make a round keto cake that I could split and fill with lemon curd and whipped plant-based double cream. We make keto mug cakes often but this cake has very tender crumb and was enjoyed by keto and non-keto eaters. It’s the sort of cake that when you have finished a slice you are not full and crave more. The cake cuts into approximately 16 thin slices but everyone in my house went back for seconds.
You can use coconut oil in the mixture or butter. For flavour, I prefer (lactose-free) butter. It is an easy cake to make and kept in the fridge covered for 4 days.
The nutrition for one slice of lemon poundcake (recipe is for 16 slices): 174 cals, 5.1g Carbs, 1.2g fibre, 10.9g fat, sugar 1.1g, Net carbs: 3.9g.
The nutrition for the lemon curd; recipe makes 10 servings of 3 tablespoons with 2.5 net carbs per serving.
I will be making this cake again this week. It’s better than chocolate and proved very satisfying after a light meal. I really recommend that you make it. Using the original recipe, I weighed ingredients as I feel it gives a better result than cup measures.
Note: my adaptations are all in bold.
Ingredients for the lemon pound cake:
5 eggs – at room temperature
3/4 cup erythritol monk fruit, erythritol or xylitol (150g)
1/2 cup melted coconut oil or melted butter (120 ml)
2 cups almond flour (220 g)
1/4 cup coconut flour (35 g)
1 tablespoon baking powder
1/4 cup lemon juice (60 ml)
1/2 tablespoon lemon zest – optional. (you definitely need the lemon zest)
Method
Preheat oven to 350F/180C/160C fan-assisted.
Line a loaf tin (9 inches x 5 inches) or an 8 inch round cake tin with a piece of parchment paper. Slightly oil the paper to make sure the pound cake doesn’t stick. Set aside.
In a medium mixing bowl, whisk together the eggs, erythritol, melted coconut oil or butter and lemon juice. Make sure that your coconut oil or butter are not too hot or it will ‘cook’ the eggs and create lumps.
NOTE: All your ingredients must be roughly at same temperature, think room temperature, especially the eggs and lemon juice. Cold ingredients, just out of the fridge will solidify the coconut oil creating oil lumps, or use melted butter to prevent this happening. Then, set aside.
In a different large mixing bowl, whisk together the almond flour, coconut flour and baking powder. Stir to evenly combine, then add the lemon zest.
Pour the liquid ingredients into the dry ingredients.
Stir all the ingredients together with a spatula until it forms a consistent cake batter with no lumps. Combine for at least 2 minutes to make sure the coconut flour fibre absorbs the moisture.
Transfer the cake batter into your chosen tin. Make sure you are aware of the cooking times for the loaf cake and if you decide to use an alternative tin that you monitor the cake carefully after about 45-50 minutes.
Place the loaf tin in the centre of your oven and bake at 180C /160C fan-assisted (350F). After 15 minutes decrease temperature to 160C/140C (320F) and cover the cake with a loose piece of foil. This will prevent the top of the cake from burning and enable the middle to bake slowly. Keep baking for 45- 60 minutes in total, or until a toothpick inserted in the centre of the cake comes out with little to no crumbs on it. Note: the 8 inch cake cooked in 50 minutes total because it was thinner.
Cool for 10 minutes in the tin, then turn the cake out.
Transfer to a cooling rack to cool completely. It takes approximately 3 hours to cool fully.
Be patient, and add your topping onto the cake when it reaches room temperature, not before!
Note: The original recipe, tops the cake with lemon glaze, but as I was adding lemon curd I chose to top my cake with whipped cream instead. However, I included the lemon glaze below if you’d prefer this to cream.
Ingredients for the Lemon glaze:
This is really simple all you need is:
1 cup powdered erythritol
2 tablespoons of lemon juice
Method:
Whisk together the powdered erythritol with the lemon juice, until no lumps remain. Note: Depending on the consistency you want, you can add more lemon juice for a thinner glaze, or powdered erythritol for a thicker glaze.
Drizzle over the cooled cake
Note: If your glaze is too runny, you can place it in the freezer for a few minutes to set.
Ingredients for the Lemon curd:
As stated above, I chose to add lemon curd to the middle of my cake and then top with whipped cream, rather than opt for a lemon glaze like the original recipe.
3/4 cup lemon juice (about 3-4 large lemons)
1/2 cup erythritol
4 large eggs
4 large egg yolks
the zest from all the lemons
1/4 teaspoon of stevia (I chose not to add stevia)
6 tablespoons salted butter (I used lactose-free butter)
1 tablespoon arrowroot powder
Method:
Add the erythritol and arrowroot powder, into a medium pan and stir.
Roll the lemons (this is so you get more juice out of them), and then add the zest to the erythritol.
Separate 4 eggs, then add the 4 yolks to the erythritol. Then add the 4 whole eggs to the erythritol mixture and whisk together until combined.
Juice the lemons, make sure to strain, then stir into the mixture.
Turn it up to a medium heat, and continuously whisk the mixture until it begins to thicken– this will only take a few minutes. Then turn down to a medium-low heat, and continue to whisk. The lemon curd, will thicken suddenly.
Note: I kept removing the pan from the heat and stirring to ensure it didn’t over cook and remained smooth.
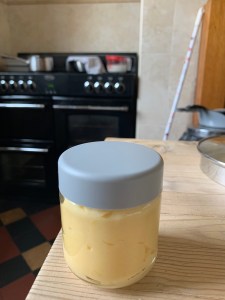
Remove the pan from the heat, and continue to whisk for one more minute, then pour the curd into a clean container.
Note: The original recipe then says to add the stevia and butter. However, I thought the curd was already sweet enough whilst still having a nice sharp tang, so I opted to not add the stevia and just the butter. Stir until fully incorporated.
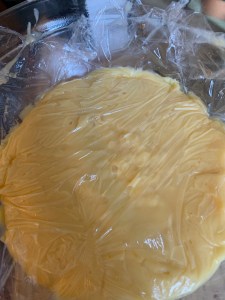
Cover the bowl with clingfilm and then place the lemon curd into the fridge to cool.
Store in an airtight container; this will keep in the fridge for up to 2 weeks.
Once both your lemon curd and lemon cake are cool; cut your lemon cake in half, and spread the lemon curd onto one side.
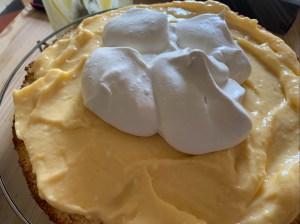
I then whipped up some cream and added it on top of the lemon curd and placed the other half of the cake on top.
I then decorated the top of my cake with the rest of the whipped cream mixture.
Yesterday was not a great day. It was a Monday and everyone in the house had lockdown fatigue. The day did not start well with a coffee disaster on the bed – not me! From google review of how to get rid of coffee stains from a mattress, it appears quite a common problem. In case you need to know, make a solution of distilled white vinegar and bicarbonate of soda. Then soak a towel in the liquid and place it over the spill. Leave it for a few hours and the stains were gone. The duvet was taken to a laundrette and the bedding was put in the washing machine. Thank God the weather was warm and dry!
It sort of cast a cloud over Monday! It was not a day for complex recipes; in fact it did not seem a day for much activity at all!!
We are careful about not wasting food; review of the fruit bowl identified three small over-ripe bananas. There is only so much banana loaf or banana nut muffins that you can eat. I came across this recipe and felt it suited my mood. I love anything with dates, read thesearticles to see their benefits.
The whole recipe takes 10 minutes to prepare and 25 minutes cooking. It makes 16 bars, 130 calories each. It is very easy and the bars are sweet with no added sugar. You can store them in an airtight container for about a week or freeze for up to 3 months. I guarantee they won’t last that long as they are soft and chewy with a bit of crunch at the edge.
Ingredients
2 bananas (the original recipe didn’t give a weight so I used three small bananas and it mixed in well)
170 g dates chopped up small
180 g oats (I used gluten free oats)
40 g oil (vegetable or coconut oil; I used coconut oil and did not need to melt it)
40 g sunflower seeds (I used a mix of seeds)
2 tbsp chia seeds
1 tsp vanilla extract
Ingredients
Method
Preheat the oven to 170C/150C (fan assisted)/340F
Mash the bananas well with a fork
Mix all the other ingredients into the bananas thoroughly
Press the mixture into a greased cake tin (I used an oblong tin lined with parchment paper)
Bake in the oven at 170C/150C/340F for 25 minutes
When it comes out of the oven, cut it into squares but leave in the tin to cool.