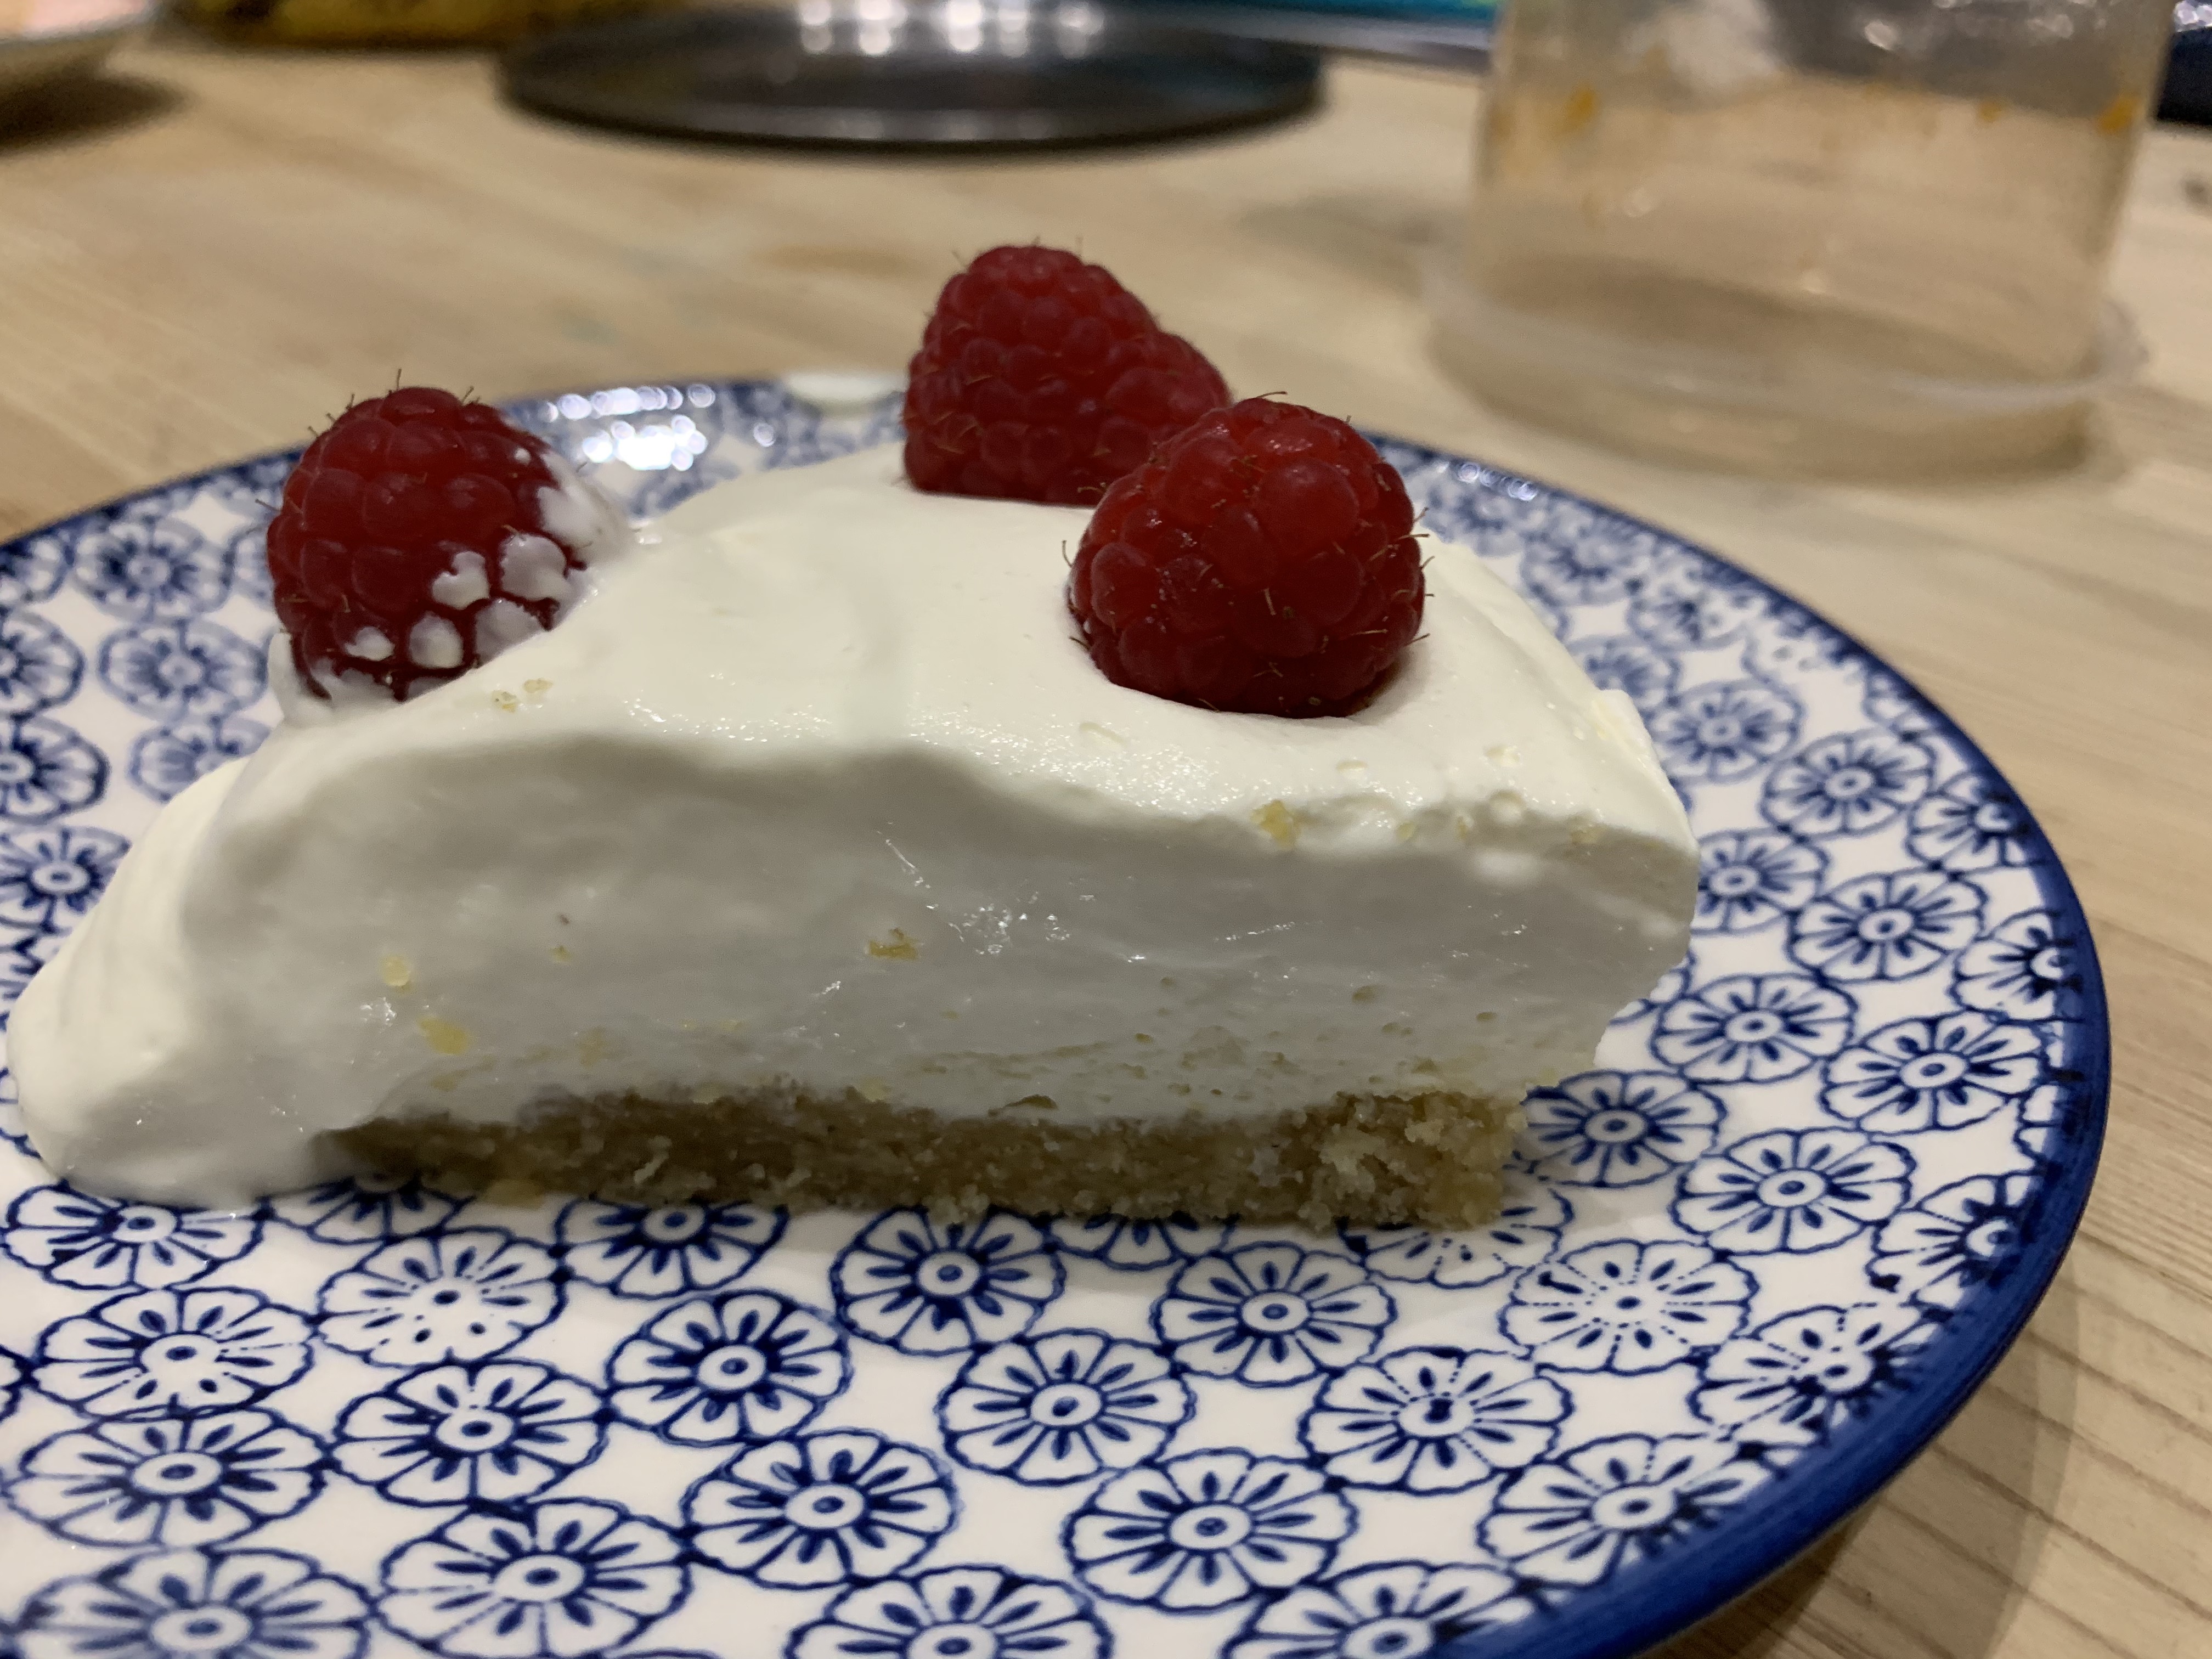
I wanted a quick dessert for Sunday meal and this recipe seemed a good one. The recipe is accurate but I used the weights rather than cup measures. I made it quickly and used the hand mixer. It came together as outlined in the recipe. If you like more of a tang to your cheese cake then put some lemon zest in as it’s very creamy and sweet. The crumb base is good. I had a little bit of the cheesecake mix as it would have been above the tin, it served one person who didn’t want the crumb. Next time I will crush the raspberries and stir them quickly through the cheesecake filling. Mine was only chilled for 5 hours and although it was firm it could have done with a little longer to be fully set. This is a useful recipe to have. I would suggest playing round with the flavours. My version was lactose-free. Try it and enjoy!
Prep time: 15 mins | Chilling time: 7 hours | Servings: 12
Nutrition: calories 290 | total carbs 5.2g | net carbs 3.8g (with cream & berry toppings) or 2.8g without | protein 4.7g | fat 29.9g | saturated fat 16.9g | fibre 1.5g | sugar 3.3g
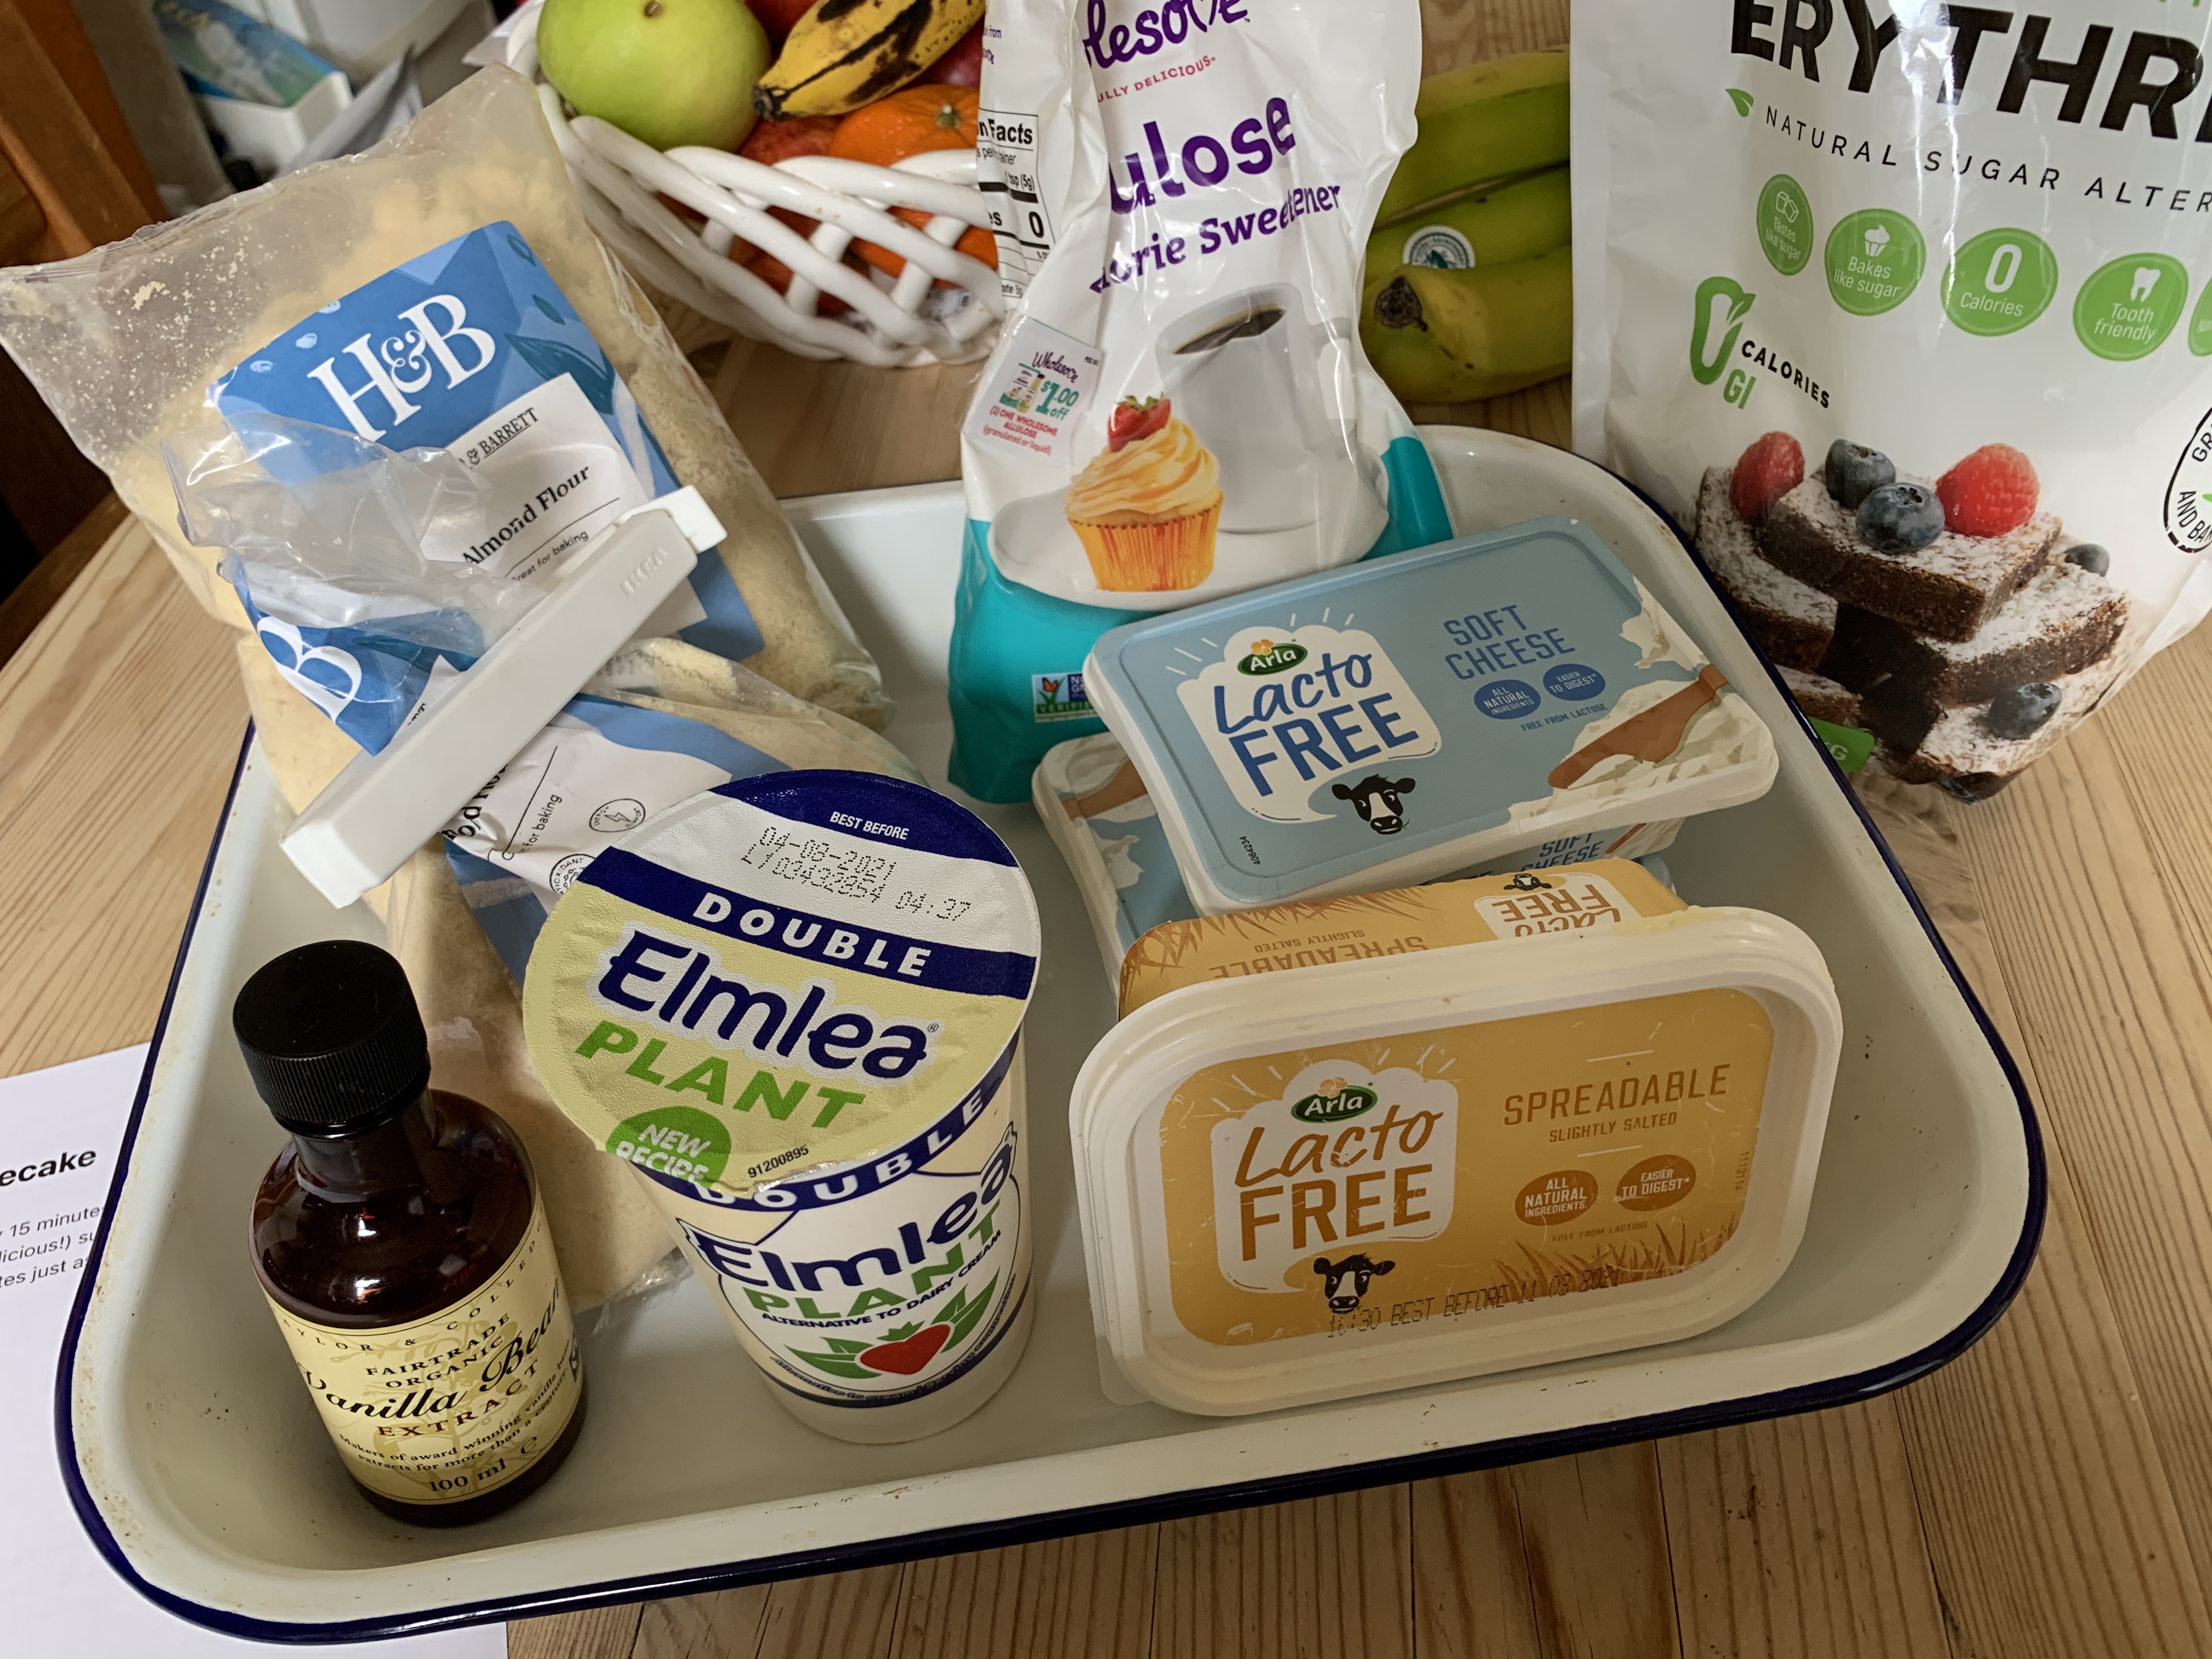
Ingredients:
Base:
- 3/4 cup / 75g almond flour
- 1/4 cup / 30g coconut flour
- 1 tbsp powdered sweetener
- 1/4 cup / 57g butter, melted (I used a lactose-free butter)
- pinch of salt
Filling:
- 1.5 cup / 360g cream cheese or mascarpone (I used a lactose-free cream cheese)
- 2/3 cup / 130g powdered erythritol
- 1 tsp lemon juice
- 1 tbsp vanilla extract
- 1 cup / 240ml double cream (I used a plant-based double cream)
- 5-10 drops liquid stevia, optional (I didn’t use this)
Topping (optional)
- 3/4 cup / 180g double cream (I didn’t put double cream on top as it tasted rich enough)
- 1/2 cup / 75g strawberries, halved or quartered (I didn’t use these)
- 1/3 cup / 40g raspberries (I dotted fresh raspberries on the top)
Method:
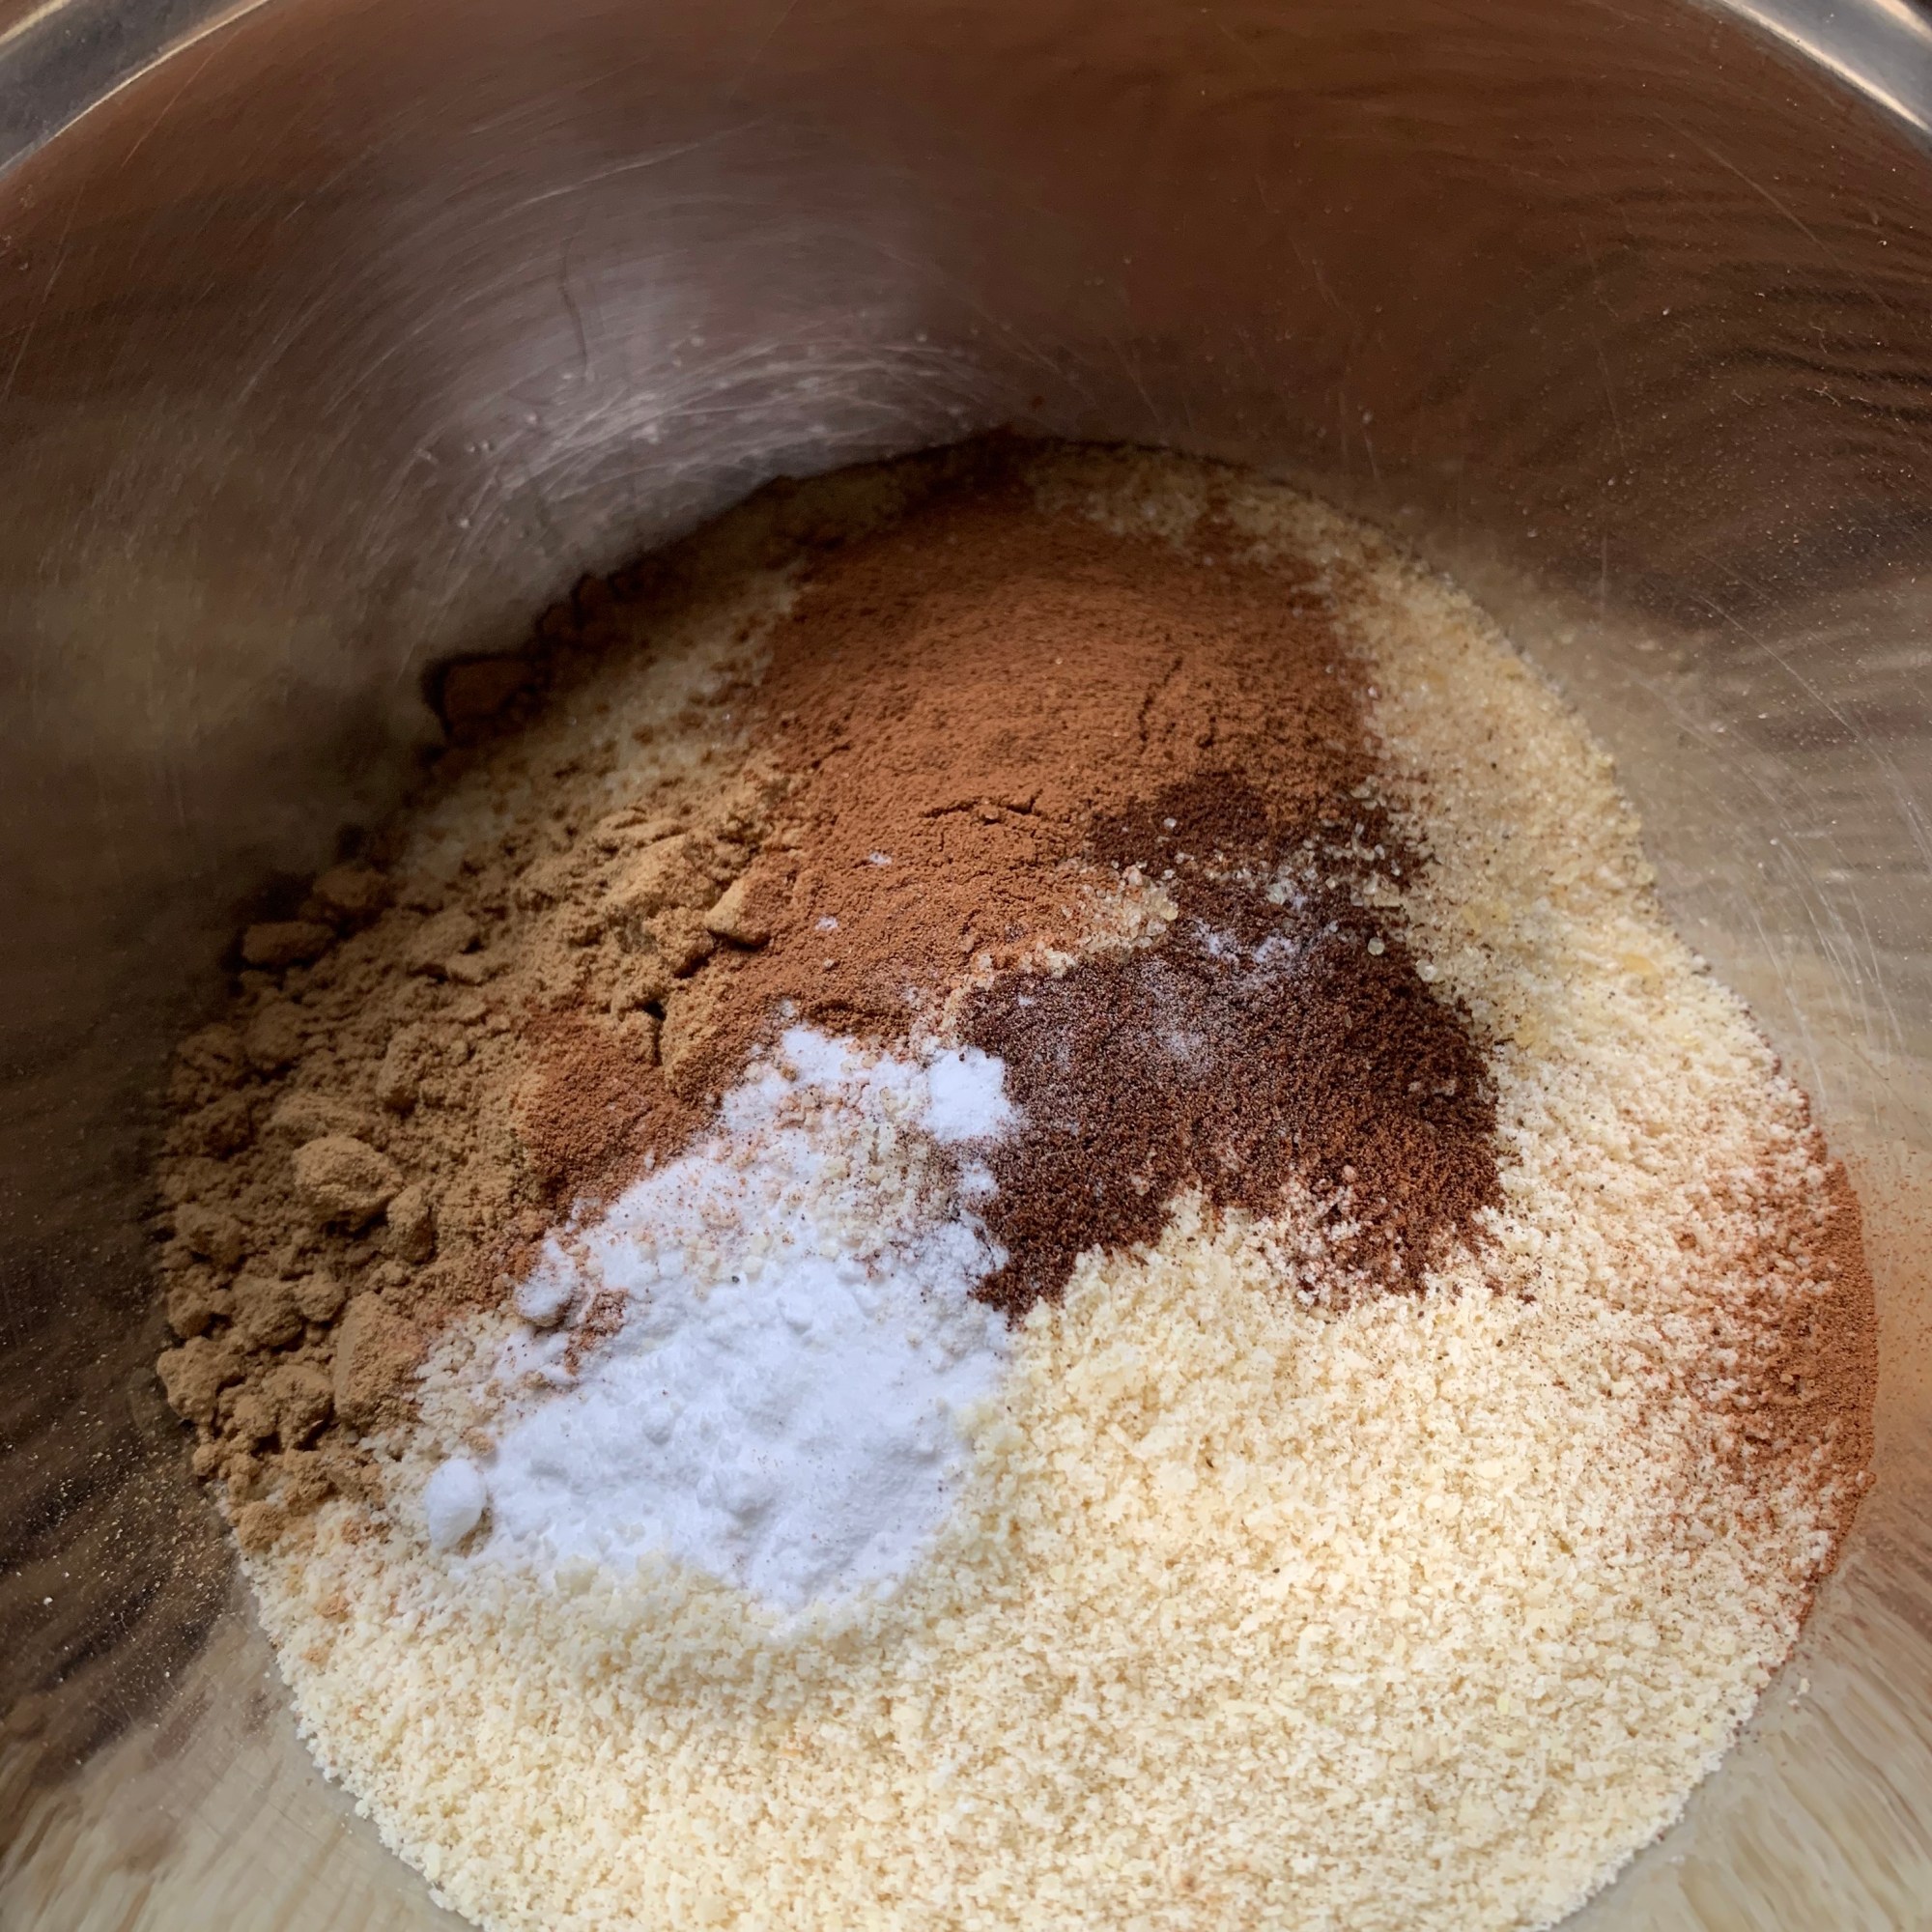
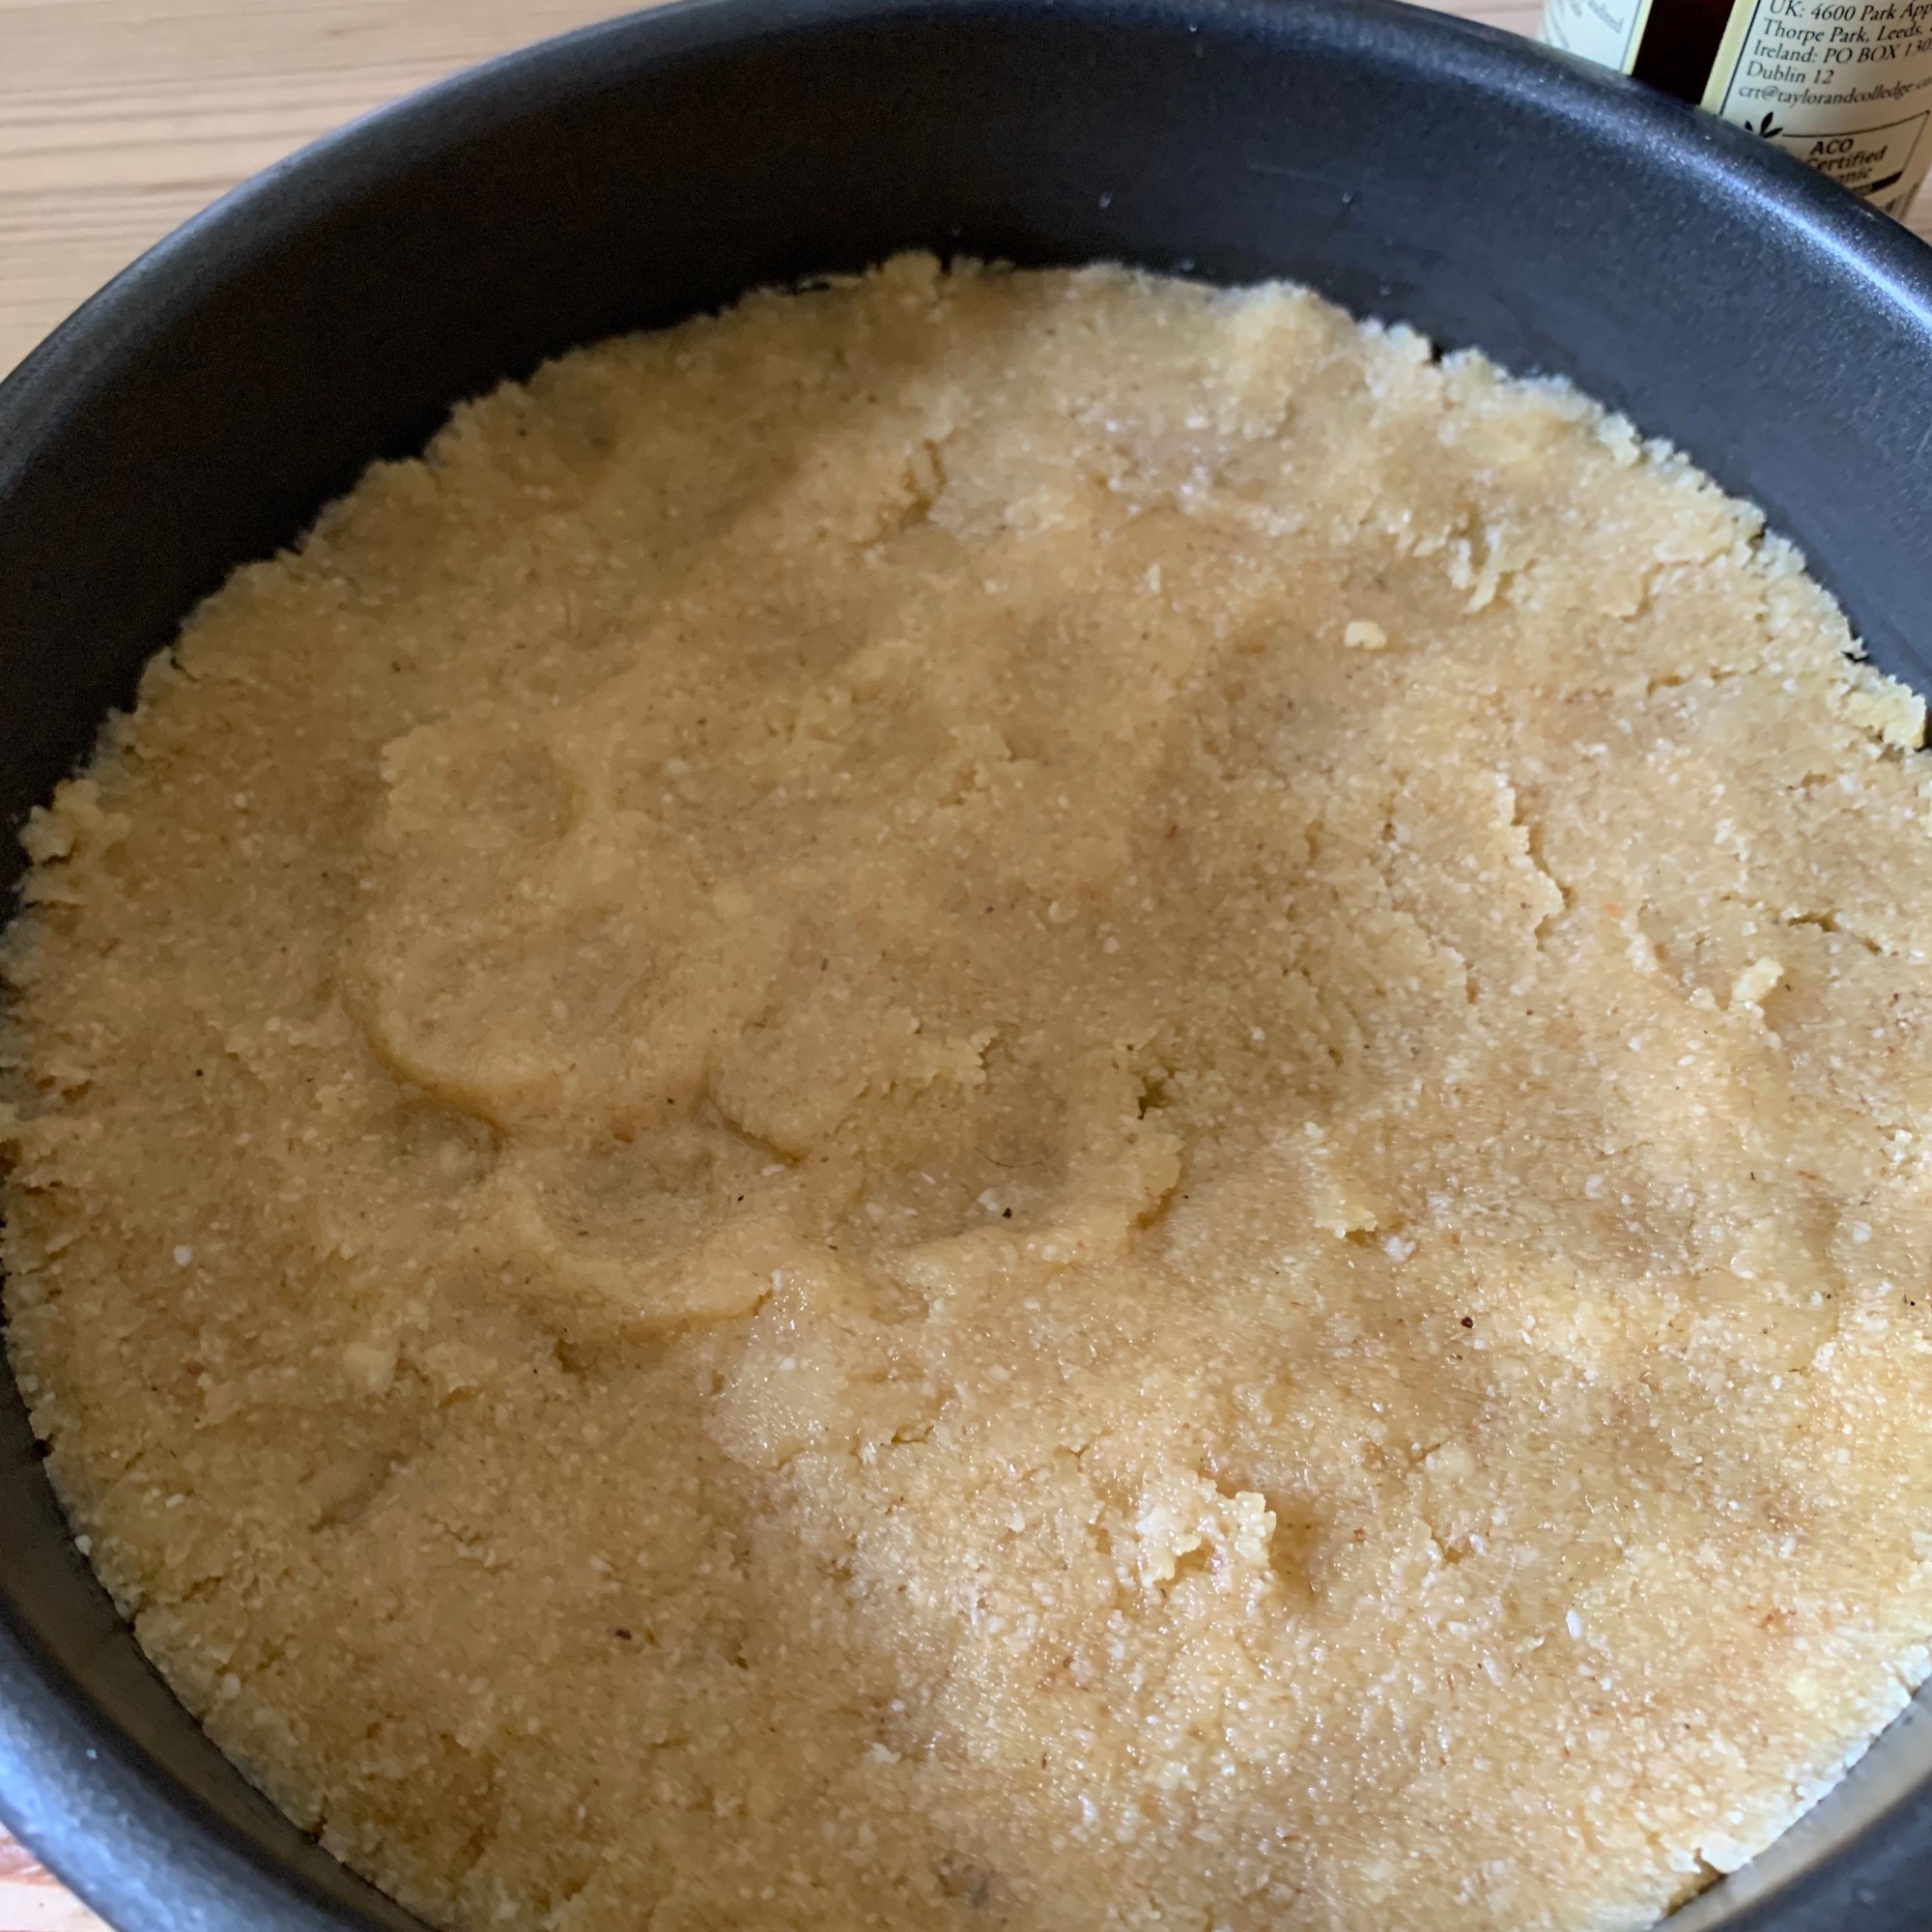
Base:
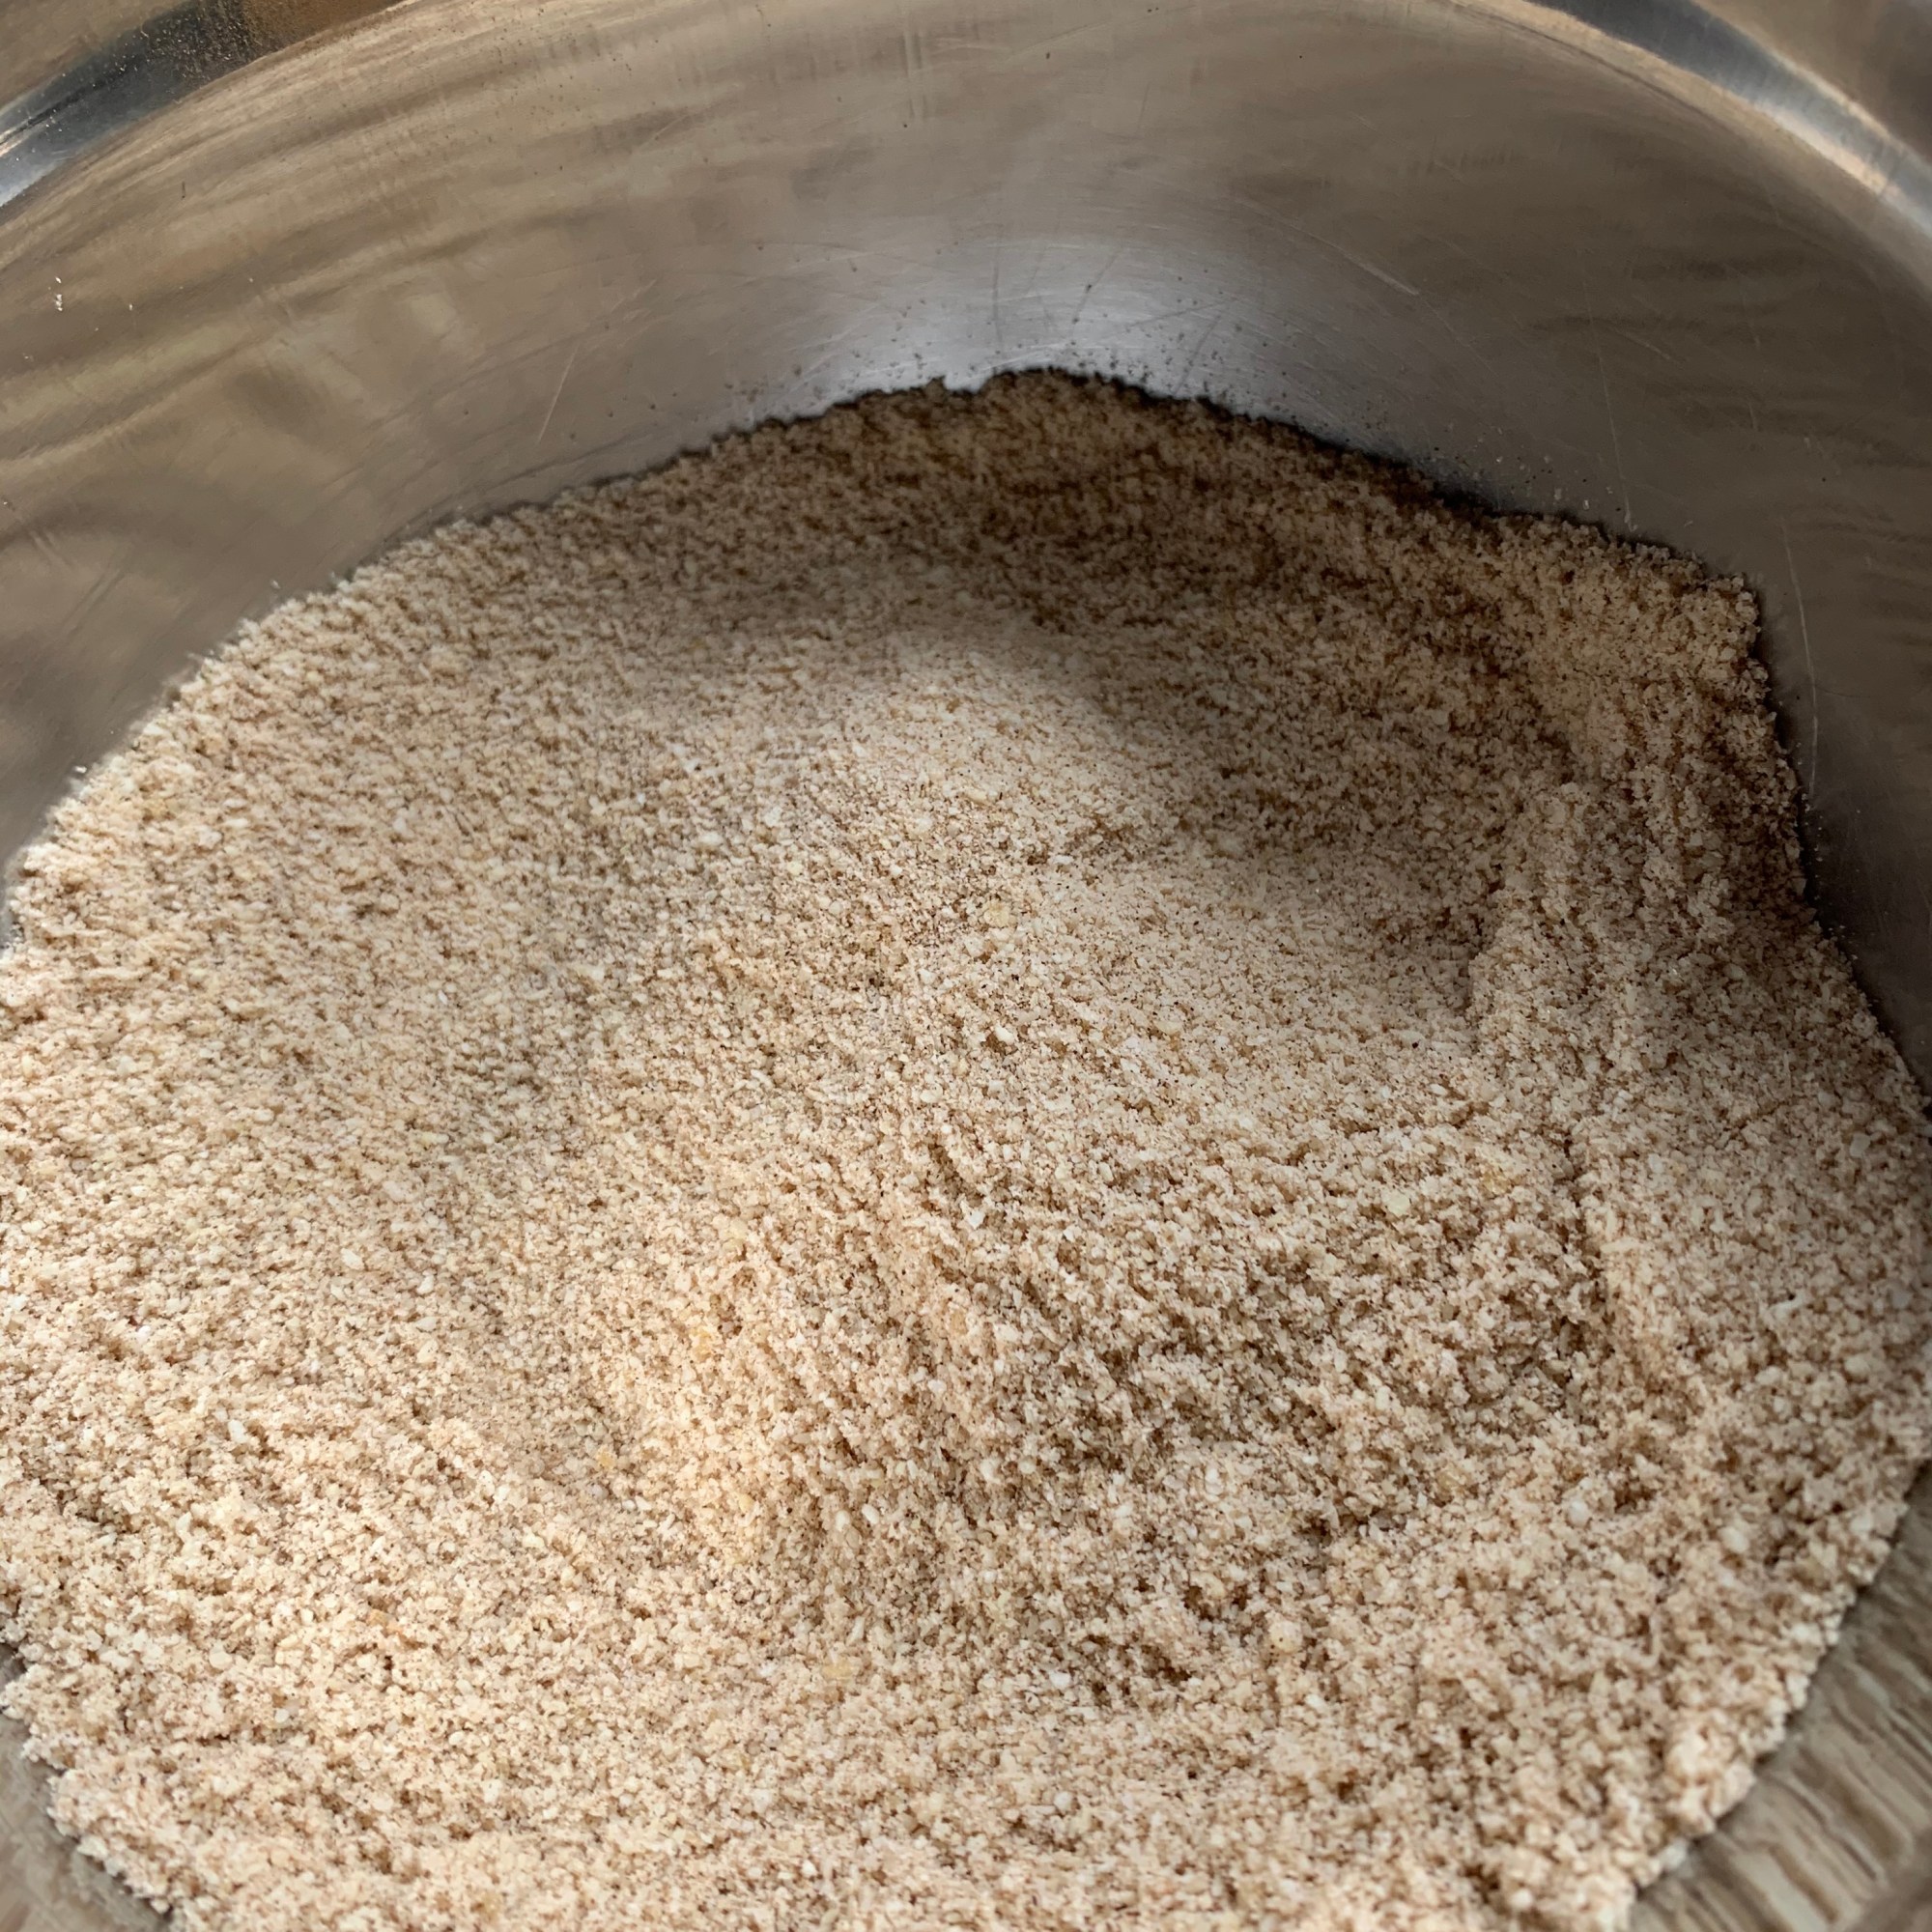
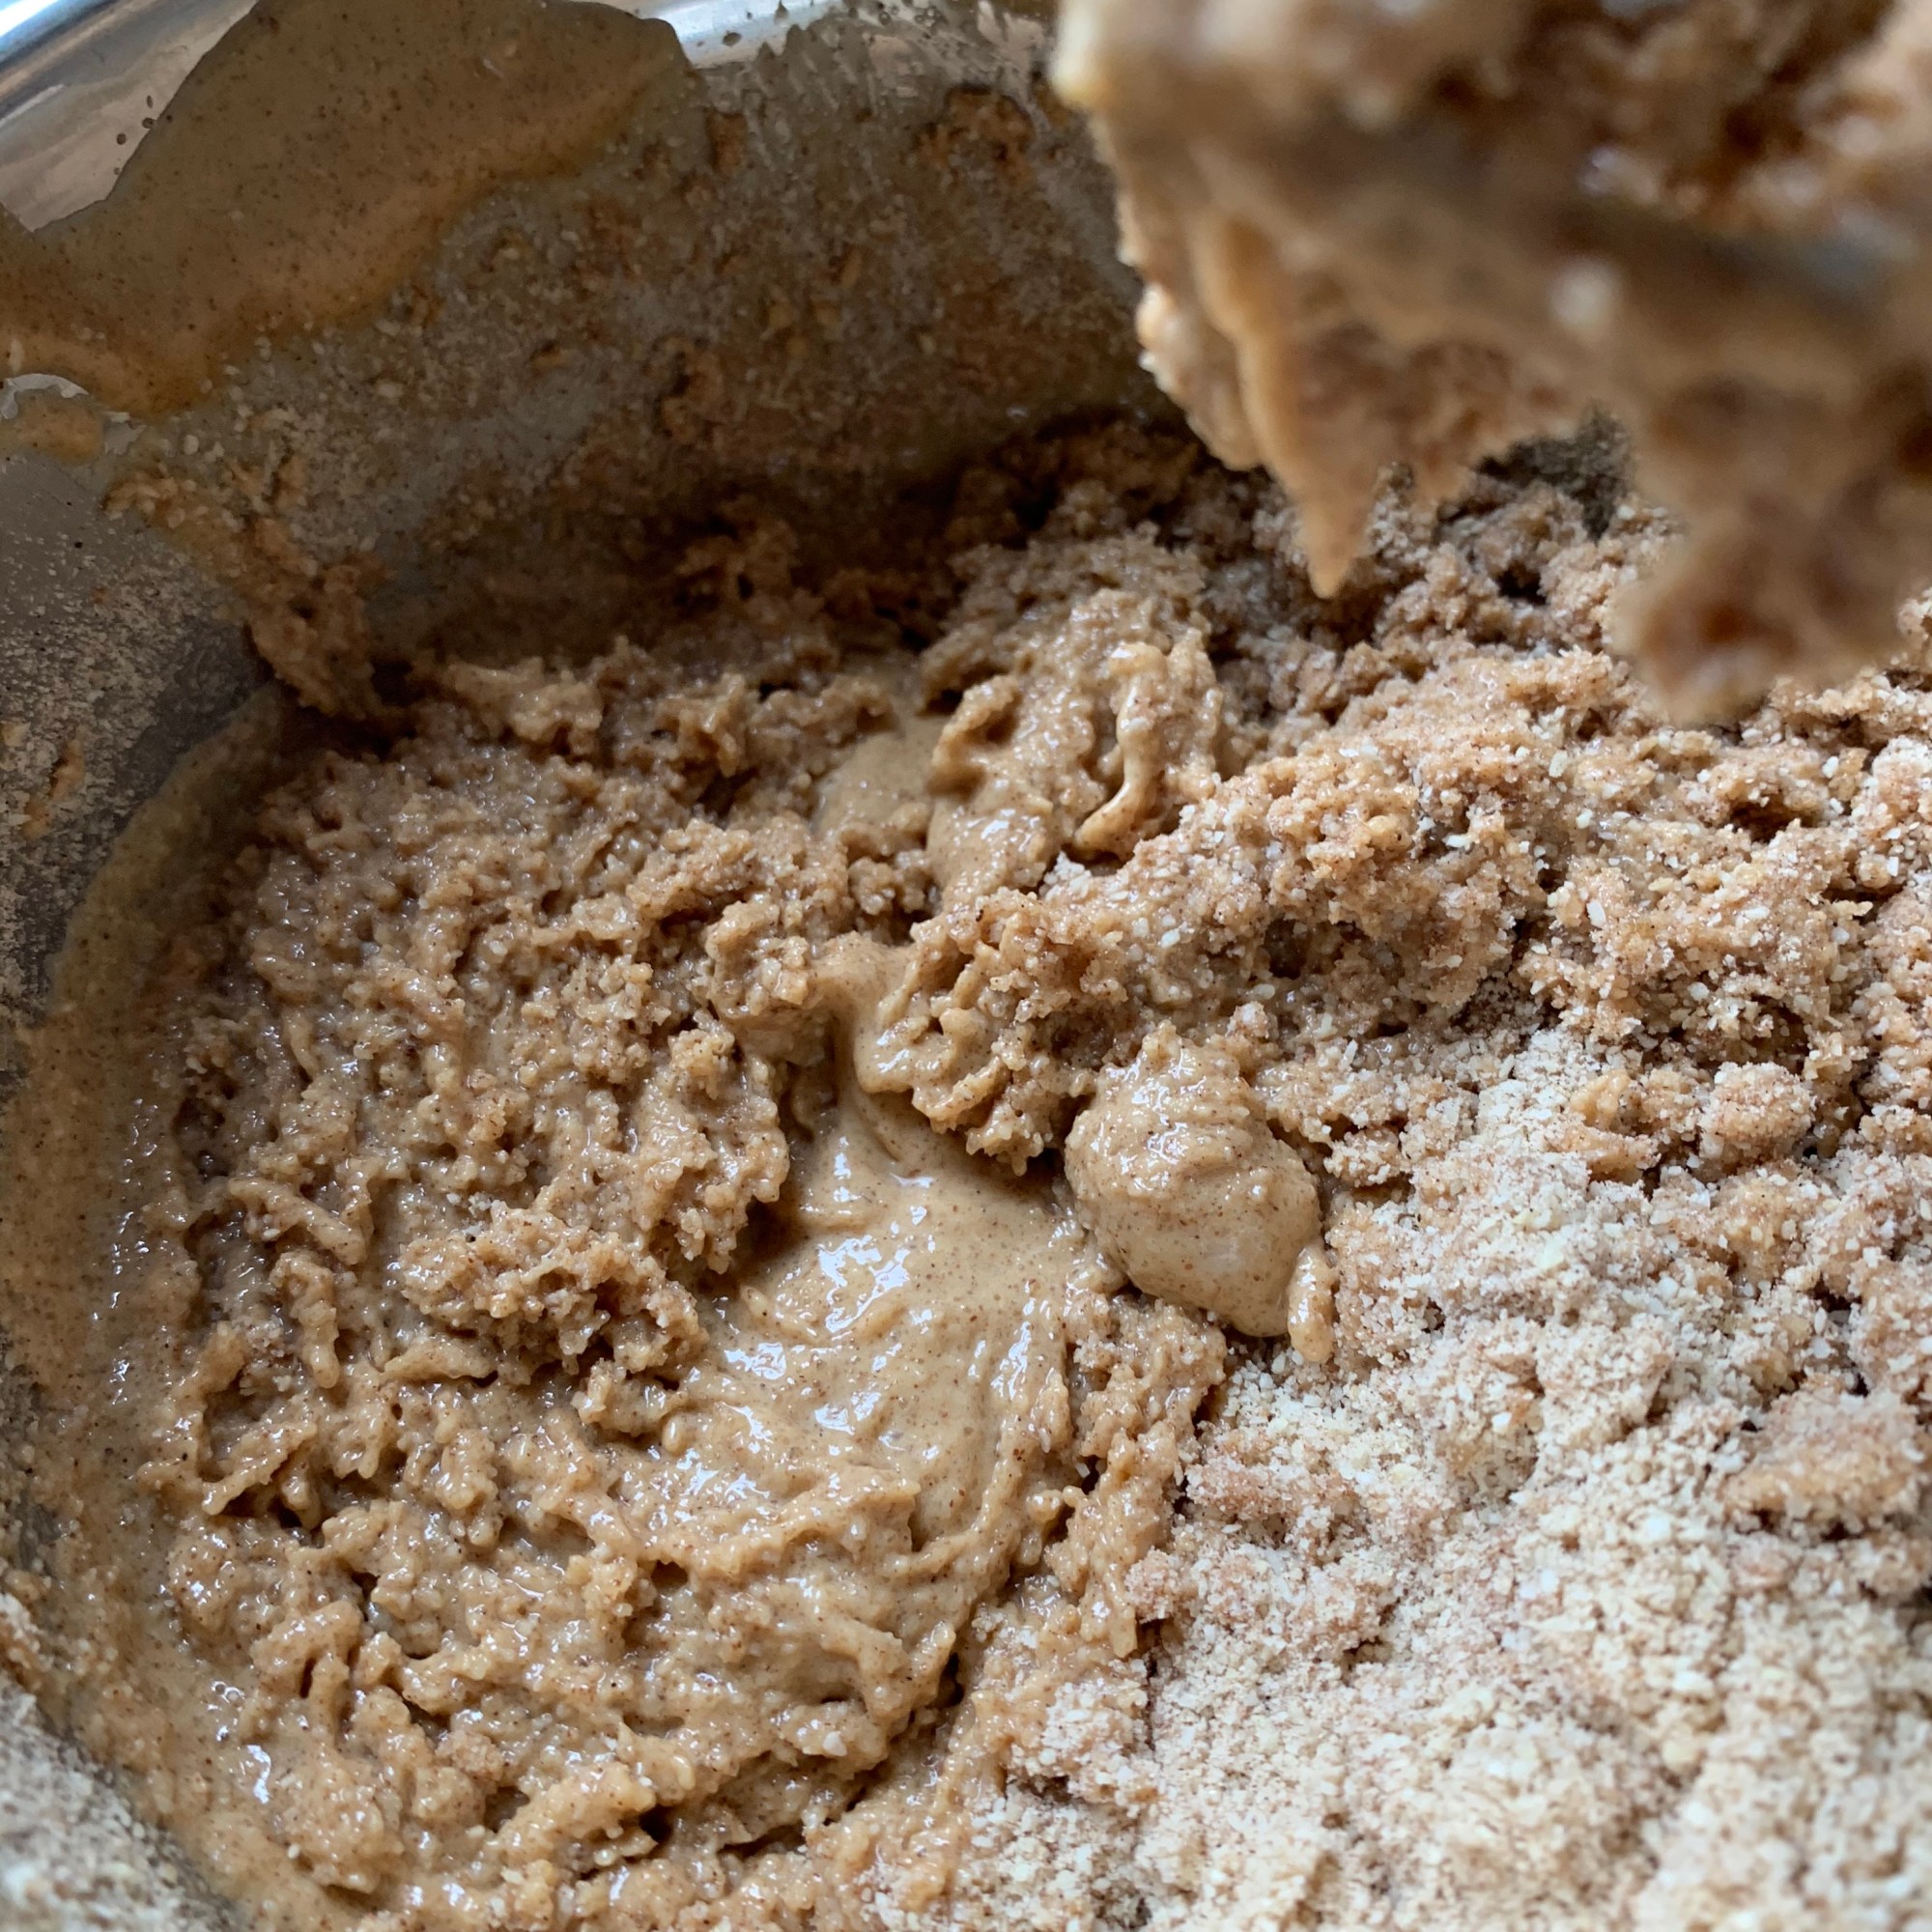
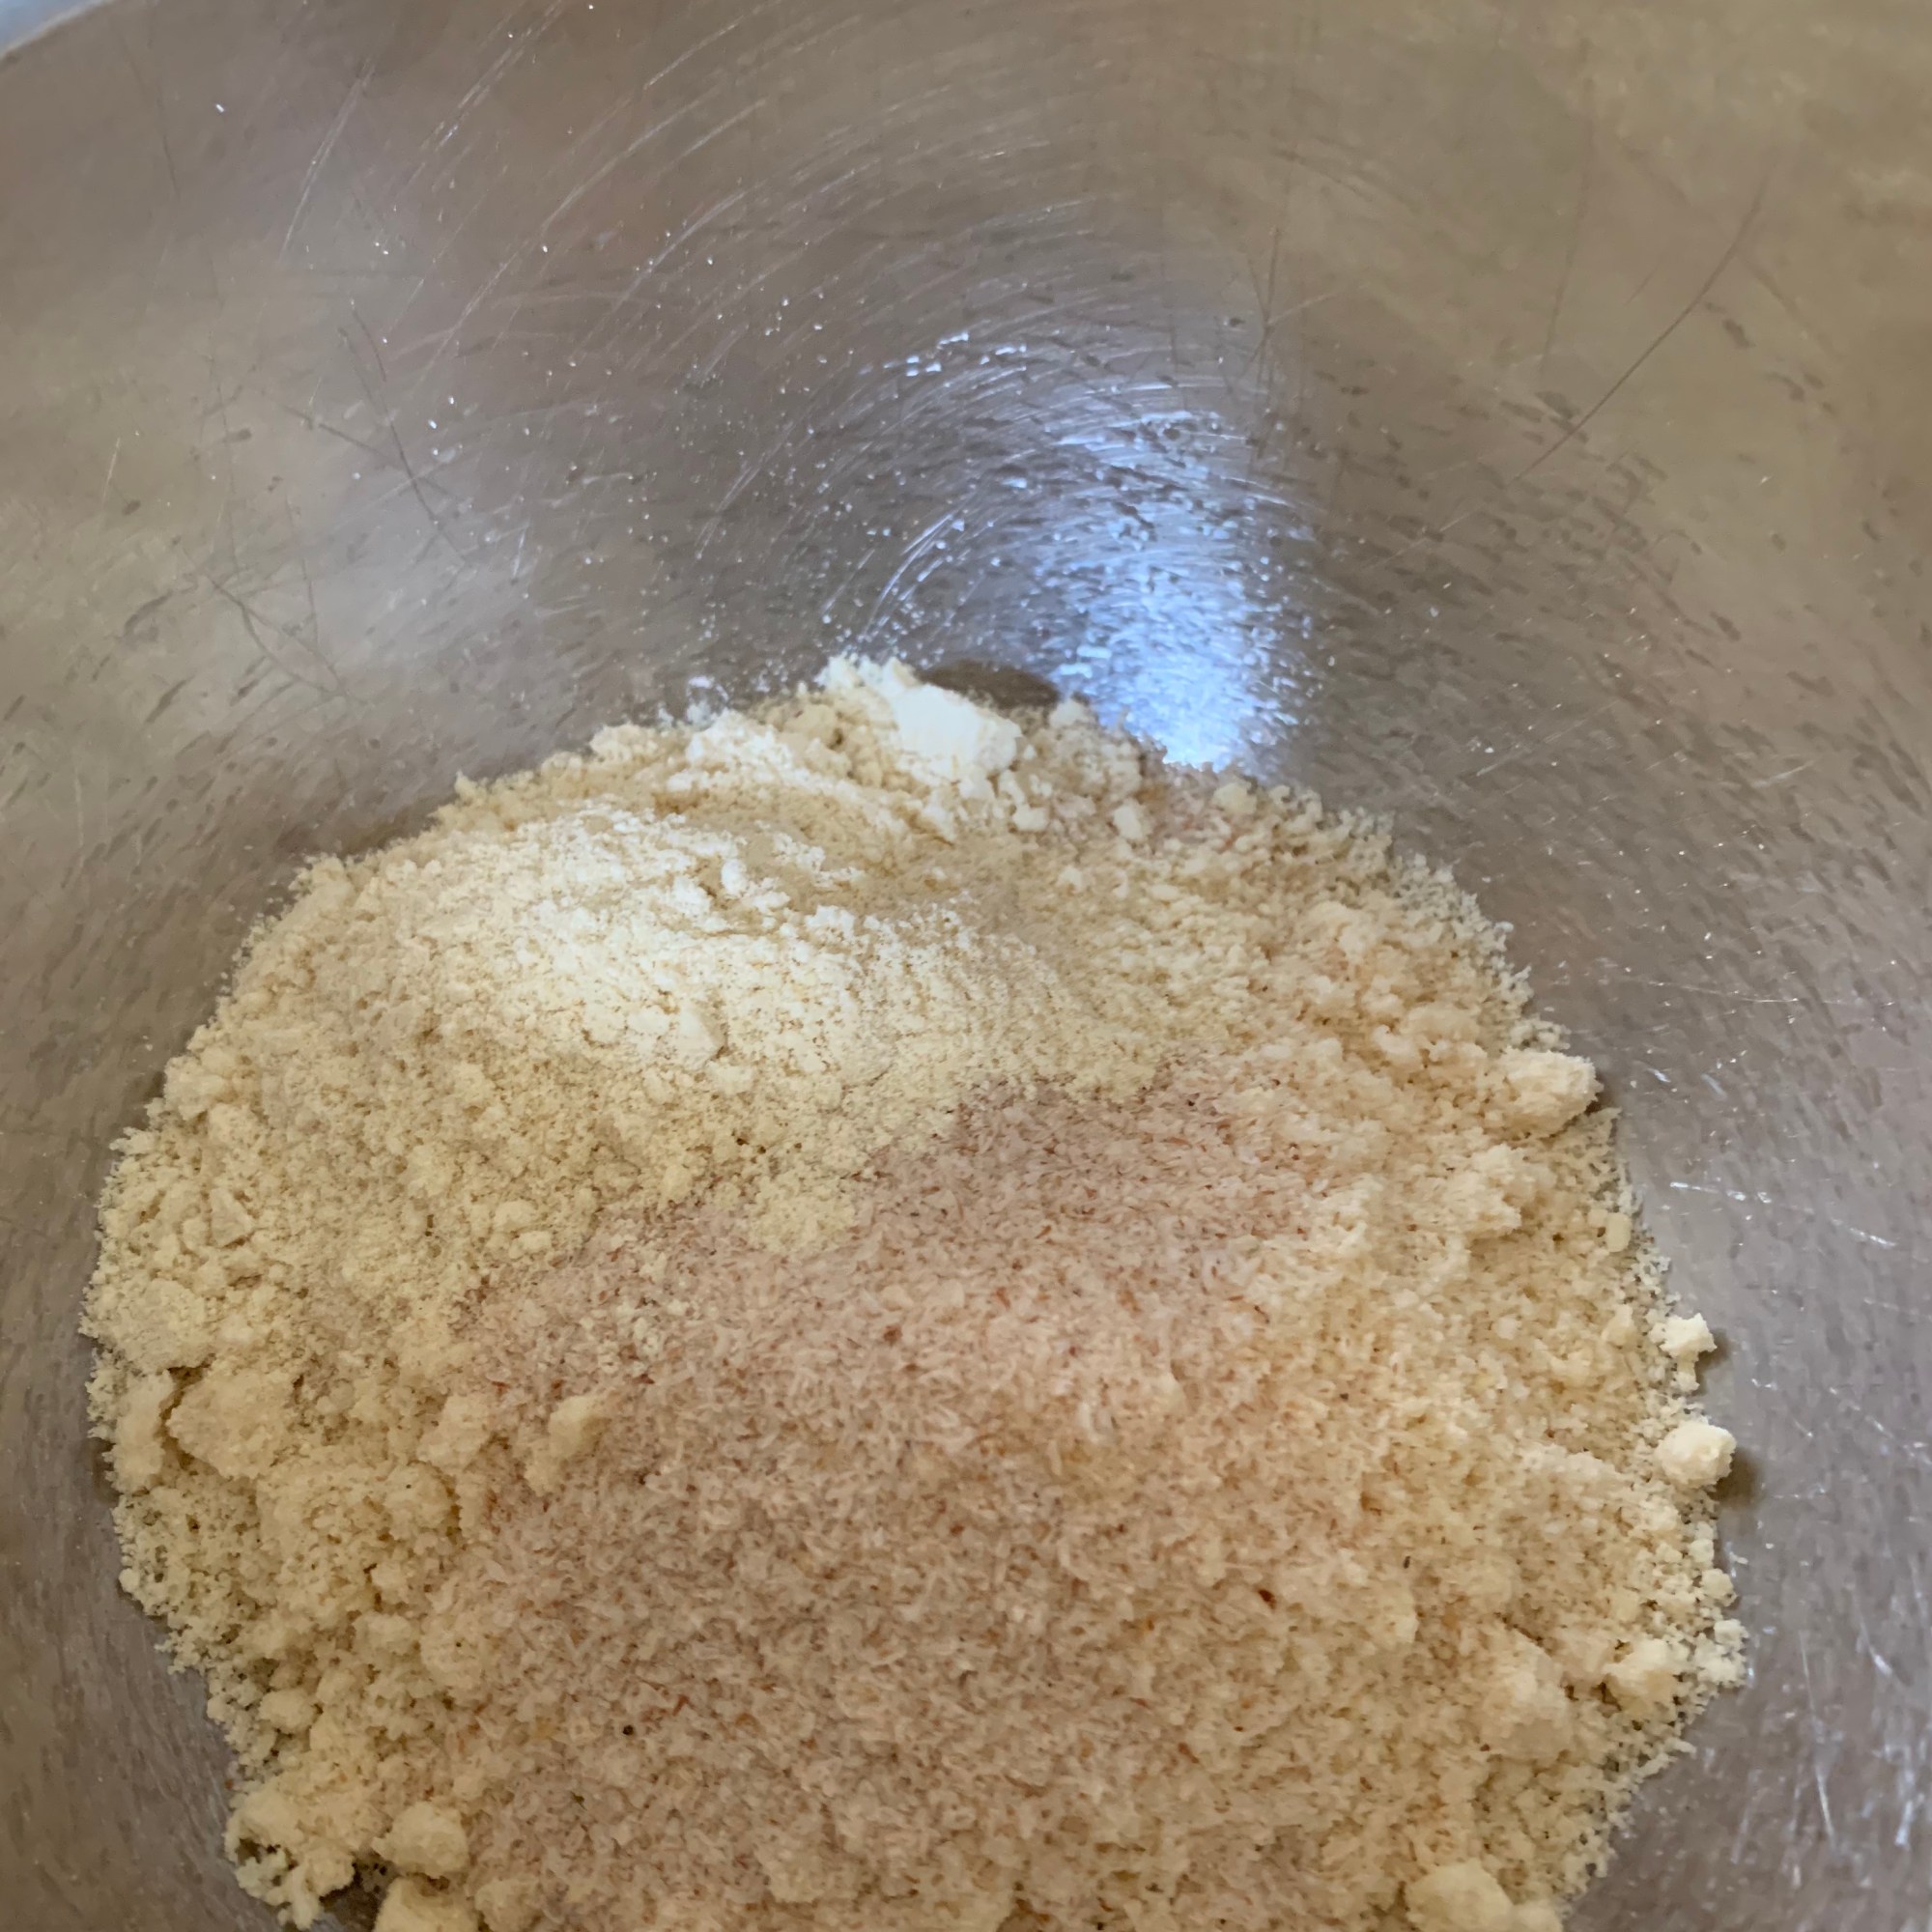
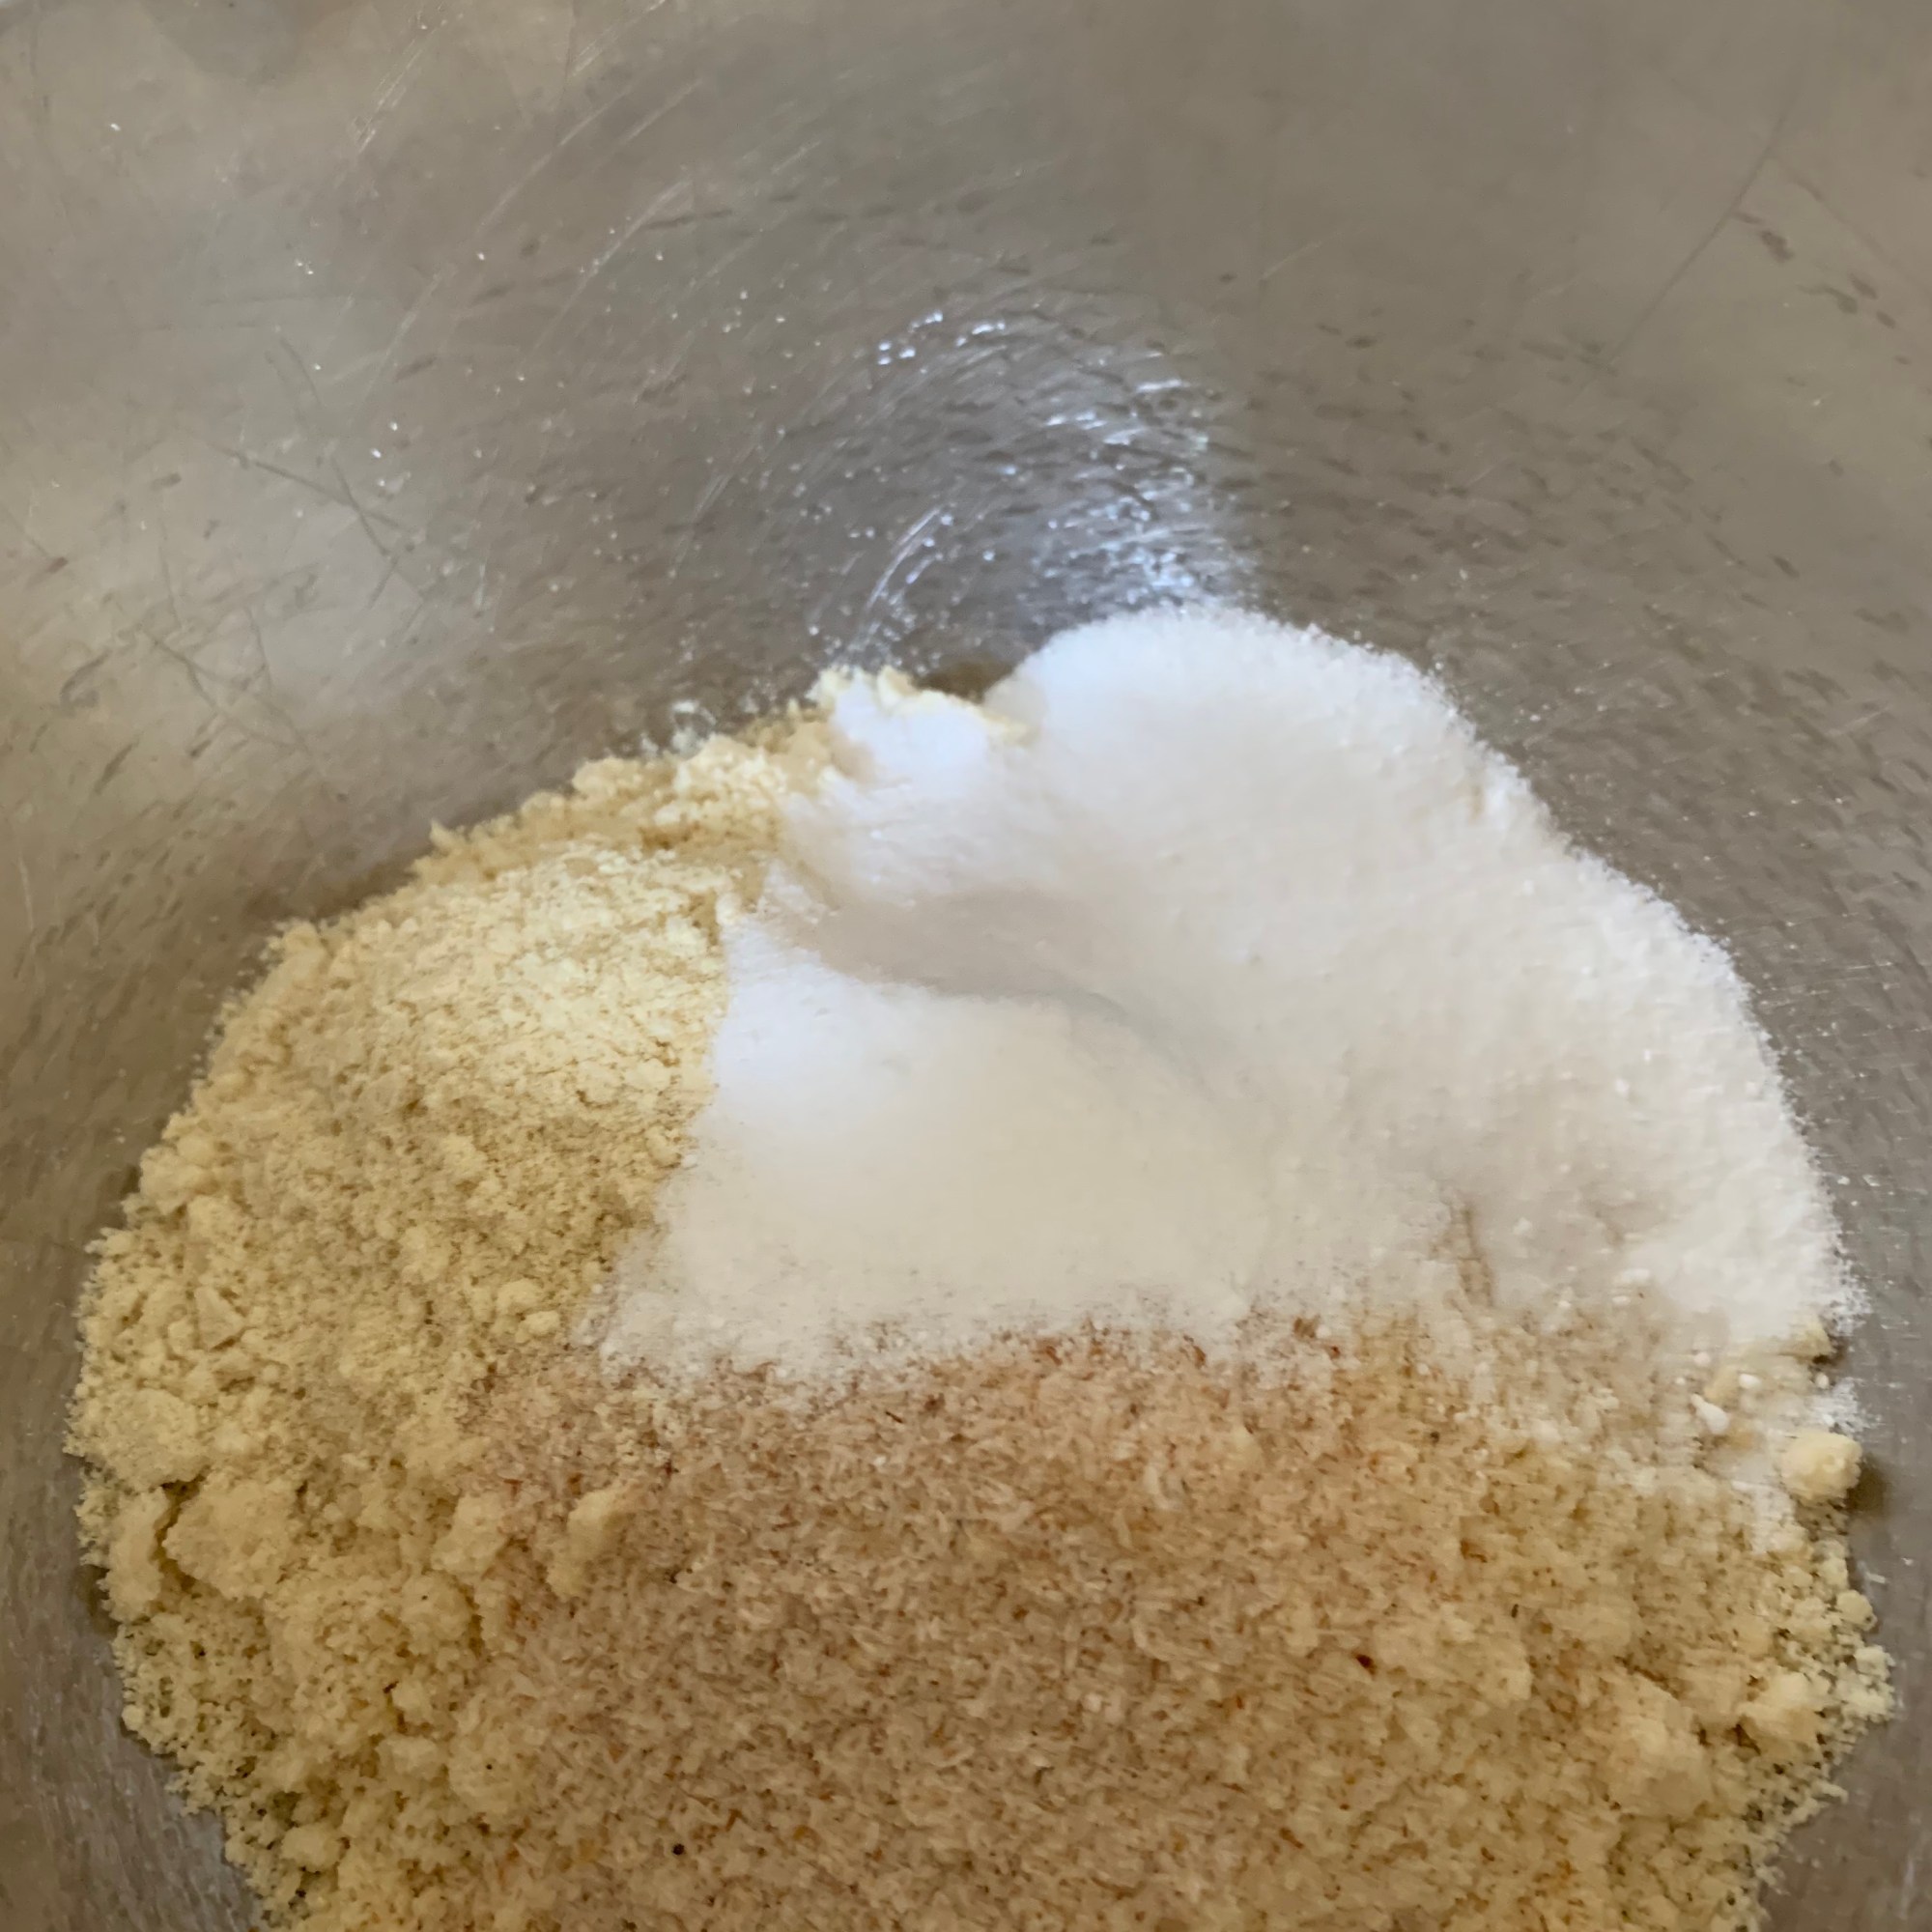
- In a bowl, stir in all the dry base ingredients, until combined. Add the melted butter, and mix to form a flaky crumb.


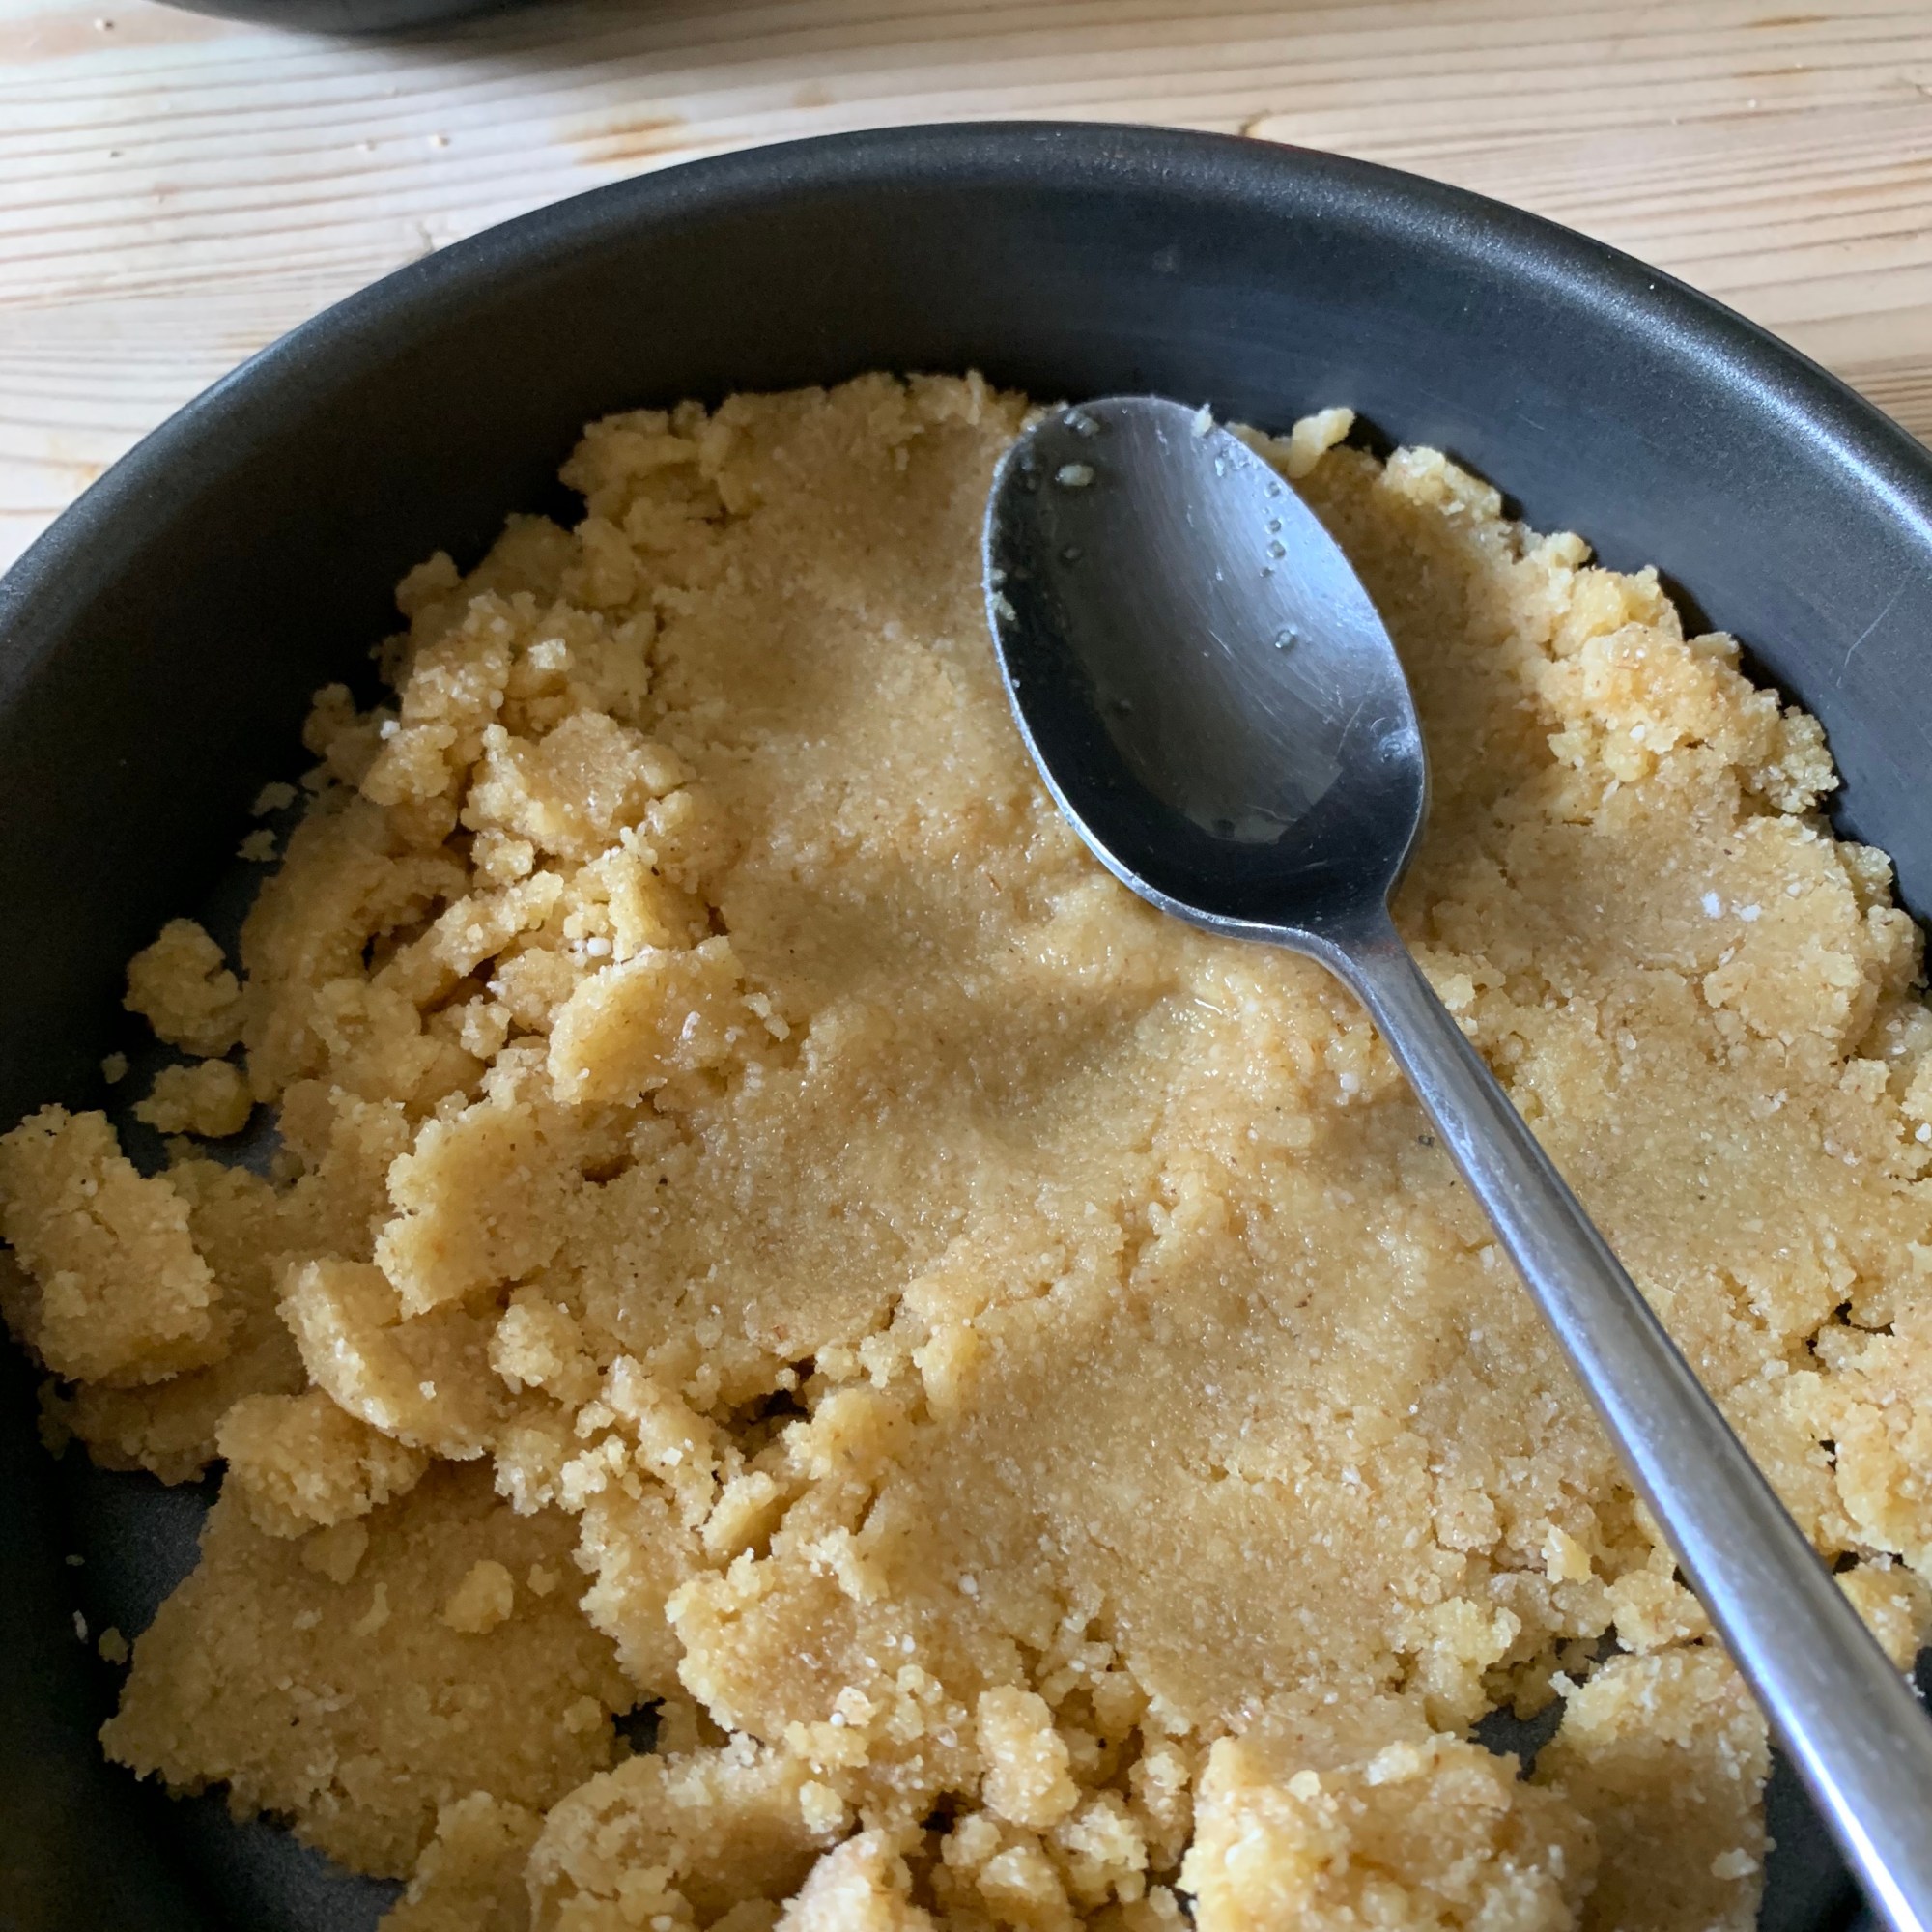
- Grease a 7-inch non stick loose bottom baking tin, with a little melted butter.
- Press the base mix into the bottom and smooth with the back of a spoon, so the edges are neat.
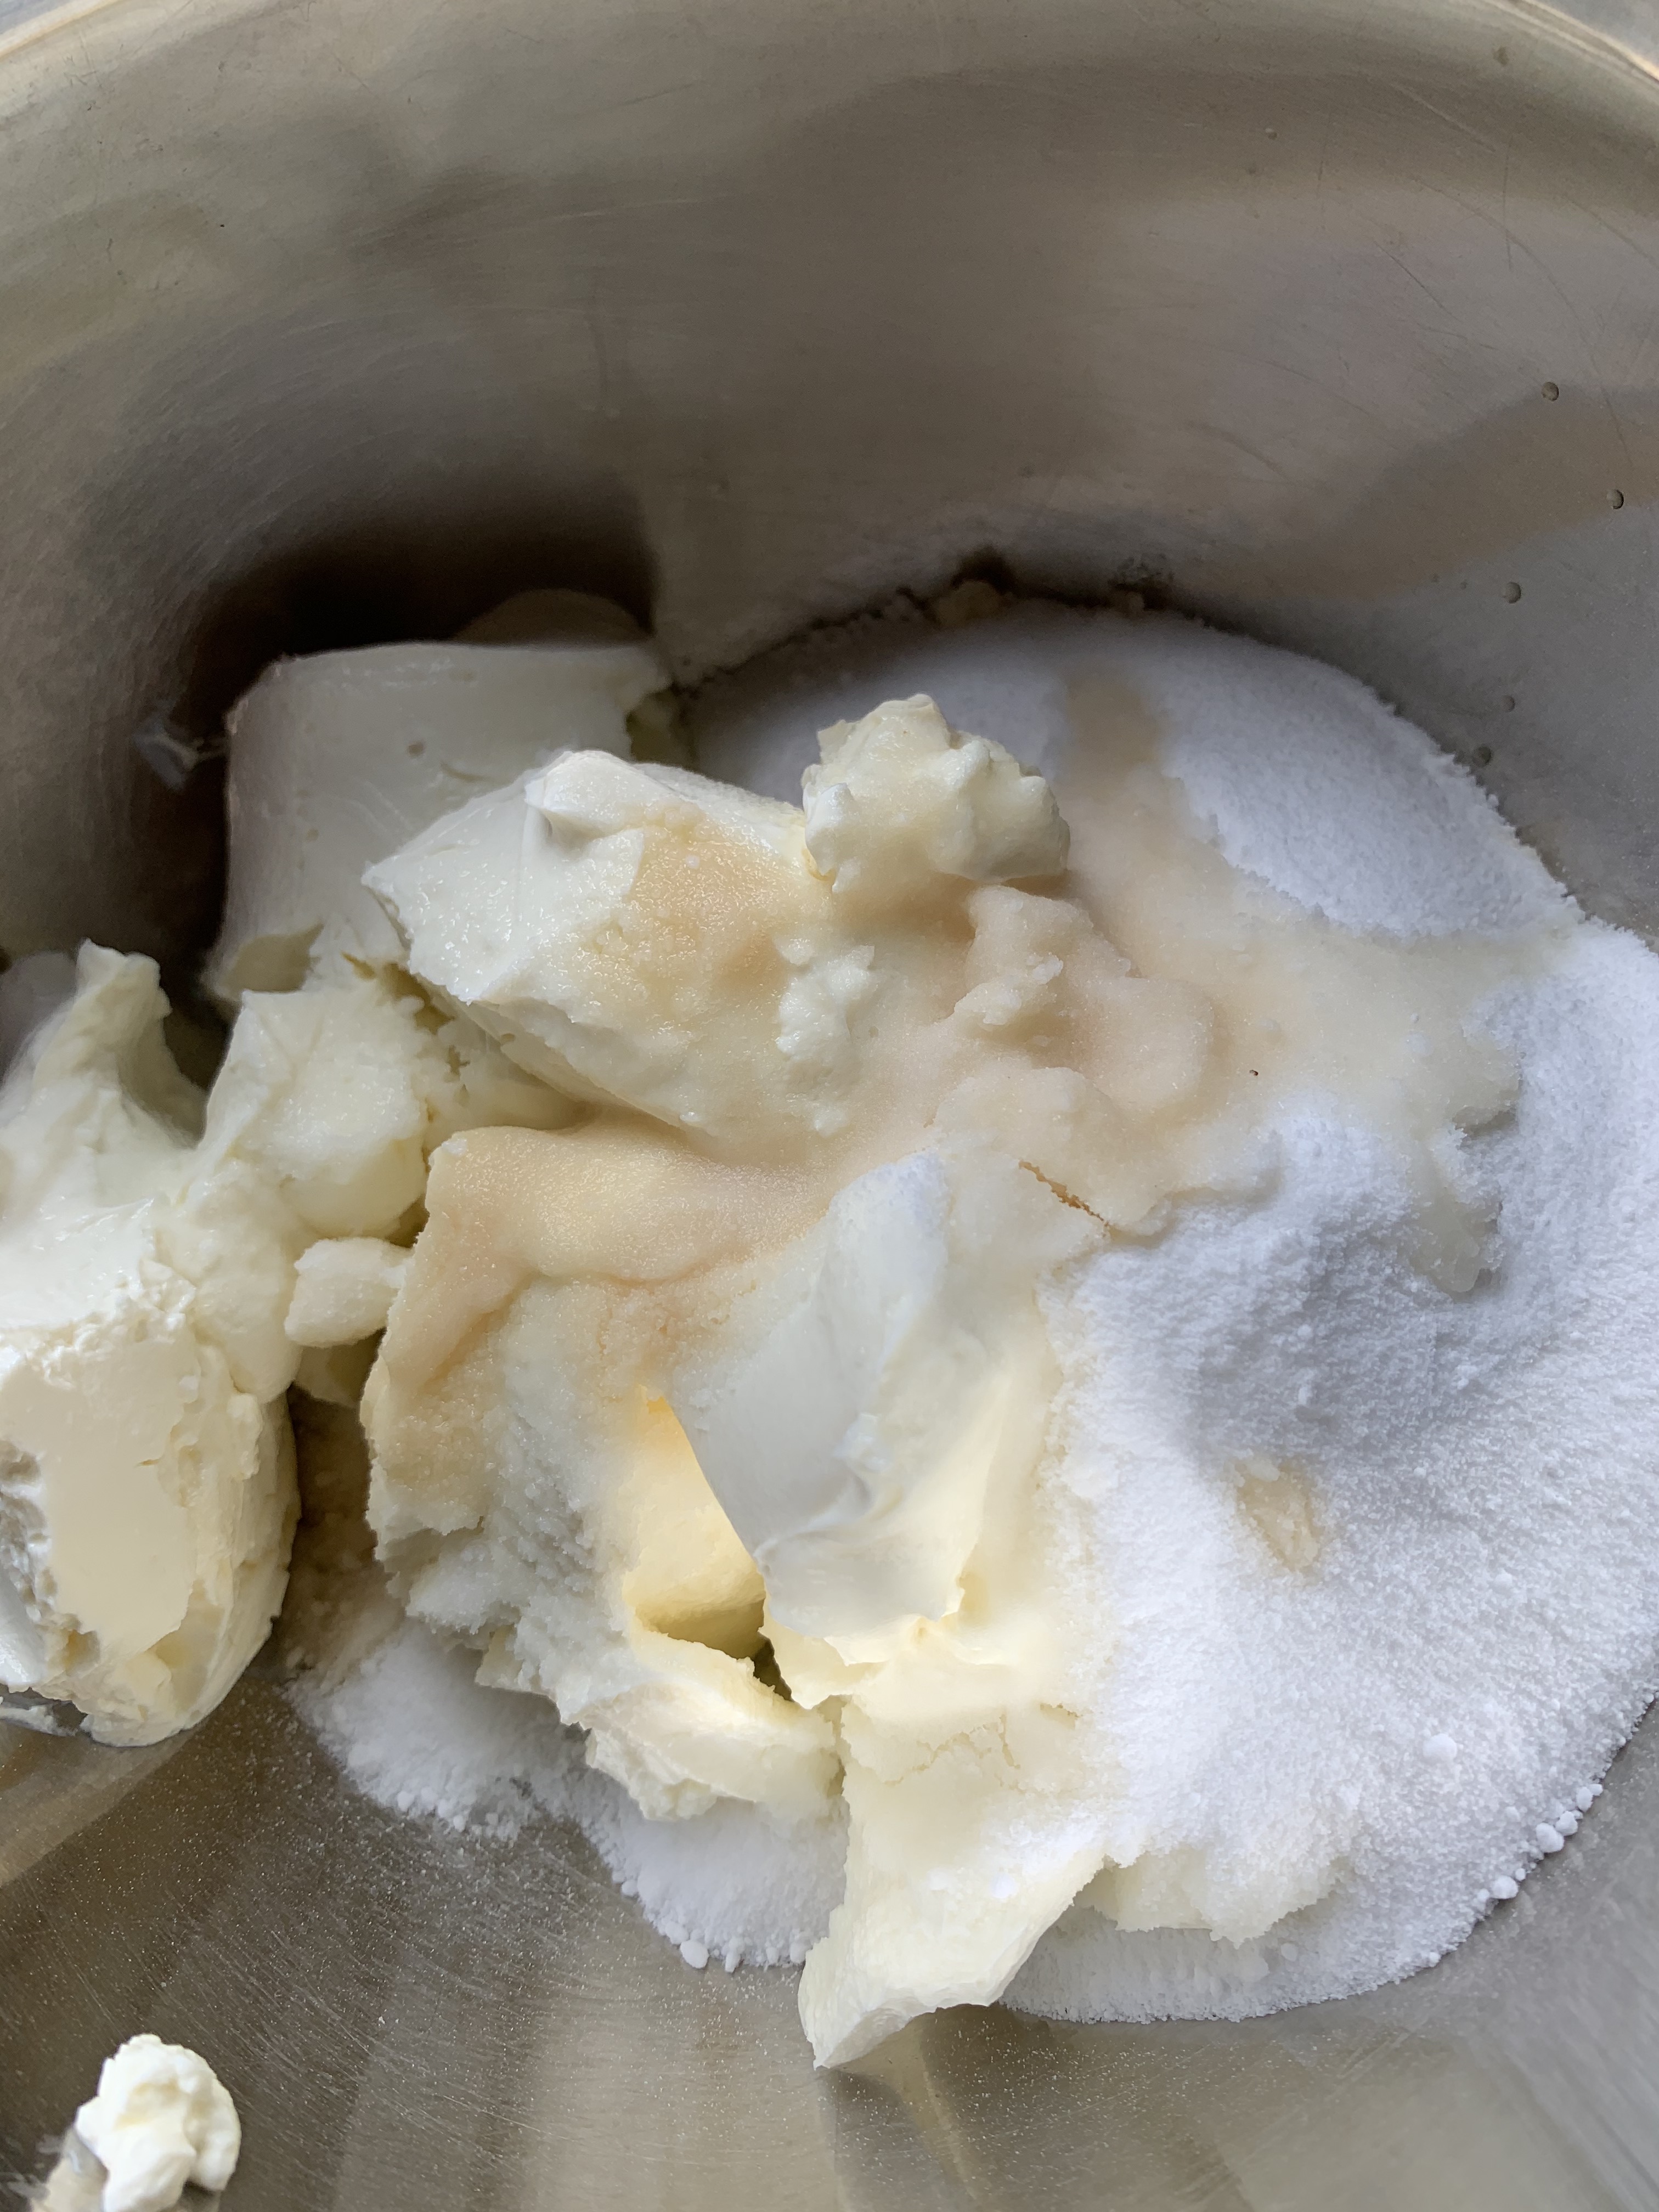
Filling:
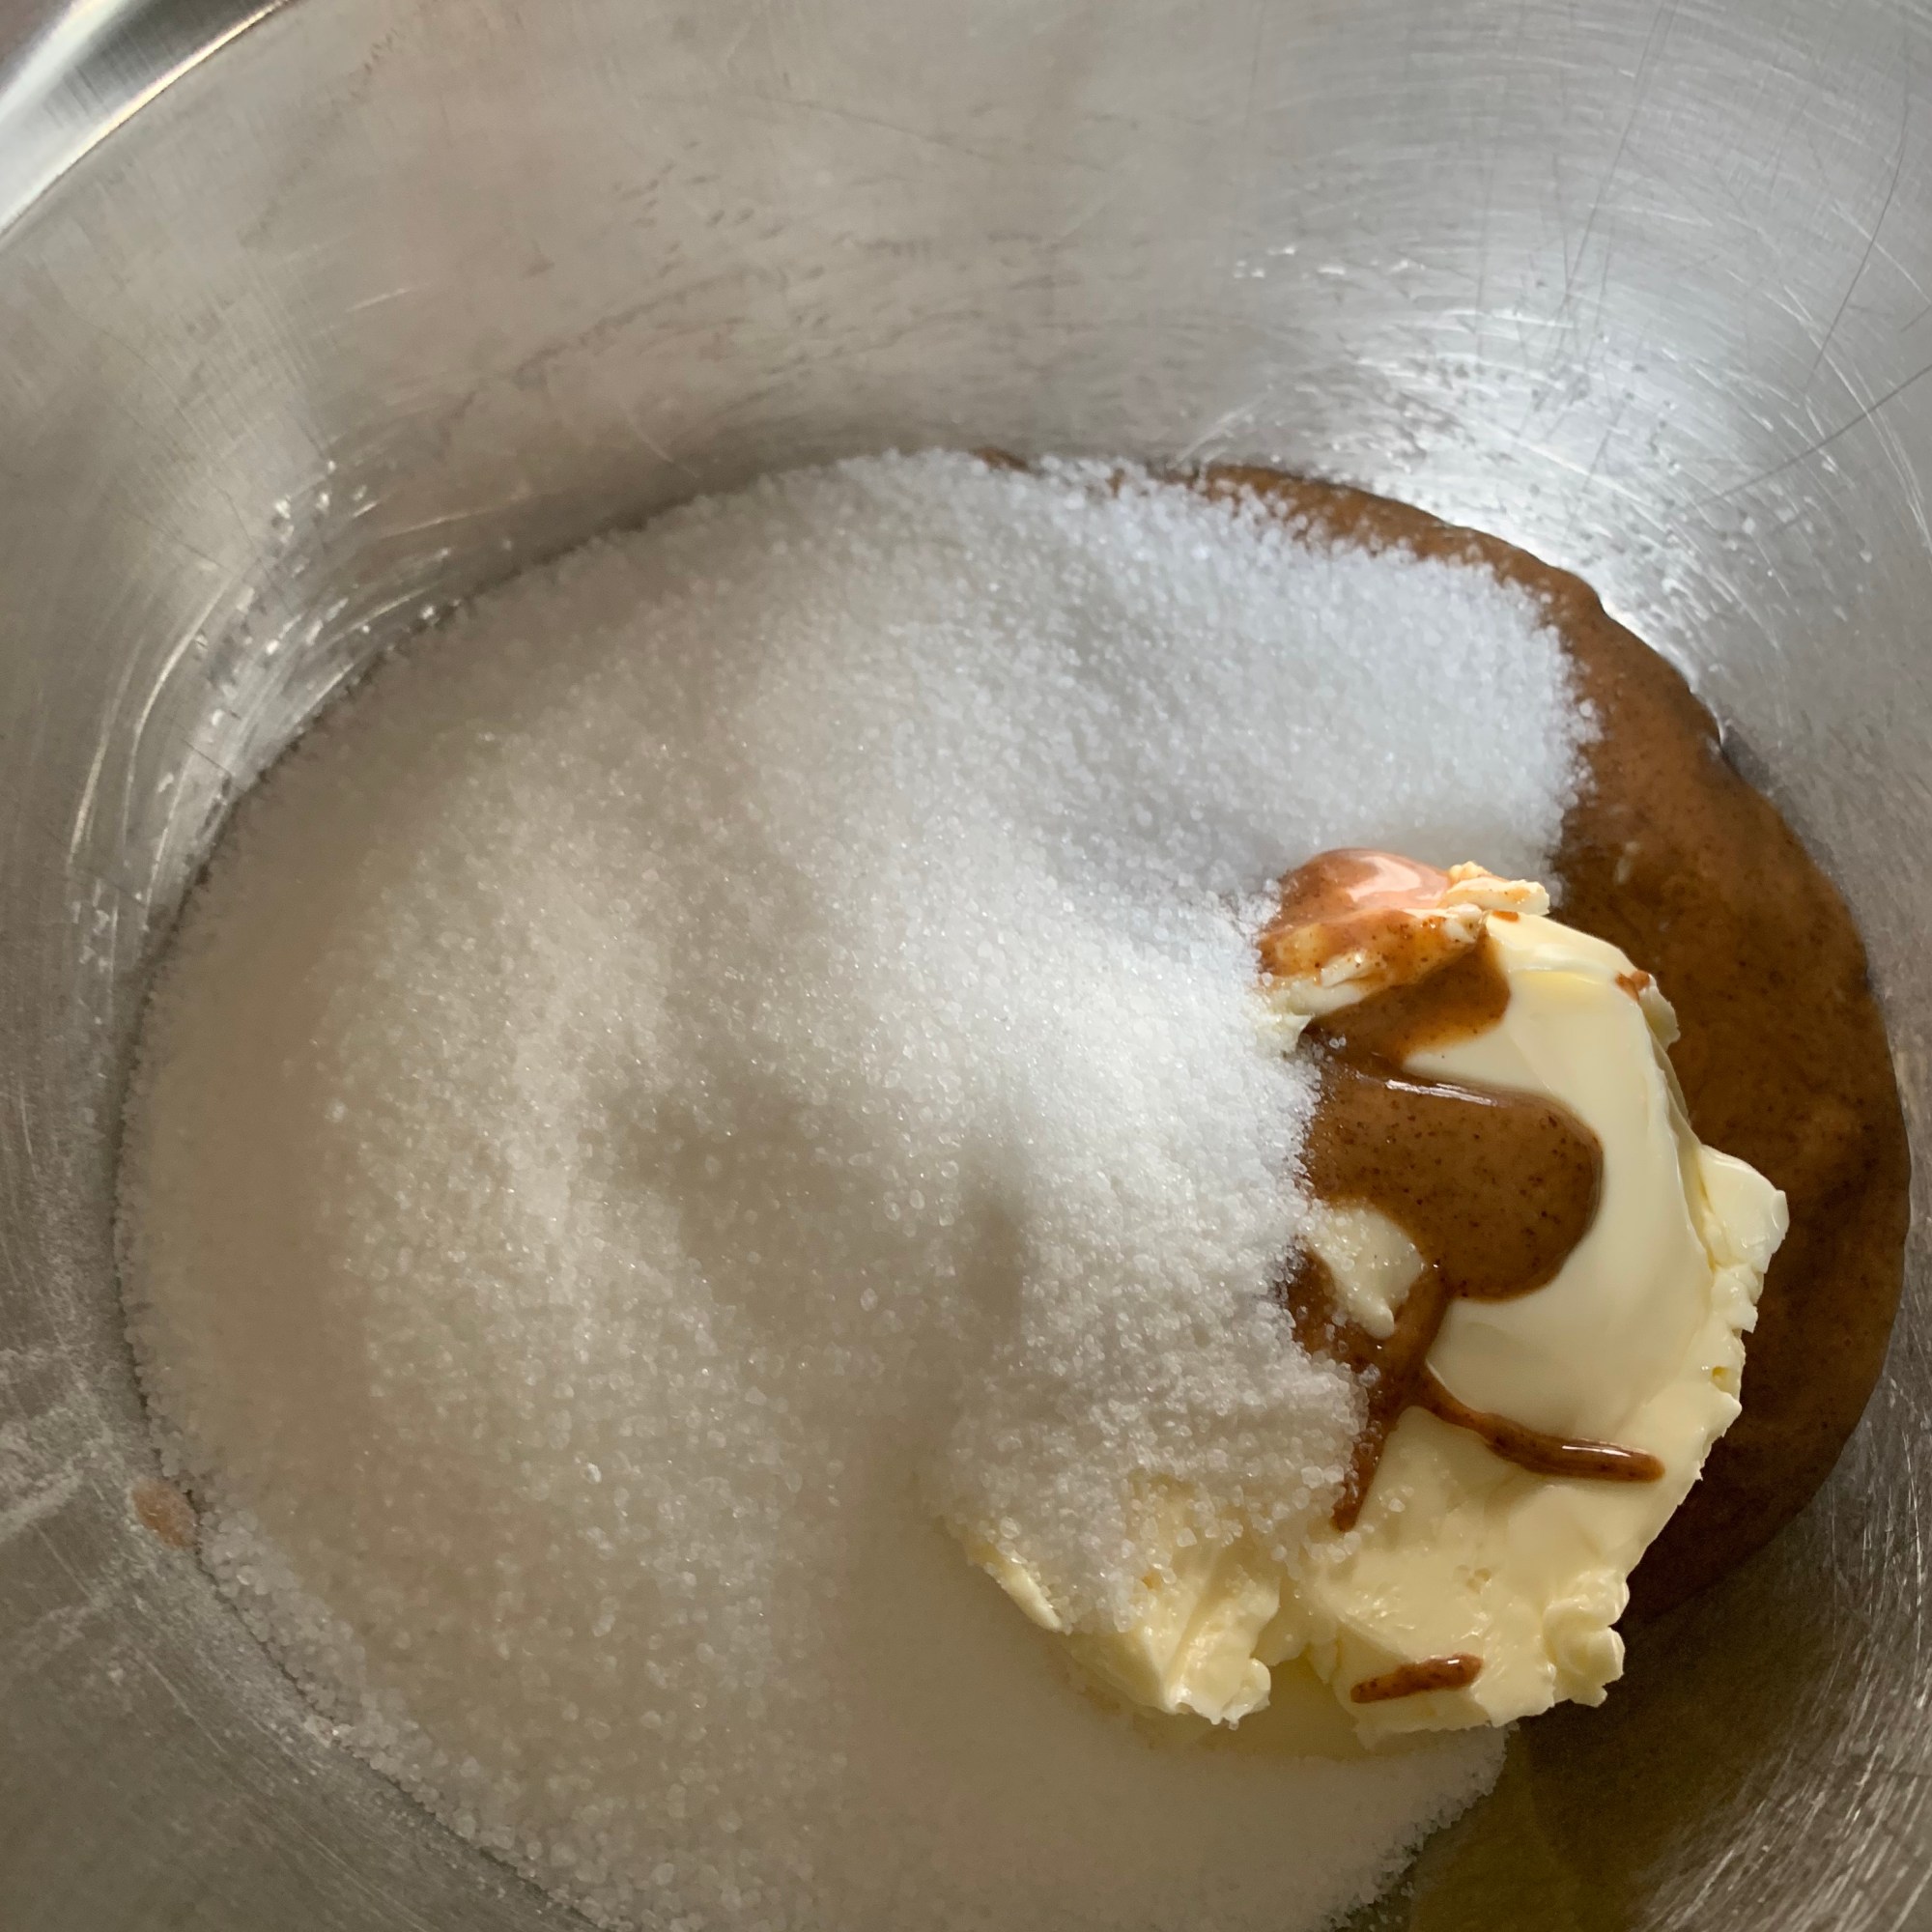
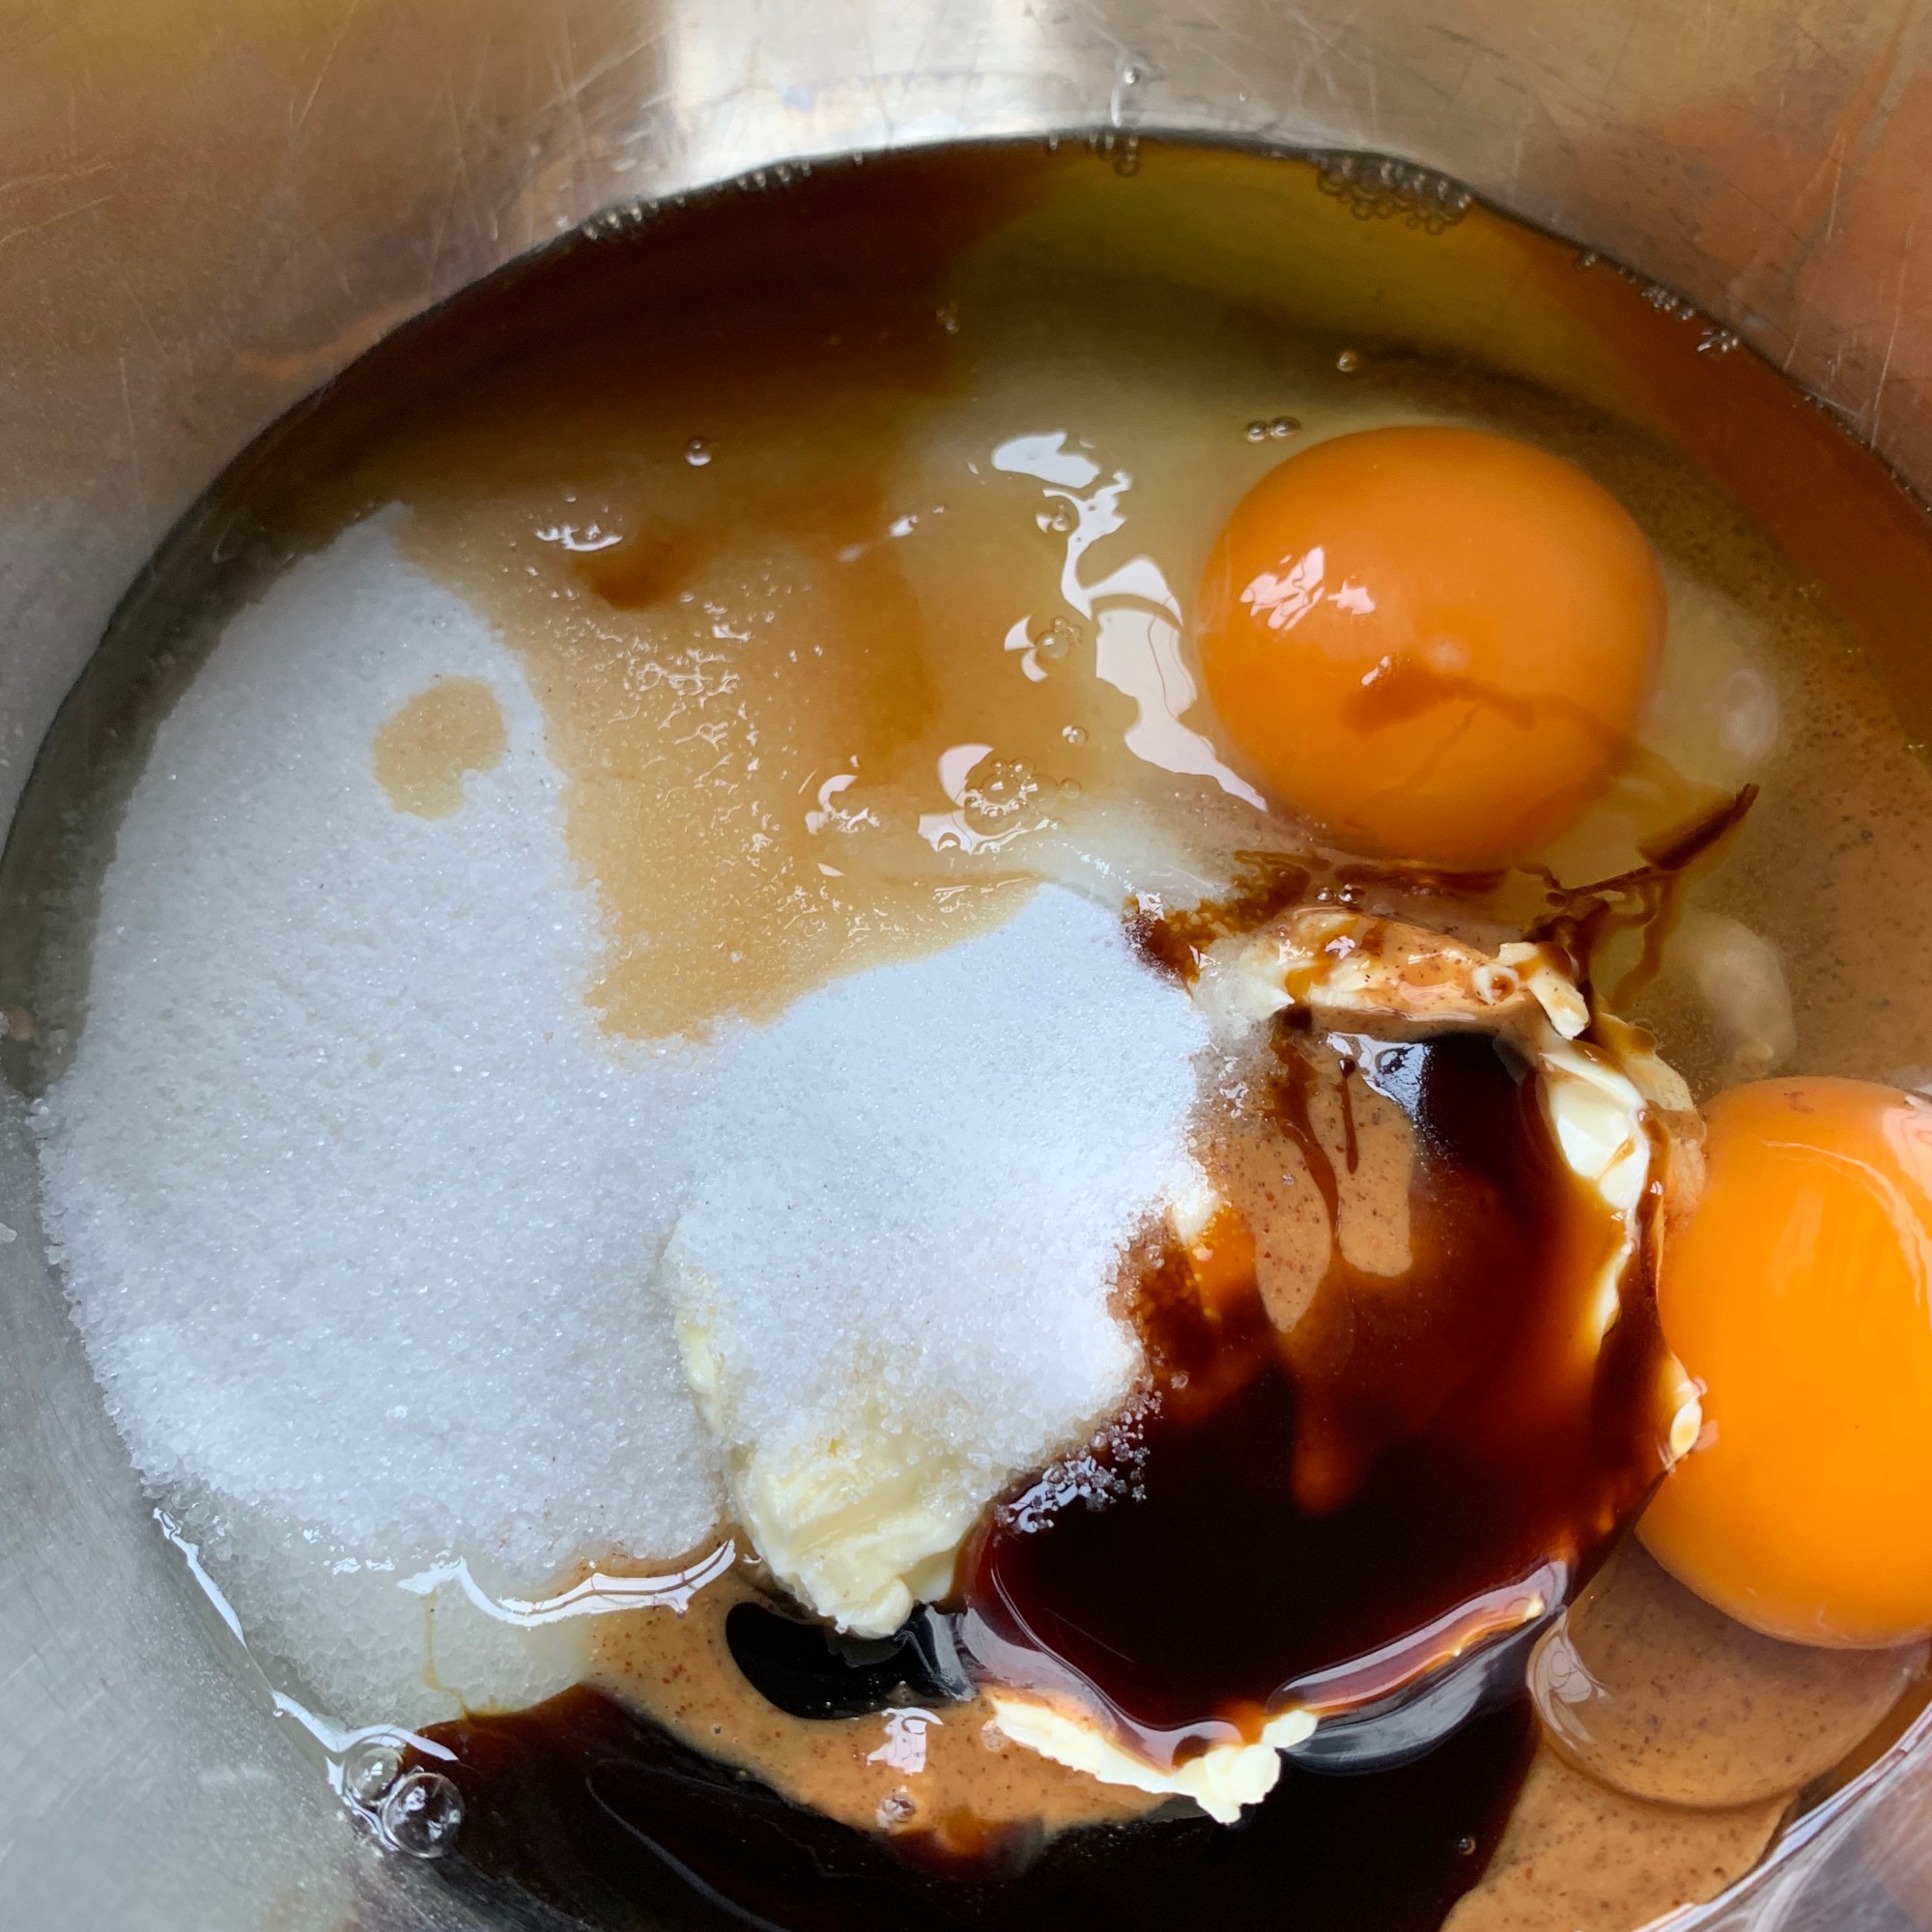
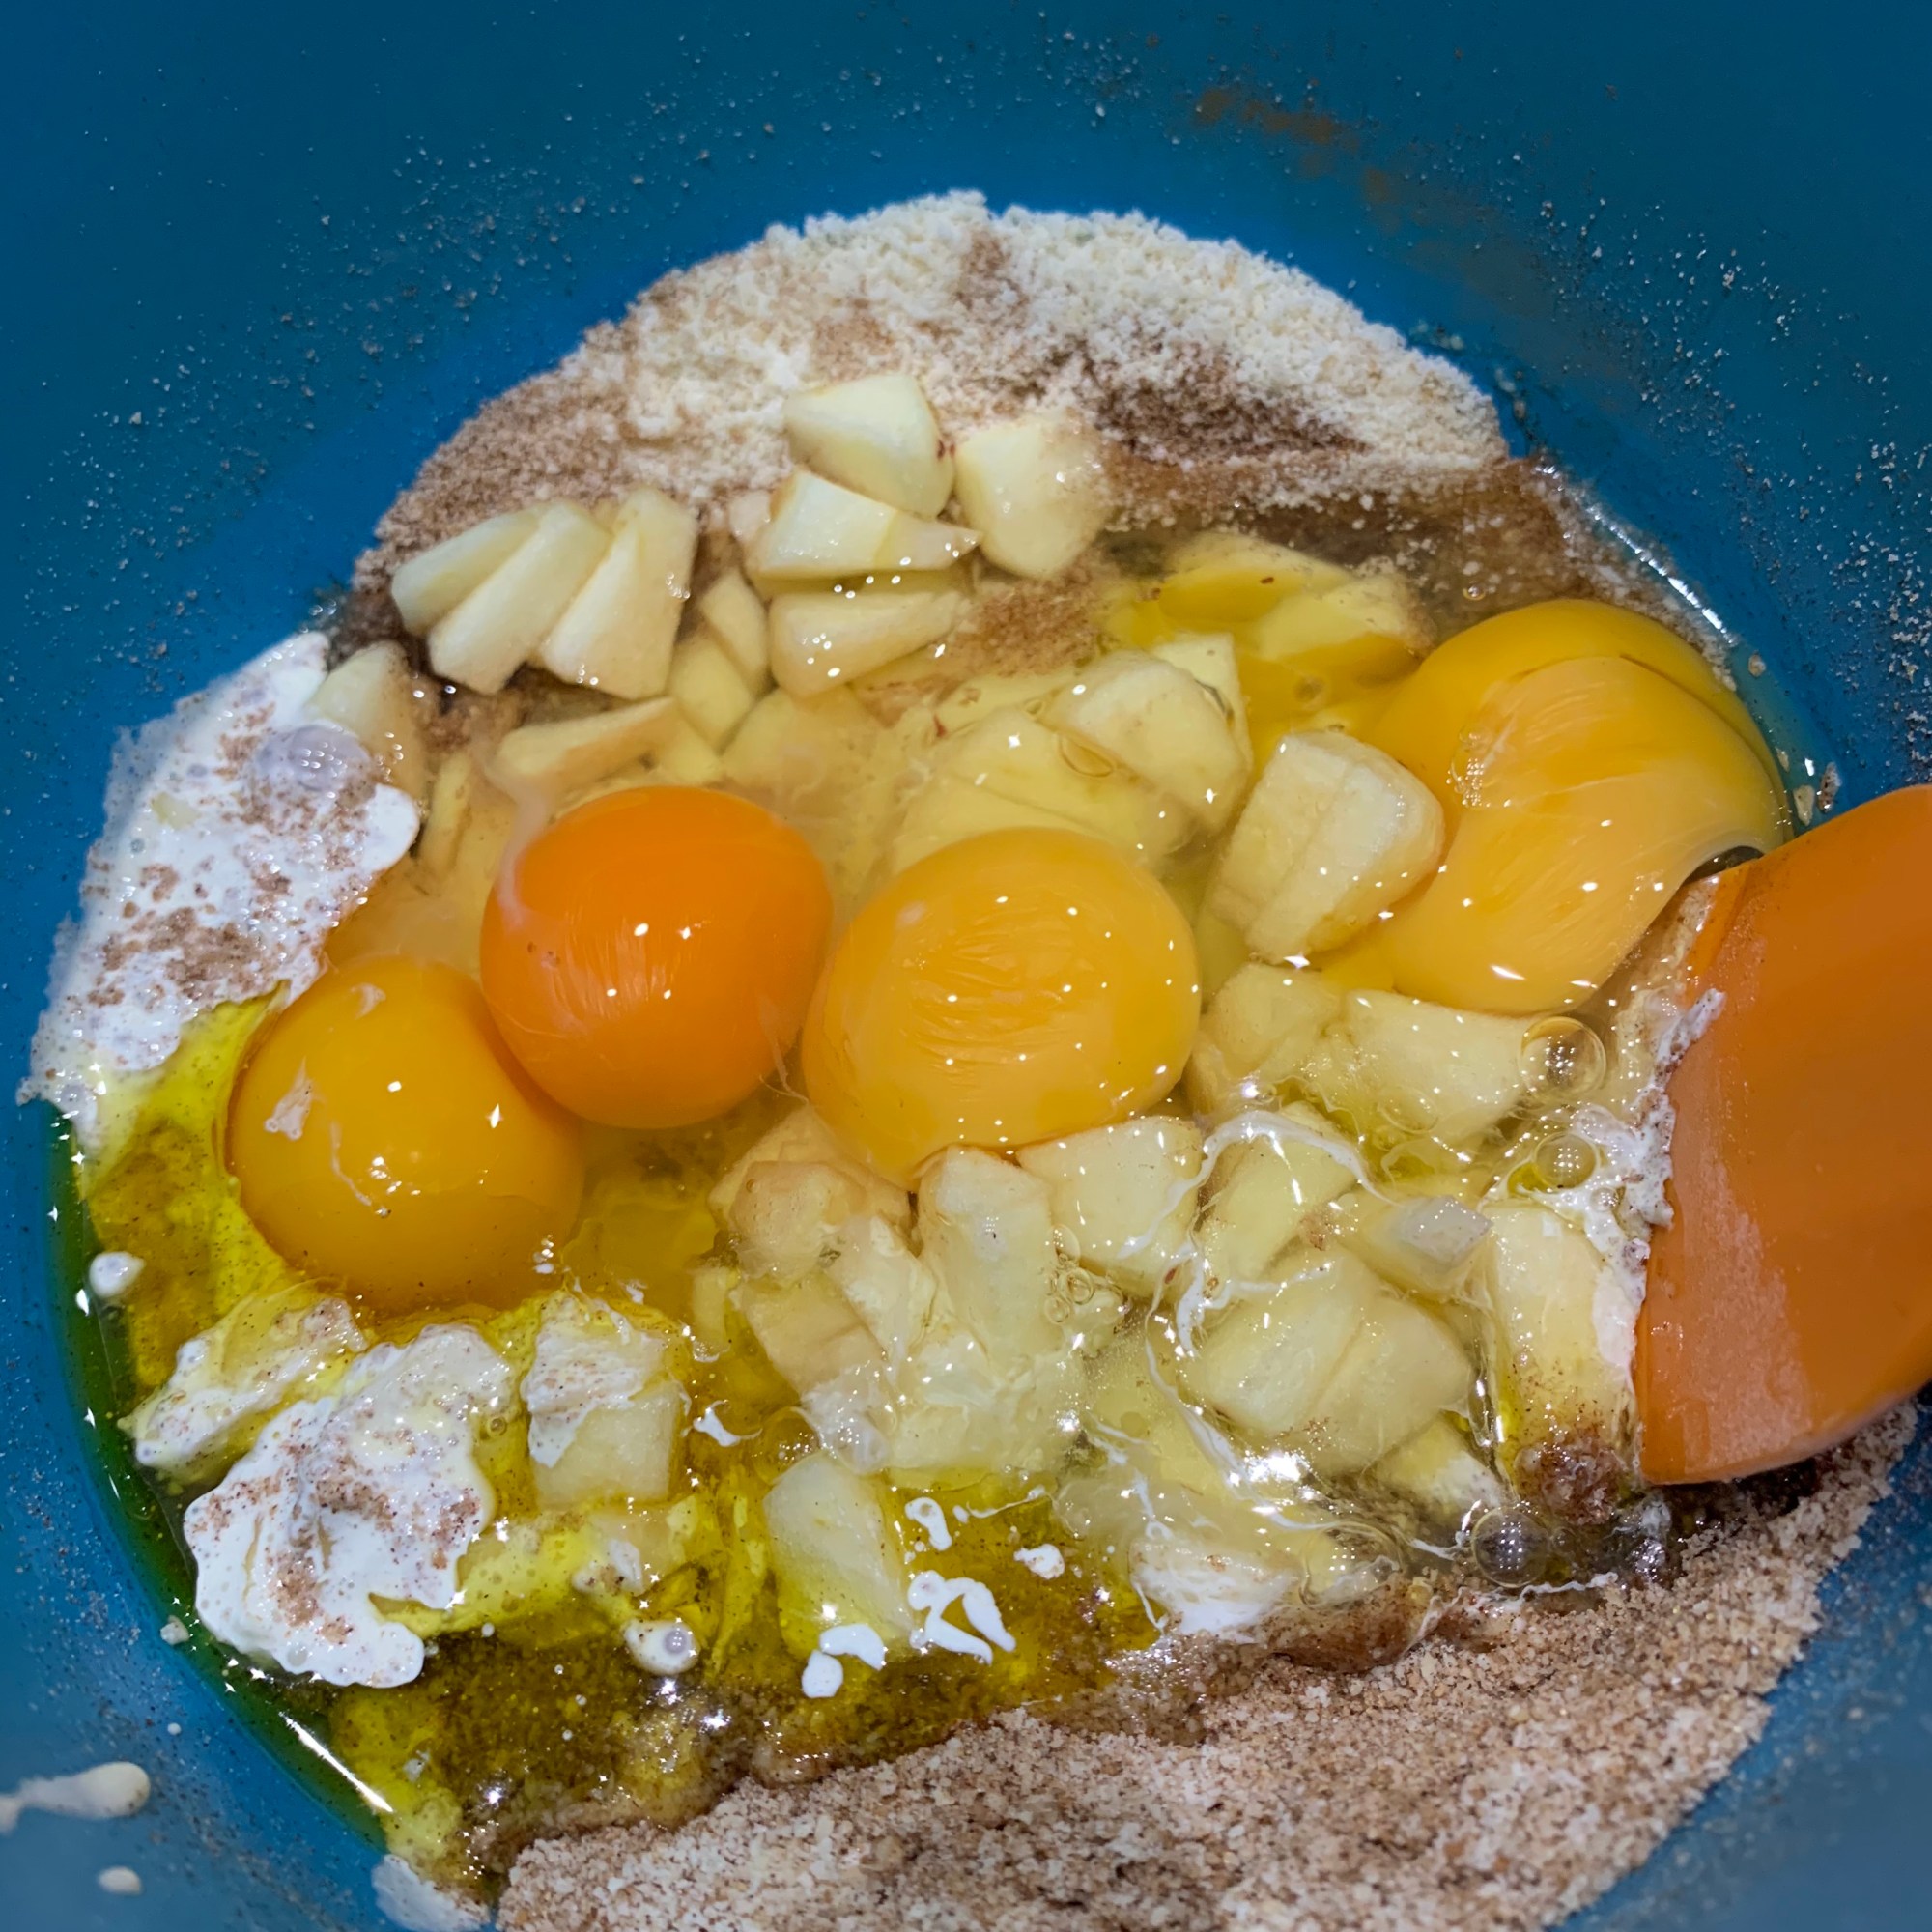
- In a mixing bowl, add the cream cheese, powdered erythritol, lemon juice and vanilla extract. Mix with an electric mixer, until all ingredients are combined. Taste and adjust the sweetness if needed with the optional liquid stevia.
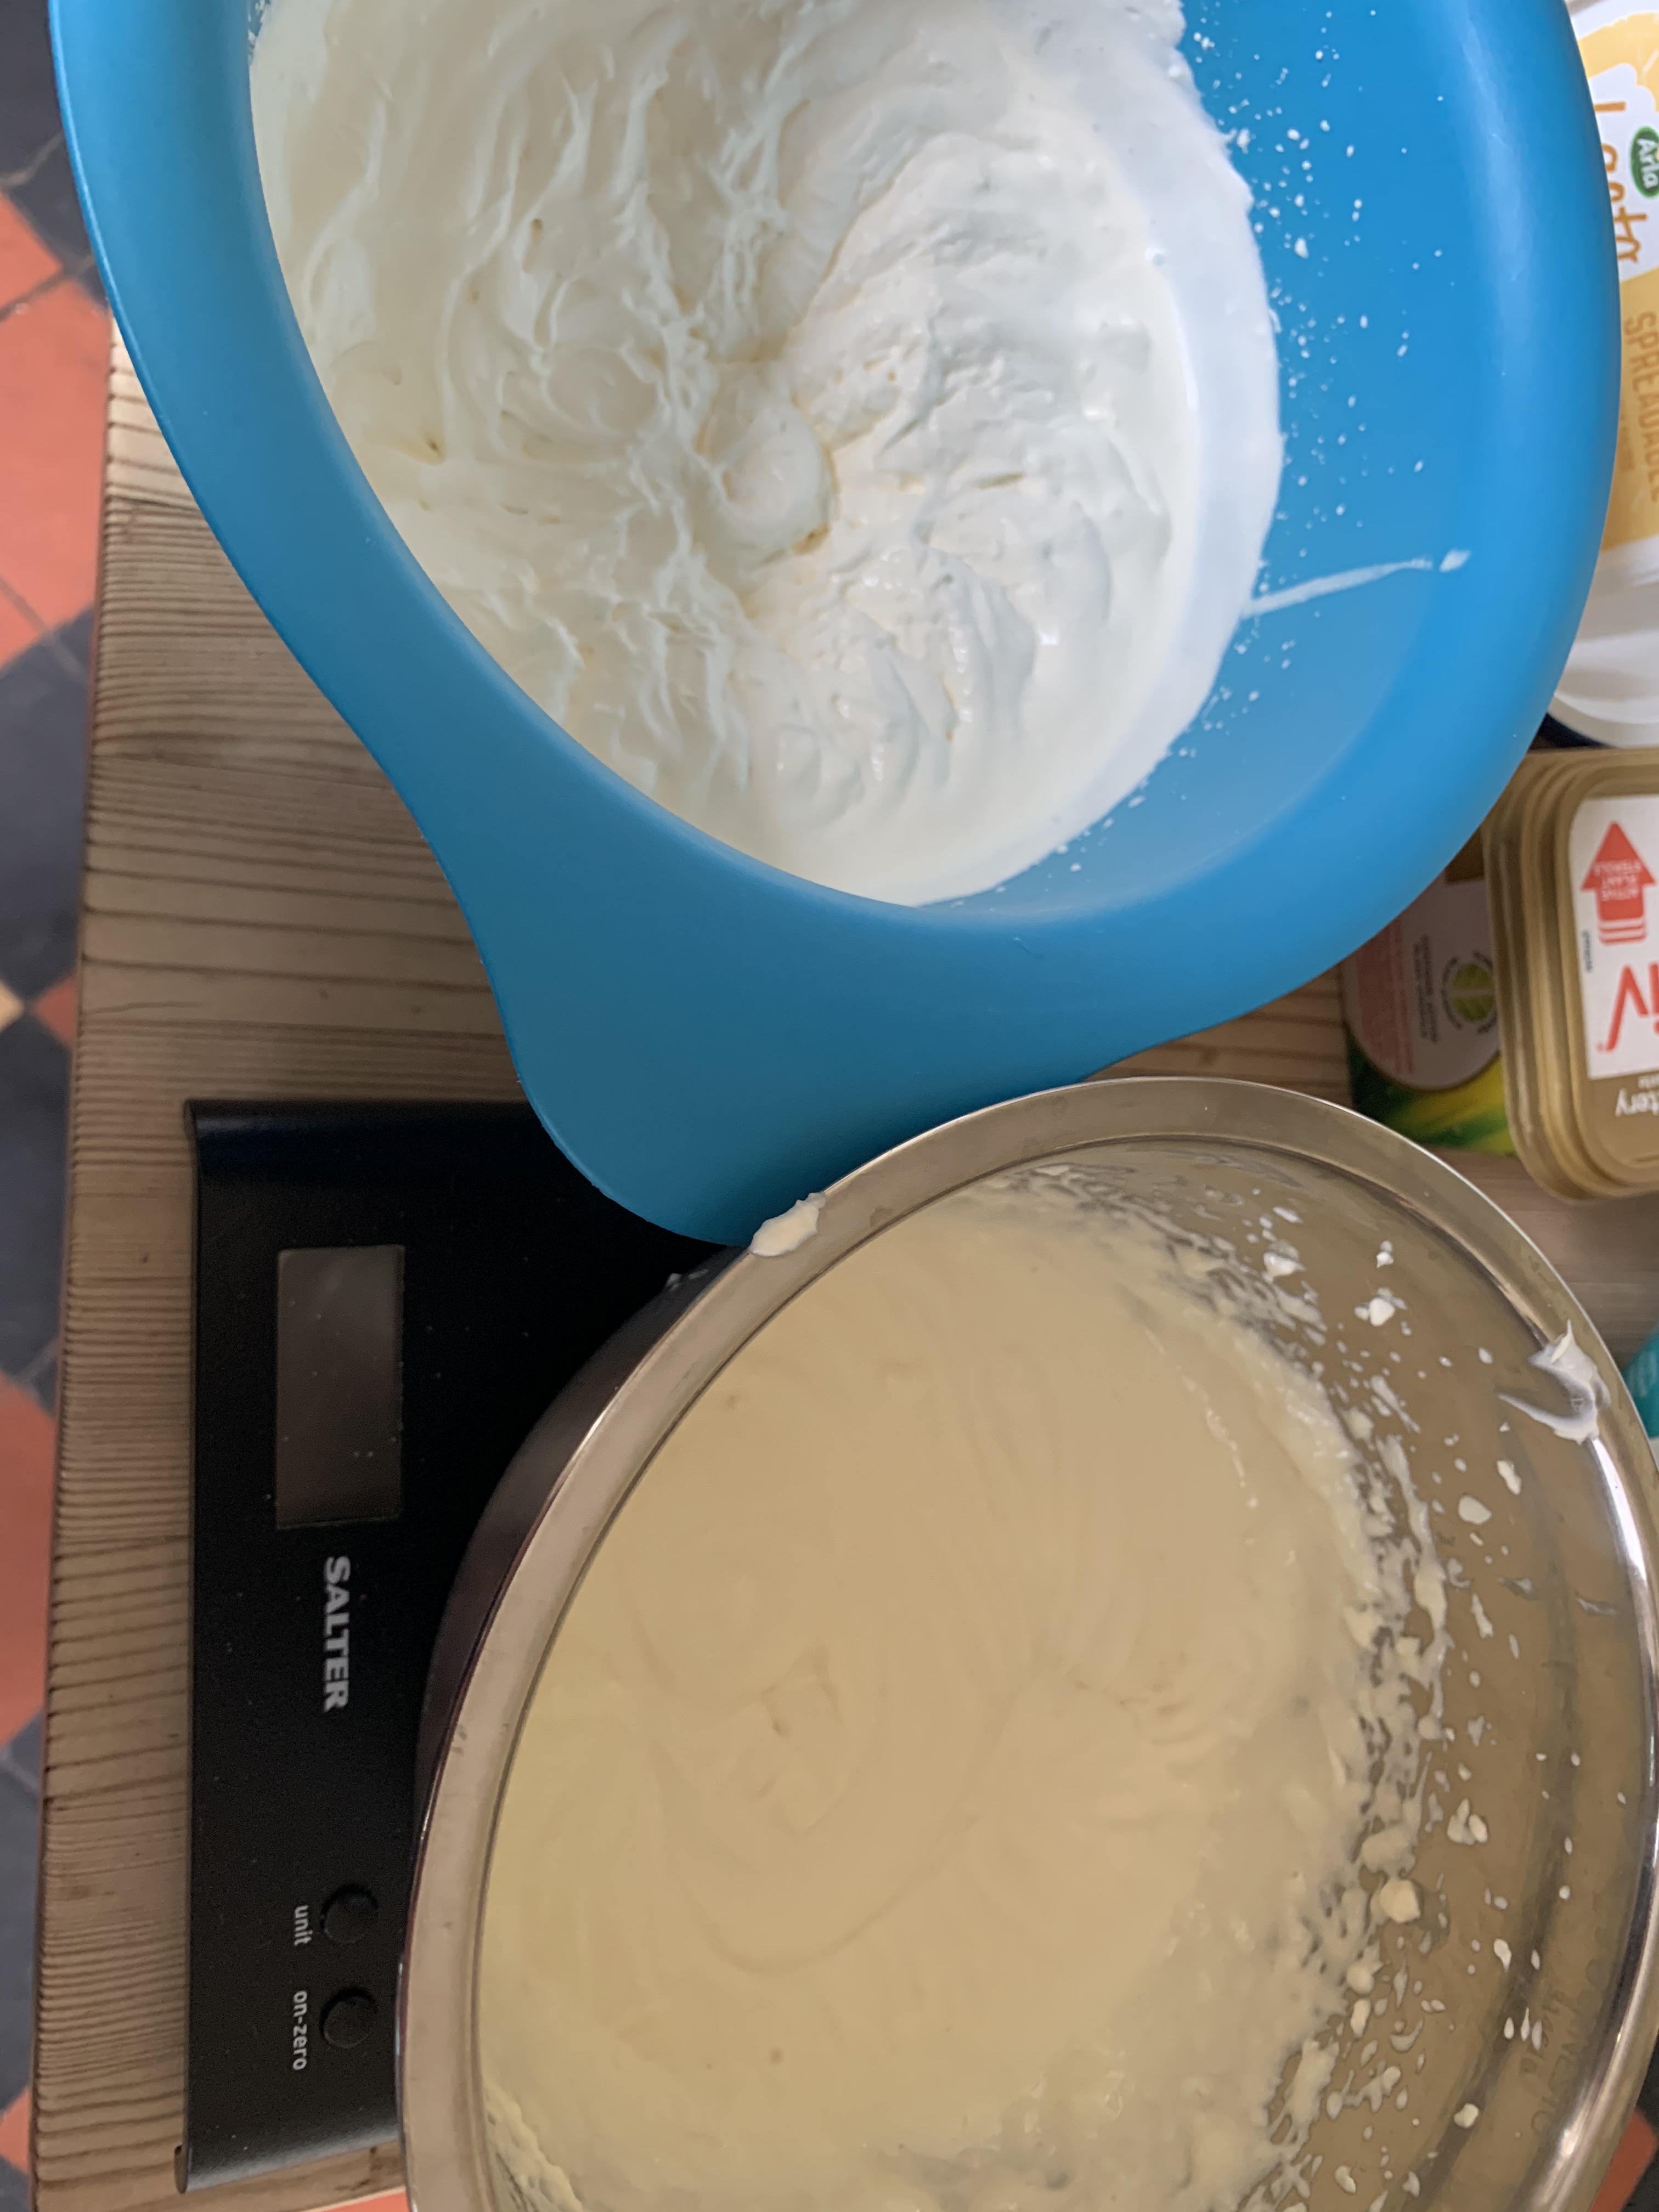
- In a separate bowl, whip the cream until thick, be careful to not over mix.
- Fold the cream through the cream cheese with a spatula, until fully incorporated.
- Spoon the filling on top of the base and smooth of the top with a spatula.
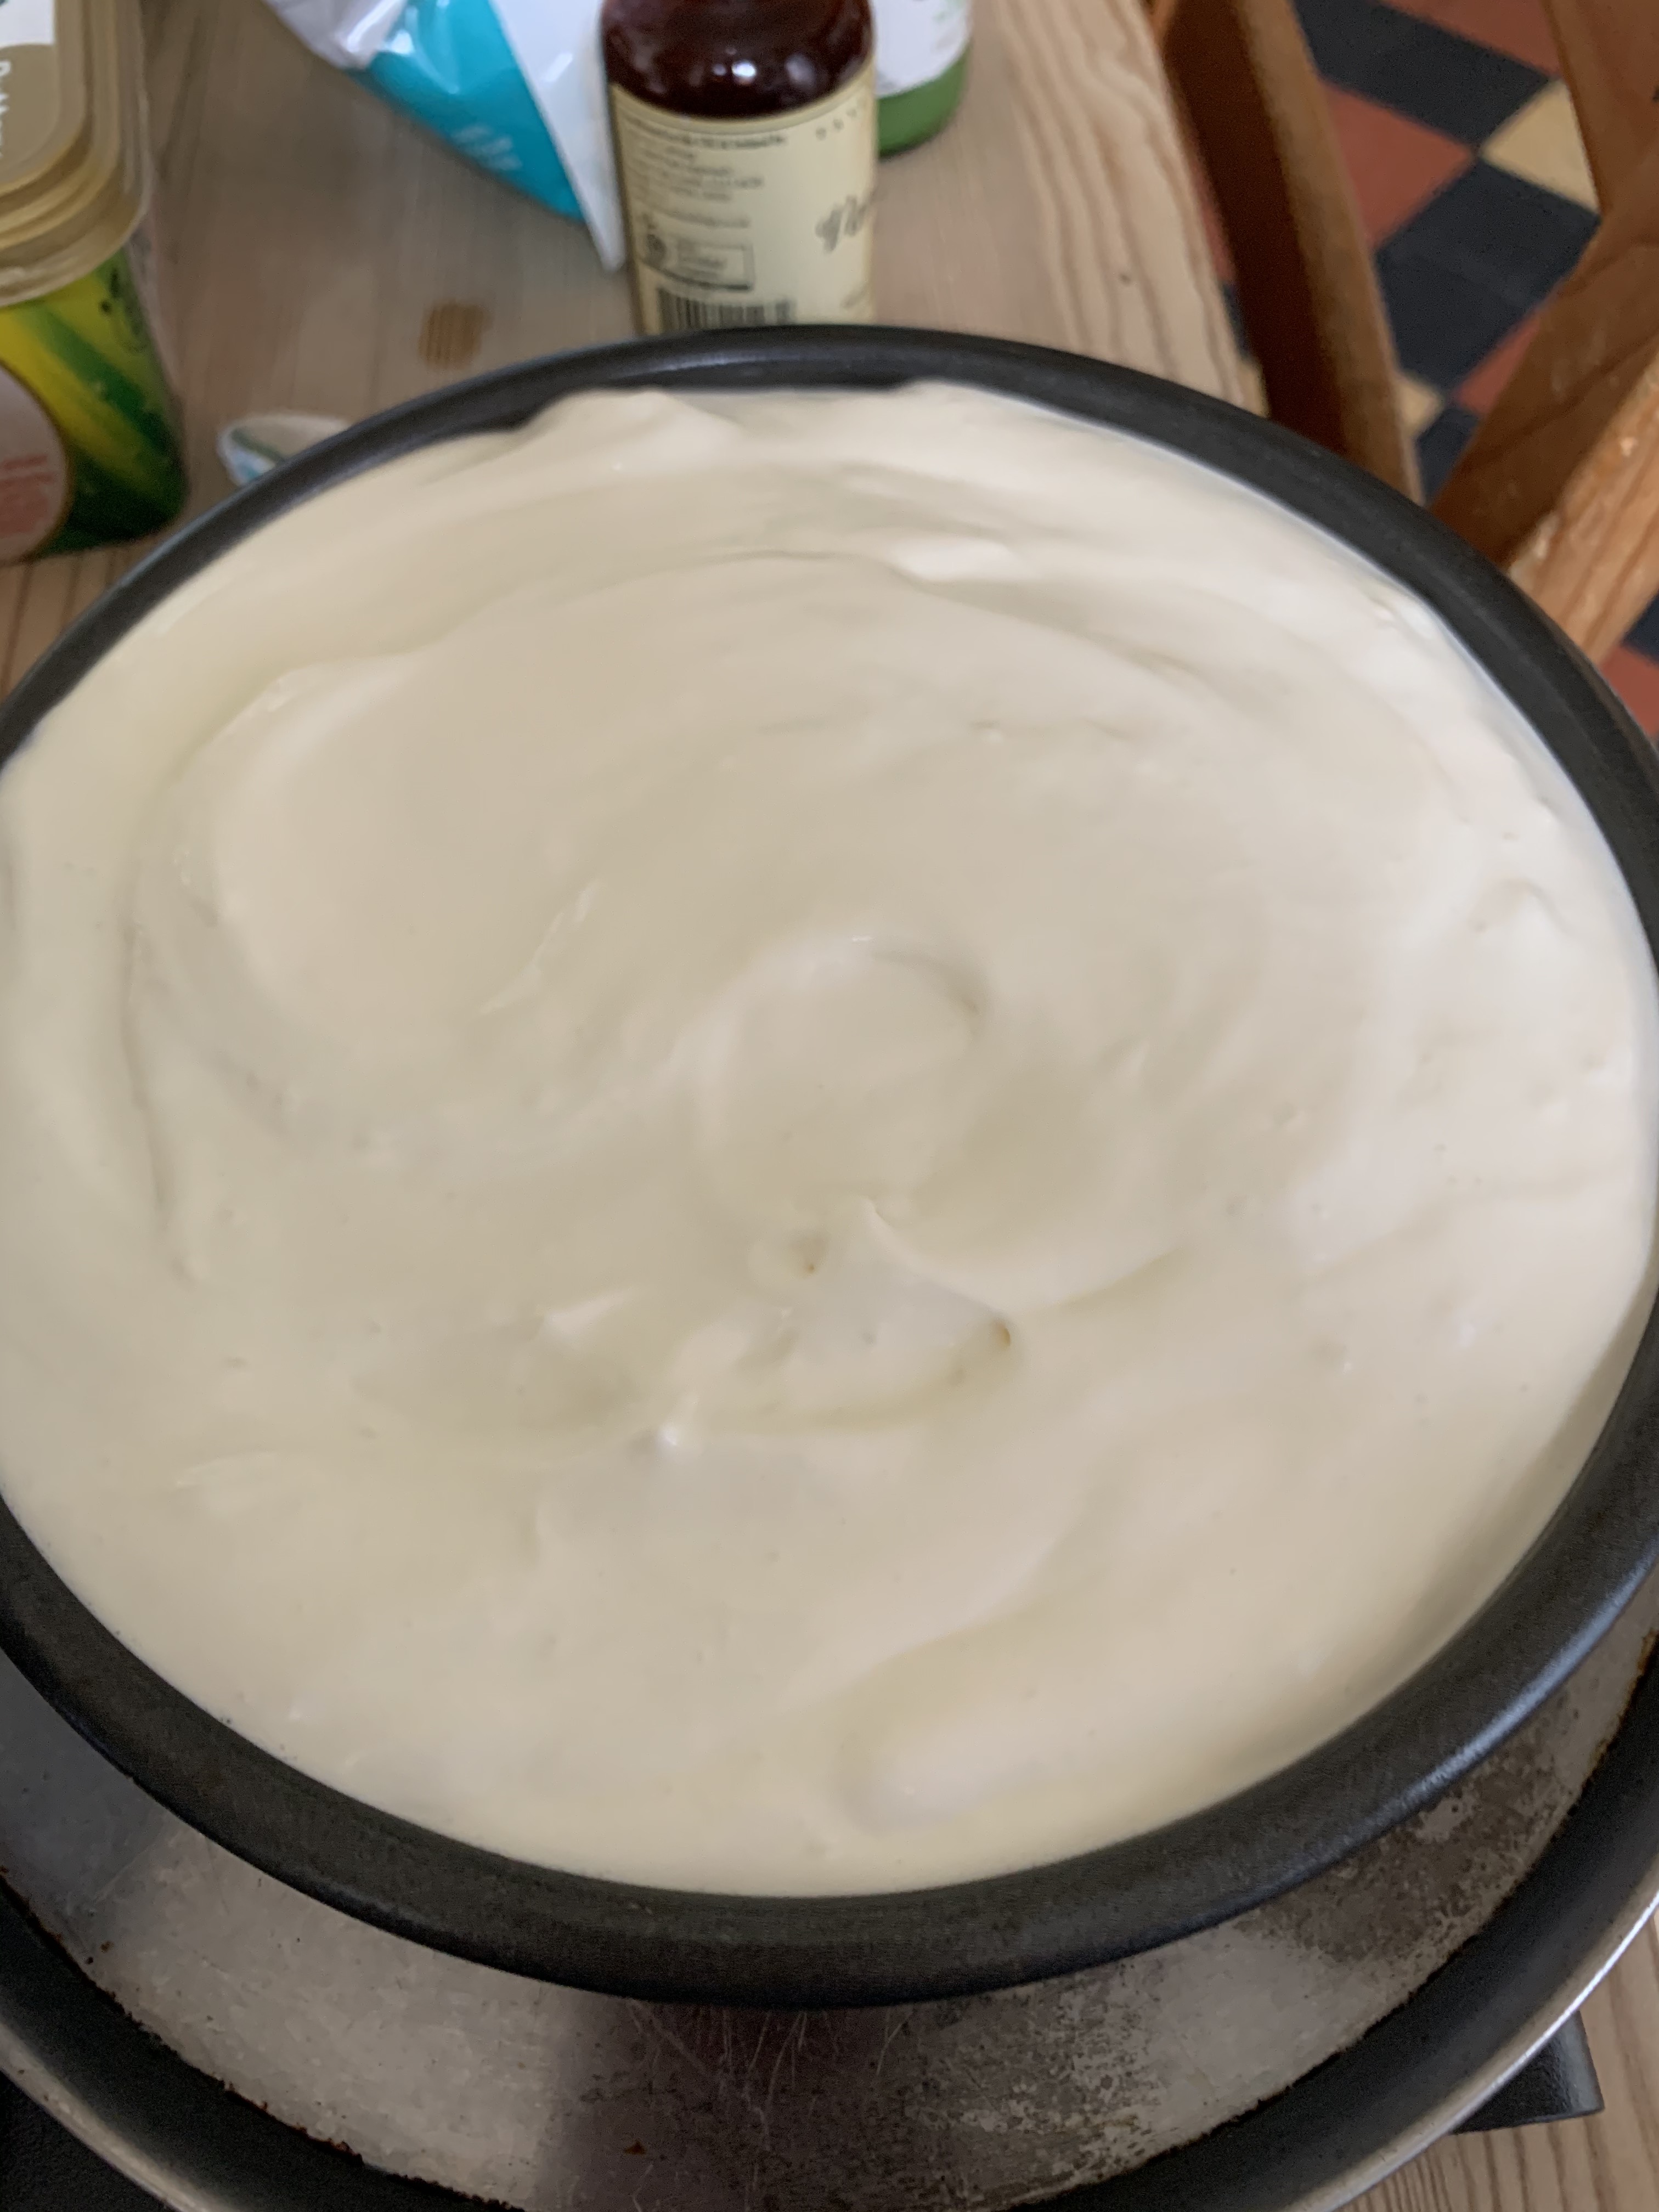
- Place in the fridge to fully set, around 6-8 hours, or overnight. Alternatively, place in the freezer until set.
Topping:
- Add 3/4 cup double cream to a mixing bowl, and whisk until thick, but still soft.
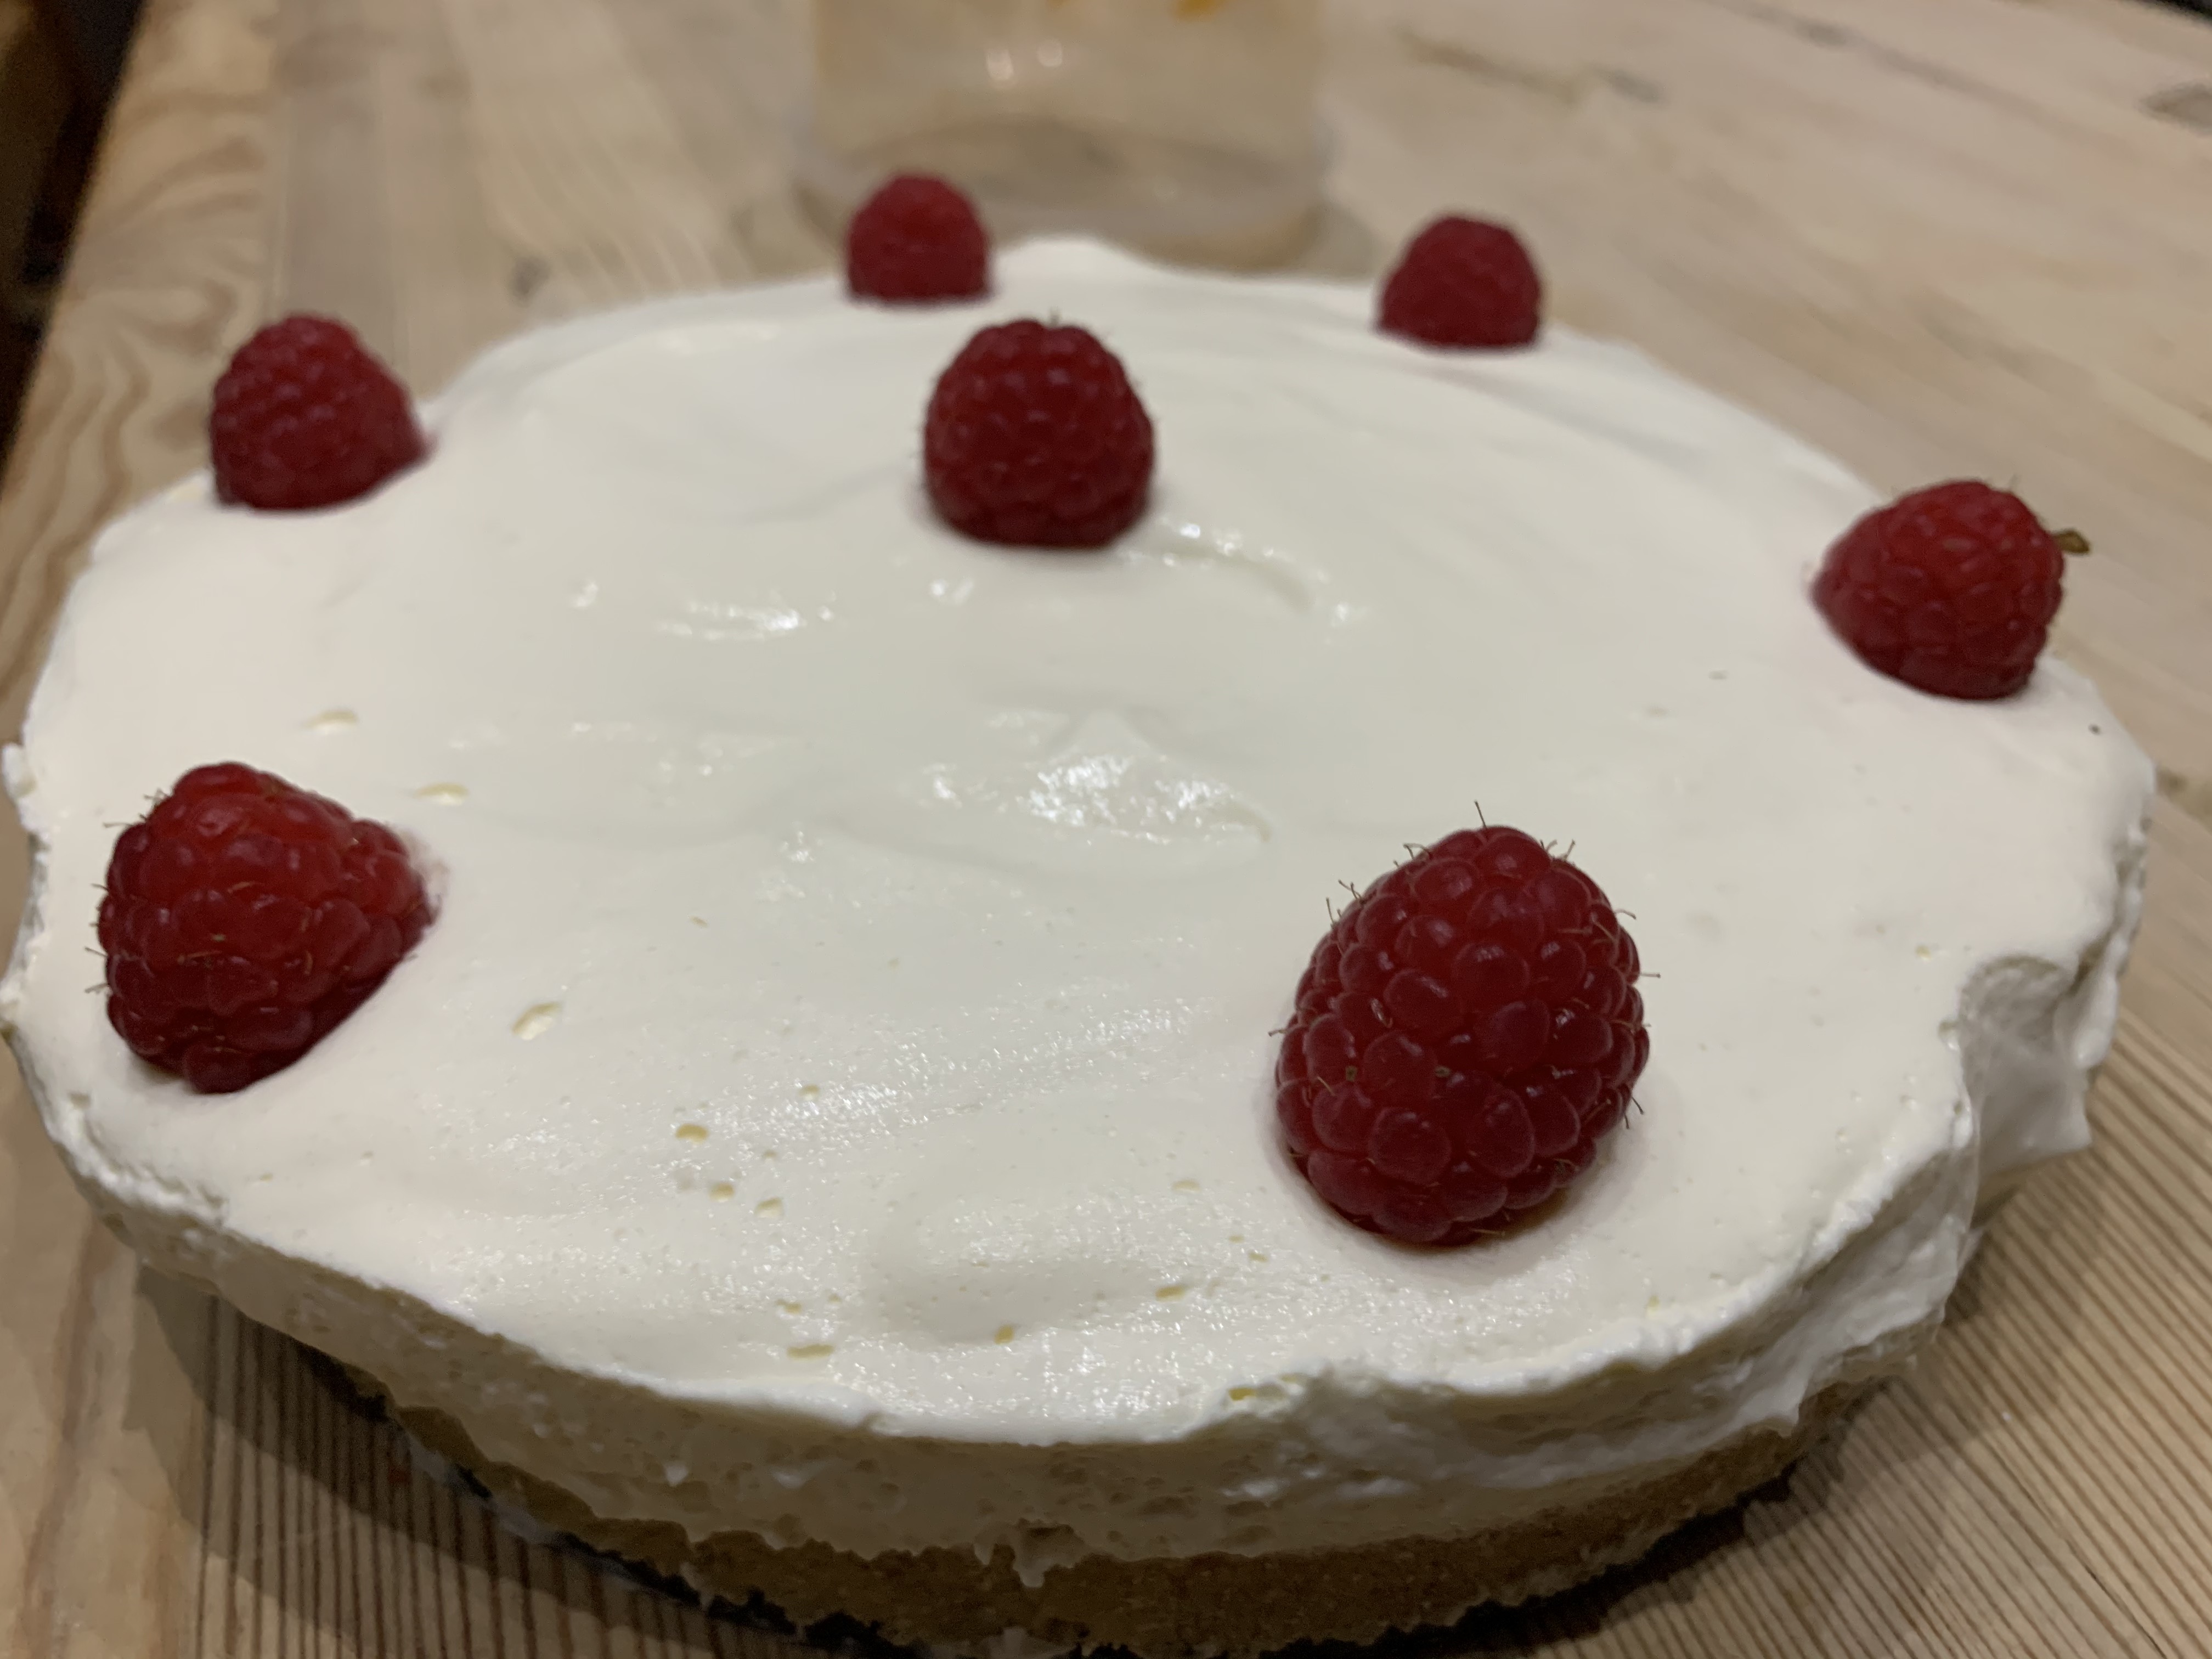
- Remove the cheesecake from the tin and top with whipped cream, smoothing with a spatula for pillowy ripples. Top with sliced strawberries and raspberries. Optional: dust with a little powdered erythritol.
- Serve & enjoy!!