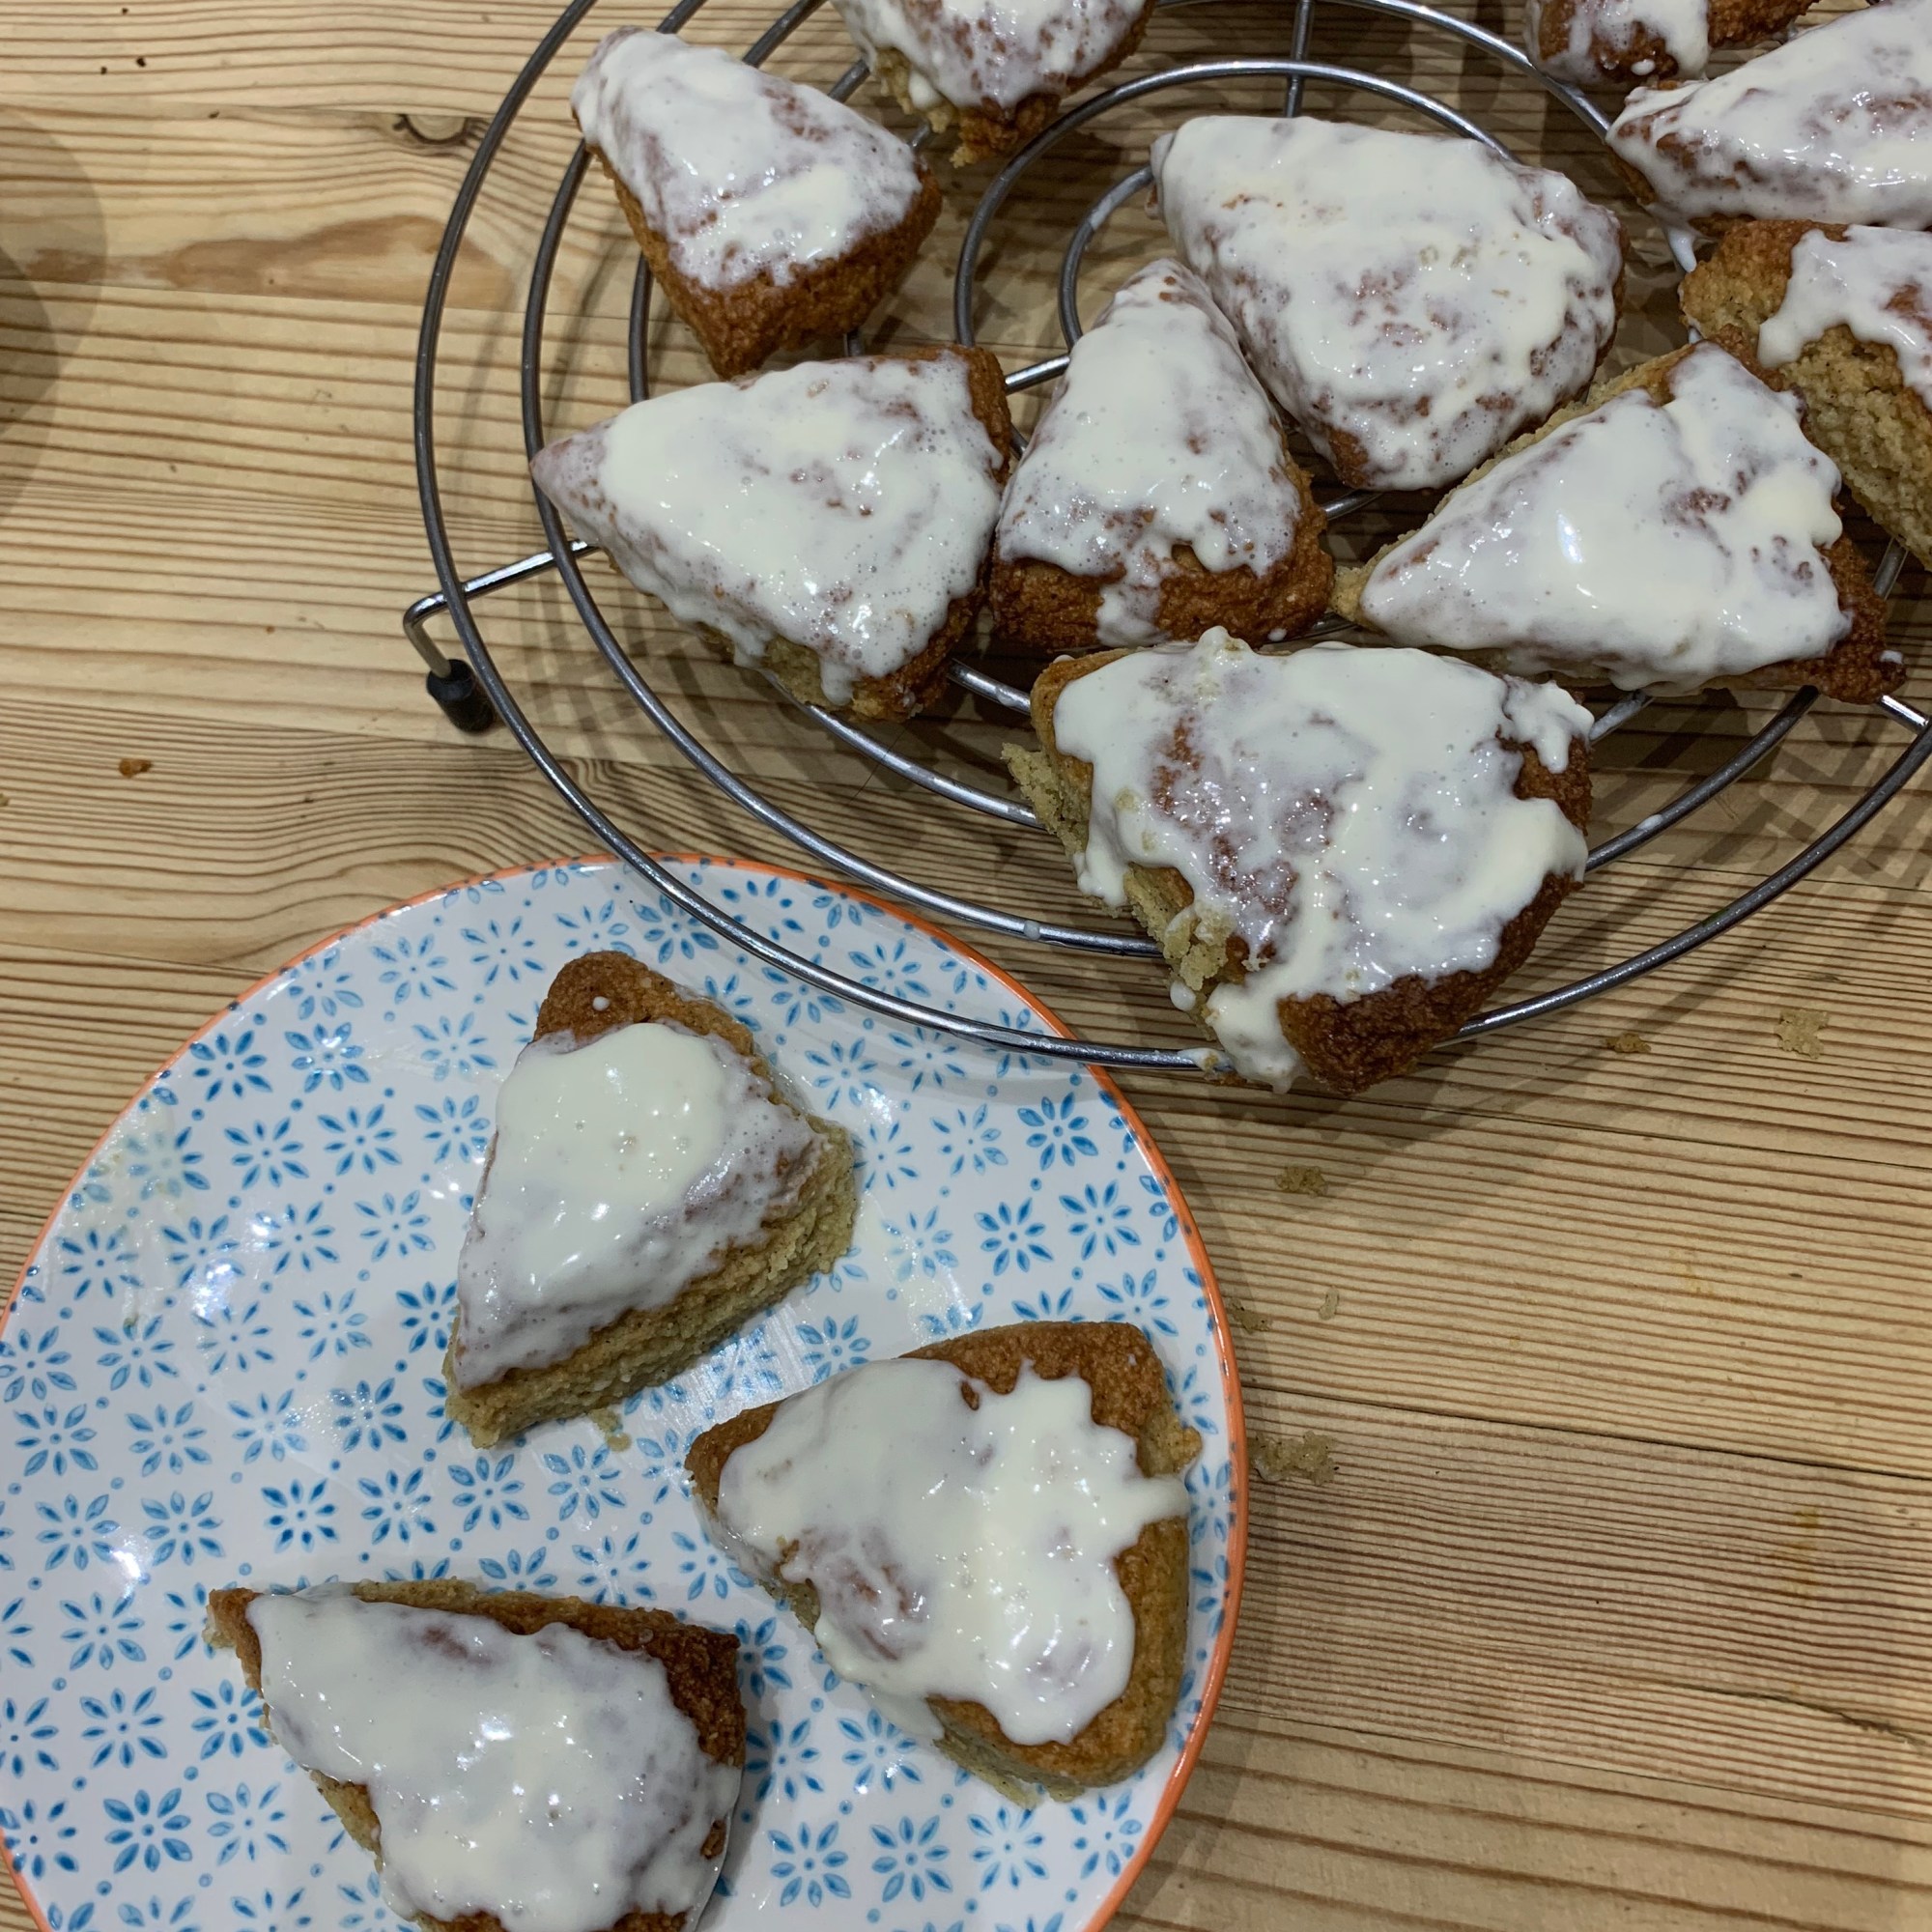
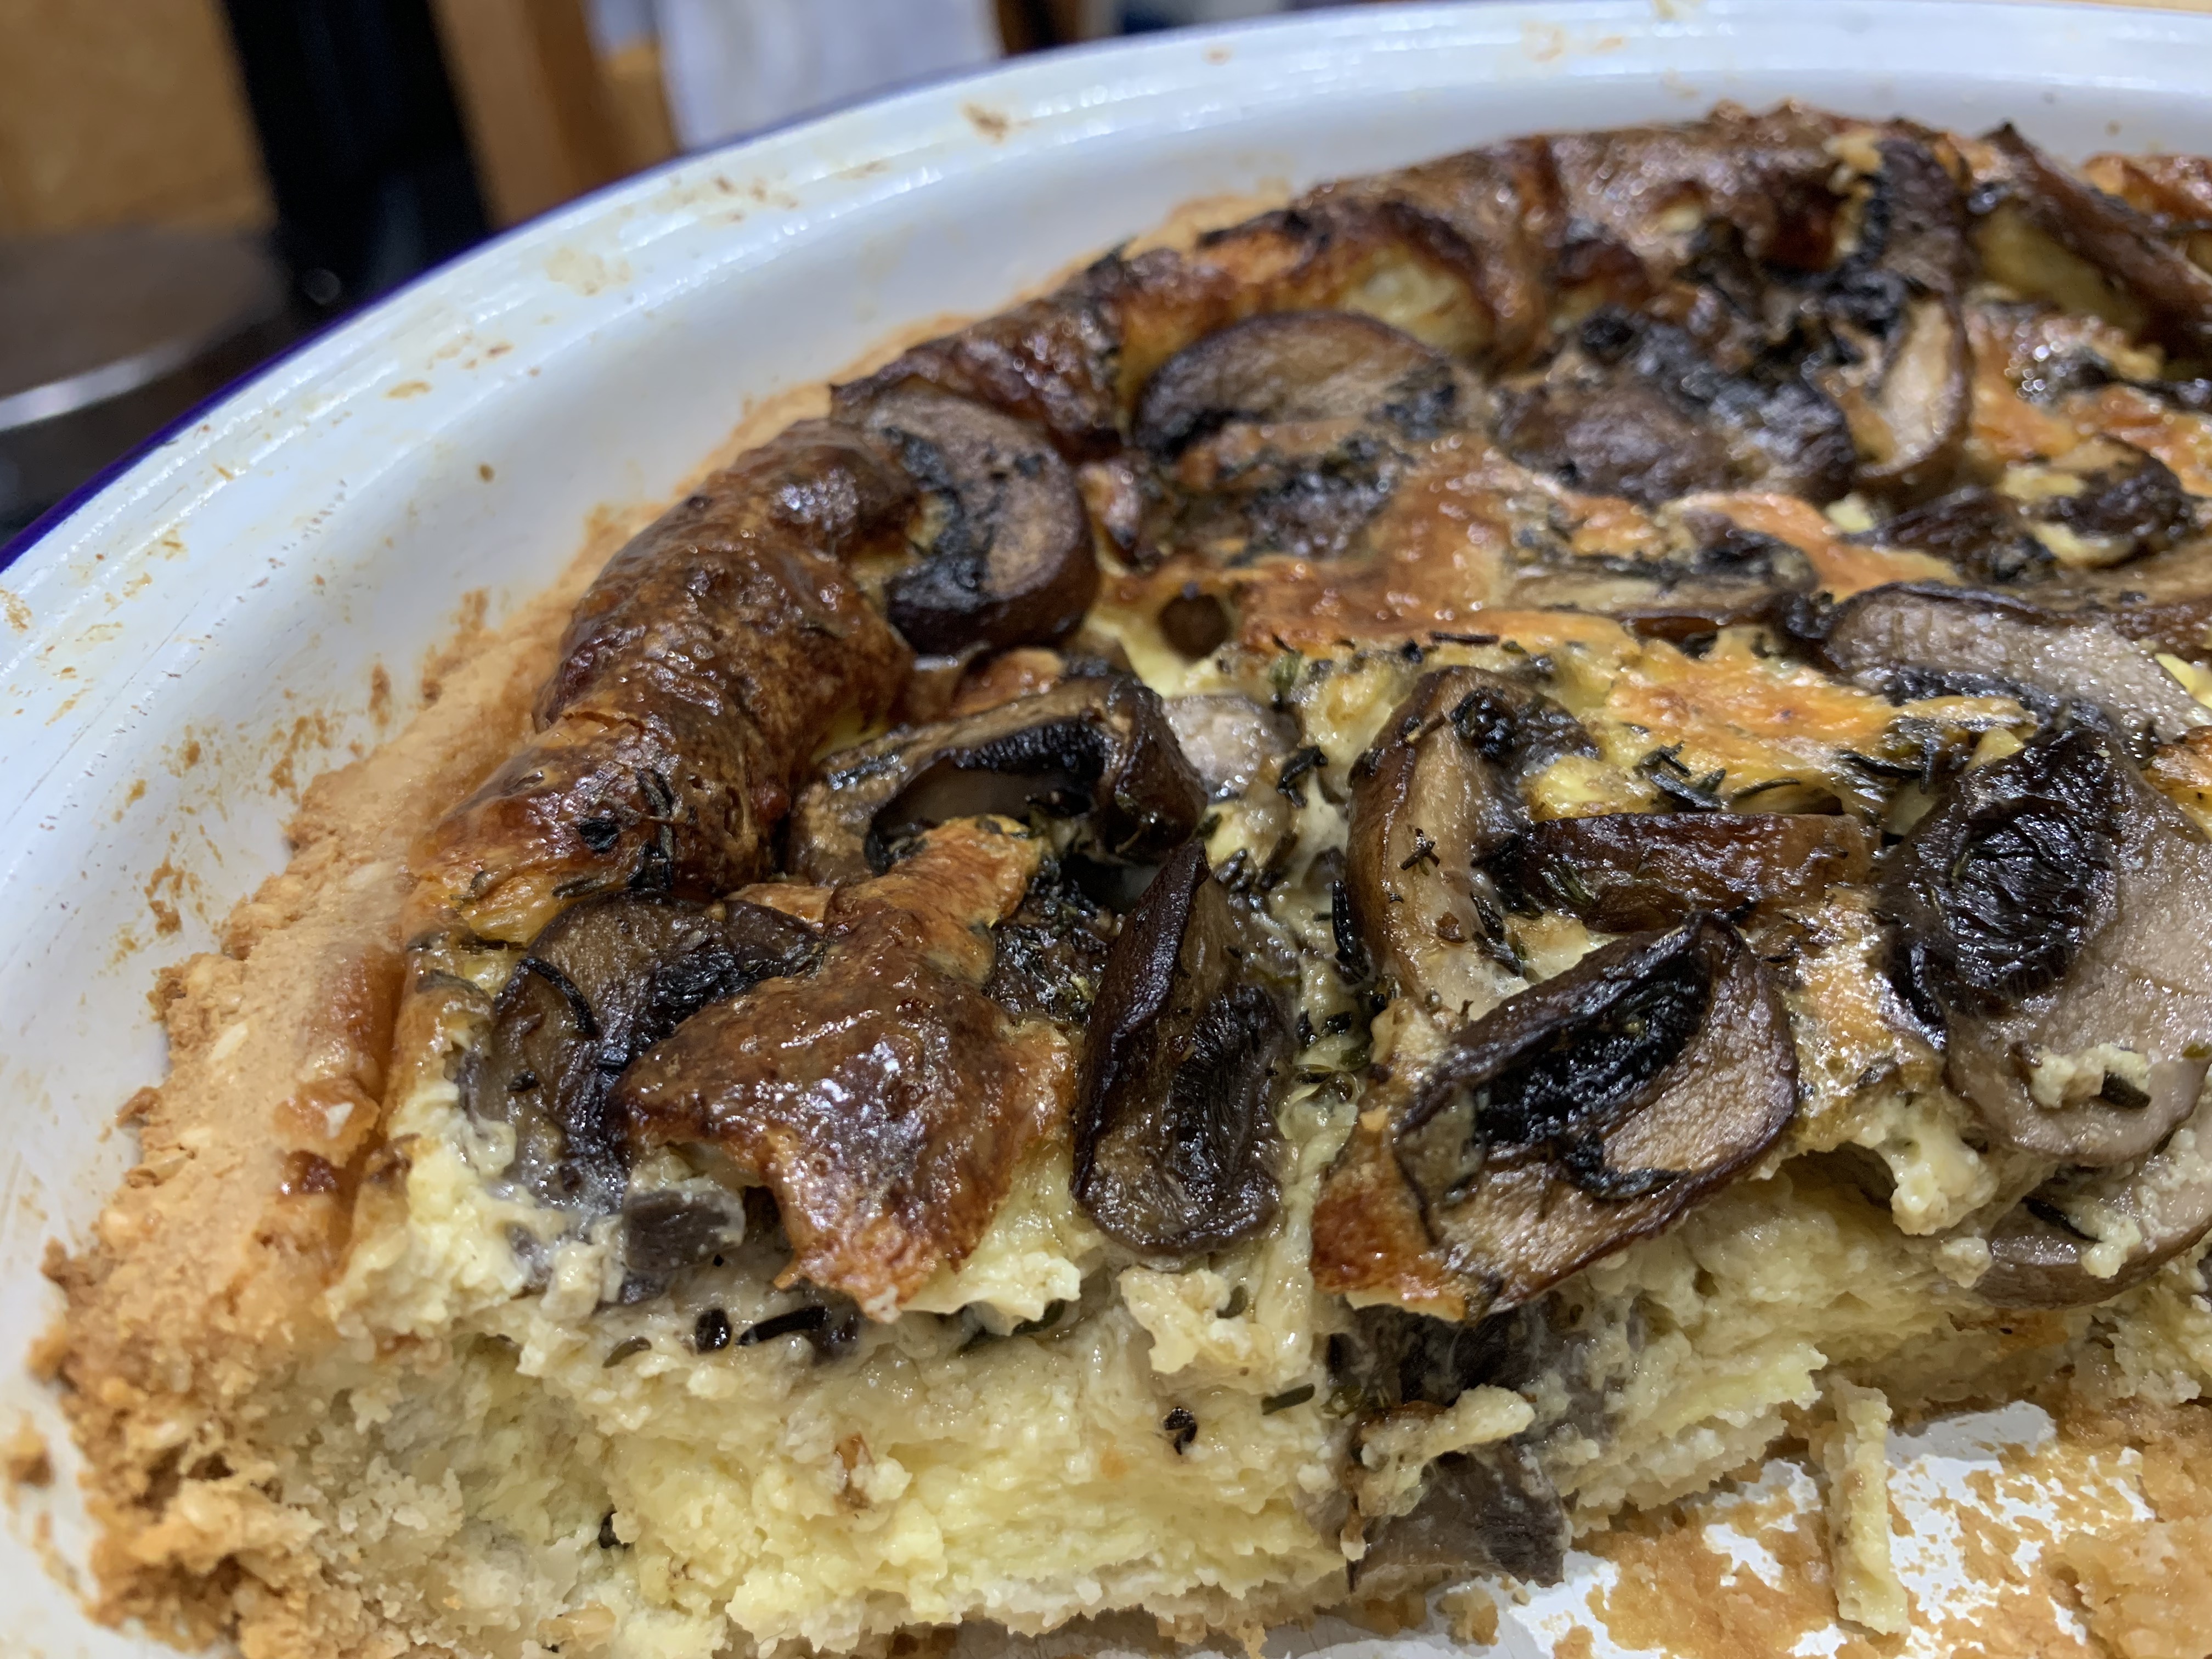
I love scones and these scones are like the mini vanilla scones I’ve bought in Starbucks in USA. This recipe is easy to make and accurate in terms of method, weights and temperature. I can’t identify anything that didn’t work. The scones are tender and rich in flavour. Everyone loves them and my mother has been enjoying them as grab and go breakfast. We are going to run out this weekend and I’m looking for other baked Keto goods as I need something sweet to eat. Storage: once cool place them in an air-tight box in the fridge for a week. They freeze well too.
Prep time: 10 mins | Cook time: 18 mins | Servings: 12
Nutrition for a 2 scones serving: calories: 202 Kcals | carbs 6.82g | fibre 3.09g | net carbs 3.73g | fat 17.34g
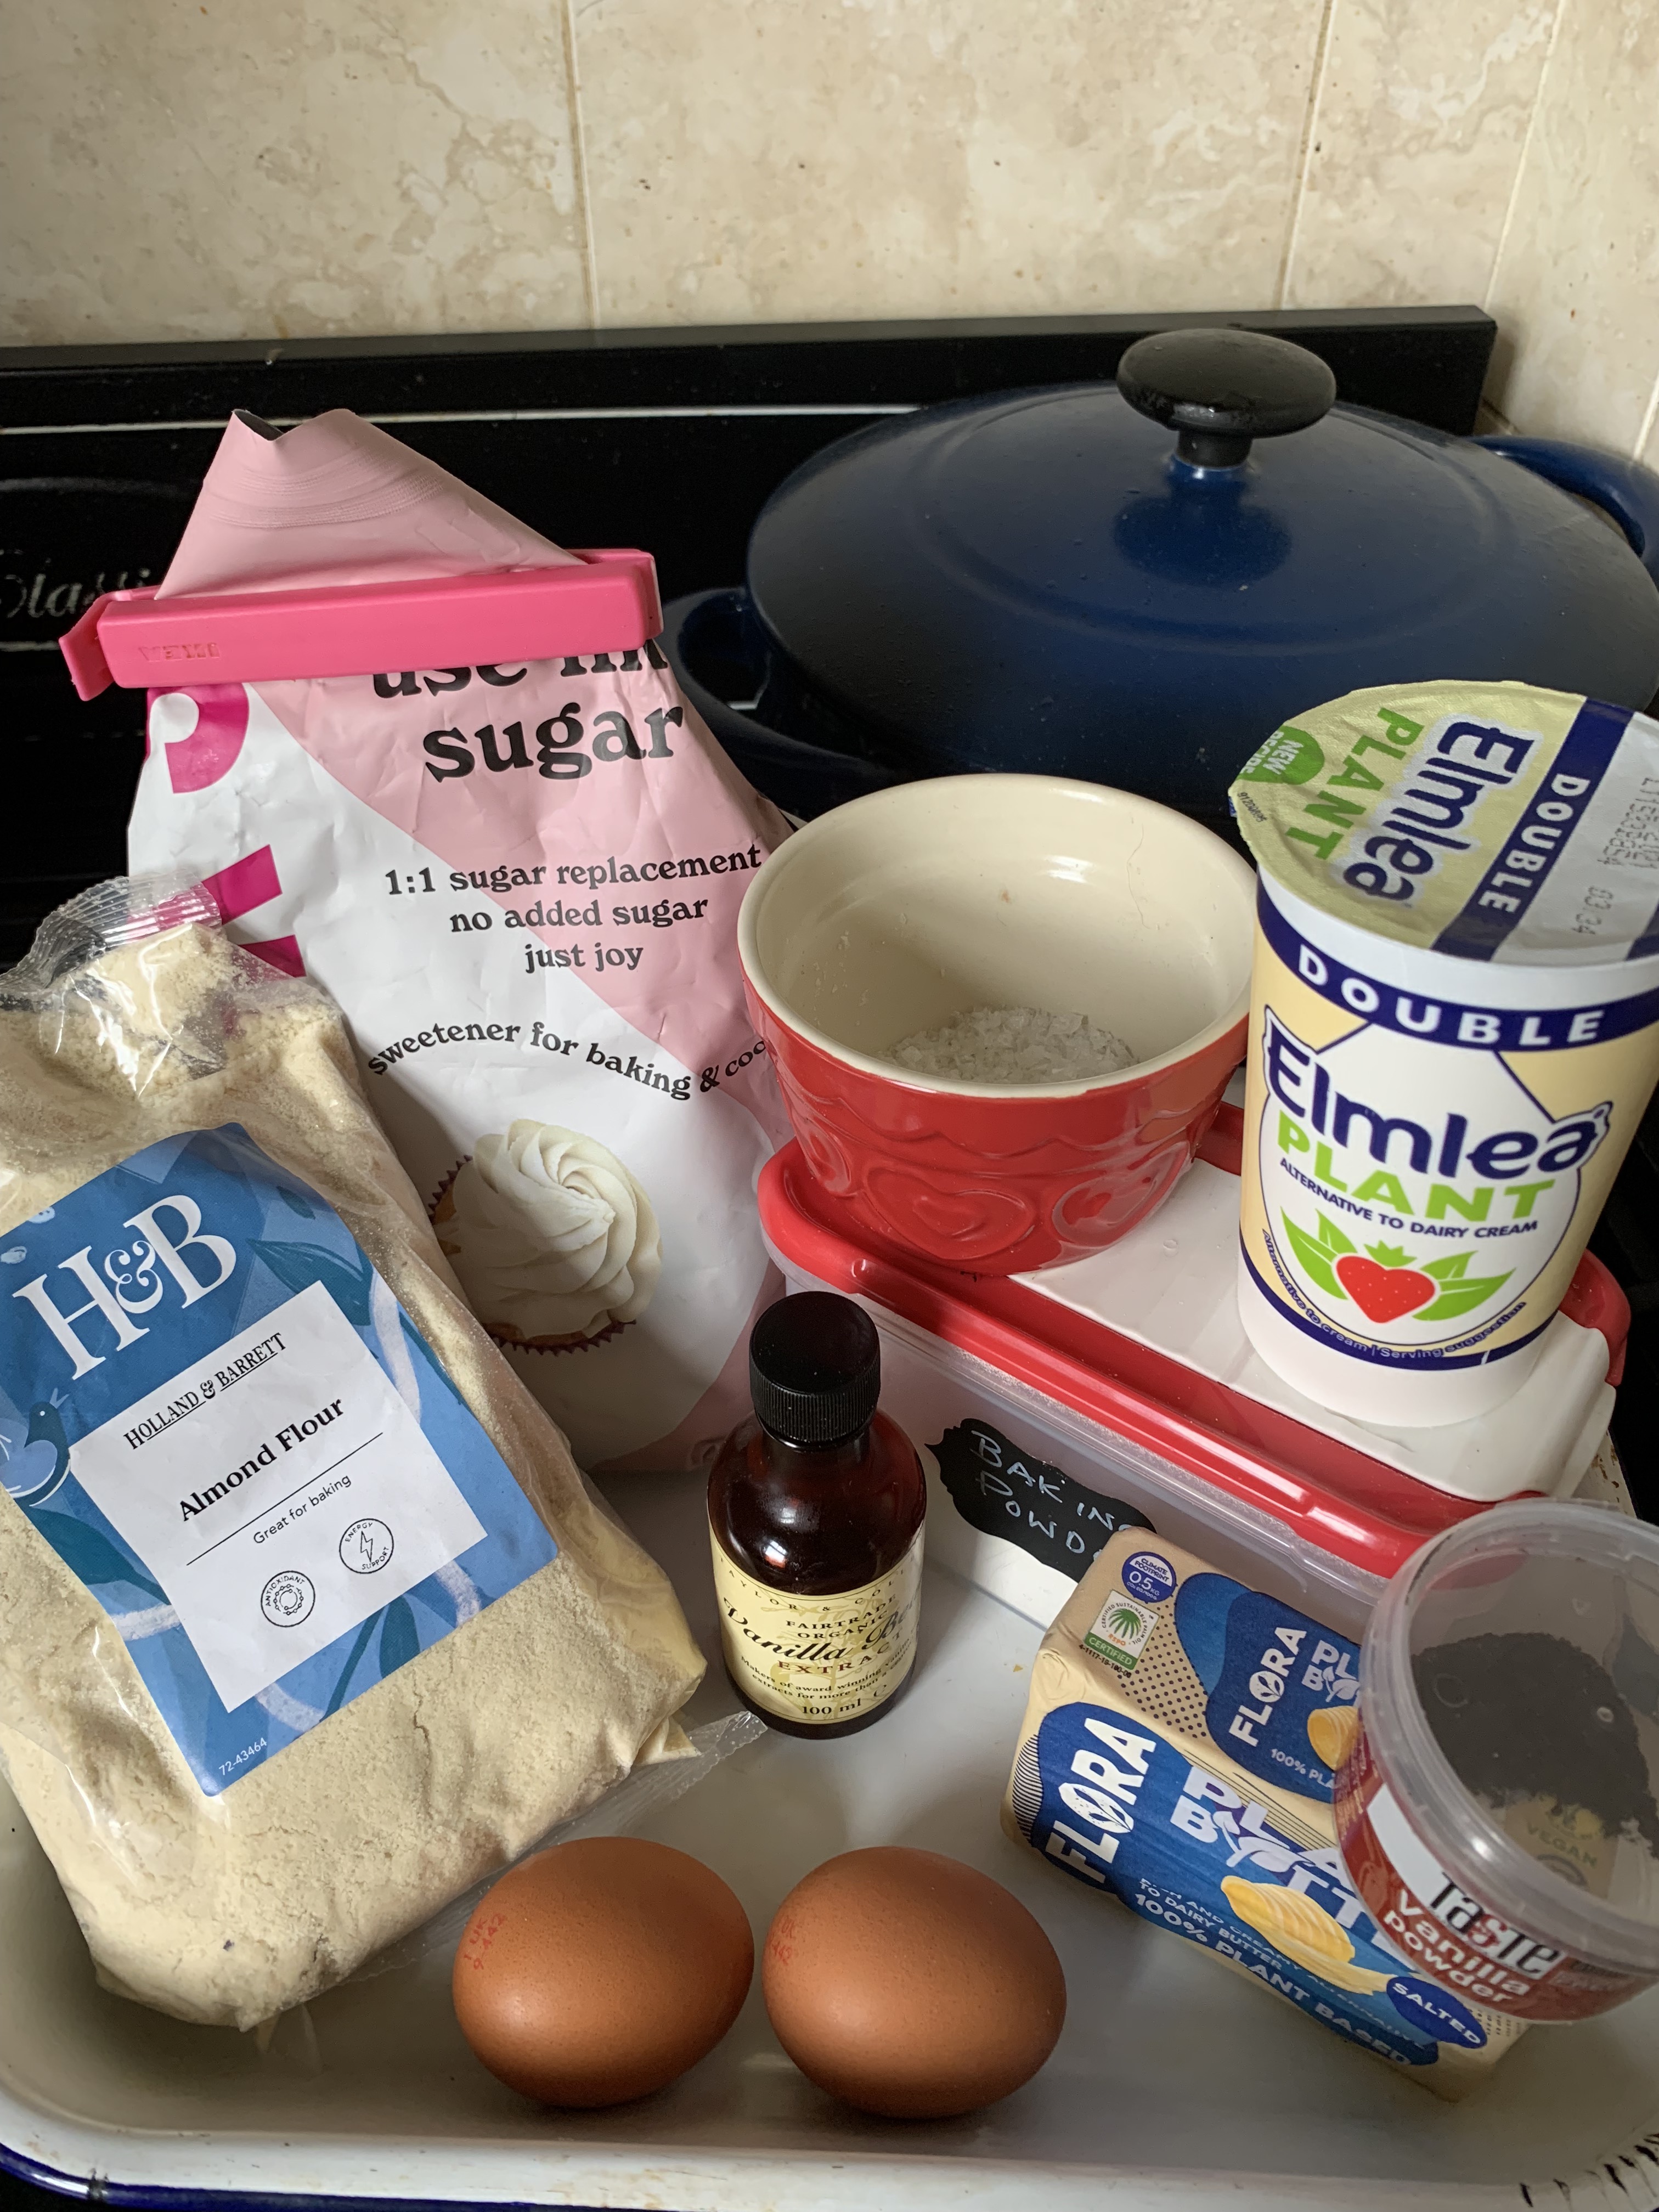
Ingredients:
Scones:
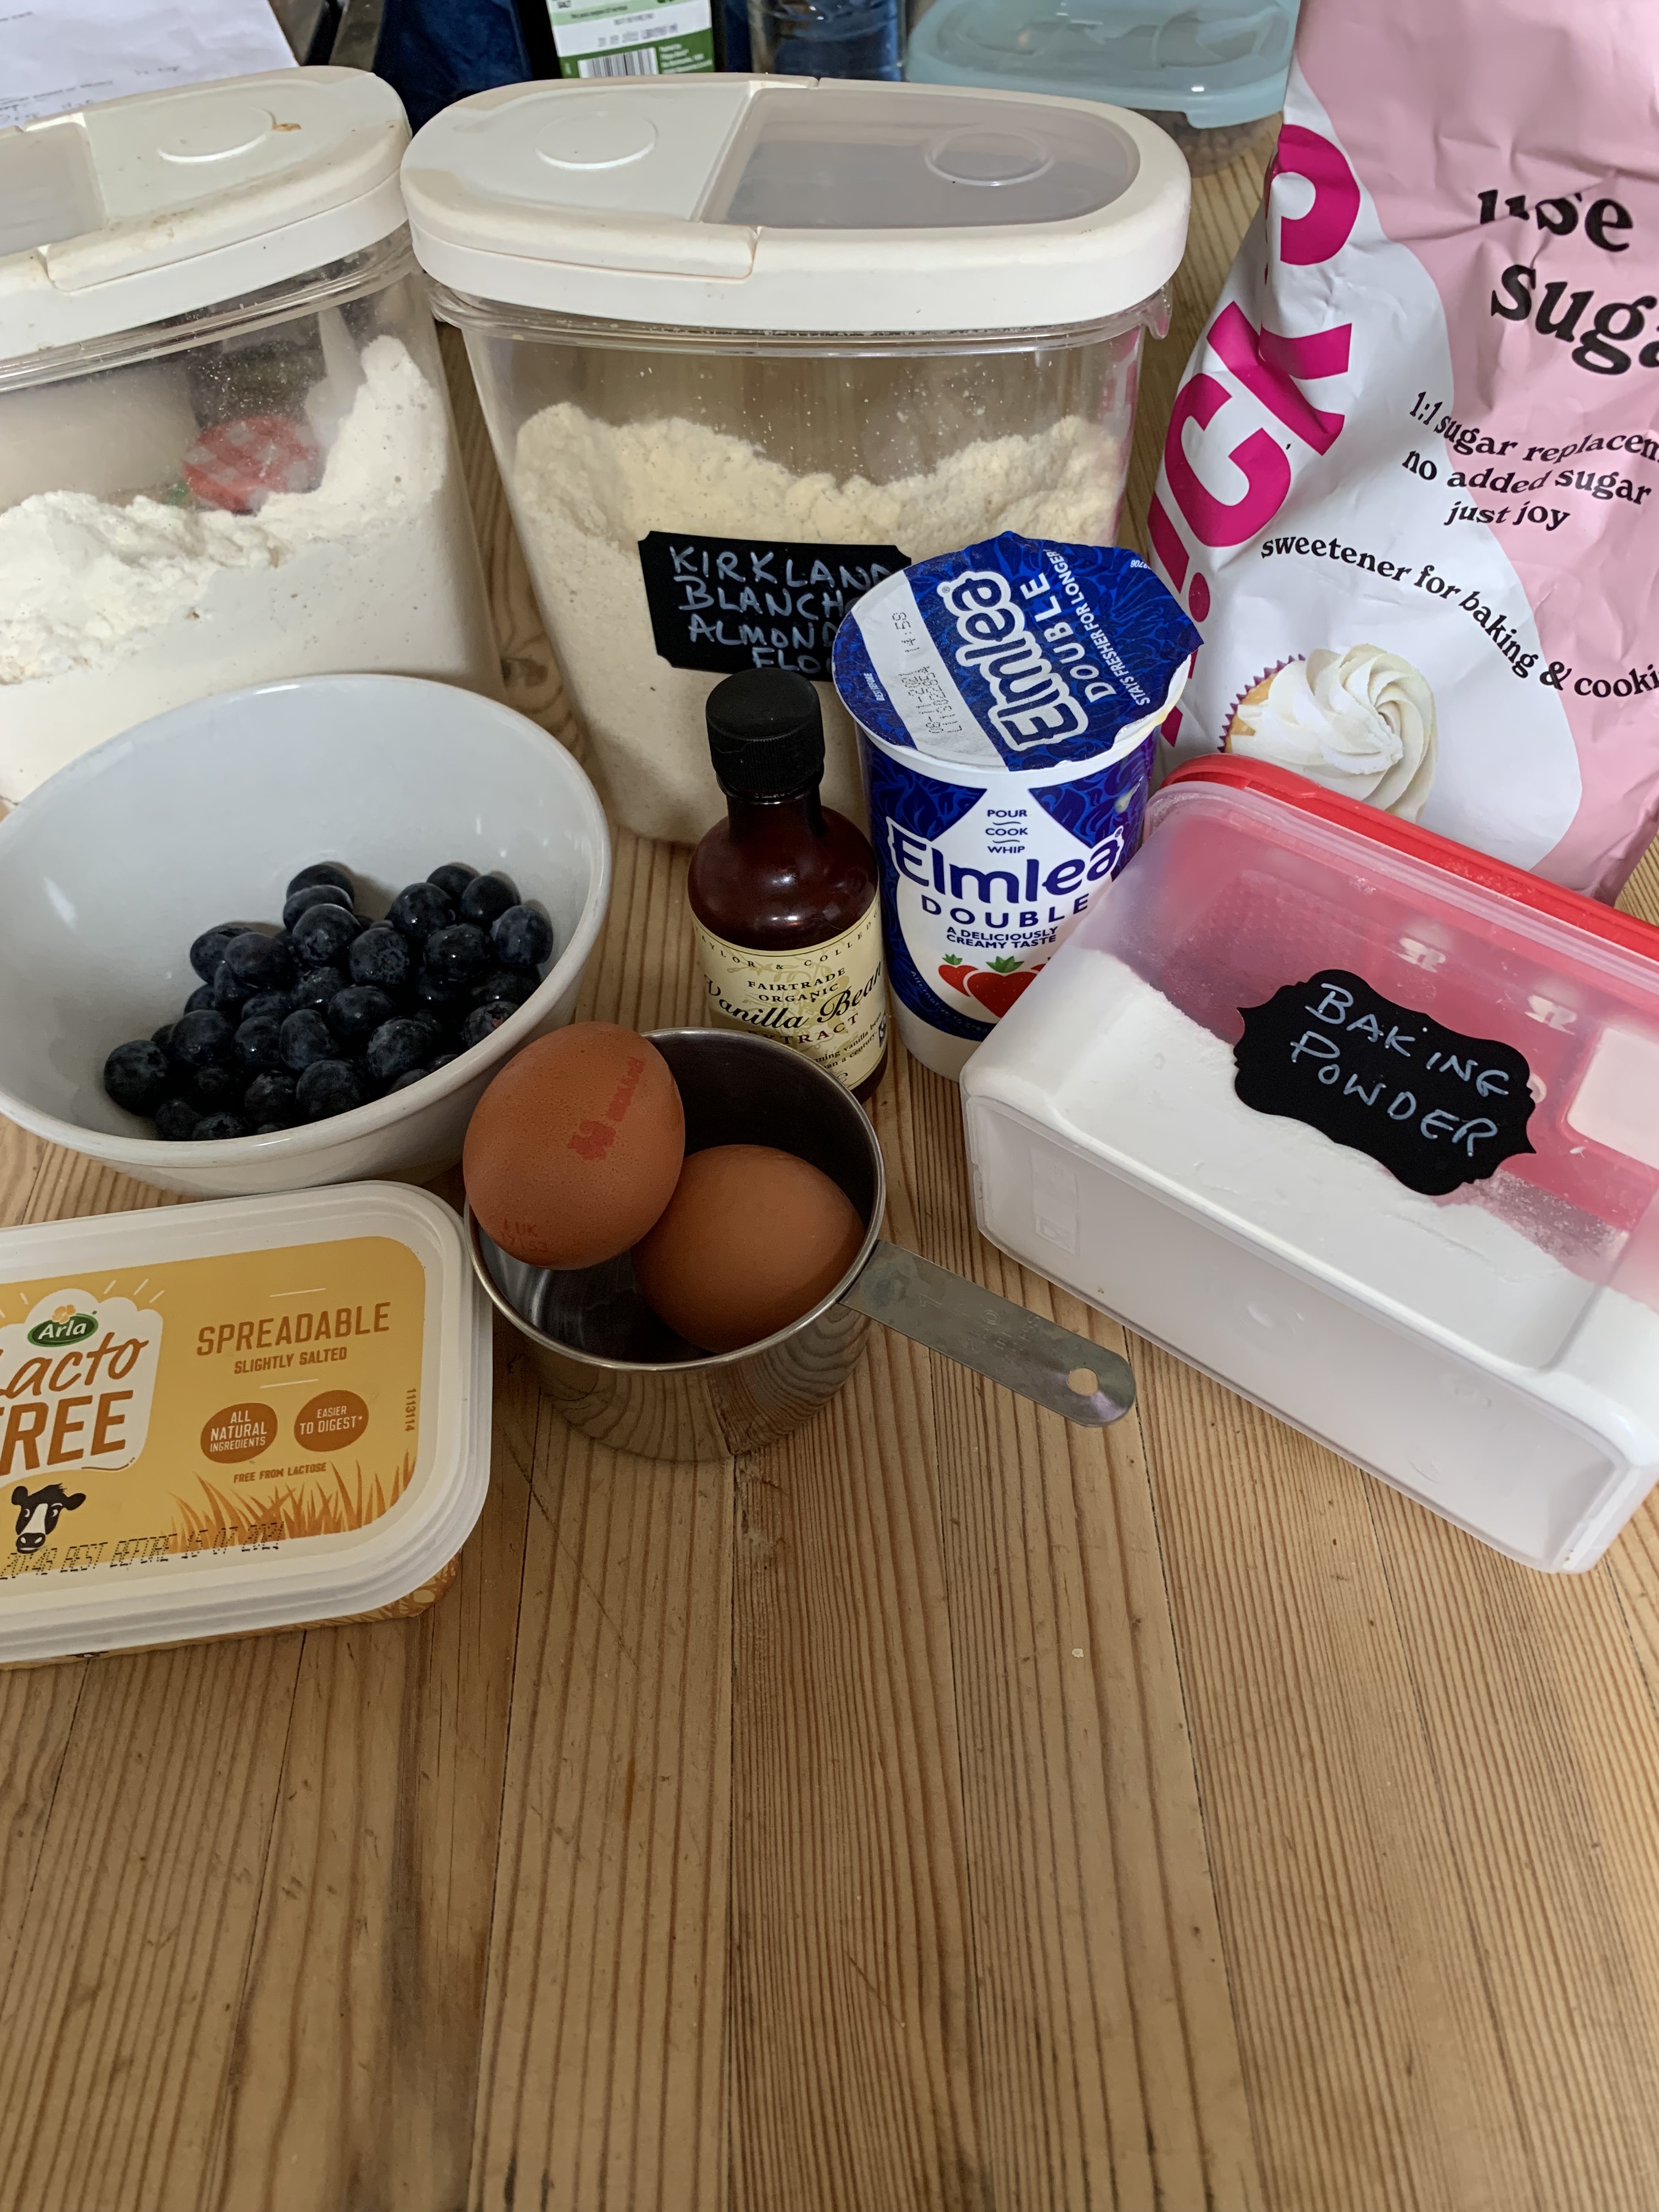
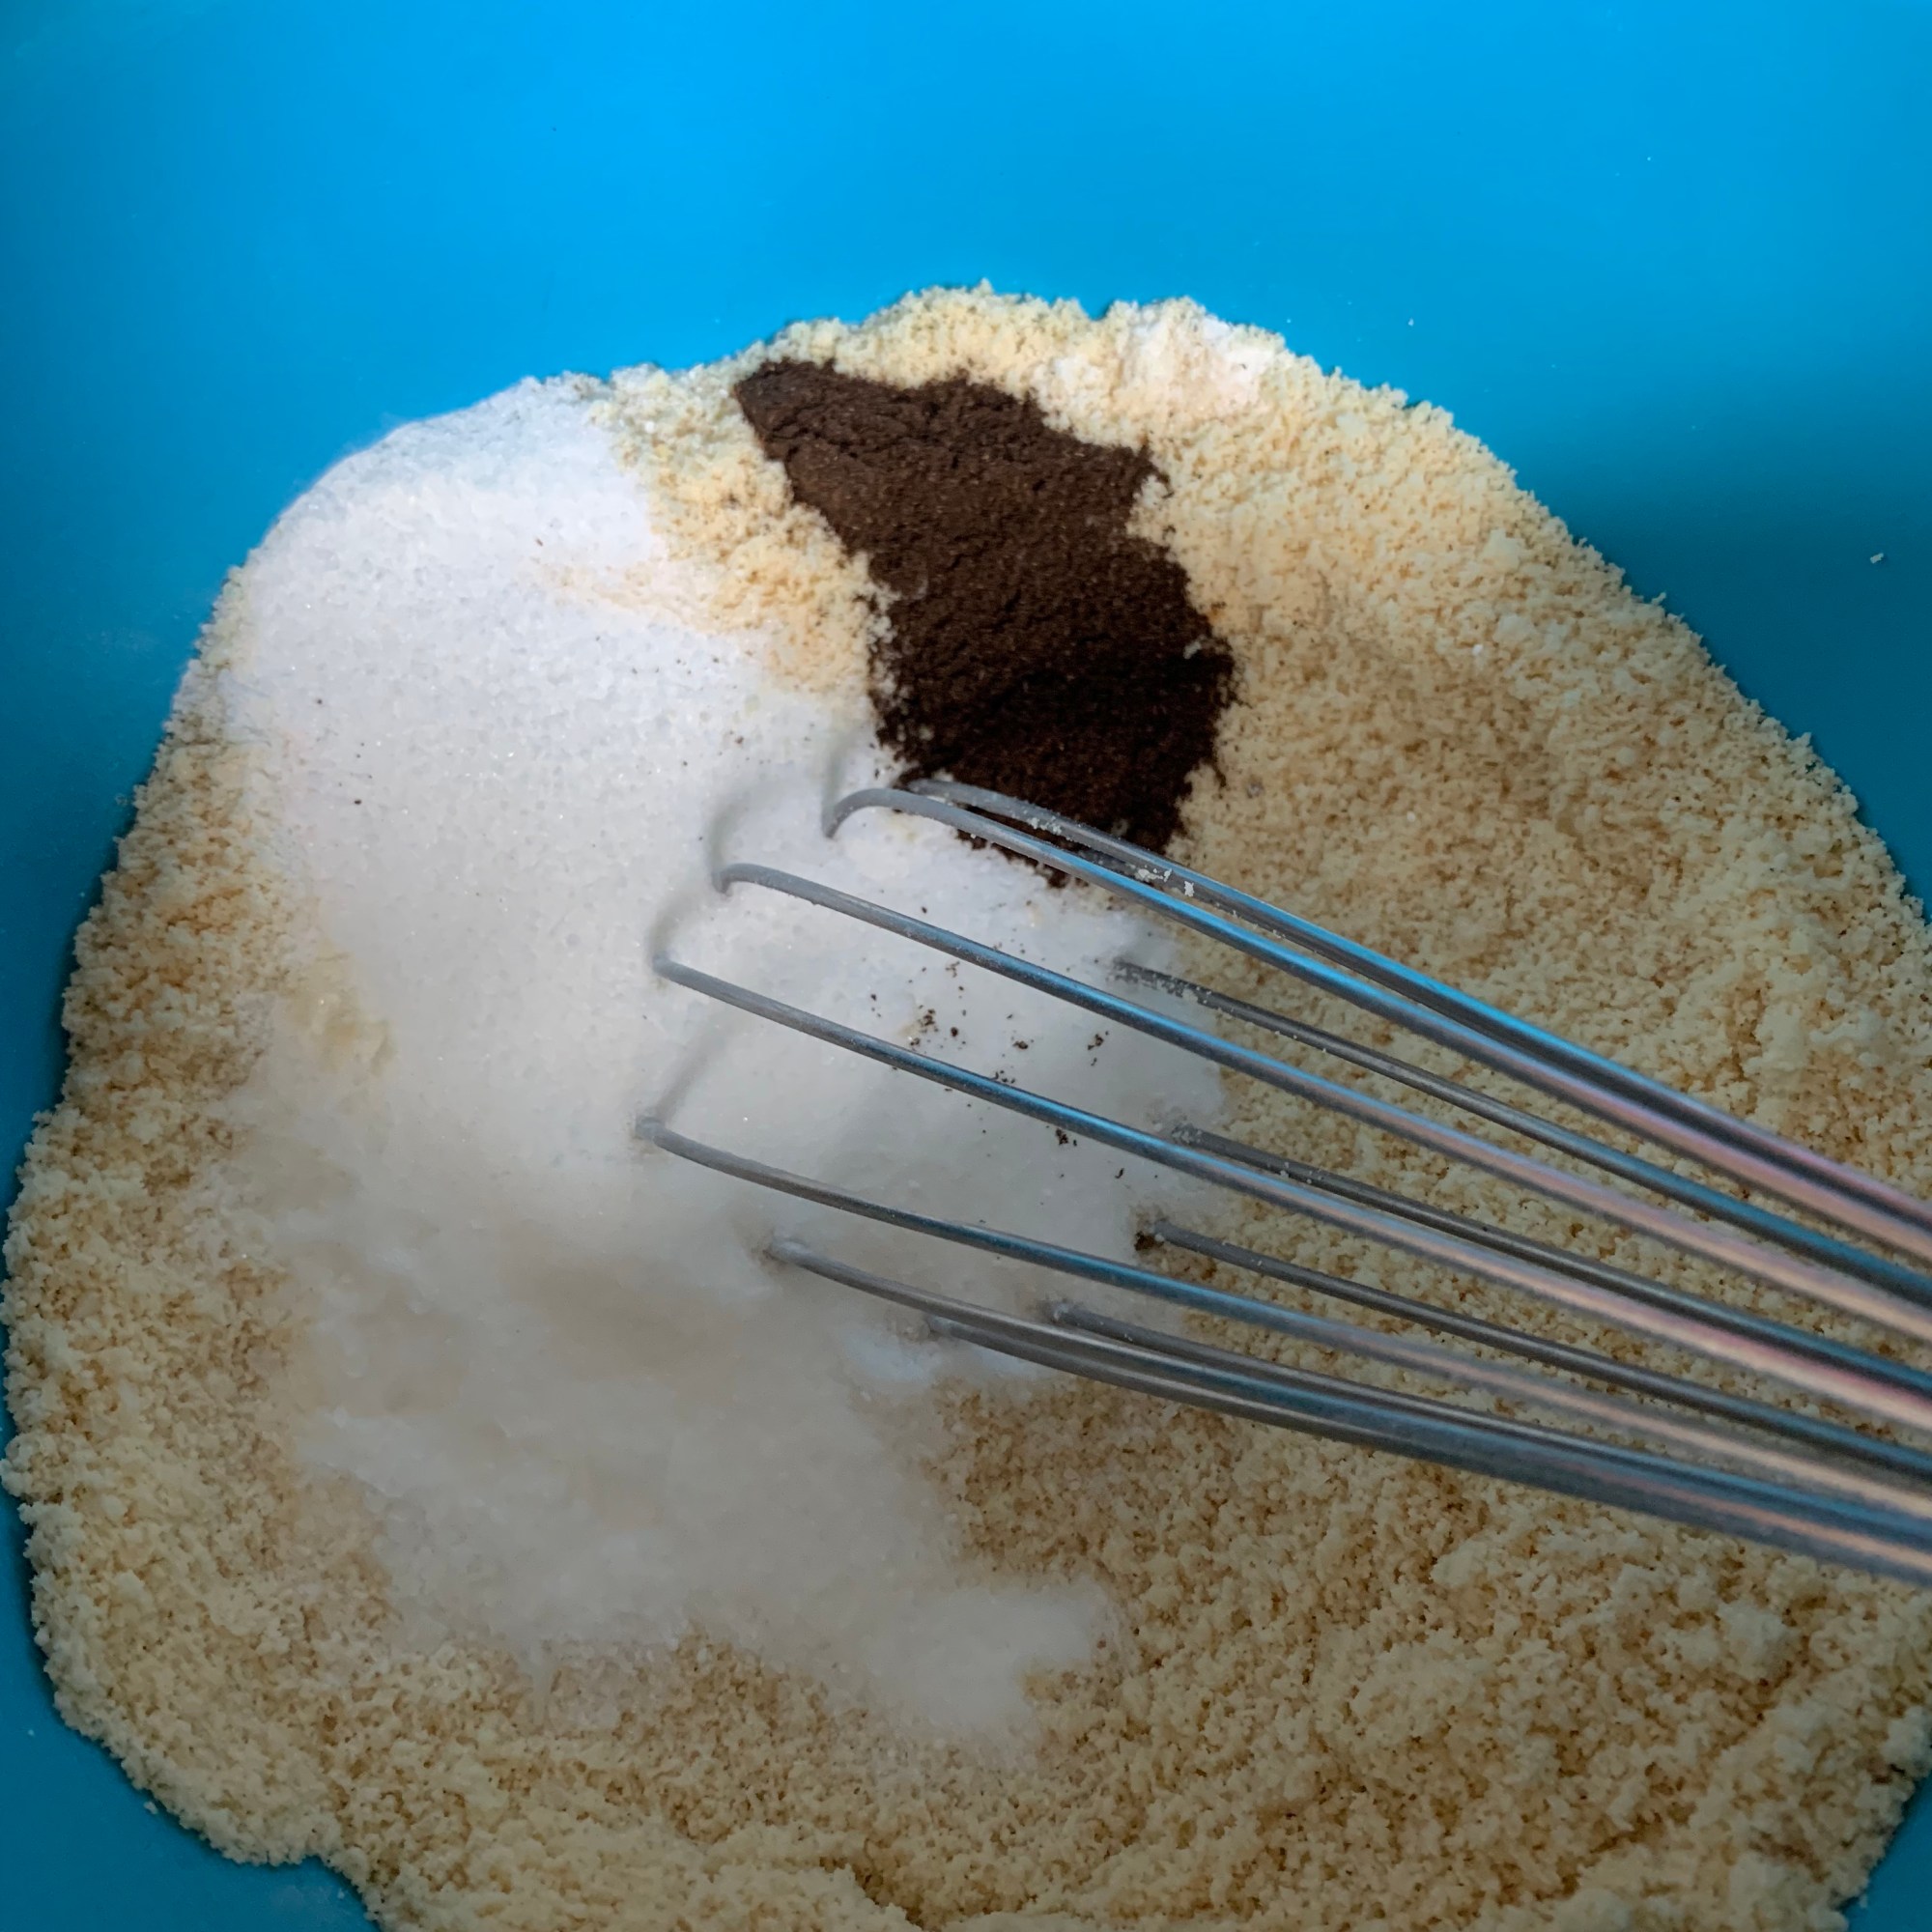
- 3 cups almond flour
- 1/3 cup Swerve Sweetener
- 1 tbsp baking powder (I used a gluten-free baking powder)
- 1 tsp vanilla powder ground vanilla beans OR seeds scraped out of 1 vanilla bean OR 1 tsp vanilla extract
- 1/4 tsp salt
- 2 large eggs
- 1/4 cup (2oz) melted butter (I used a plant-based butter)
- 2 tbsp double cream (I used a plant-based double cream)
- 1/2 tsp vanilla extract
Glaze:
- 1/2 cup powdered Swerve Sweetener
- 1/2 tsp vanilla powder OR seeds of 1/2 a vanilla bean OR 1/2 tsp vanilla extract
- 1/4 cup double cream (I used a plant-based double cream)
- Water if your glaze is too thick
Method:
Scones:
- Preheat oven to 185C/325F.
- Line a large baking tray with grease-proof paper or a silicone liner.
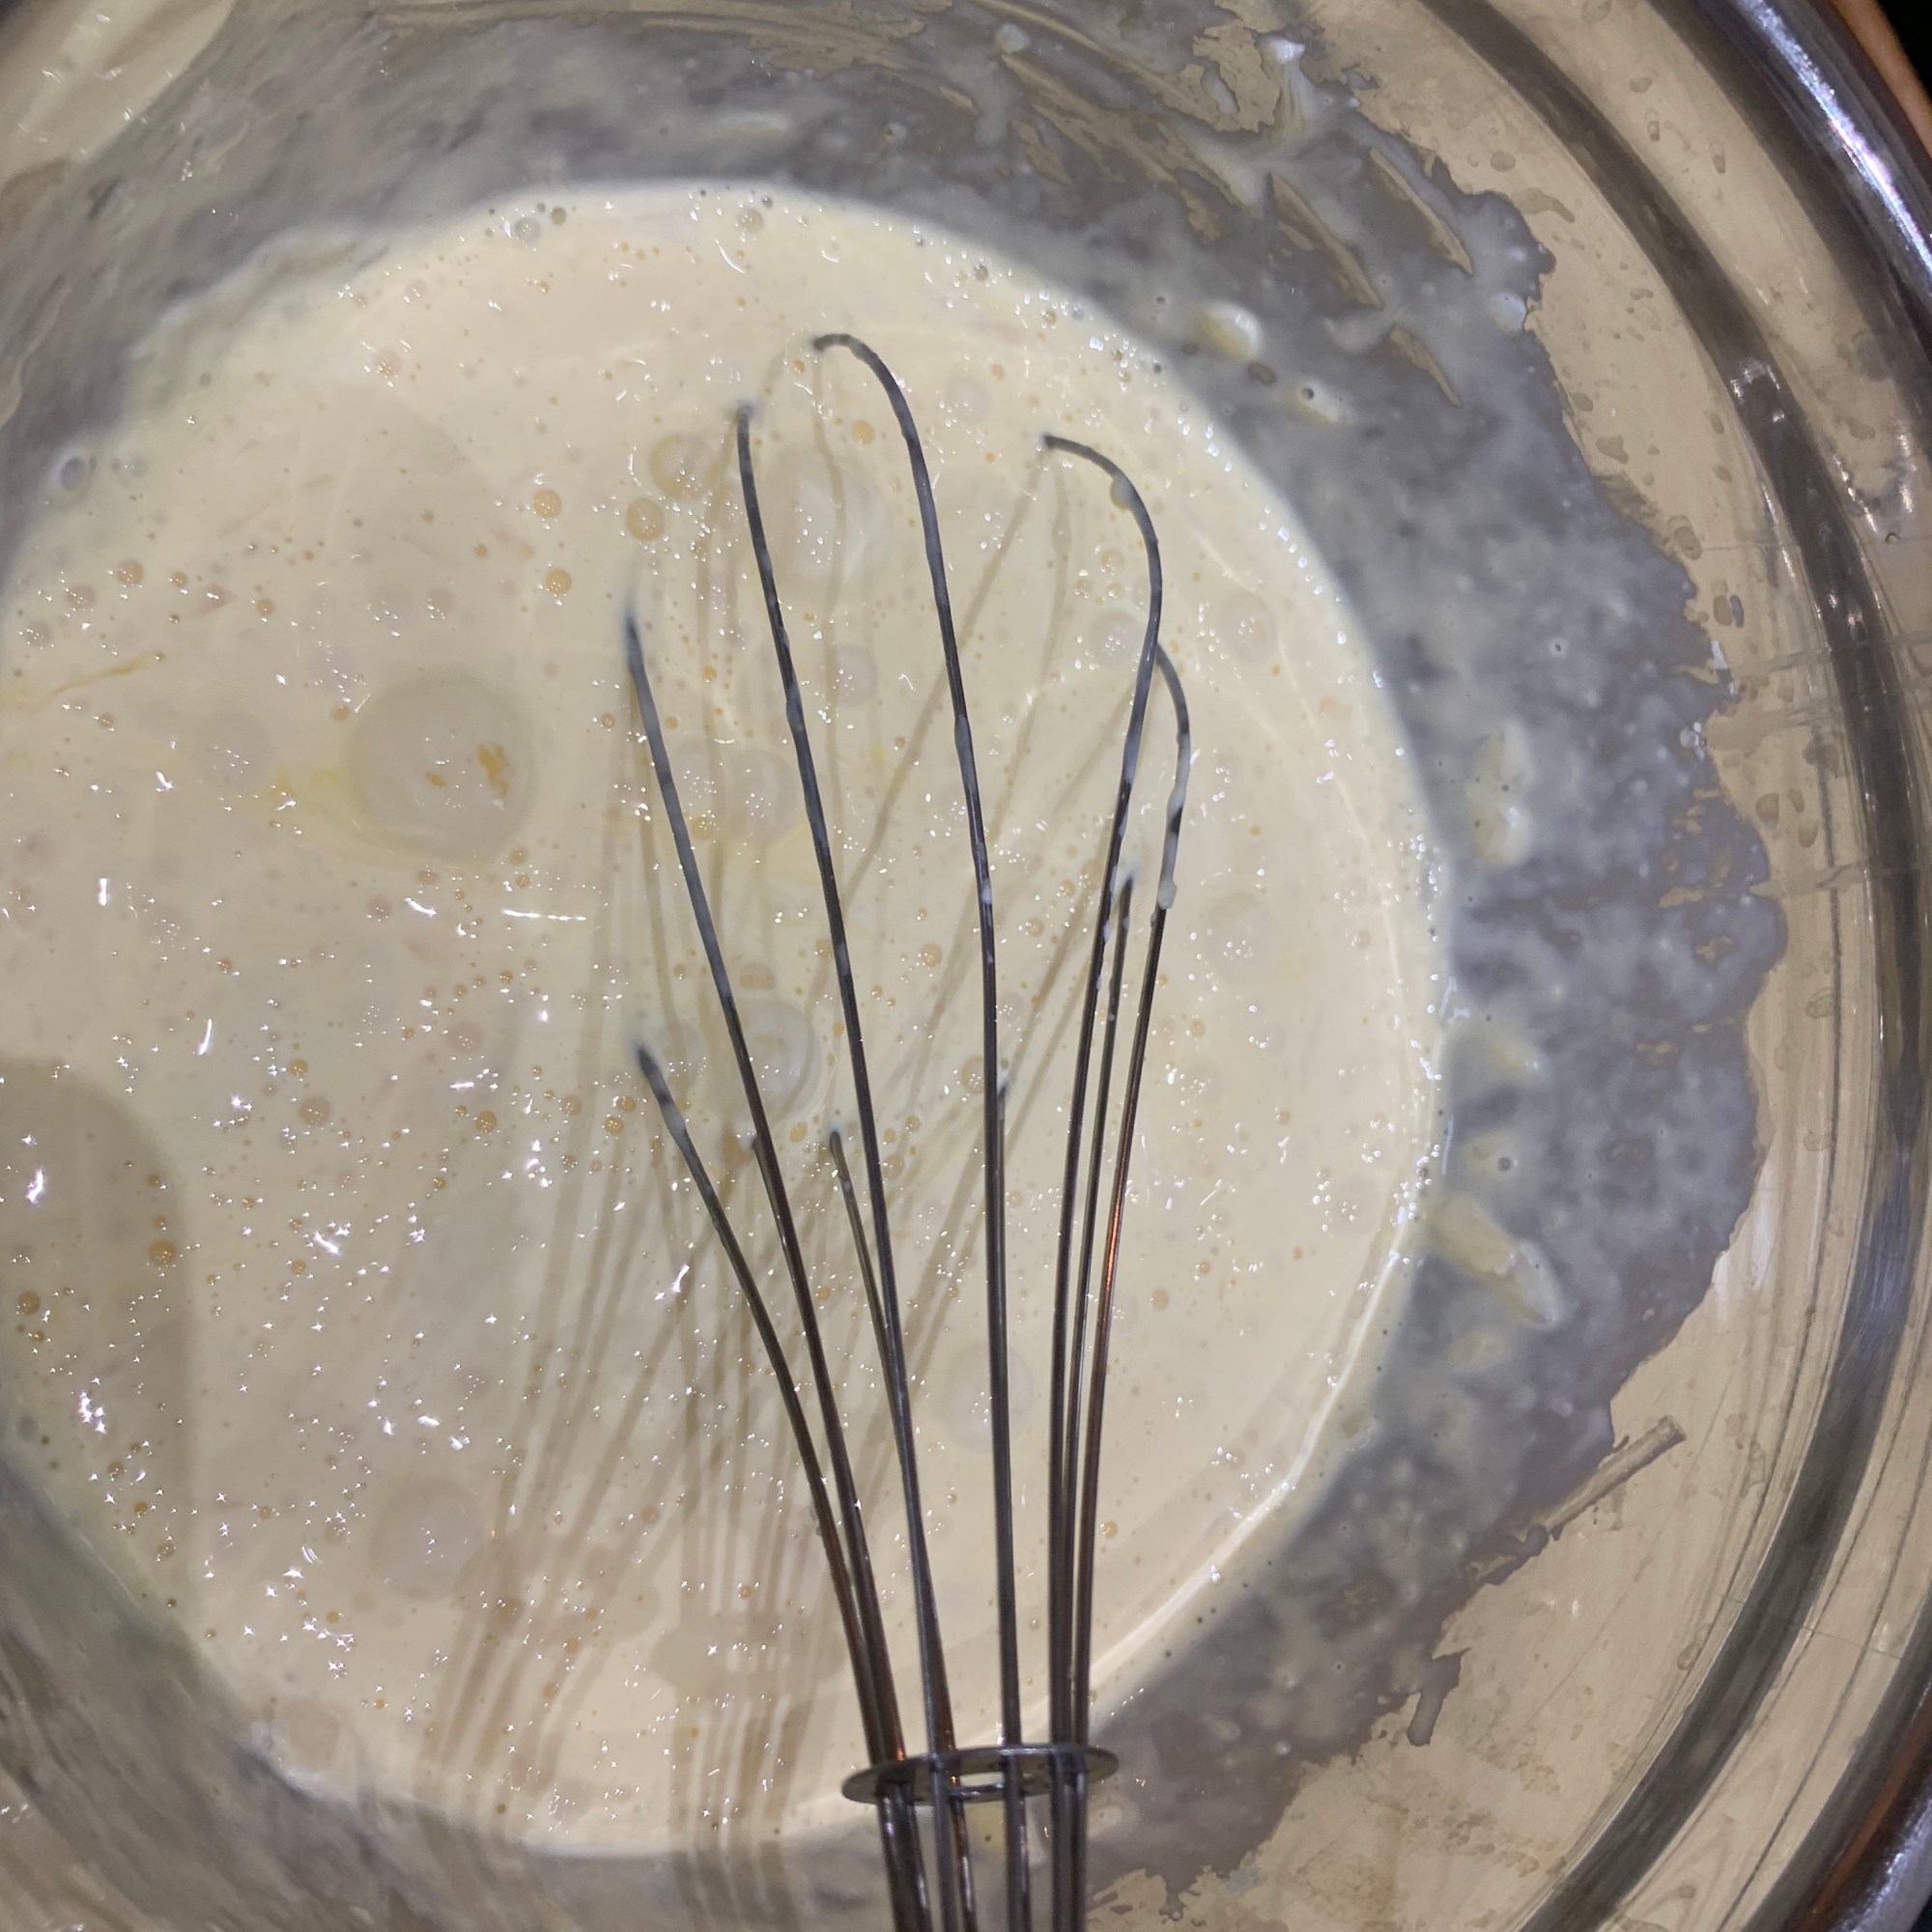
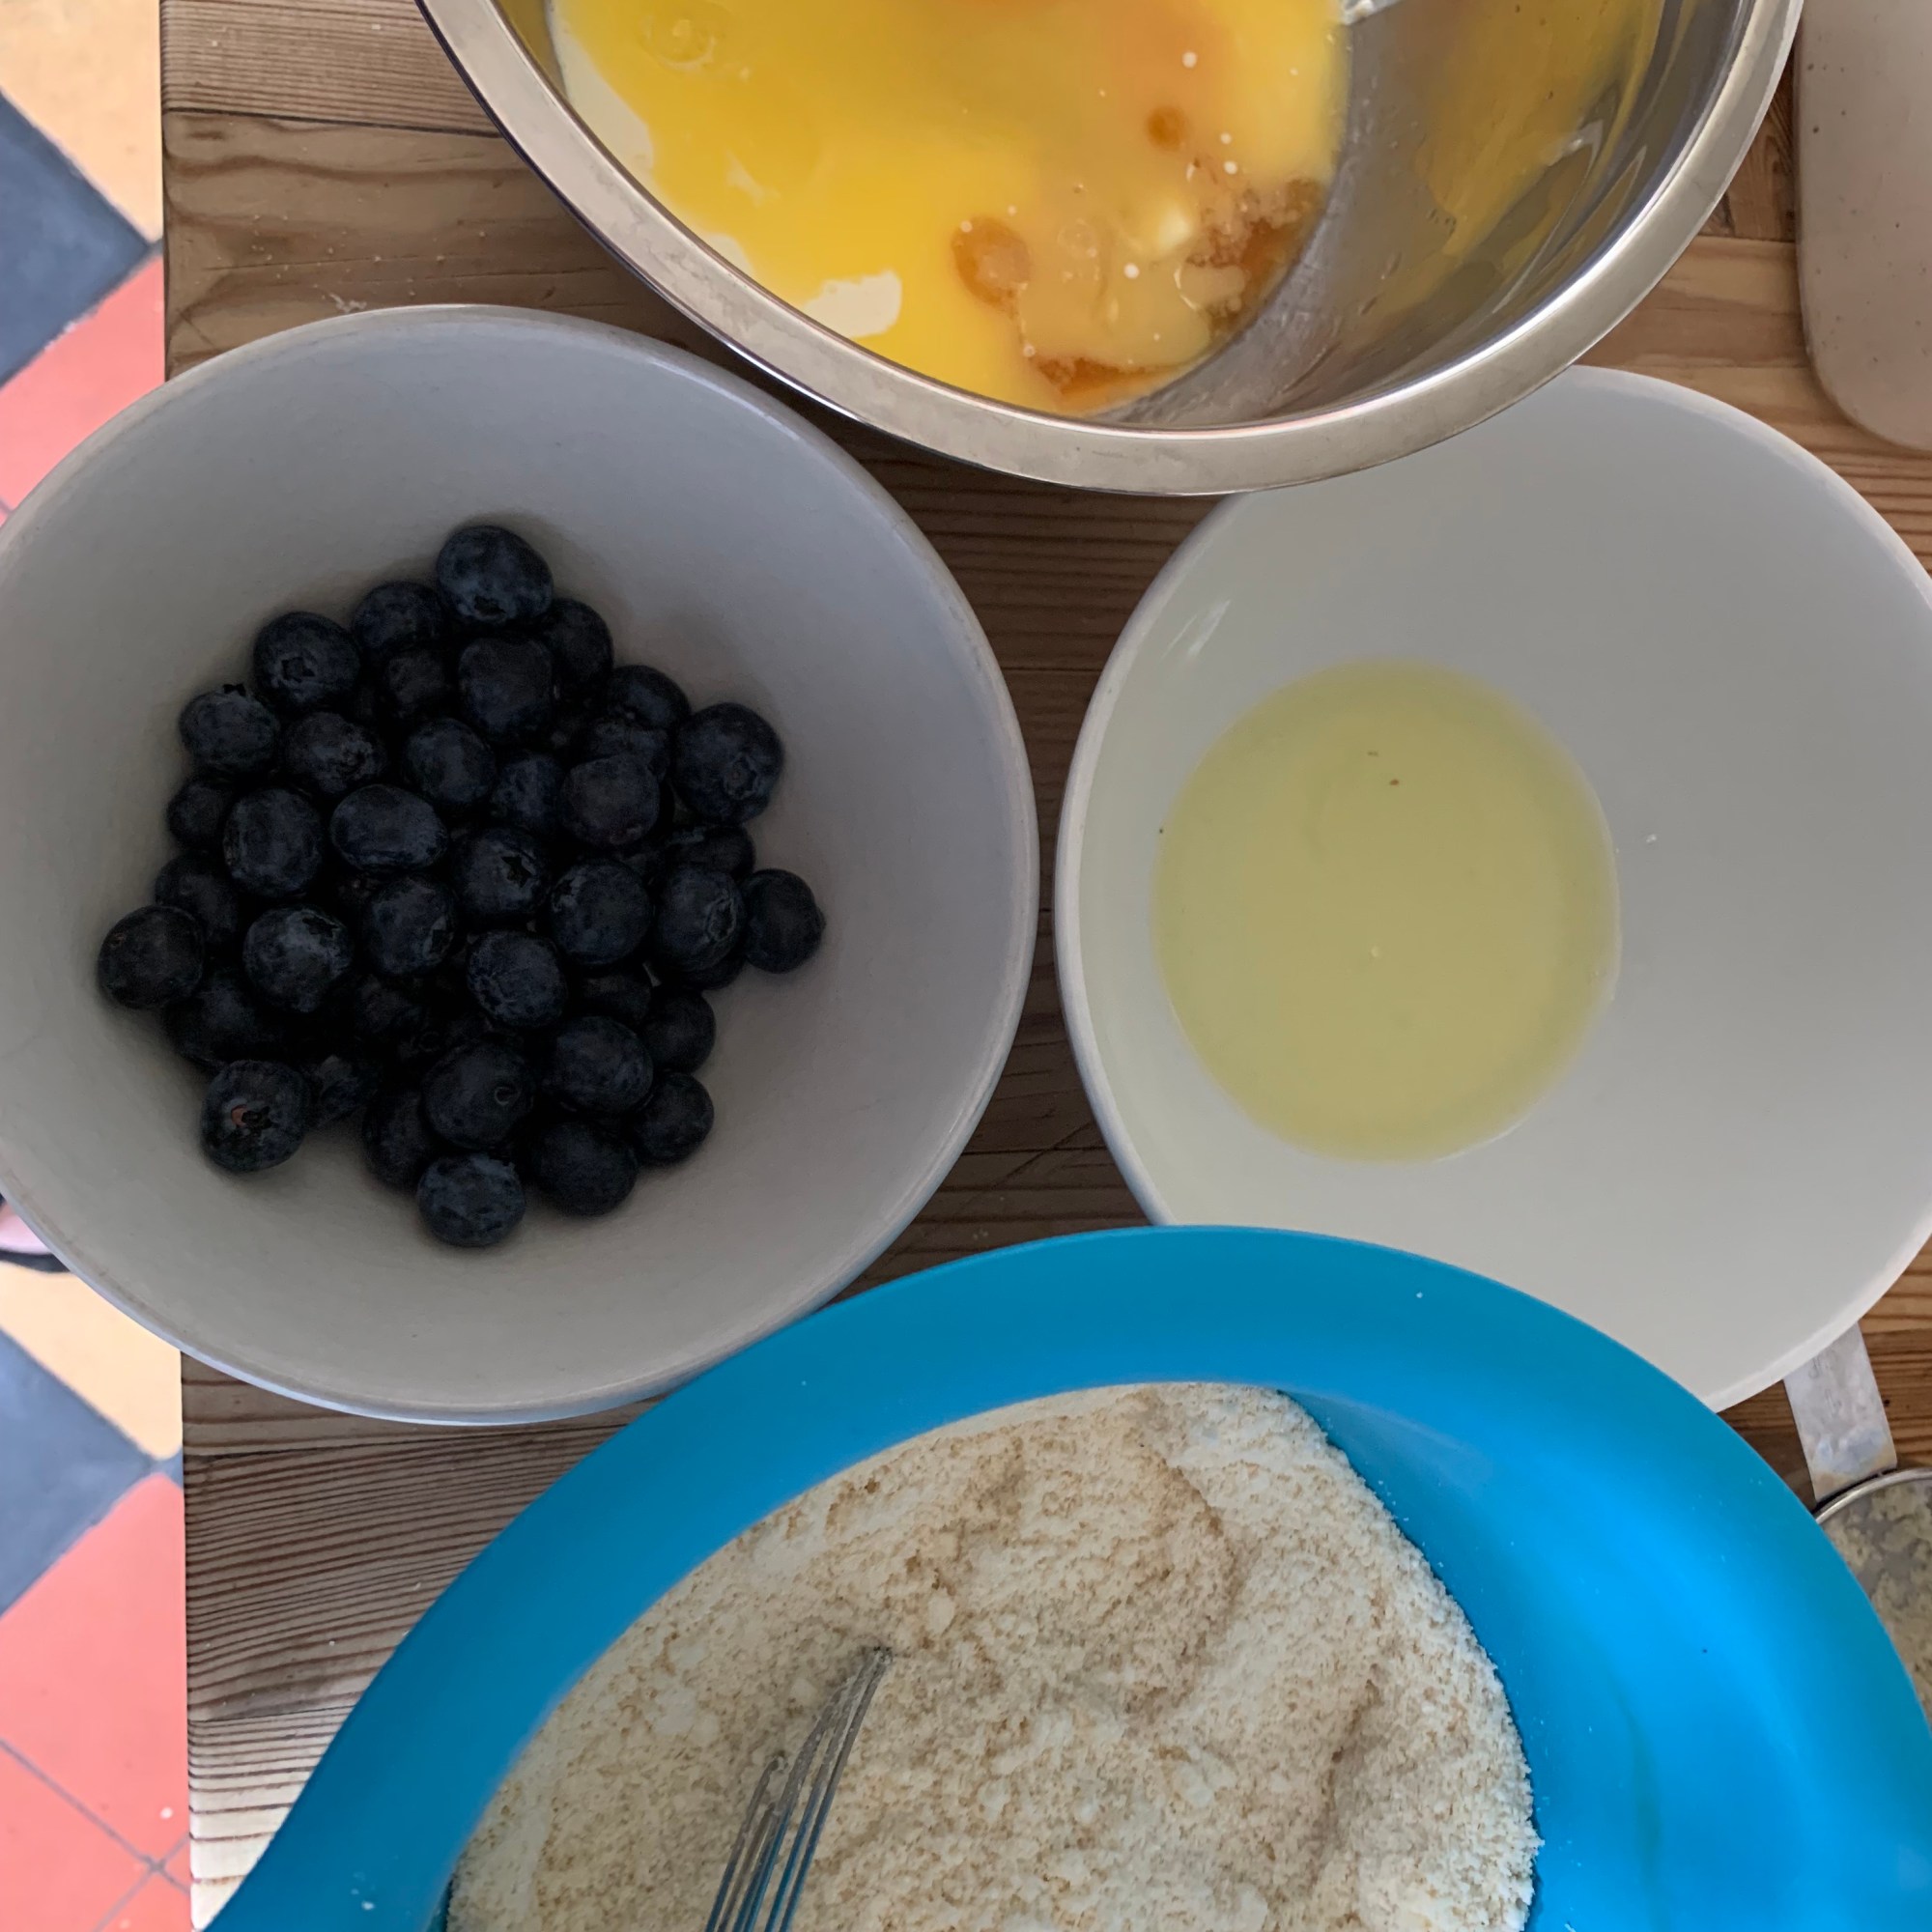
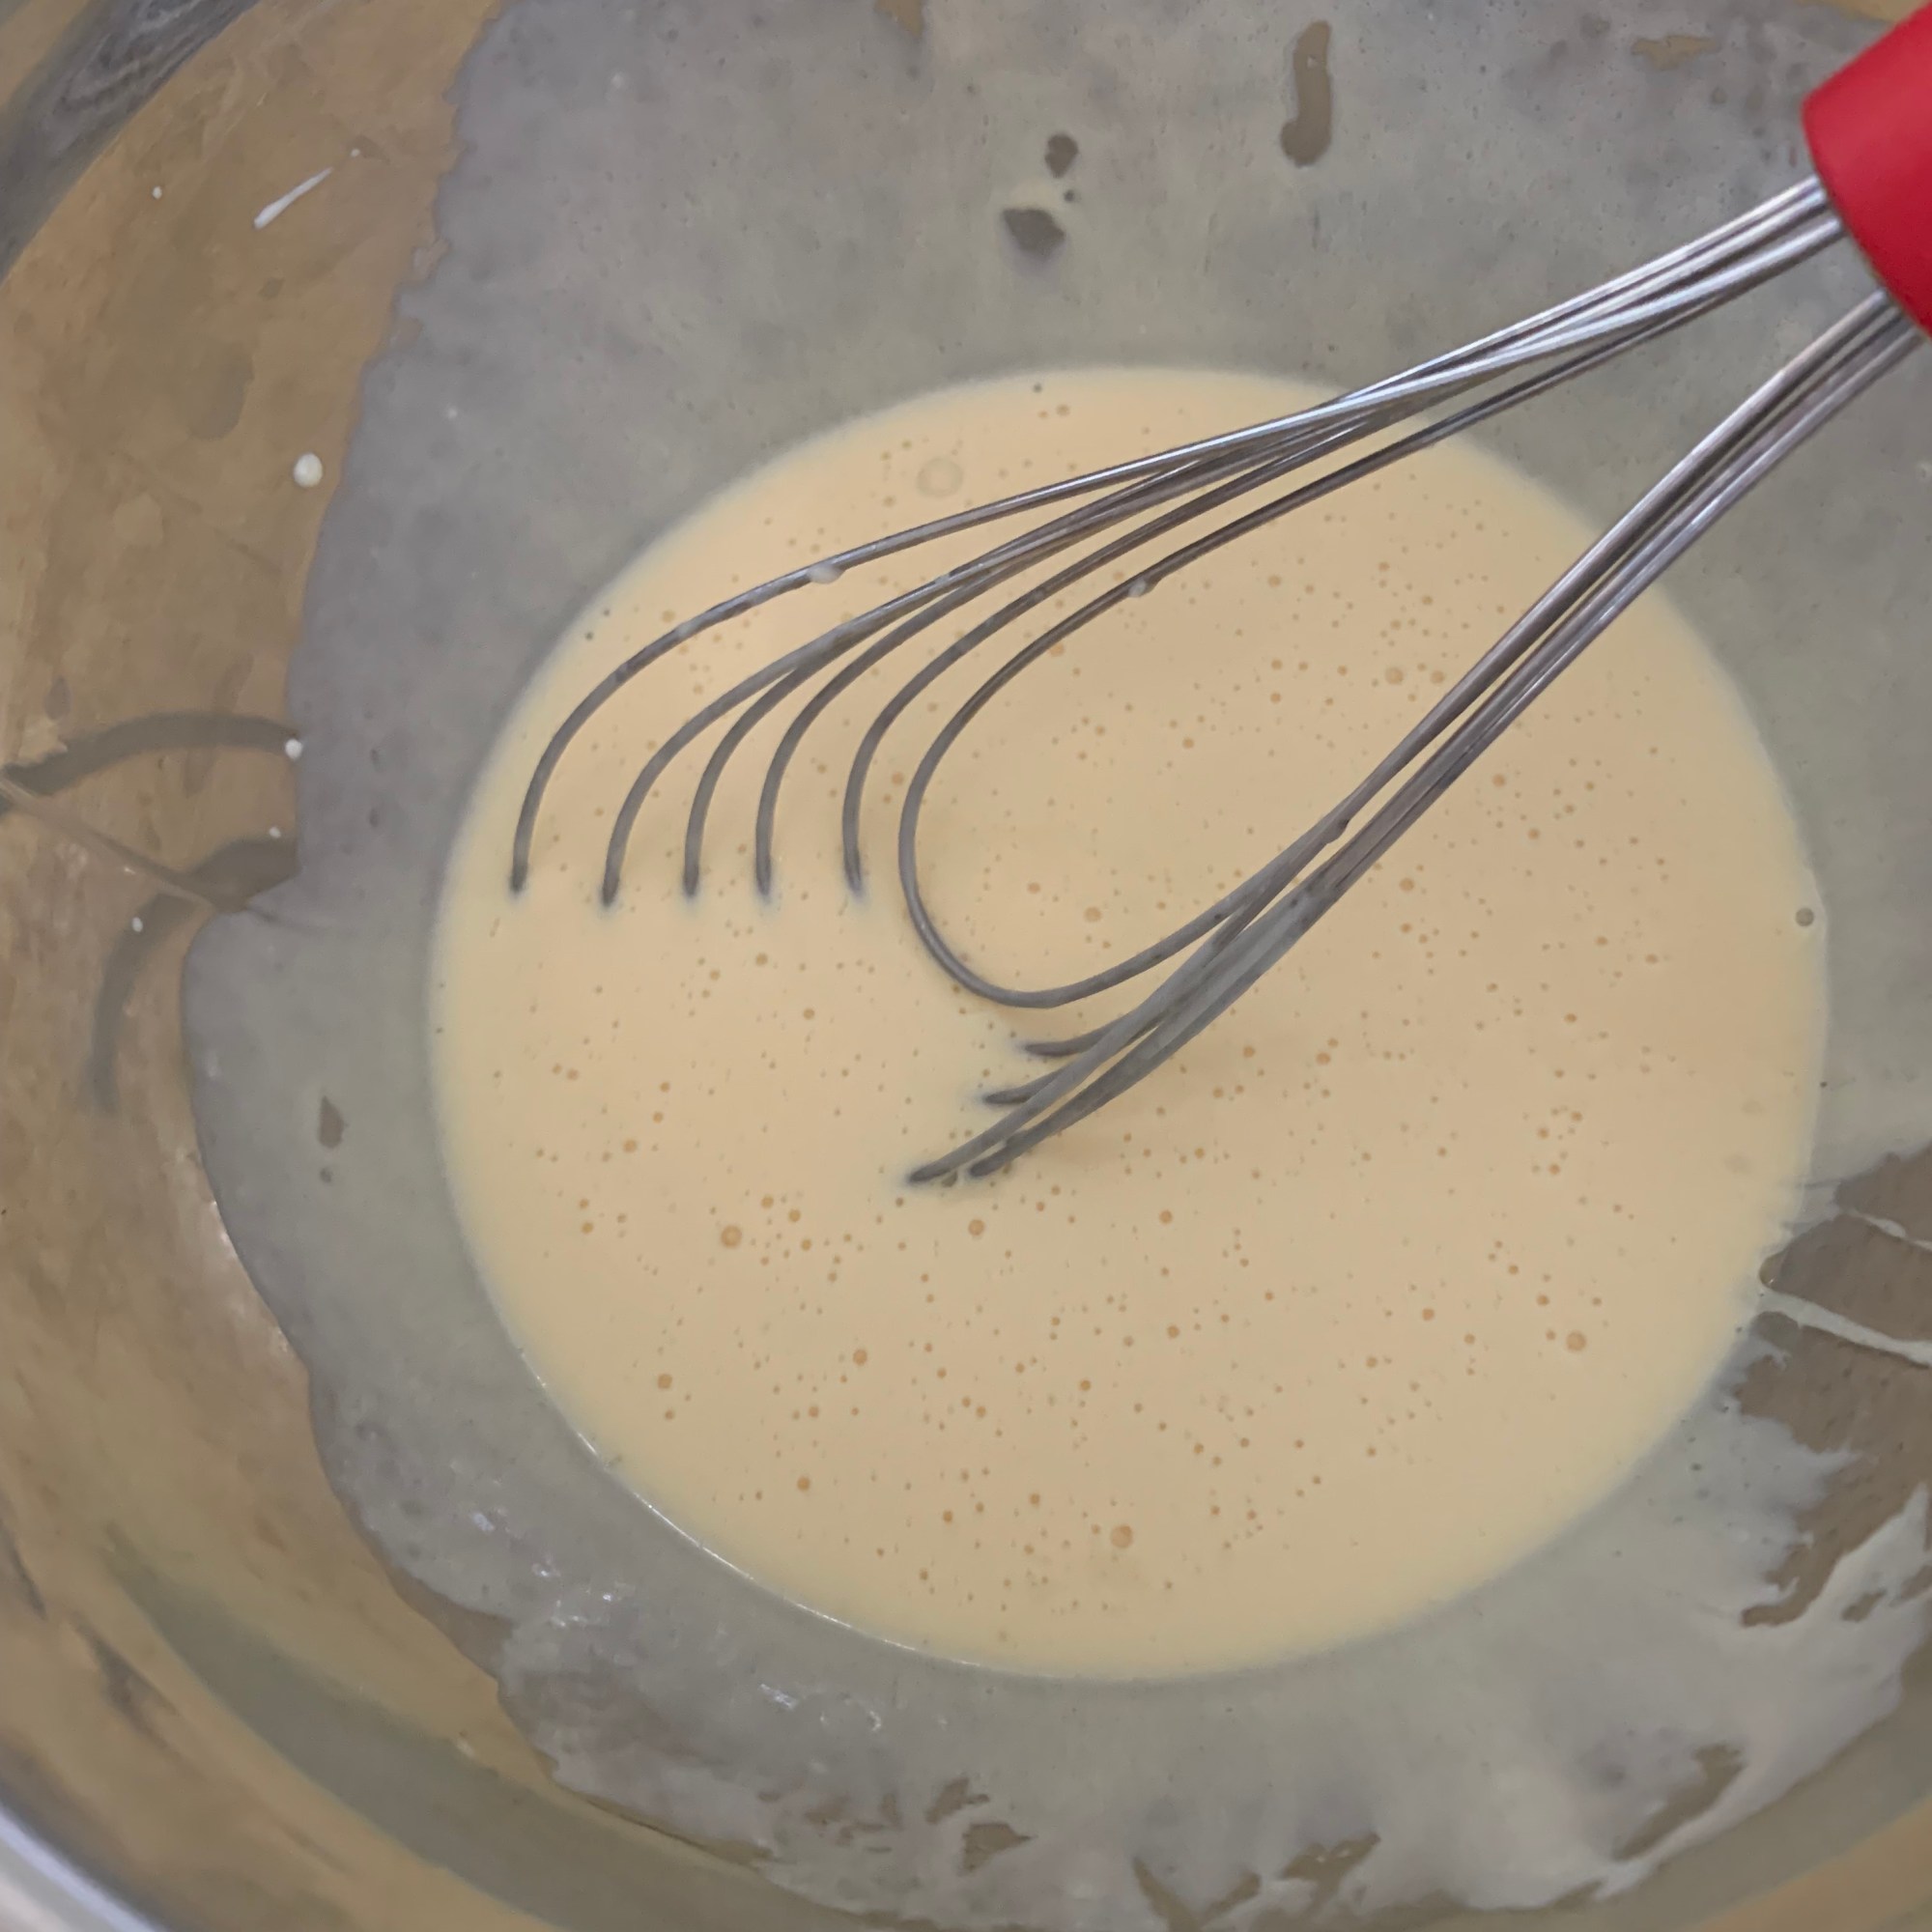
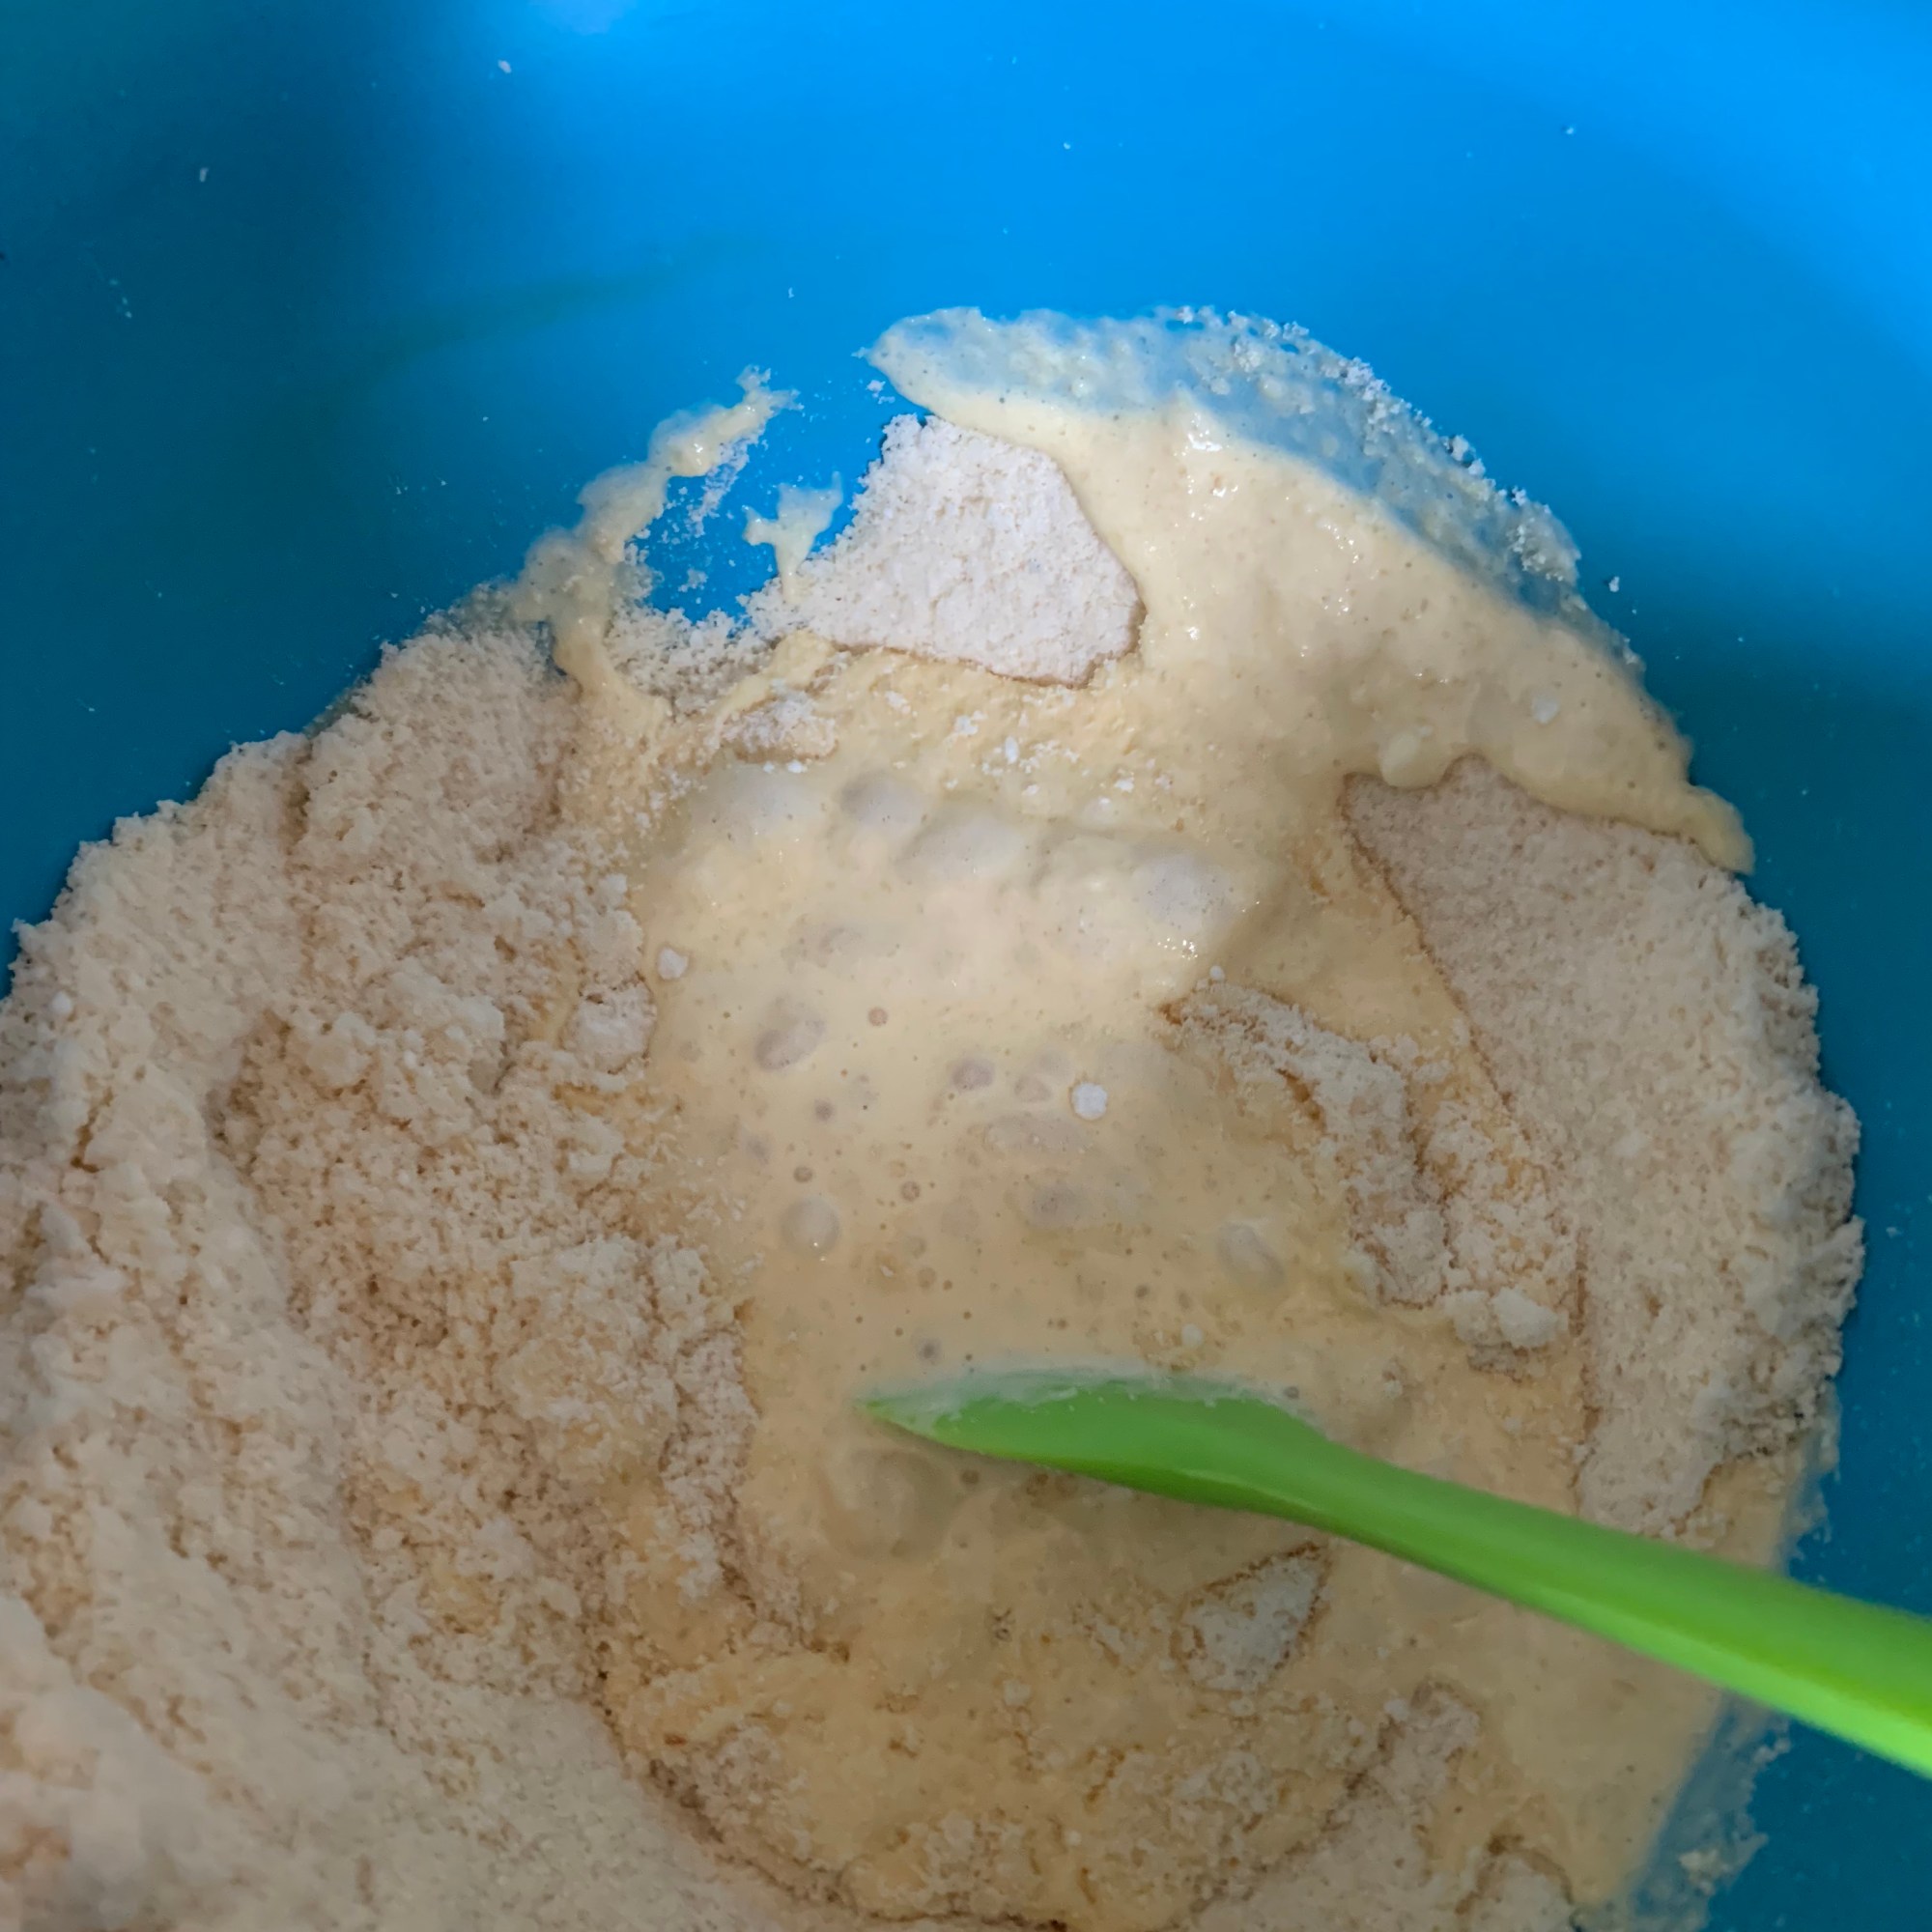
- In a large bowl, whisk together the almond flour, sweetener, baking powder, vanilla powder/beans, and salt. Until well combined.
- Next, stir in eggs, melted butter, double cream and vanilla extract until a dough starts to come together.


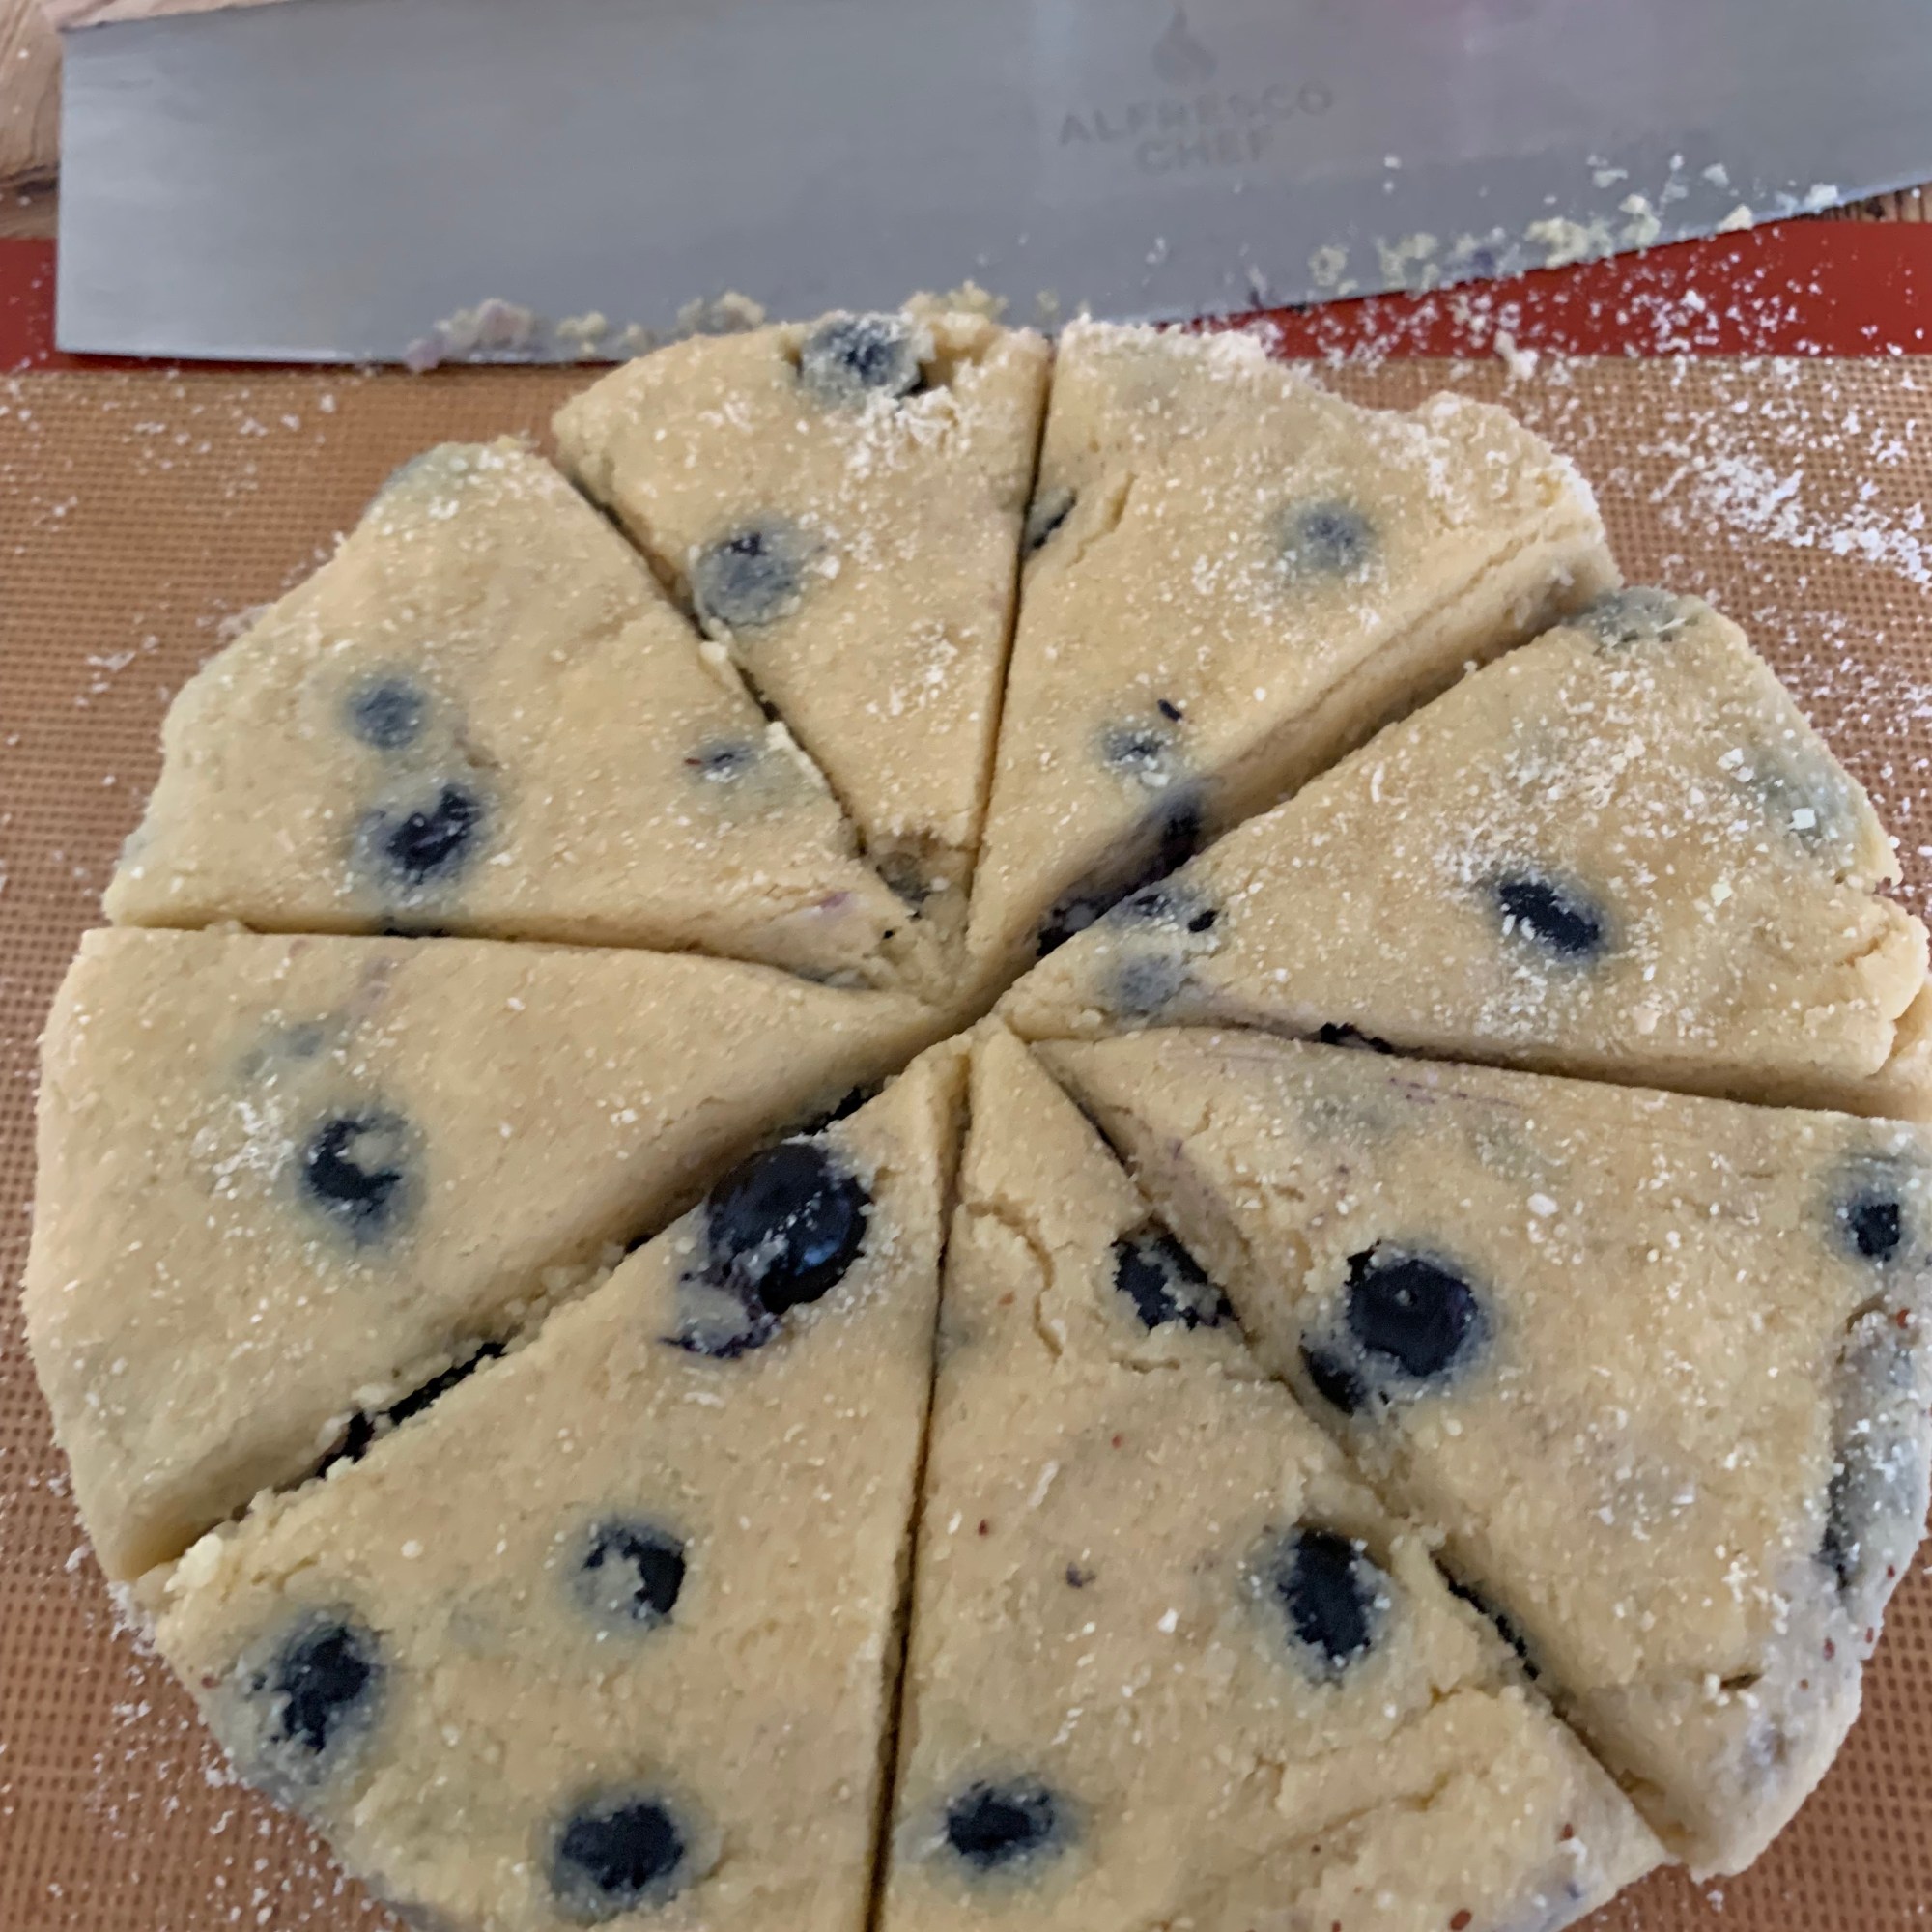
- Split the dough into 3 equal portions and form into disks, each about 1 inch thick and 5 to 6 inches in diameter.
- Cut each disk into 8 equal pieces.
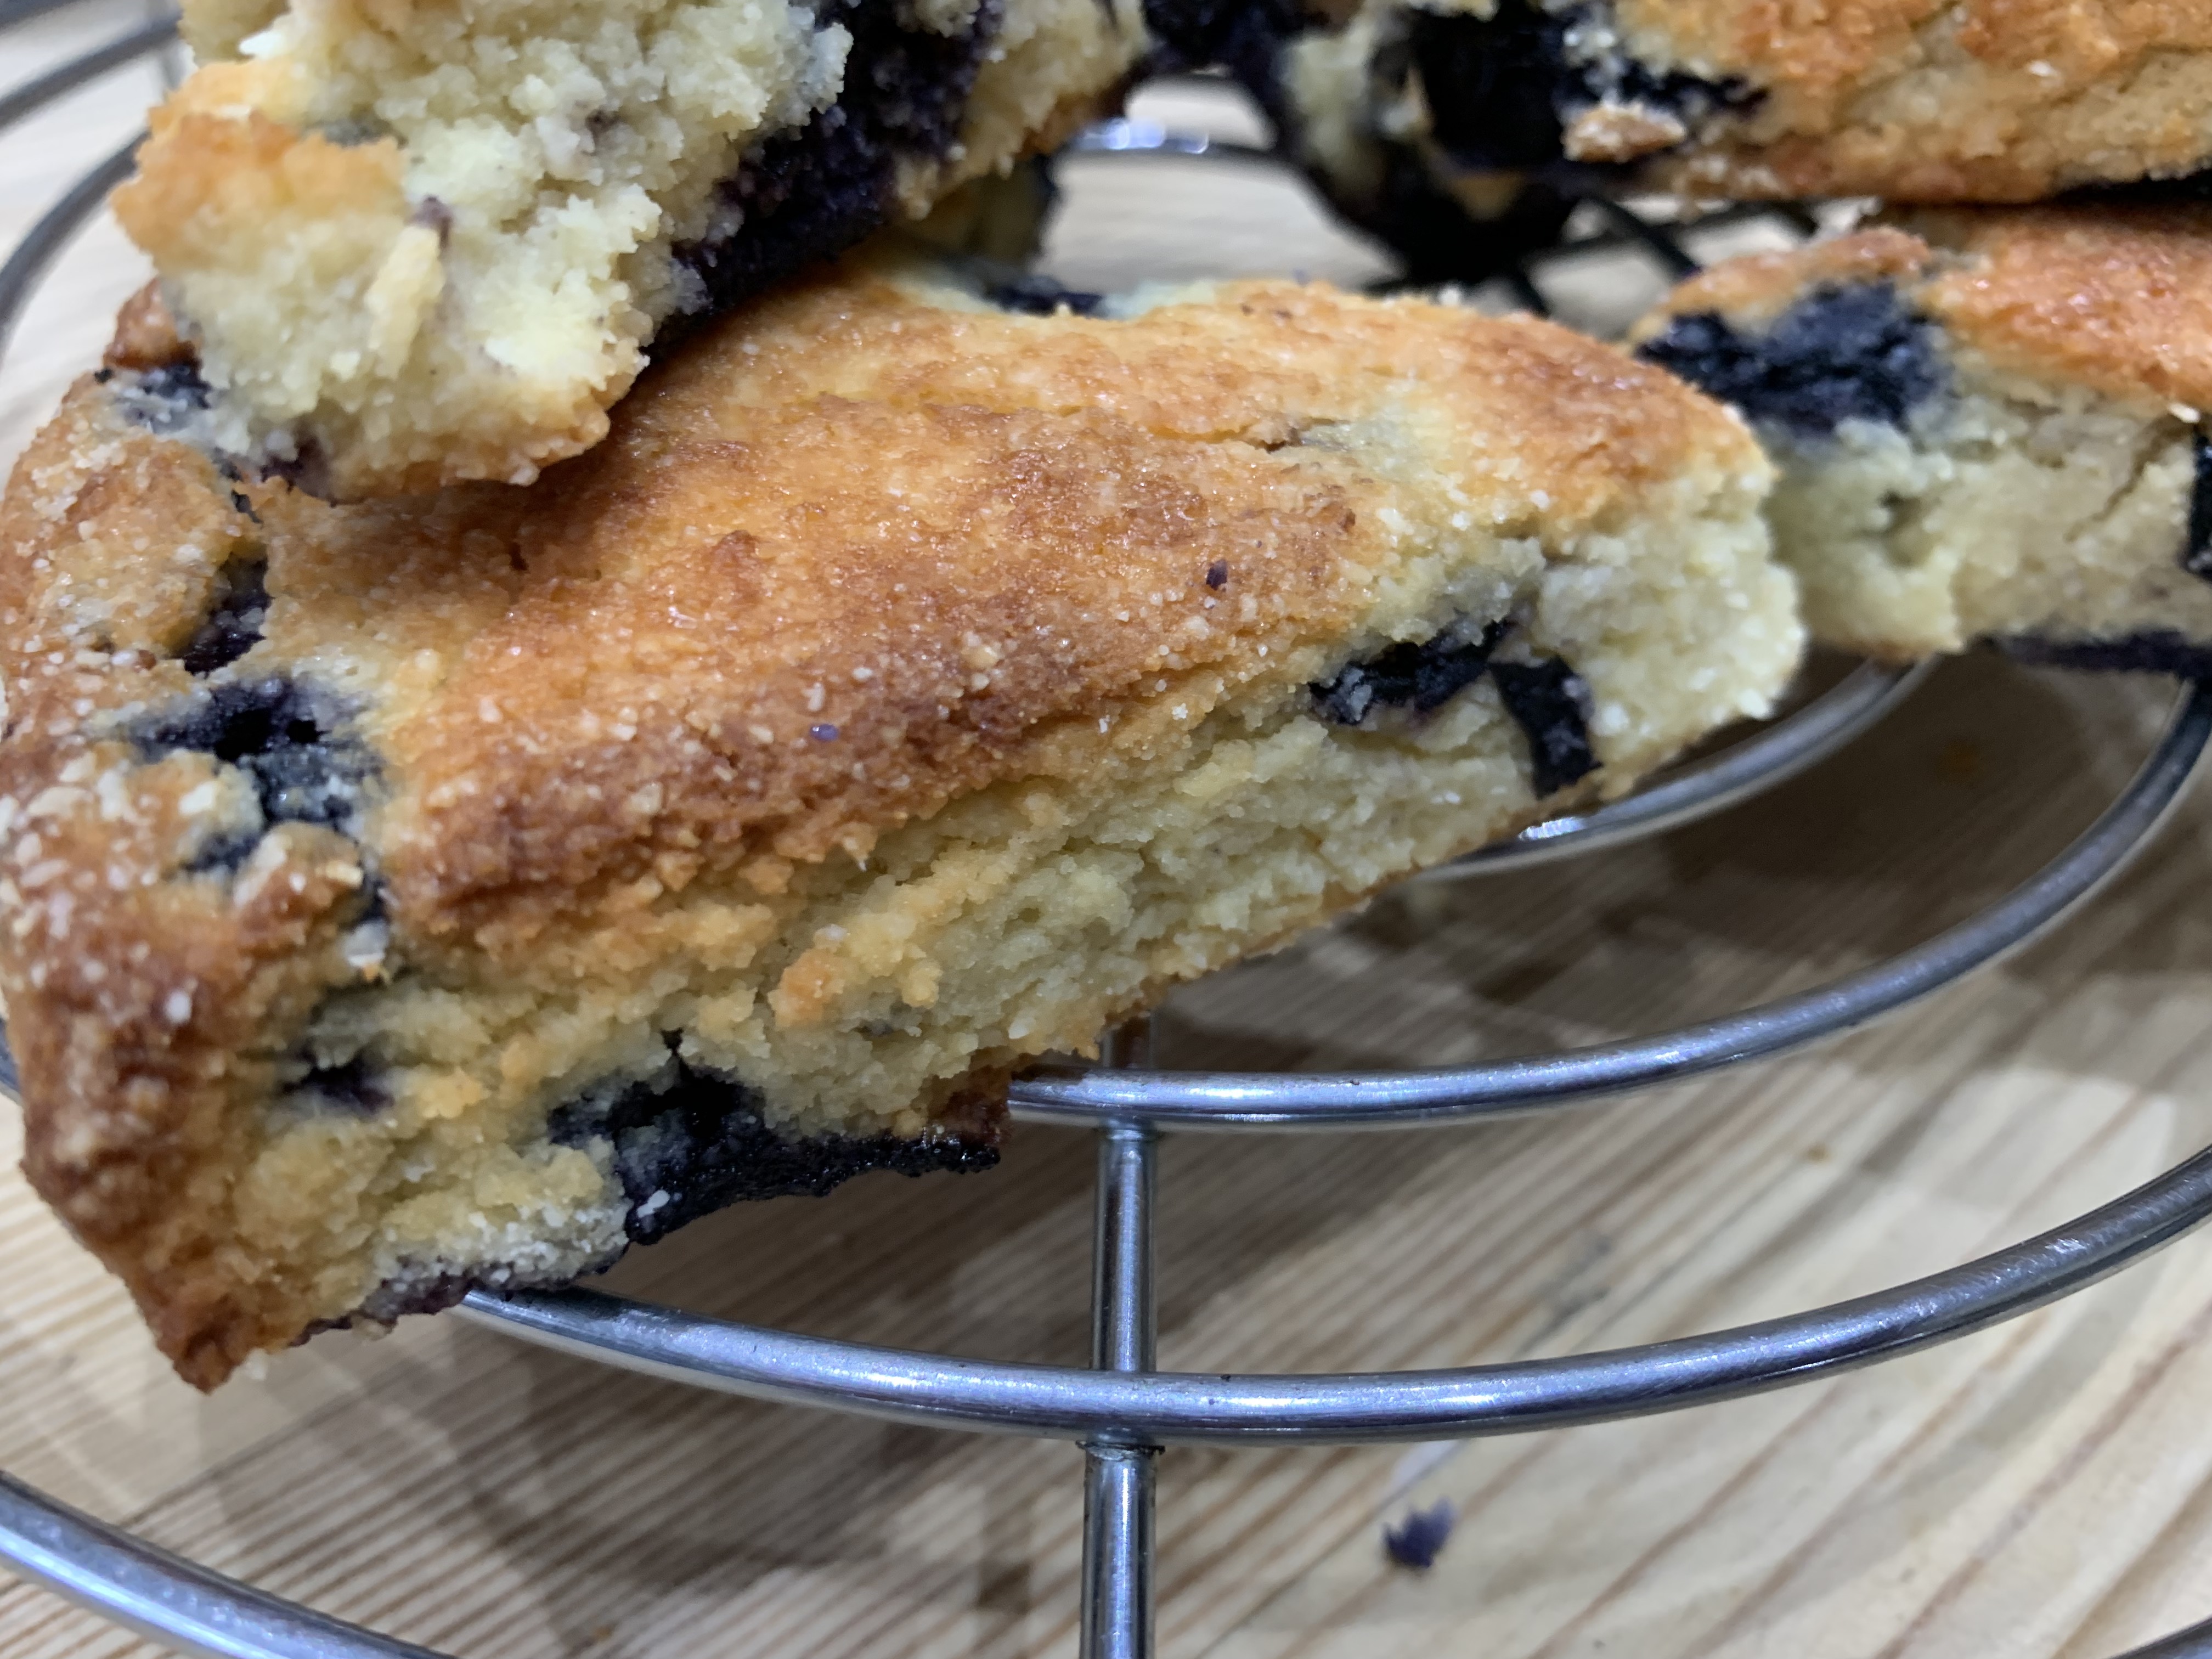
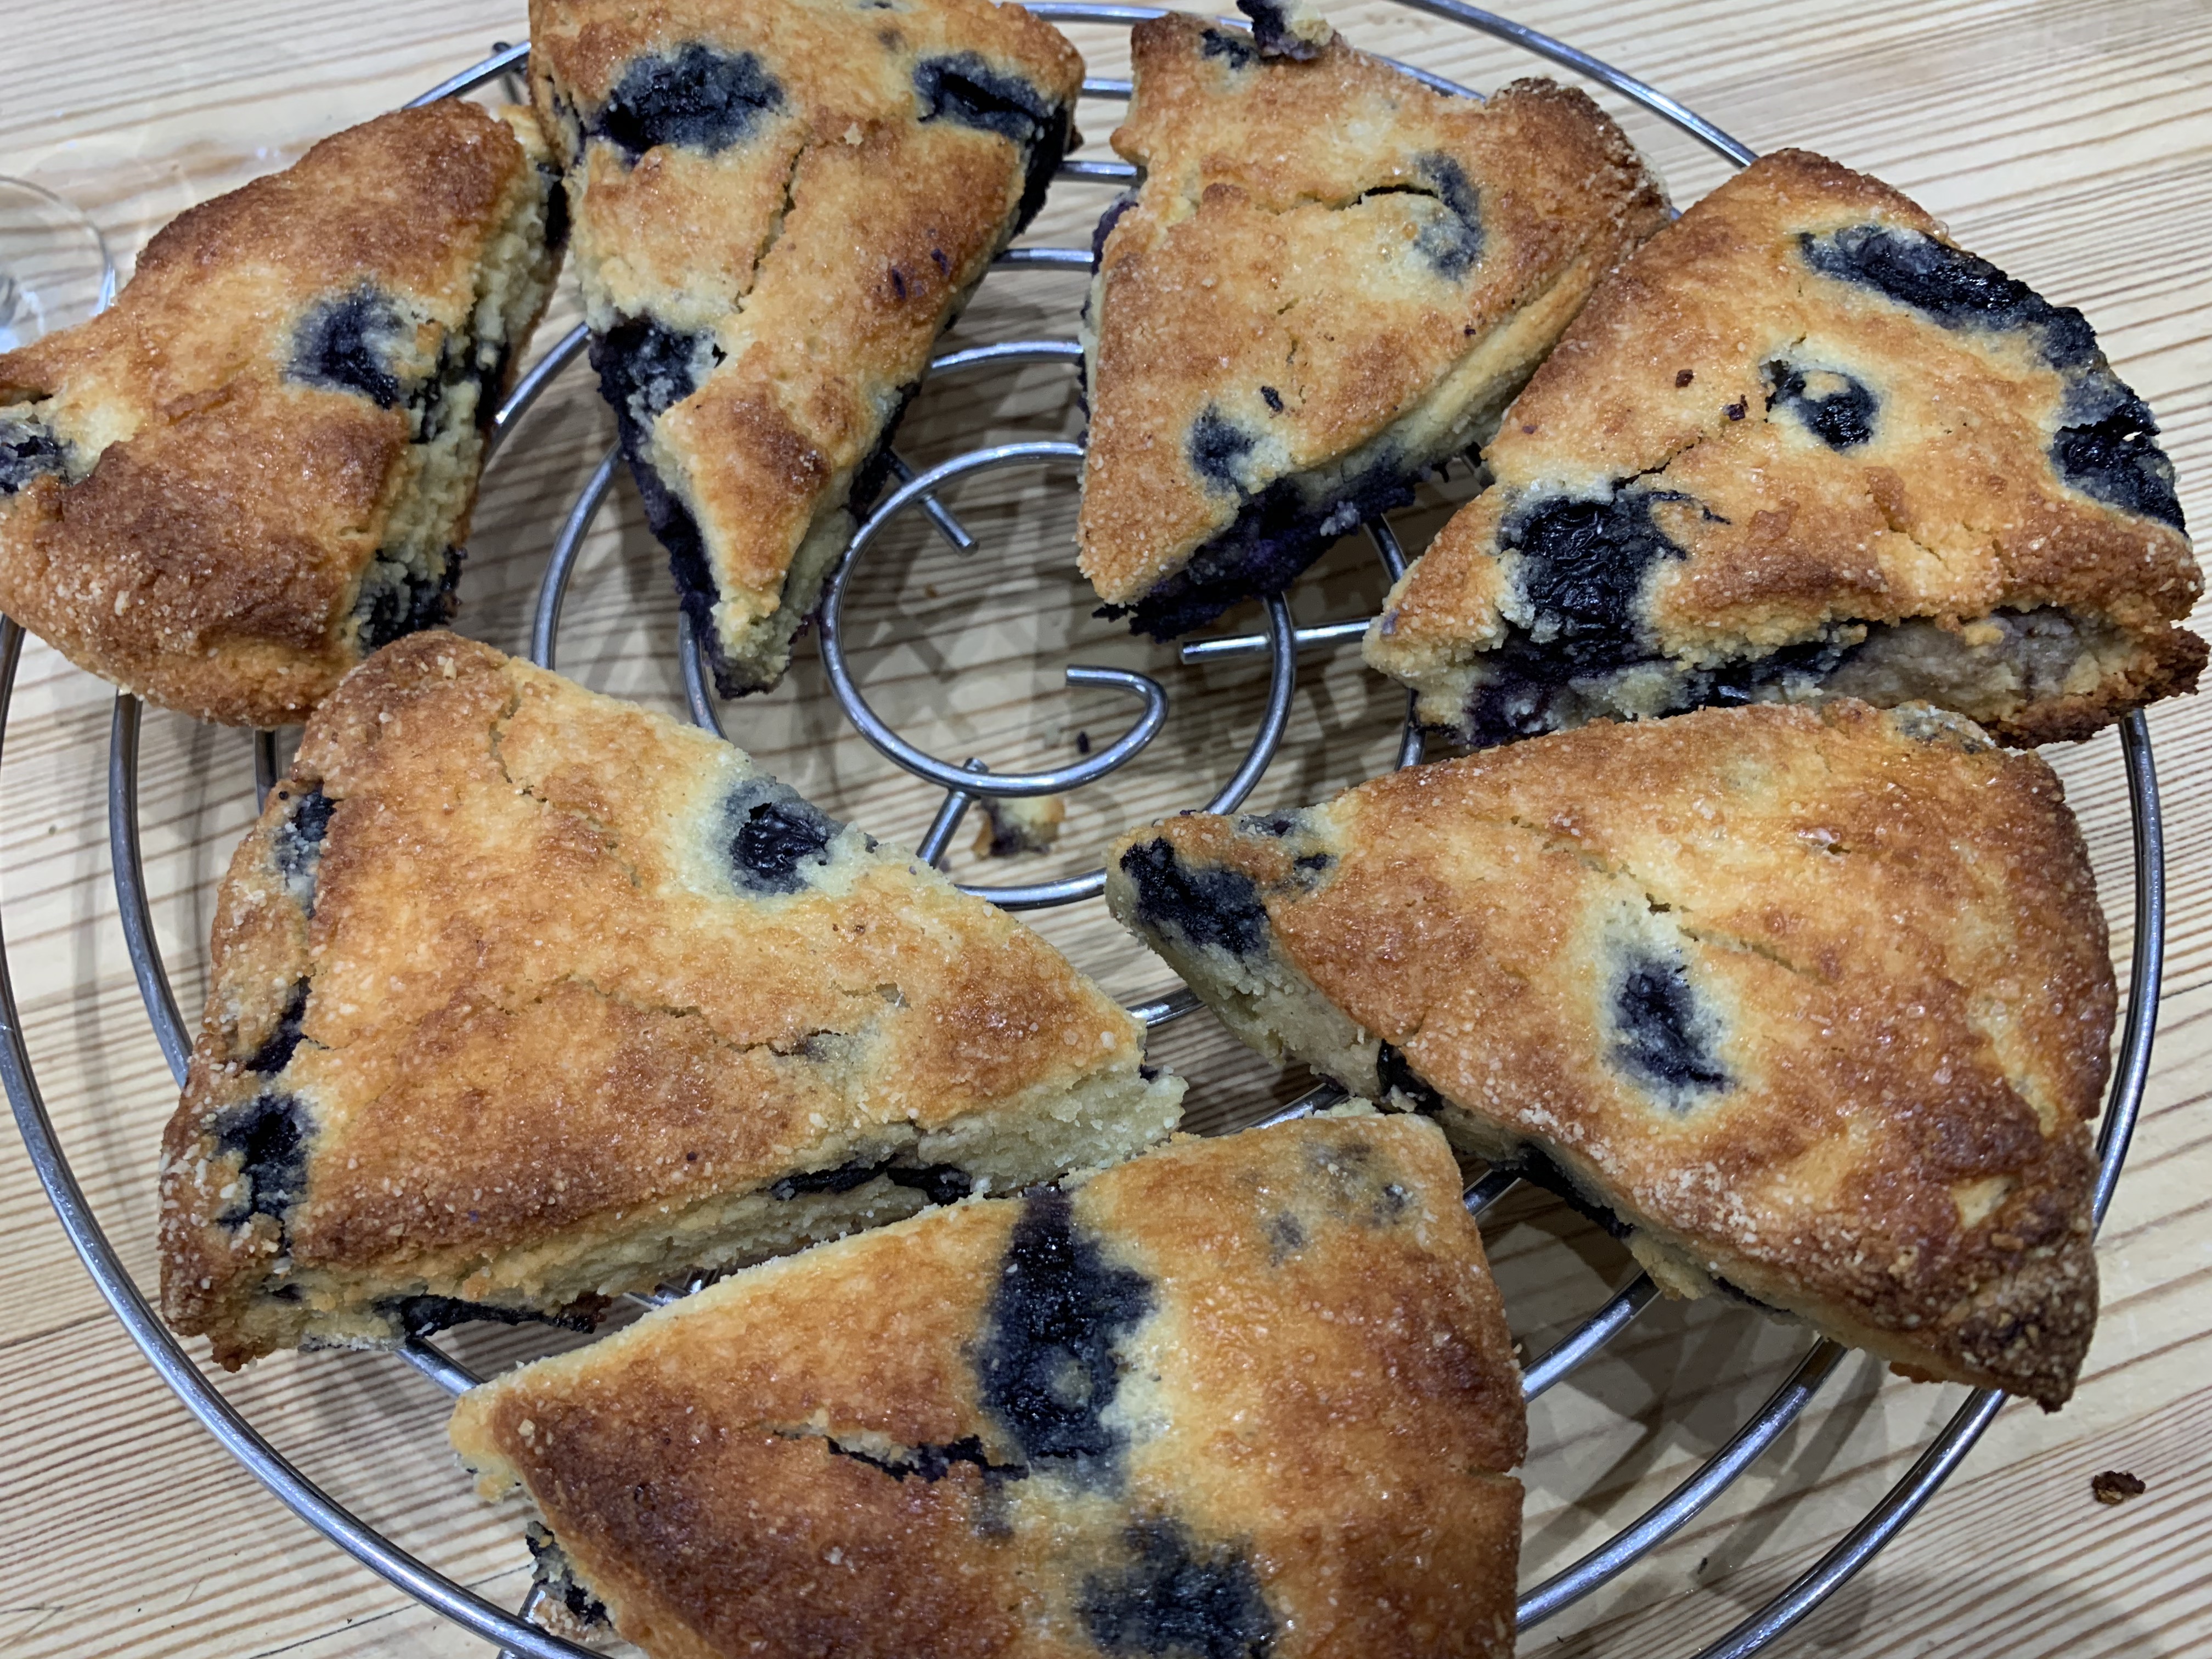
- Separate the scones and place on the prepared baking tray and bake 15 to 18 minutes, or until just golden and firm to the touch.
- Remove and allow to cool completely.
Glaze:
- In a medium bowl, whisk together sweetener, vanilla powder, and cream until well combined.
- If your glaze is very thick, add water 1 teaspoon at a time until a dippable consistency is achieved.
- Dip the top of each scone into glaze and place on a baking rack until set.
- Serve & enjoy!!