Blog

Peanut butter chia pudding

I was in the mood for something a bit different for breakfast, and found this recipe. It was very simple and easy to follow; just put all the ingredients together and blend in the processor. This was a quick and easy recipe. The pudding itself was smooth in texture, and had a nice flavour. I would make this again, and maybe experiment with different variations such as a chocolate flavour. Try it yourself, and enjoy!!!

Nutrition per pudding: calories 232 | fat 19g | carbs 10.2g | net carbs 6.4g | fibre 3.8g | sugar 3.4g | protein 8.5g

Ingredients:

  • 1 cup natural peanut butter (I used whole earth smooth peanut butter)
  • 1 1/4 cup unsweetened almond milk (I used unsweetened coconut milk instead)
  • 1/4 ground chia seeds
  • 1 tsp vanilla essence
  • 1/4 tsp salt
  • 1/4 cup sugar-free flavoured maple syrup
  • 2-3 drops monk fruit pure extract, optional

Method:

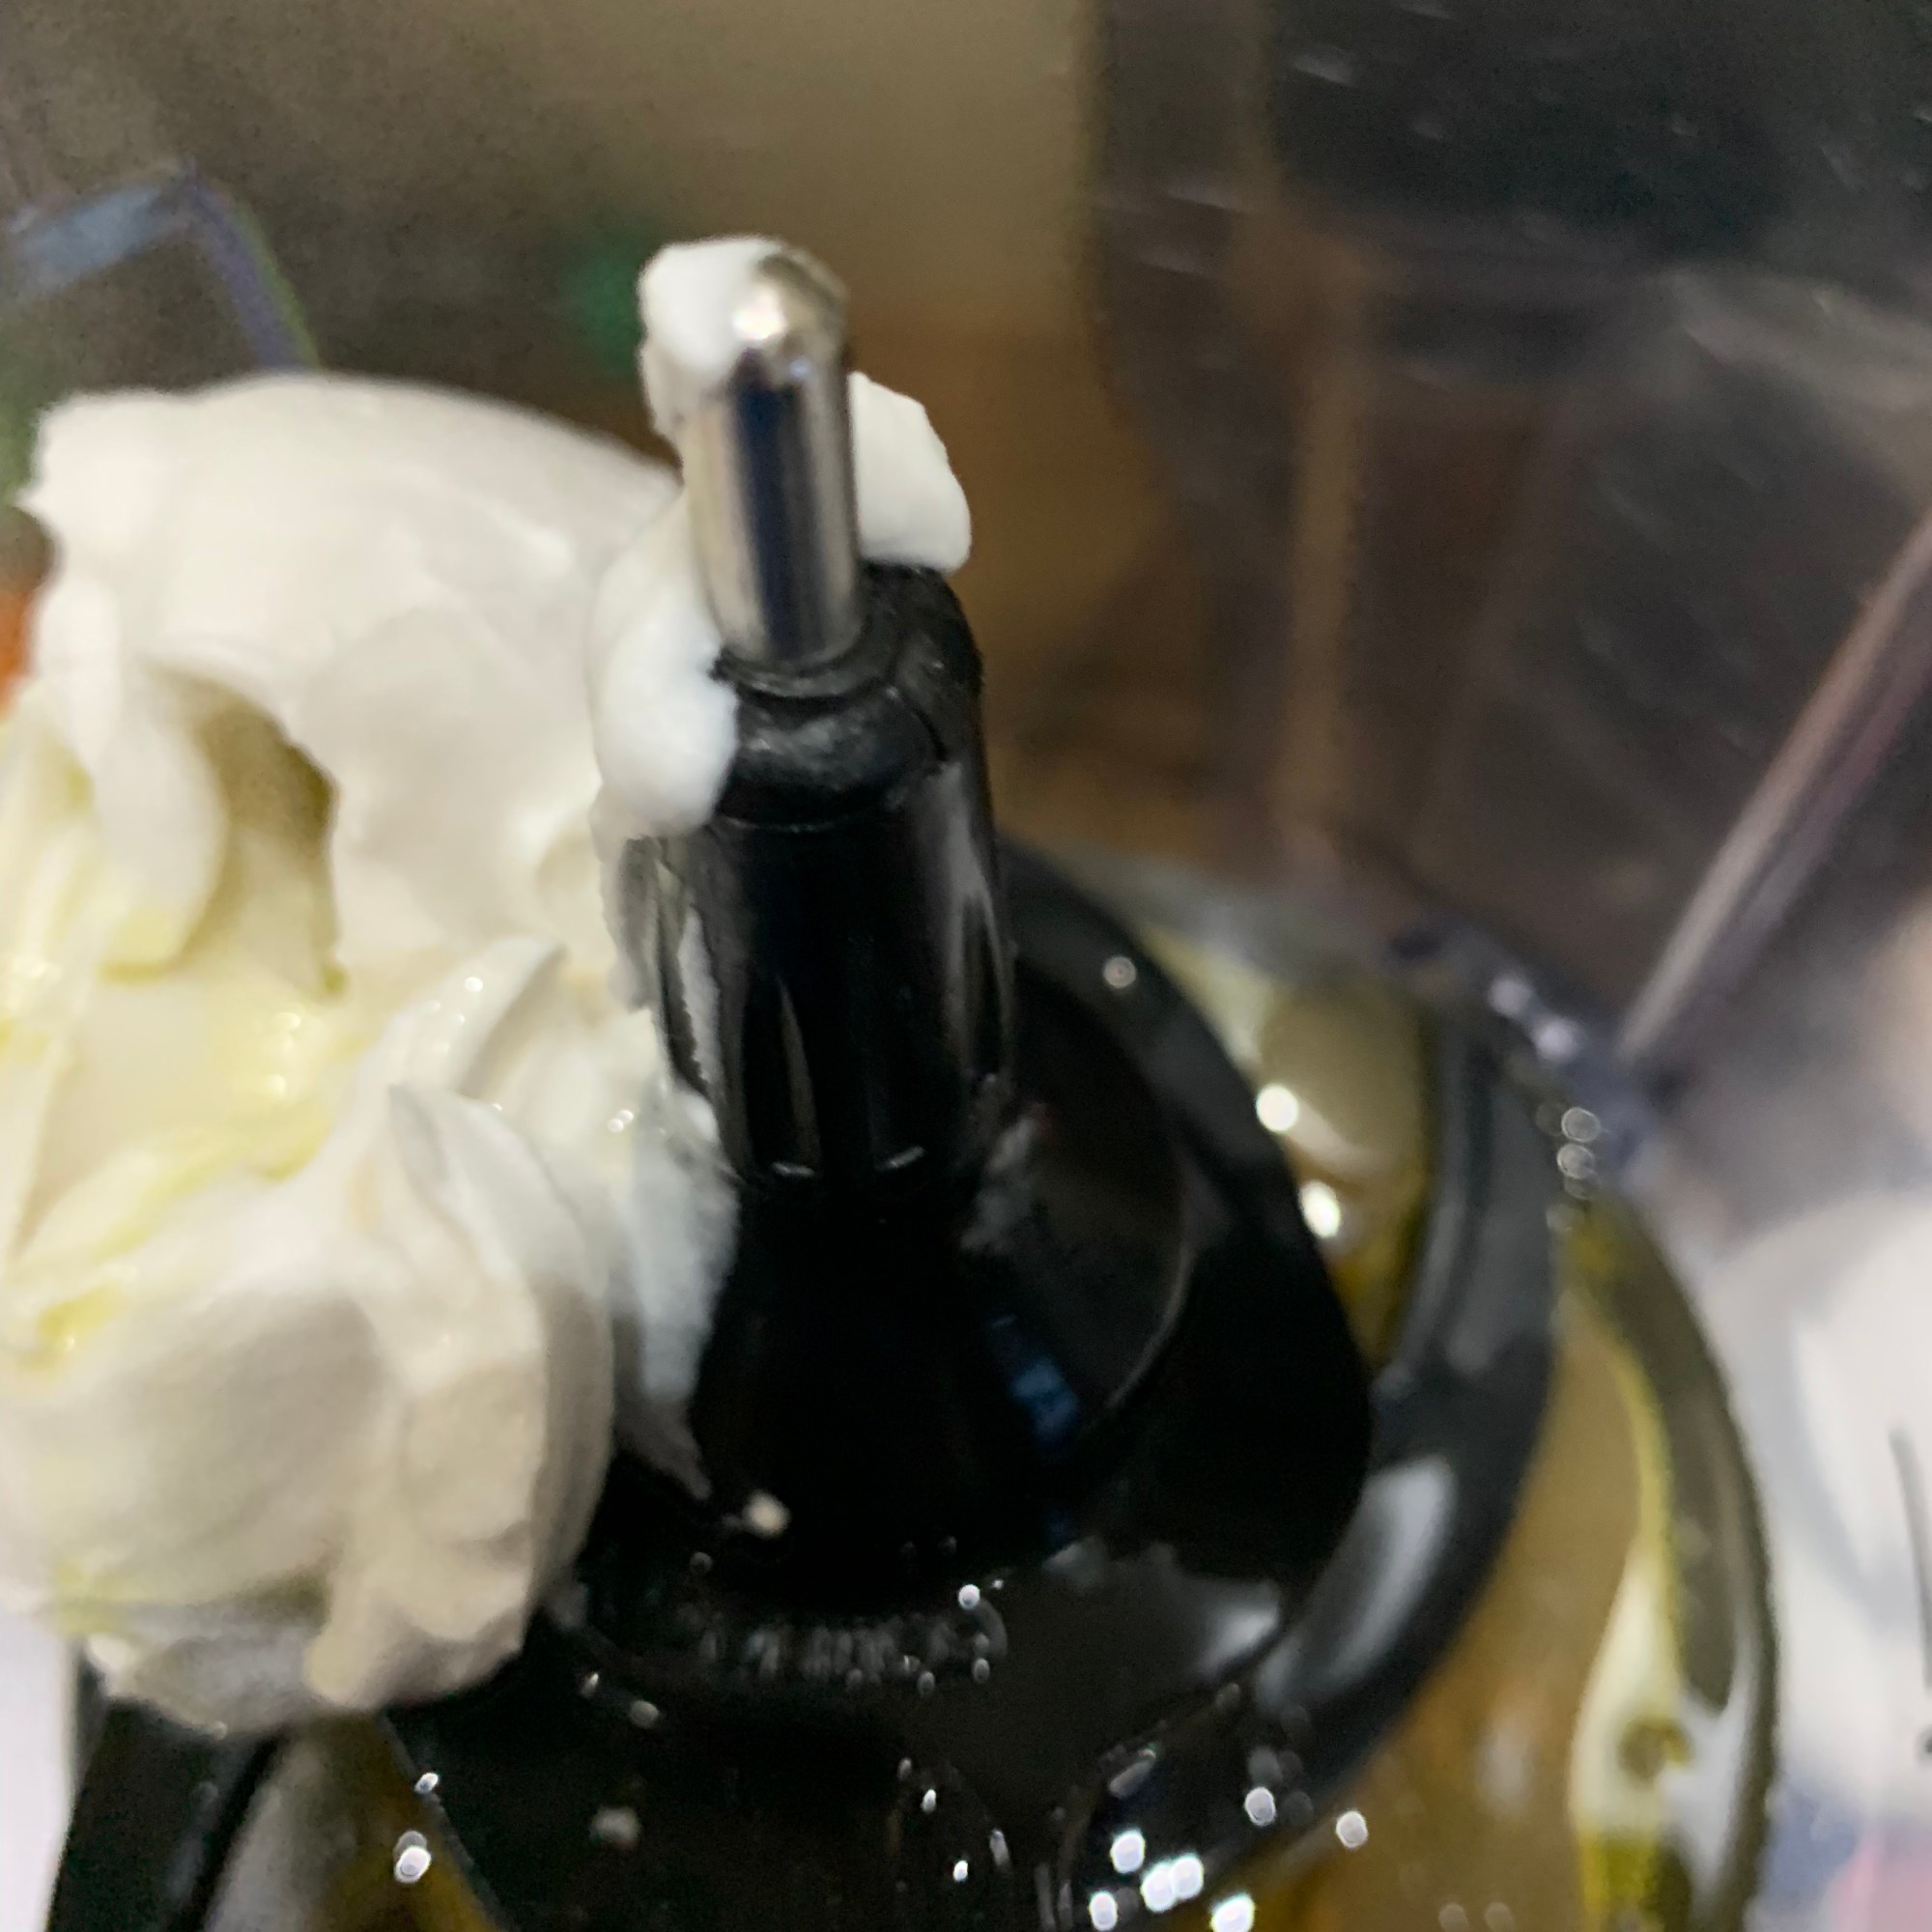
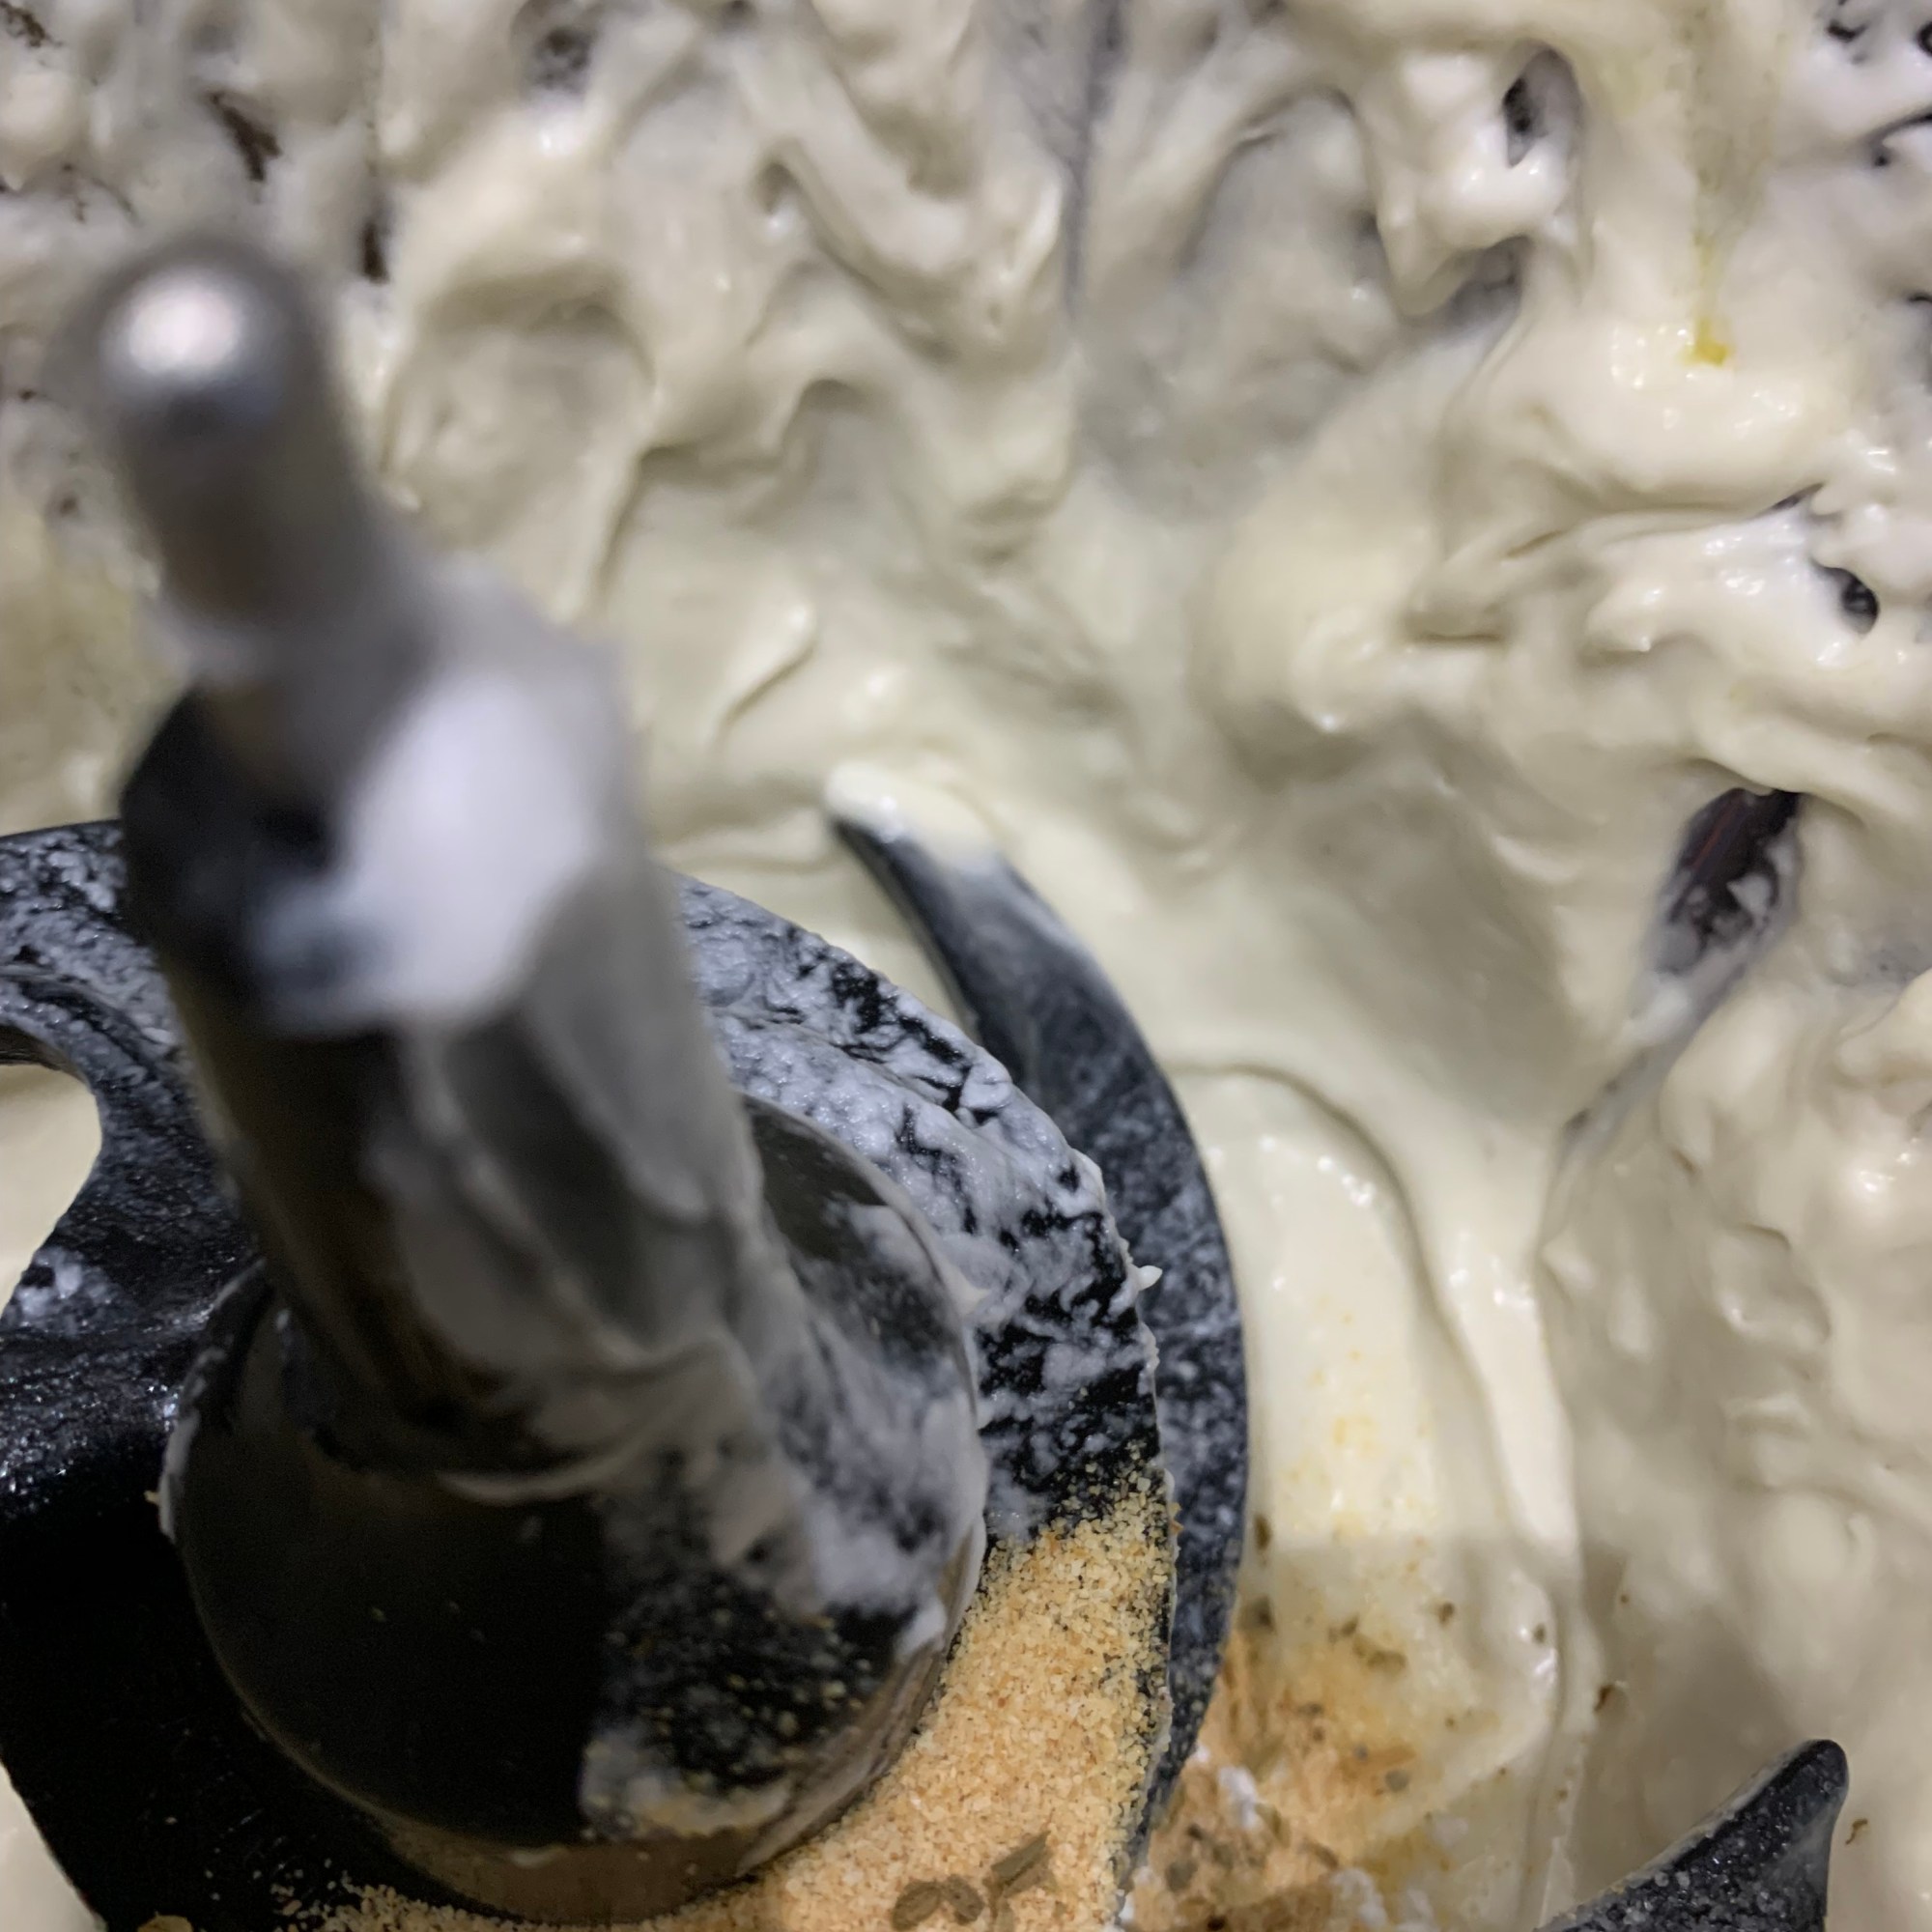
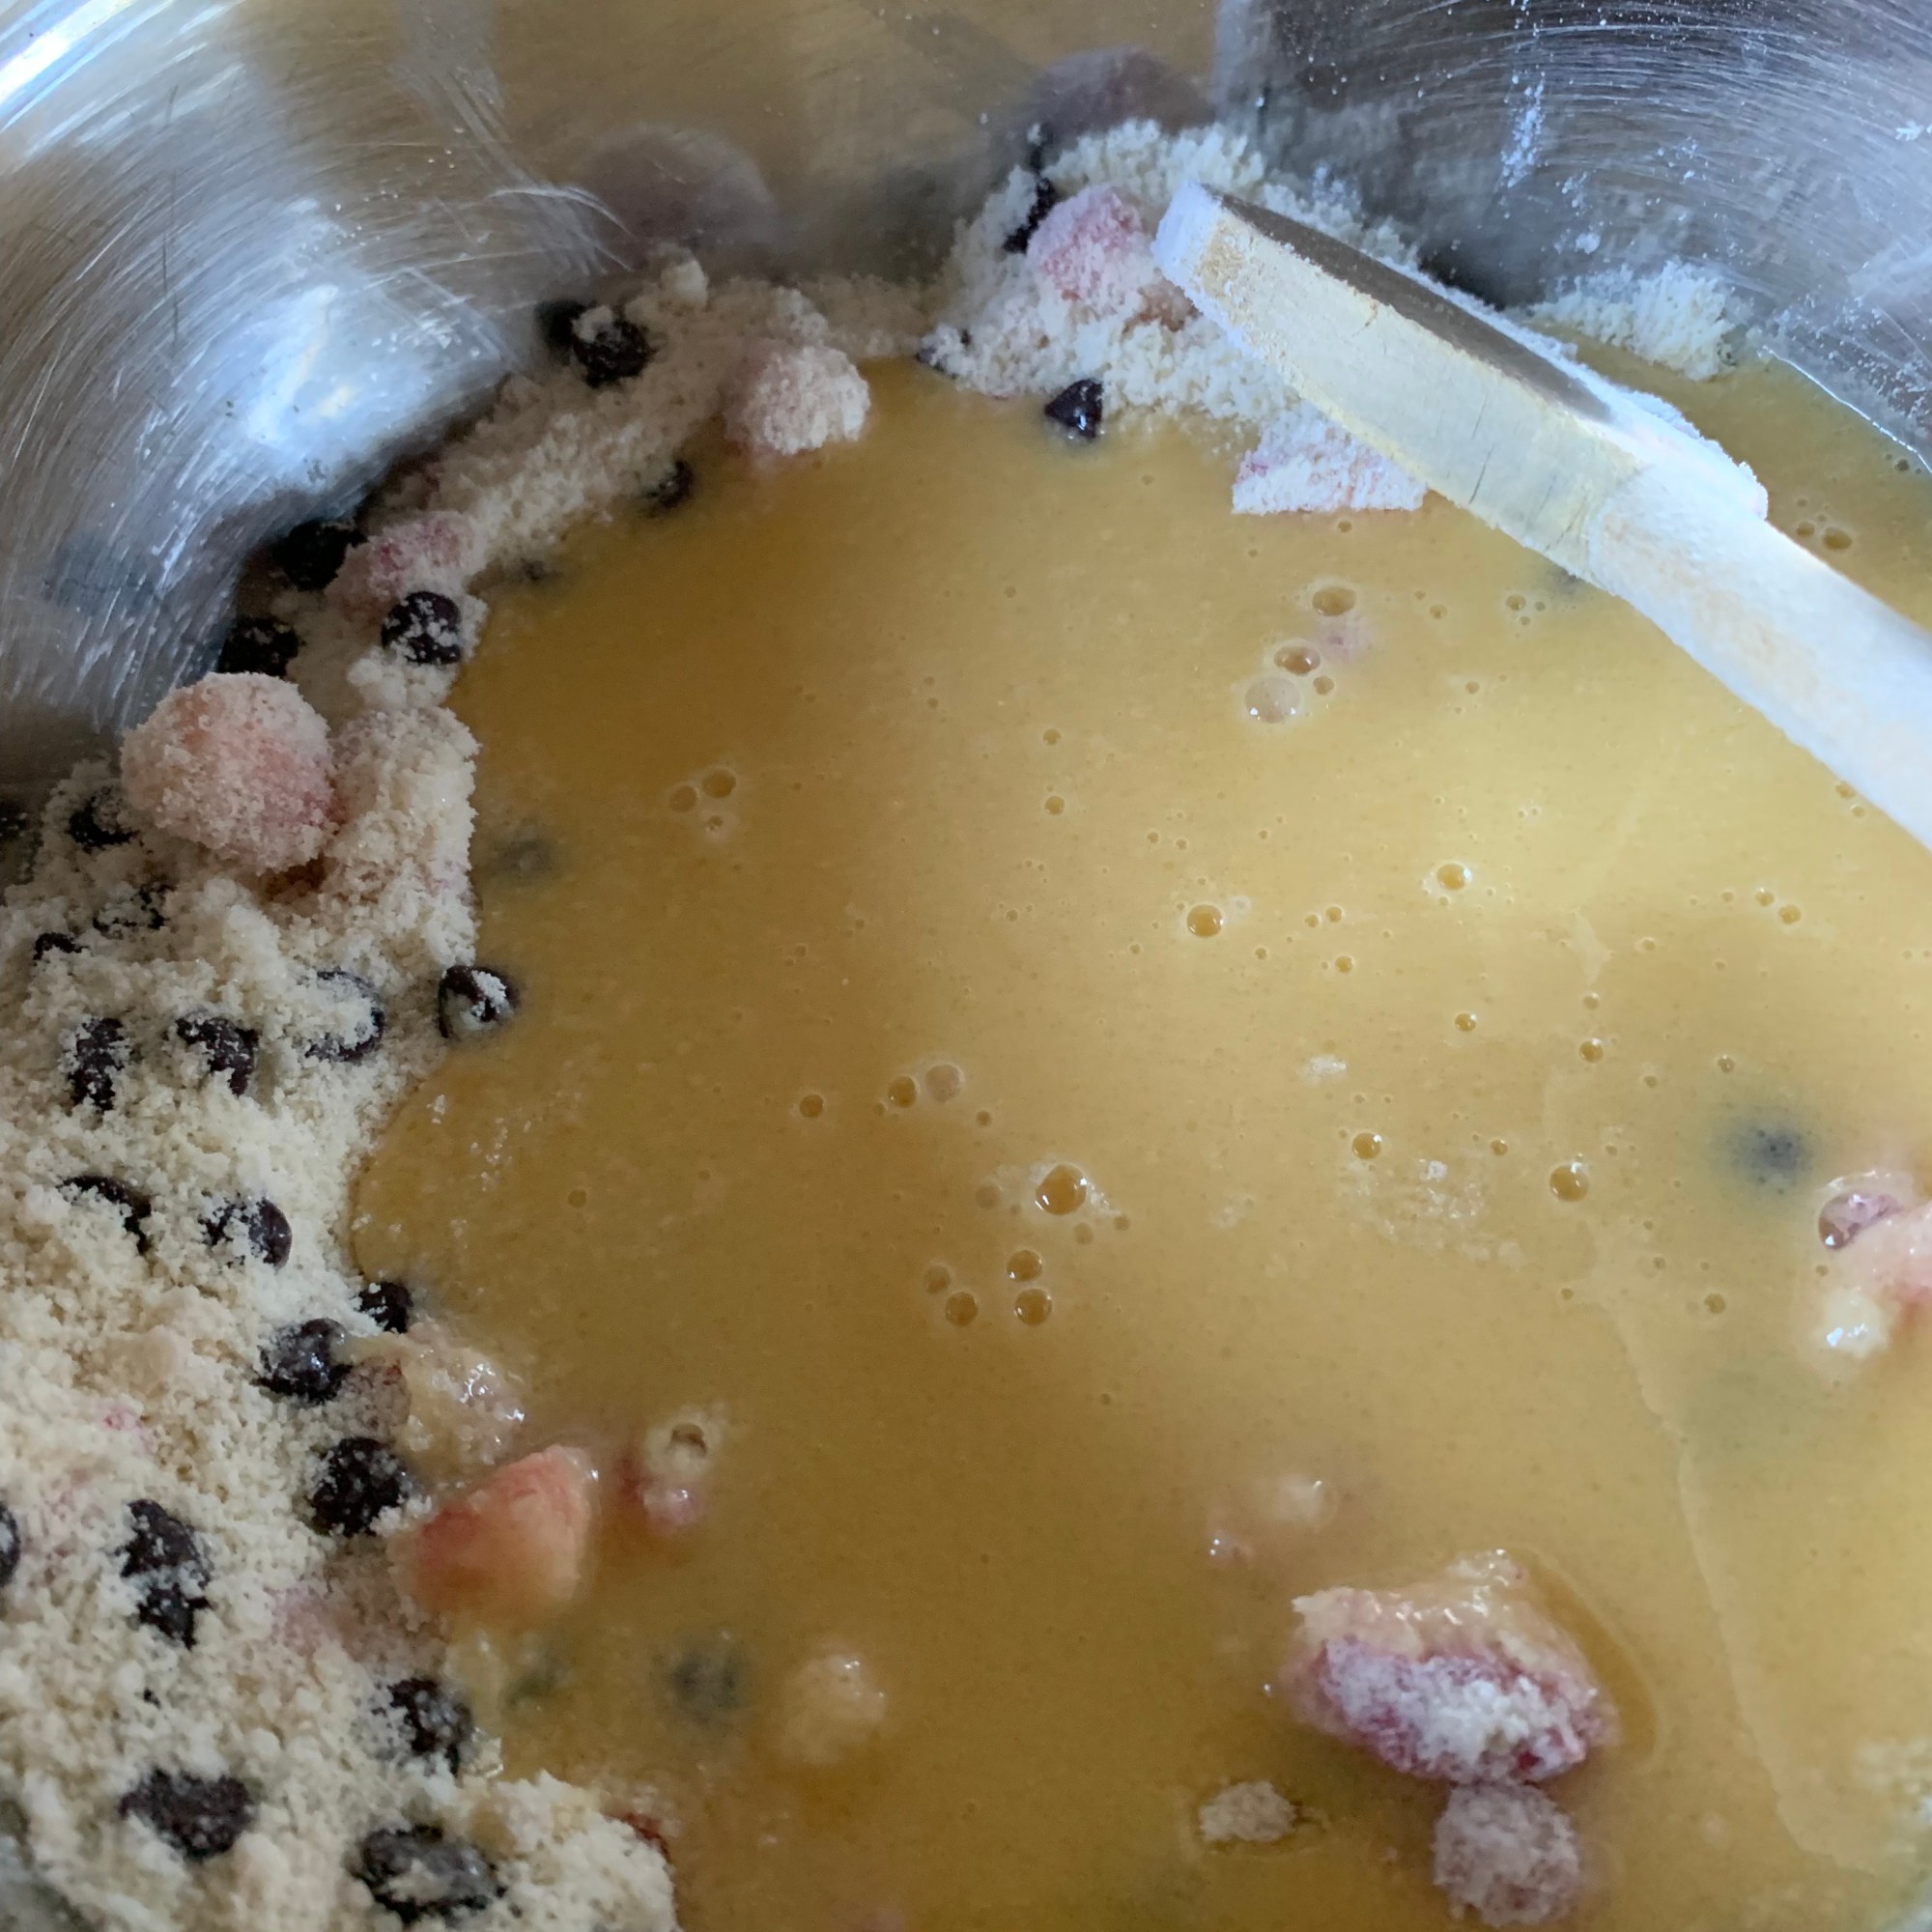
  • In a blender, add all the ingredients.
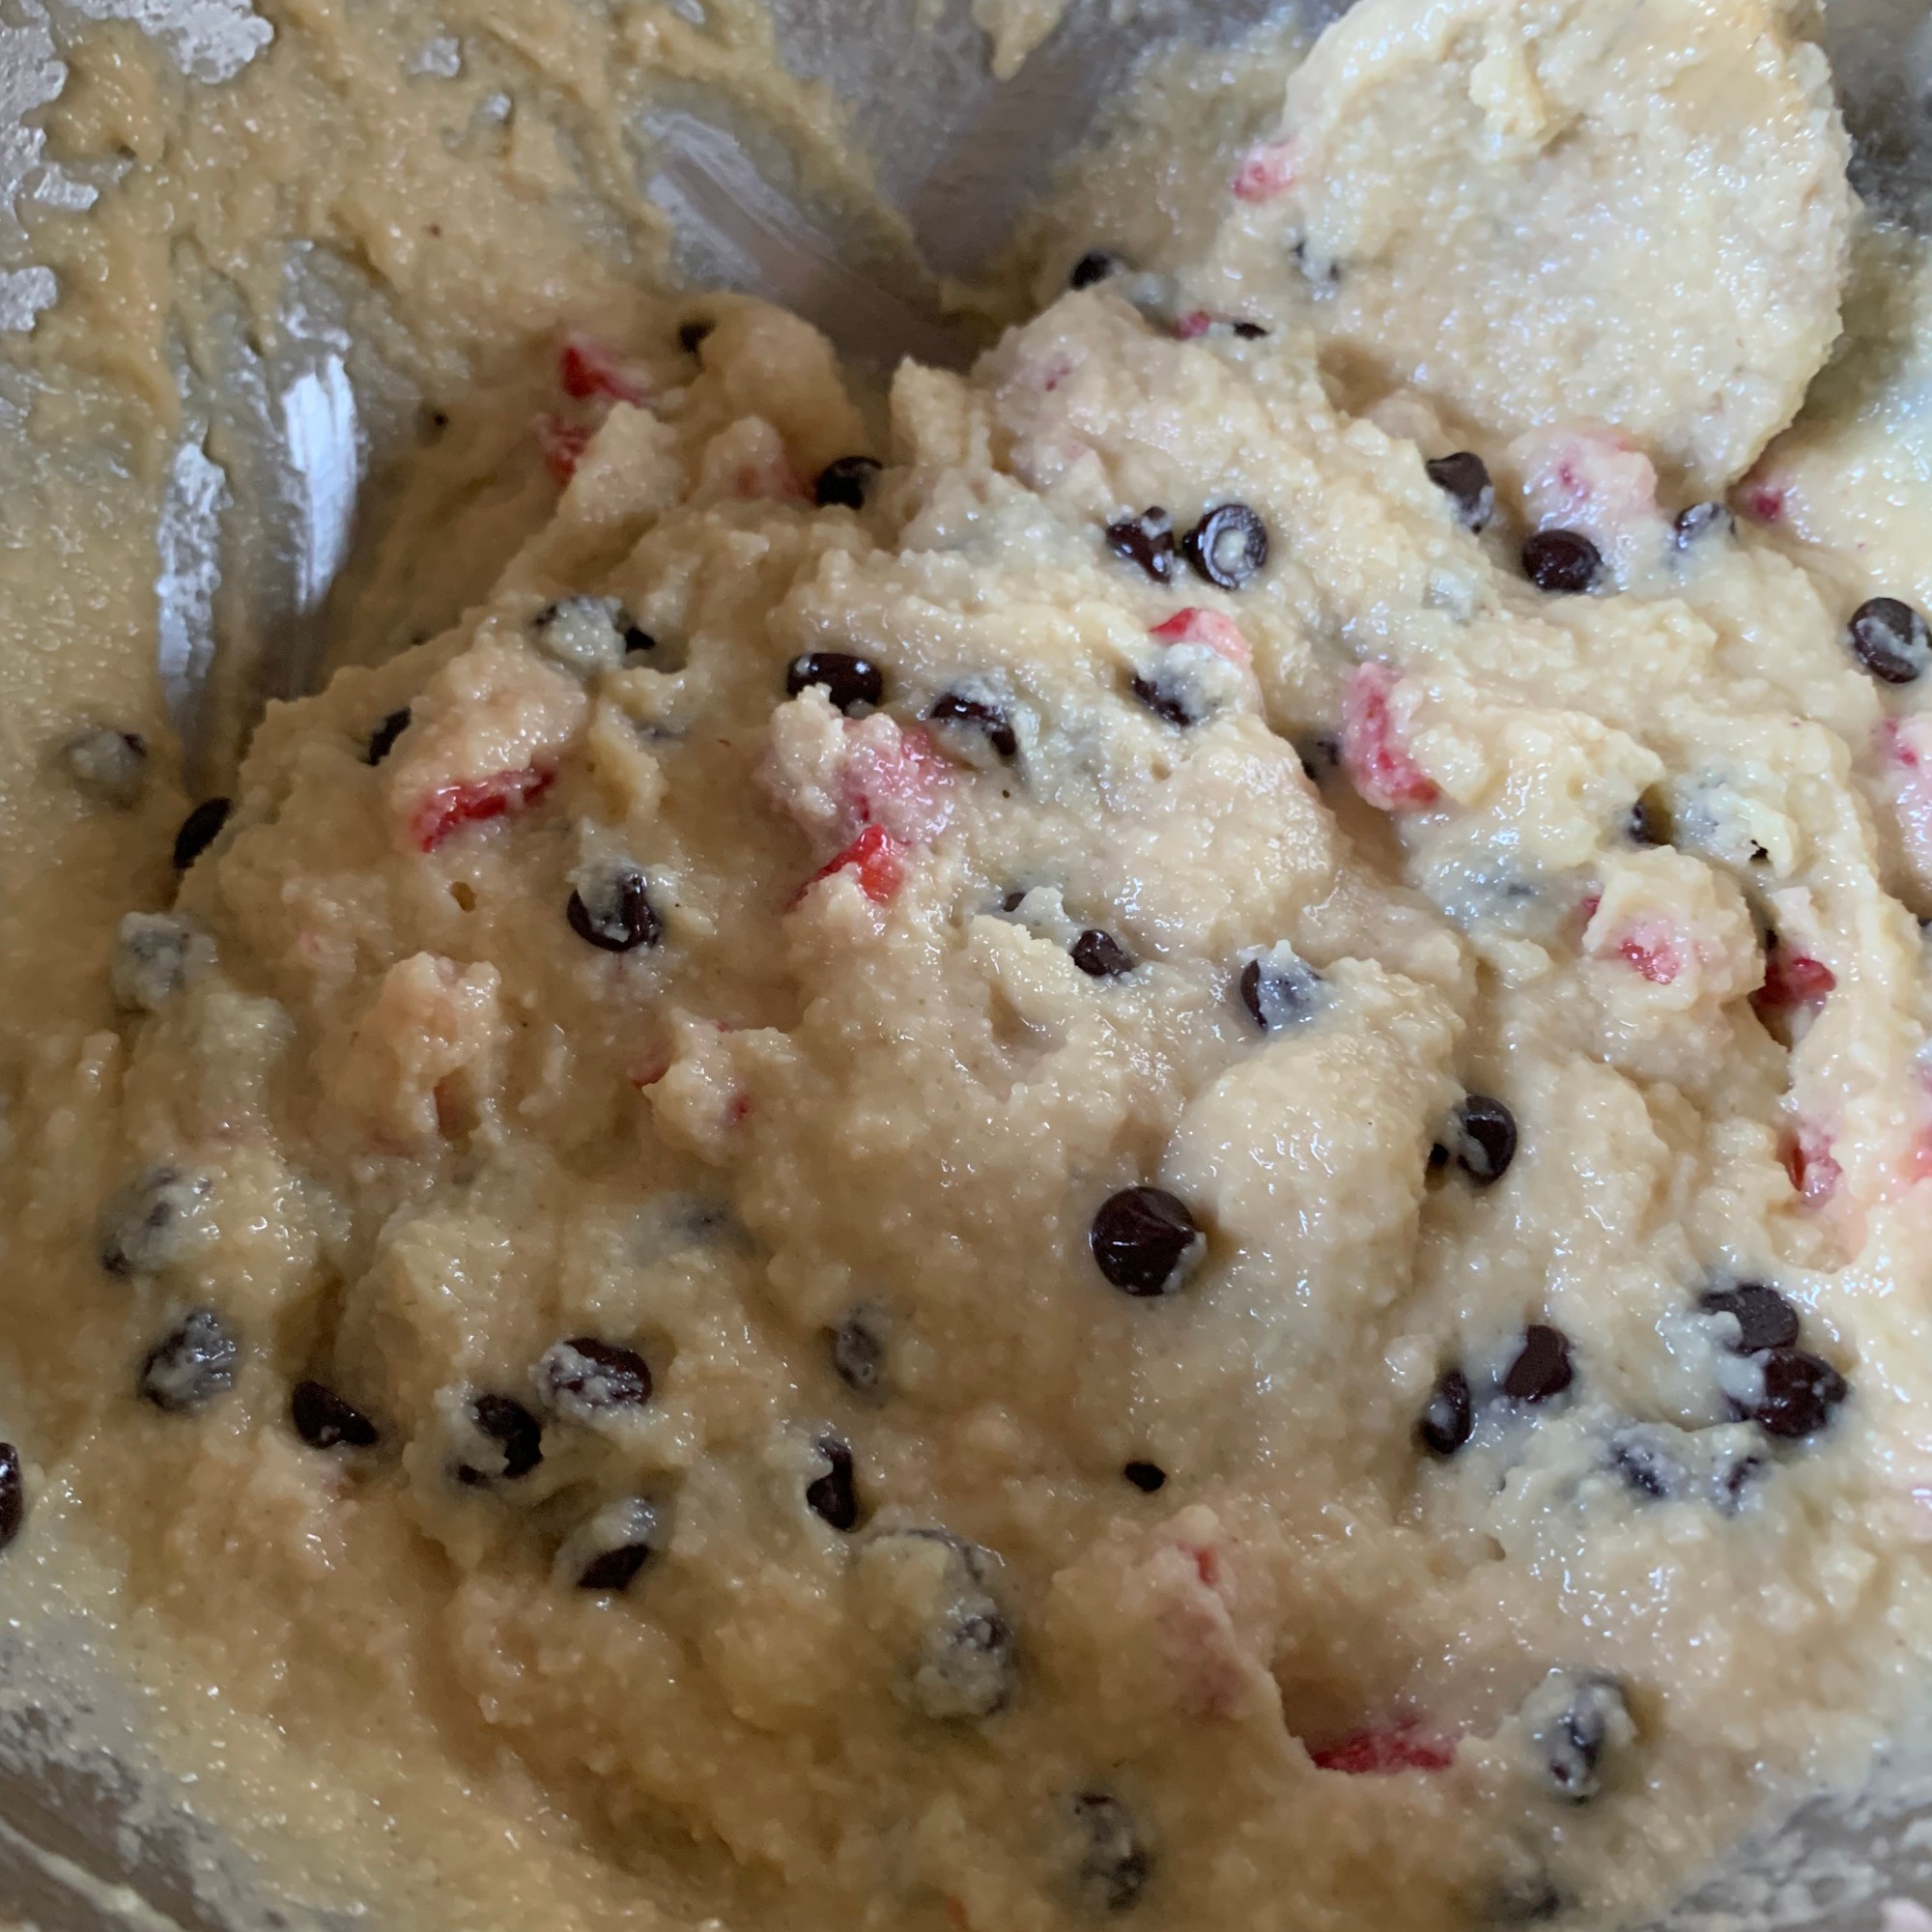
  • Blend for around 30-40 seconds, stop, and scrape the side / bottom of the blender with a spatula. Then blend again, for around 30 secs to a minute, or until creamy and smooth.
  • Taste, and check the sweetness, adjust with extra drops of monk fruit or stevia if needed. Or you can use extra maple-syrup, however this will change the texture, the more syrup you add the more liquid the pudding.
  • Transfer the pudding 8 small glass jars, or one large bowl. 1 serving of pudding is around 1/3 cup (80ml).
  • Refrigerate for at least 3 hours, for the best creamy texture and flavour.
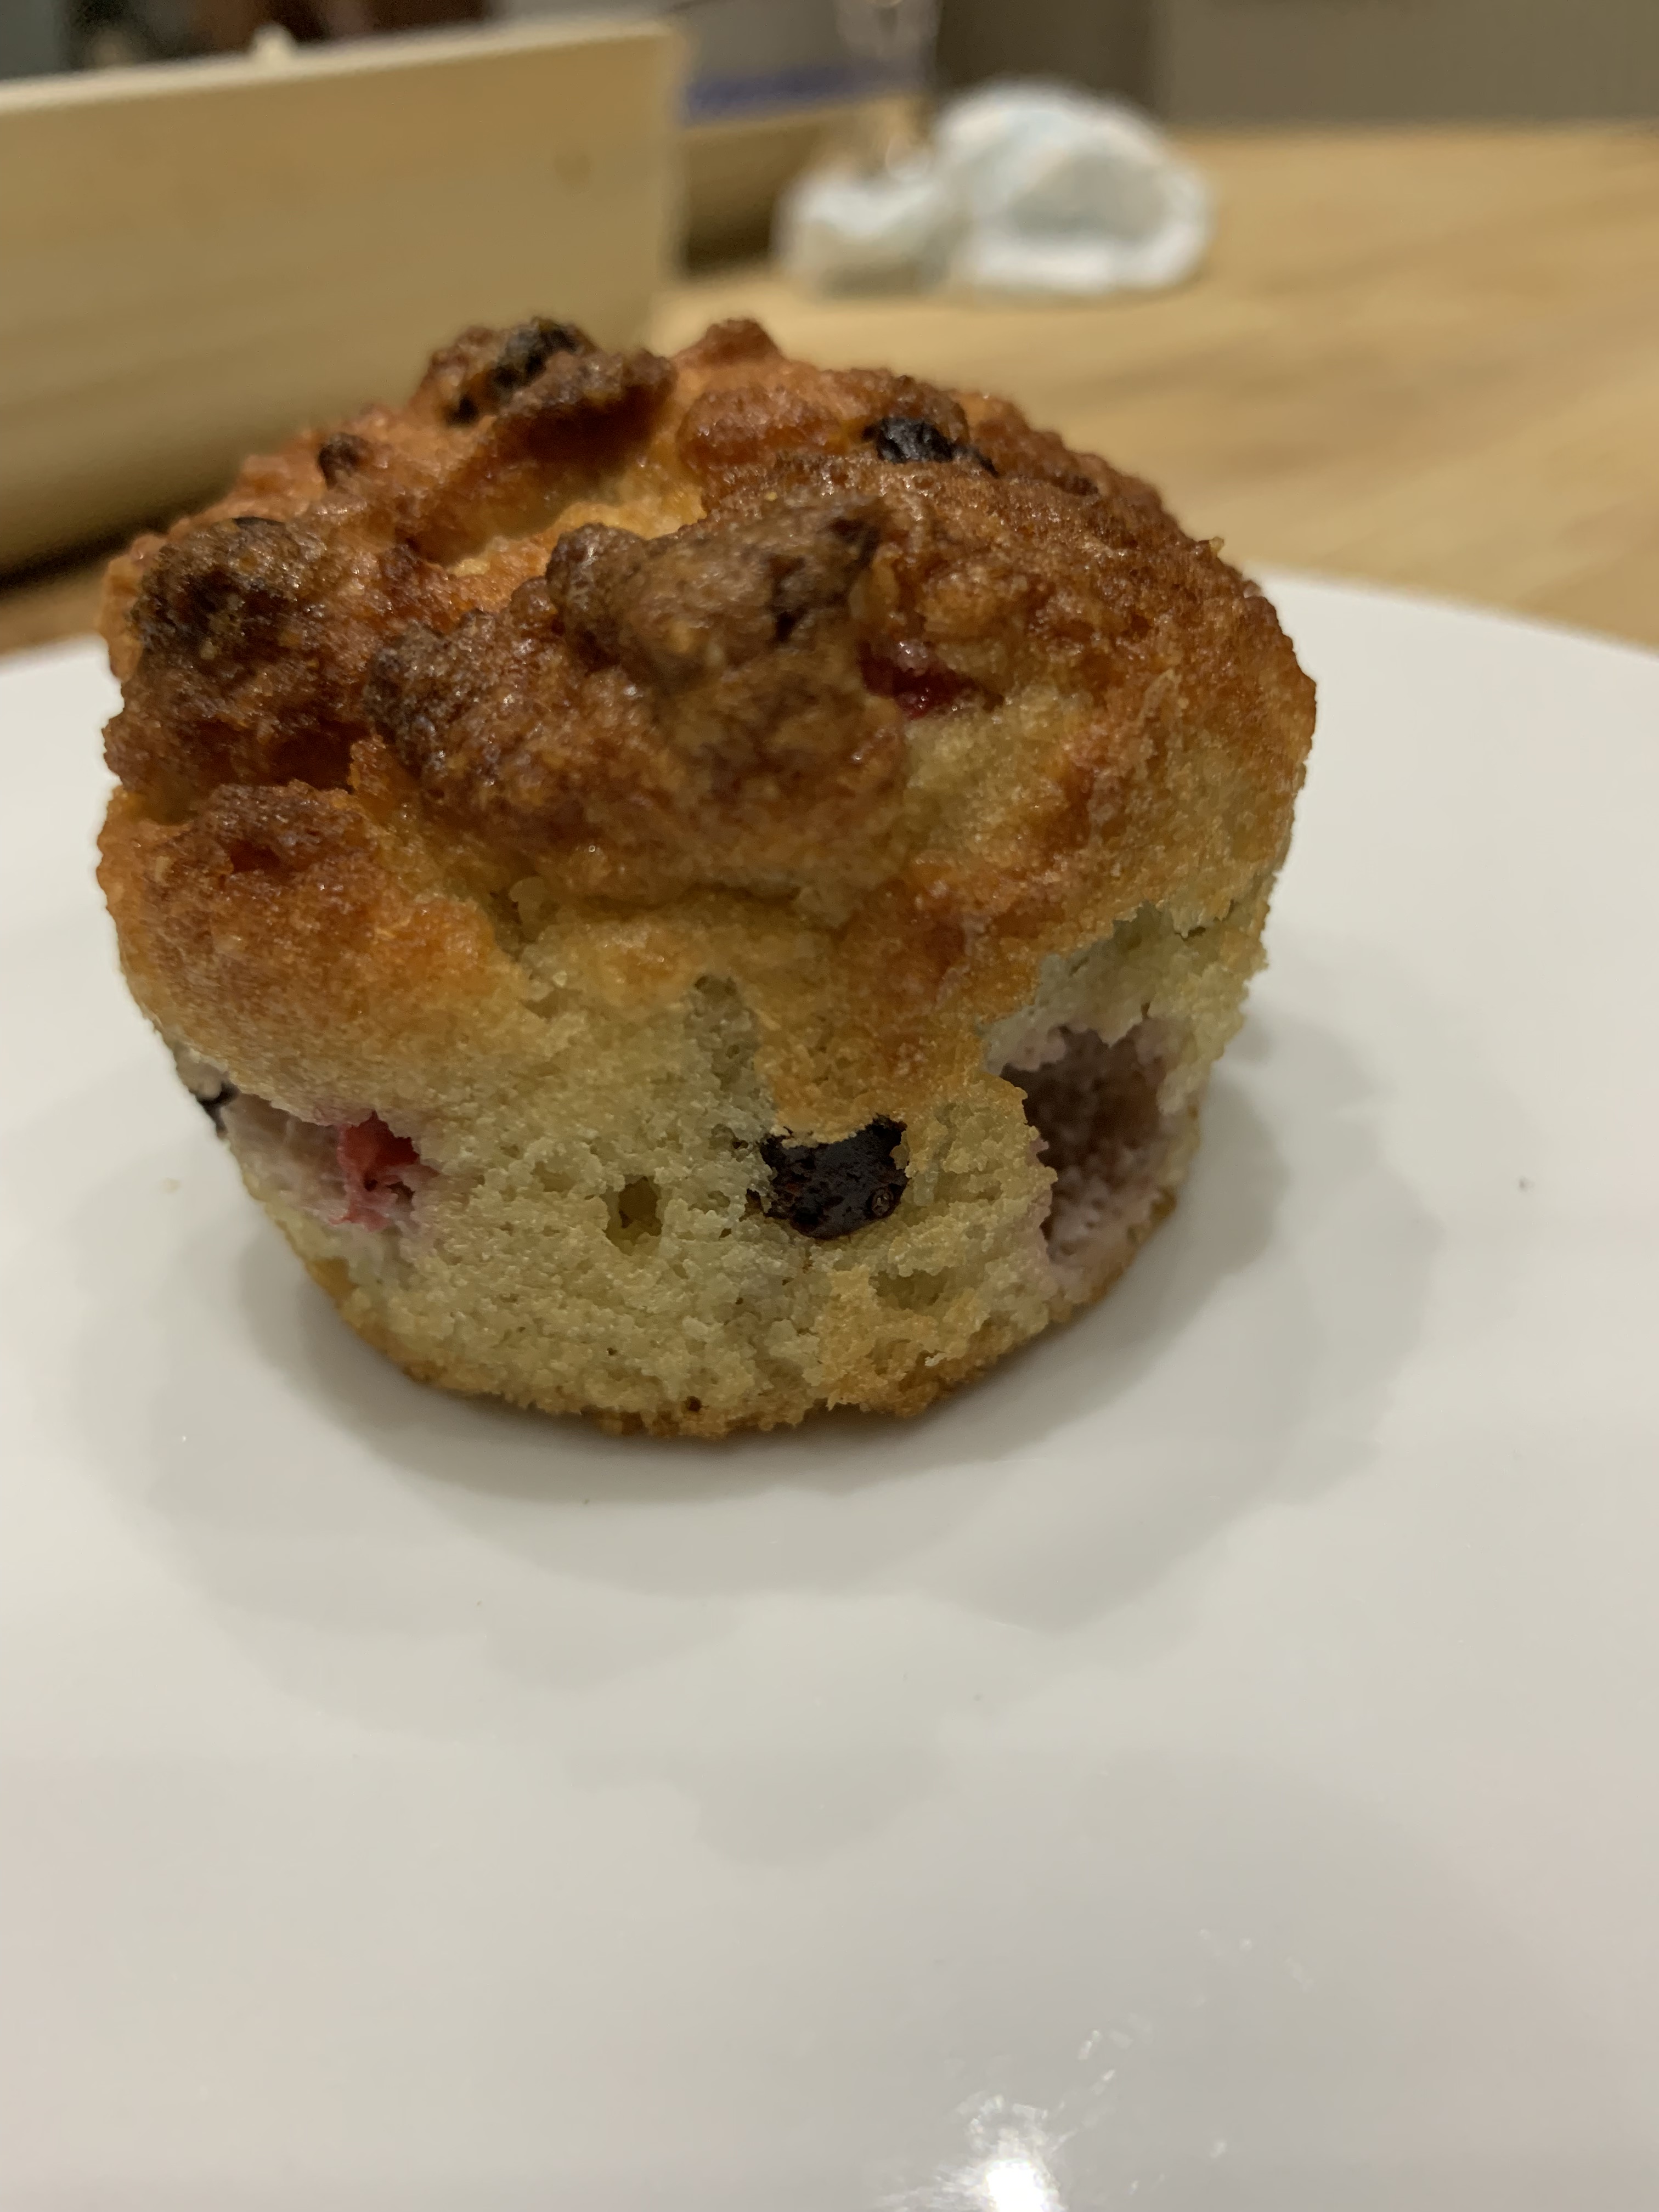
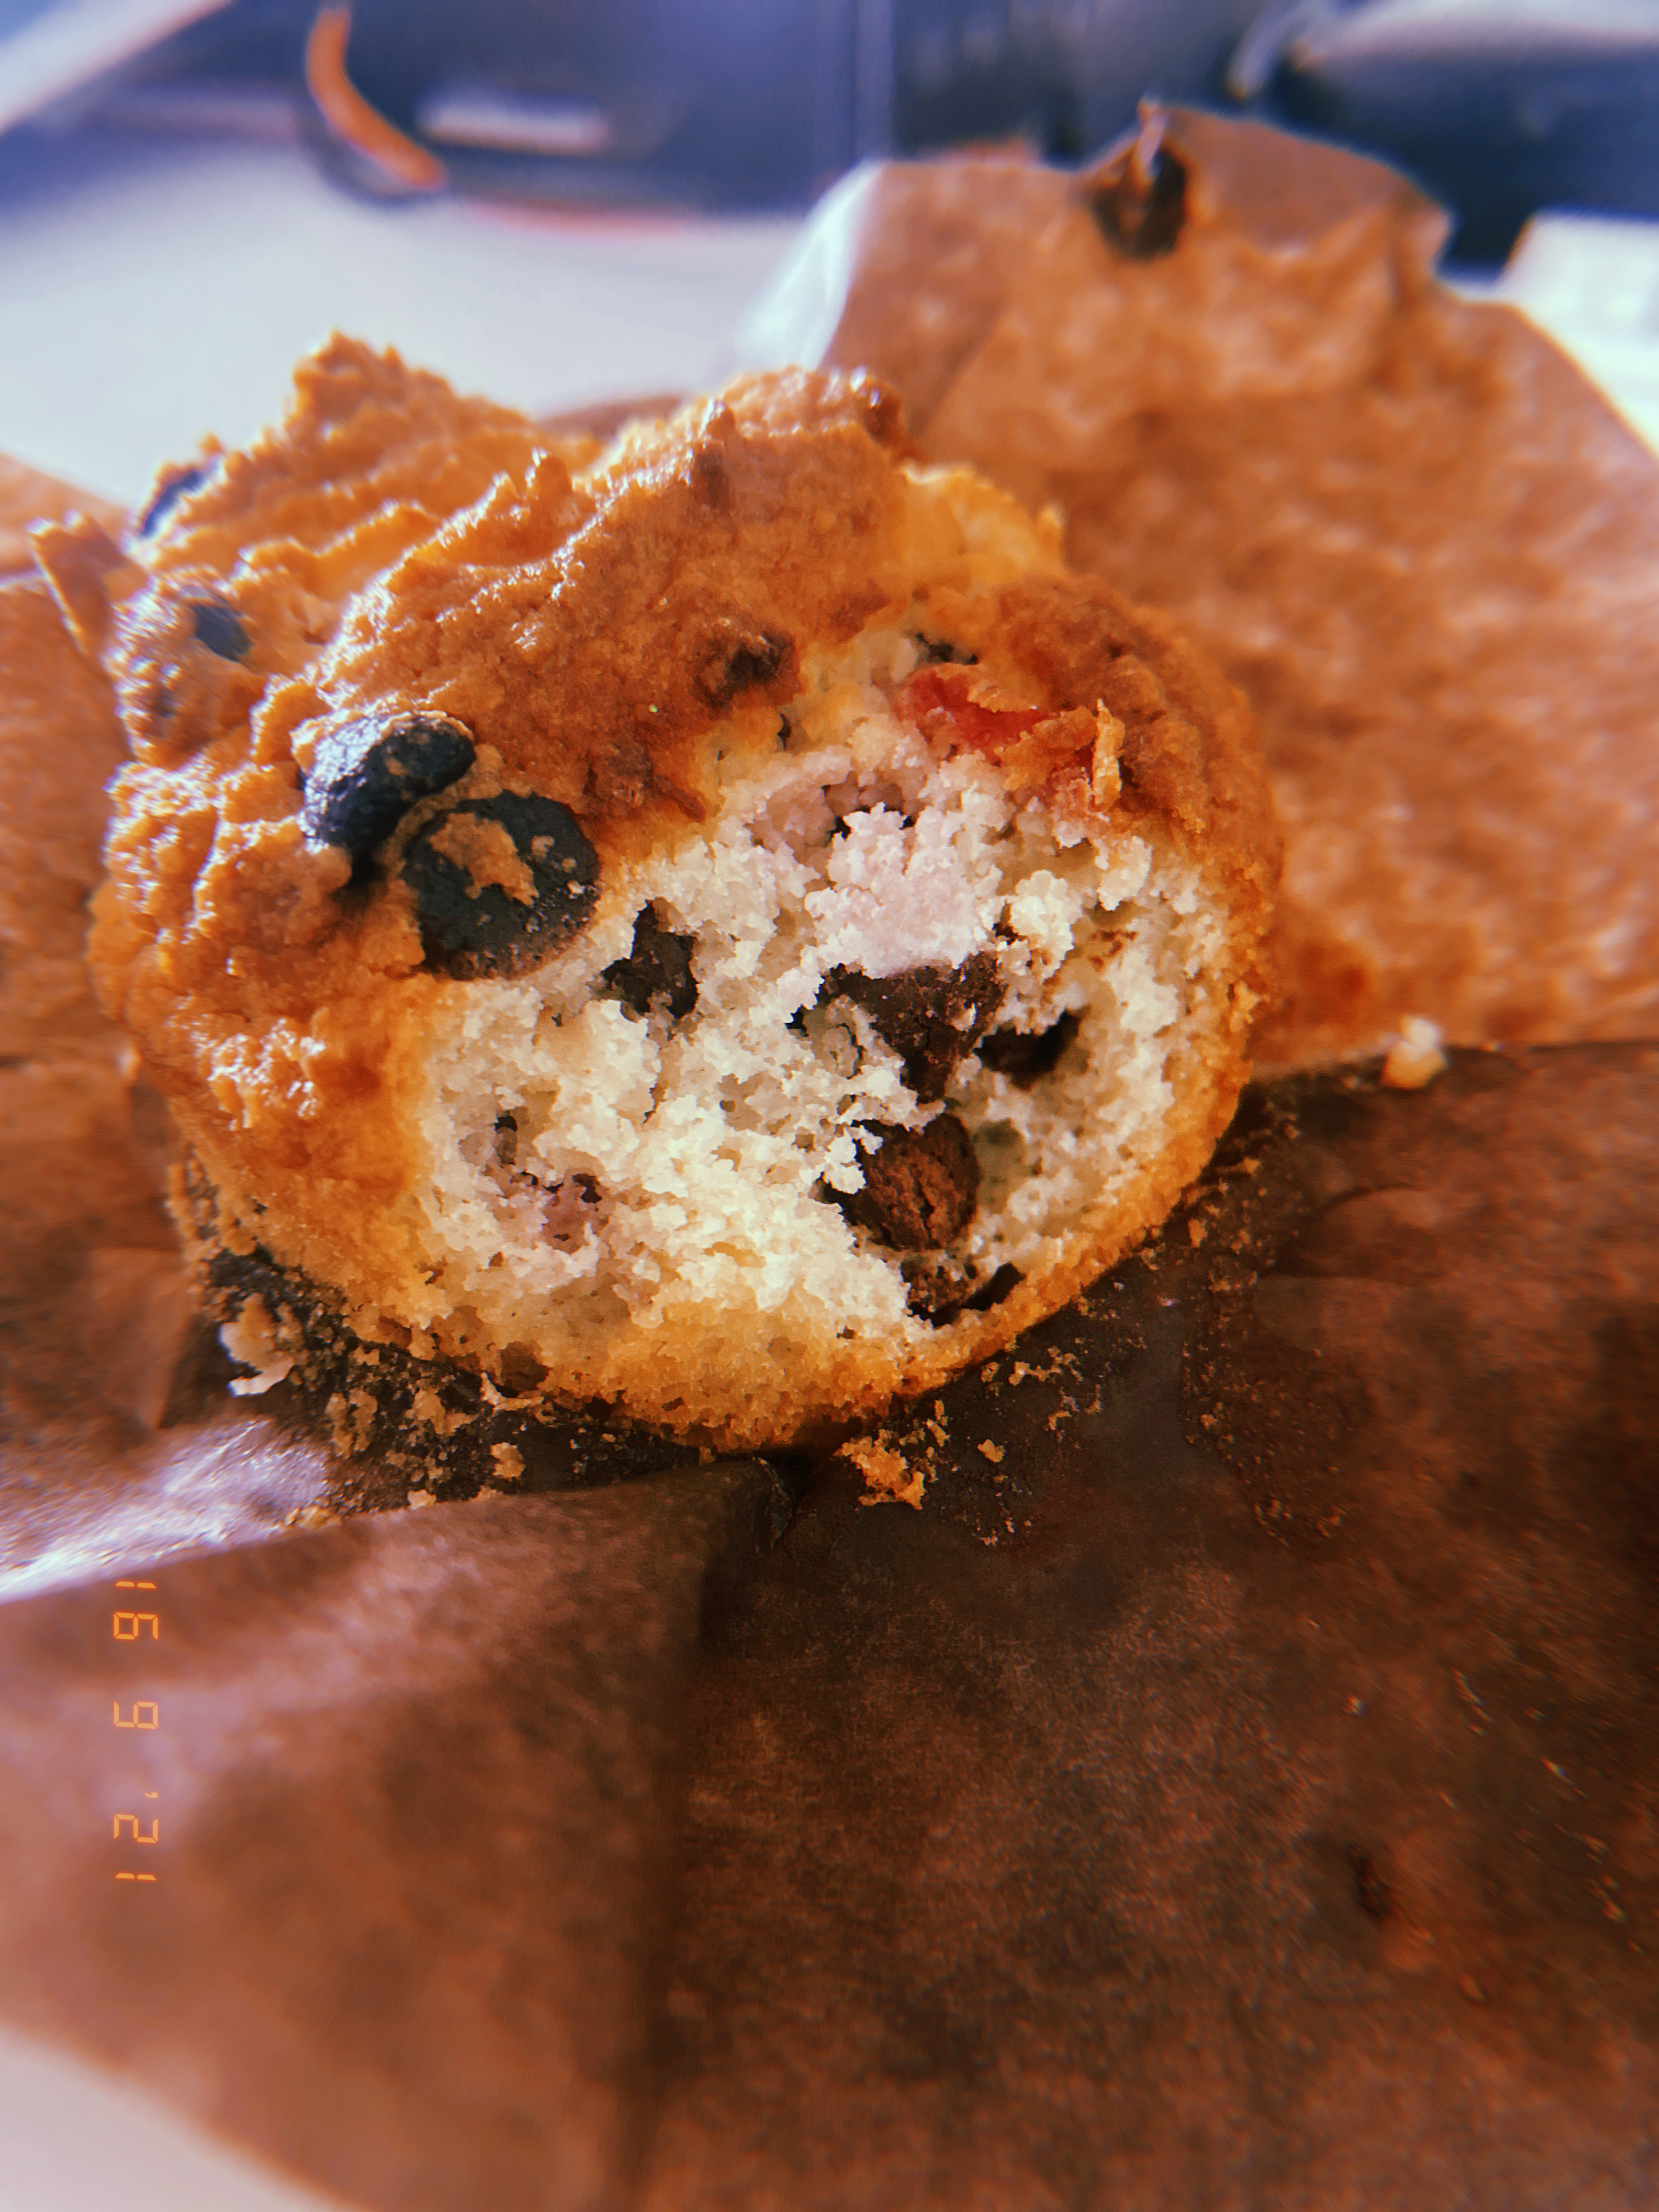
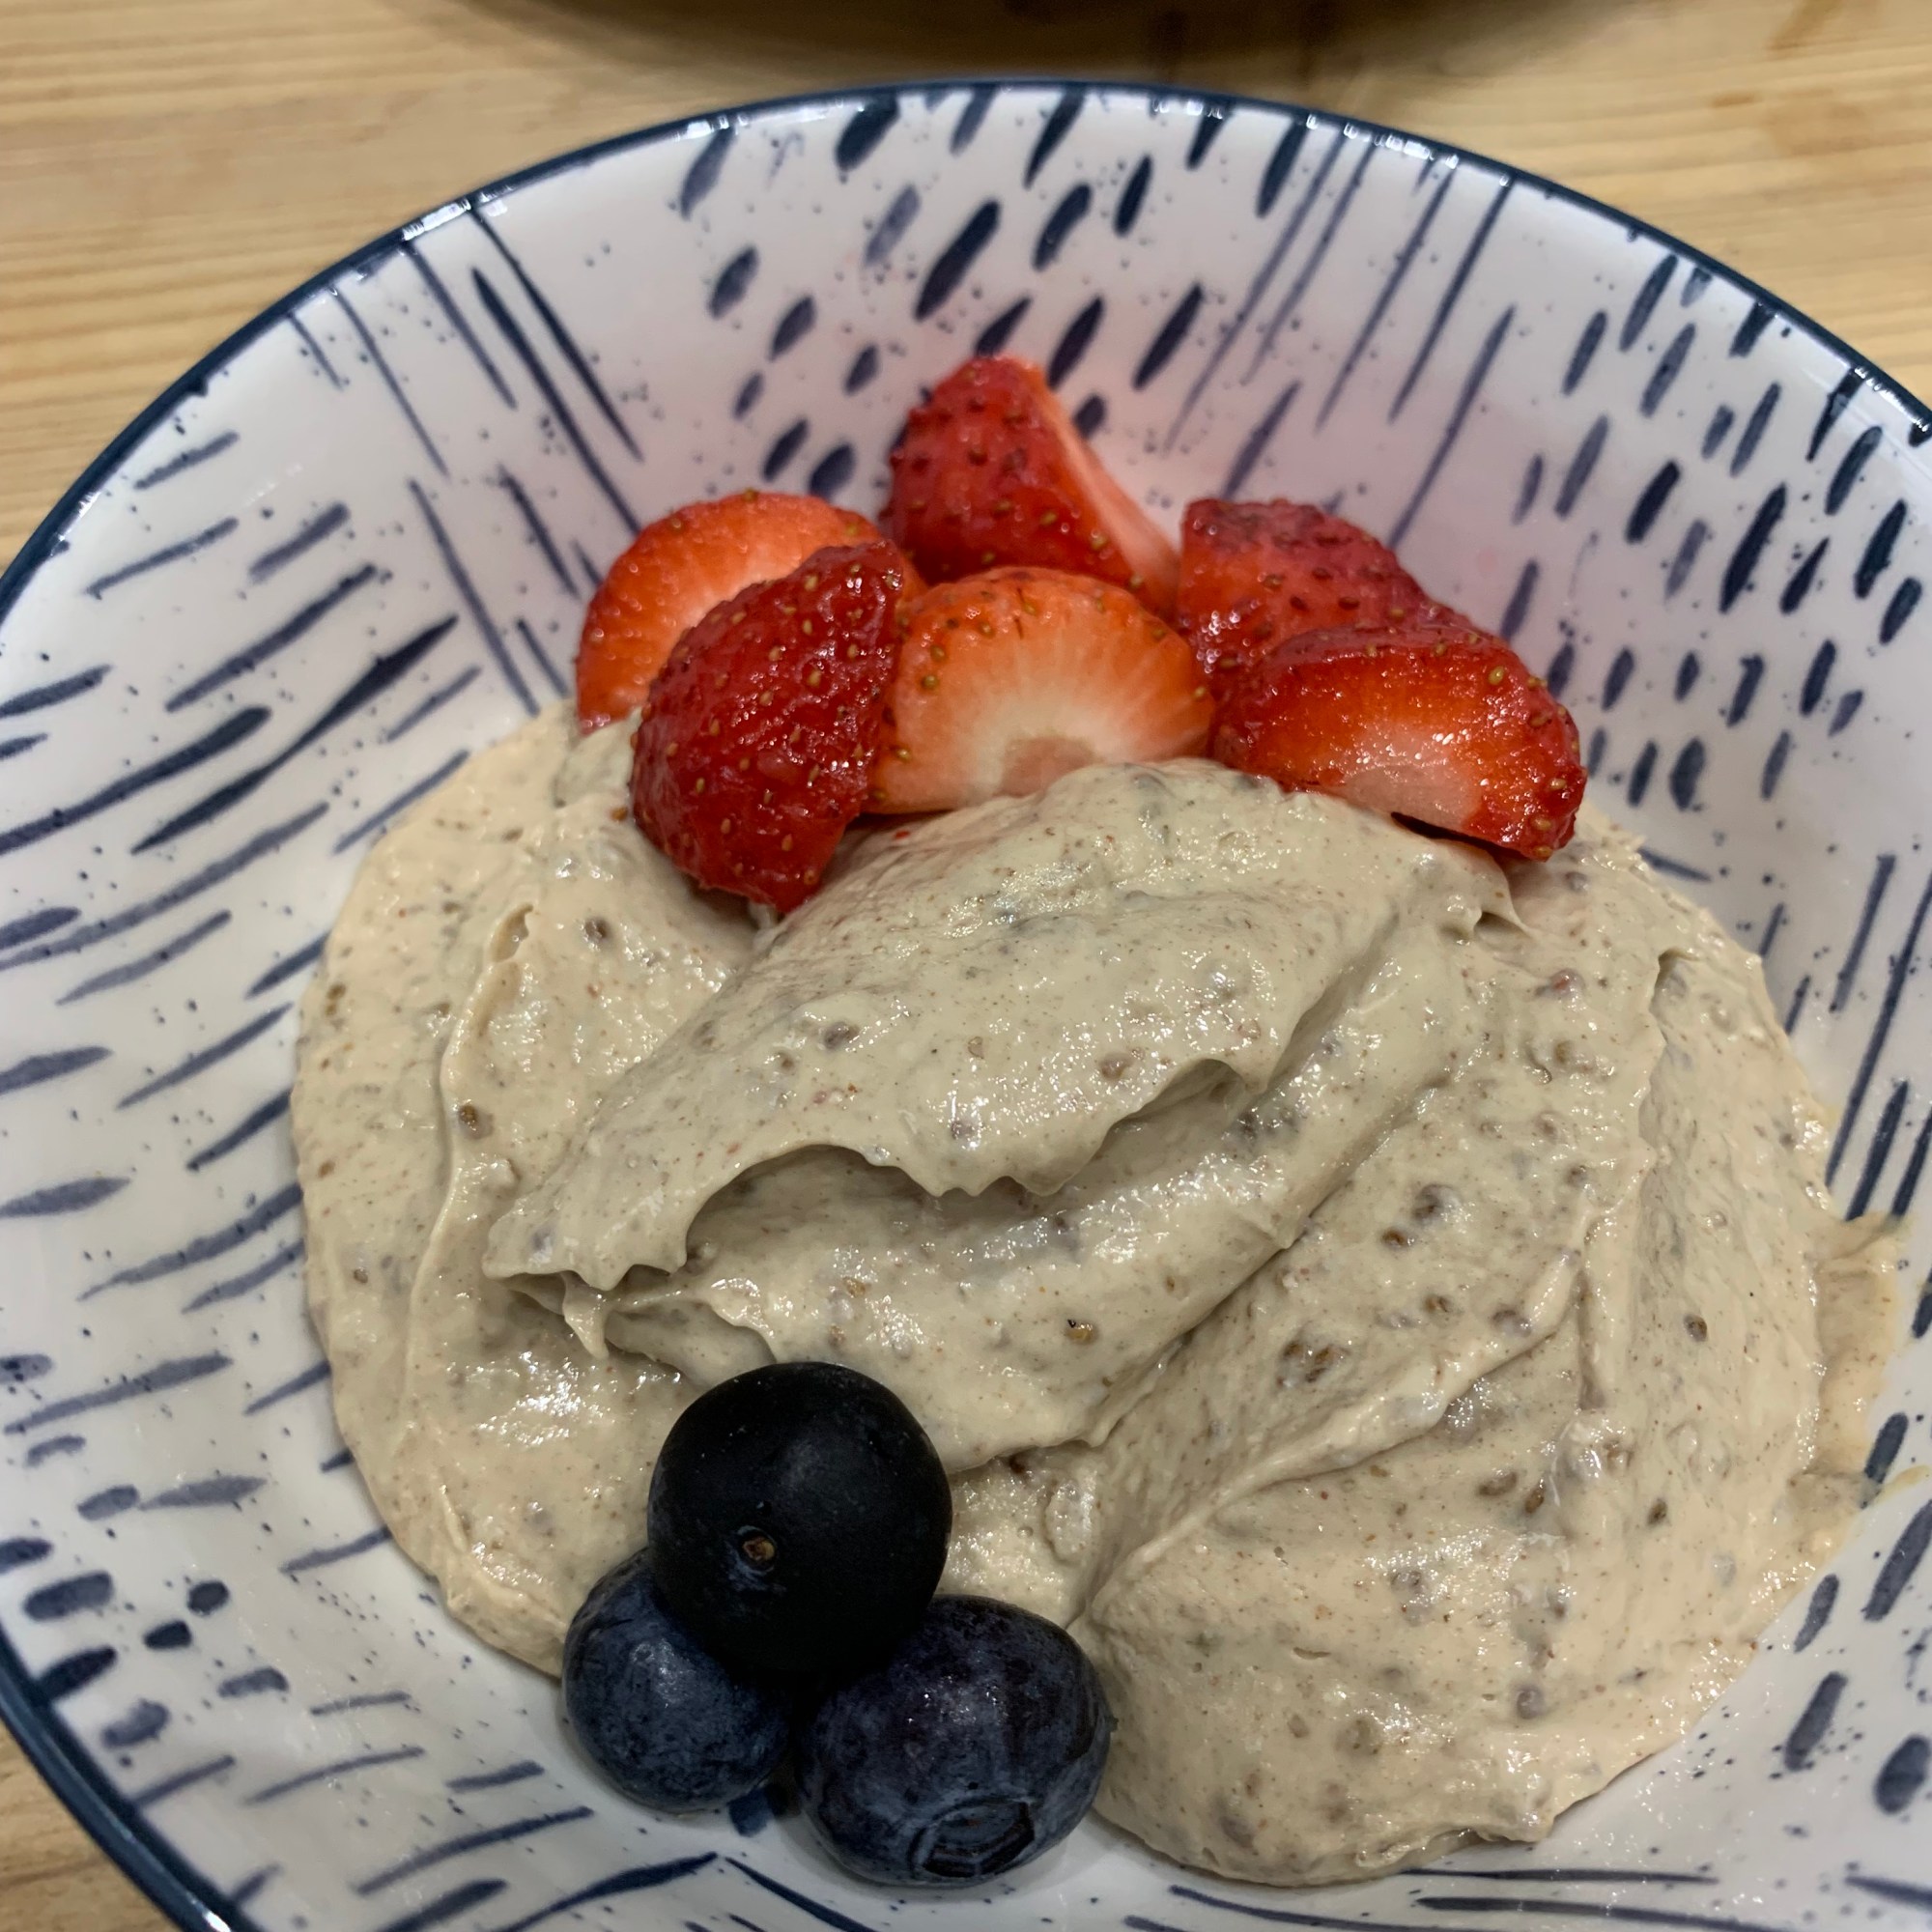
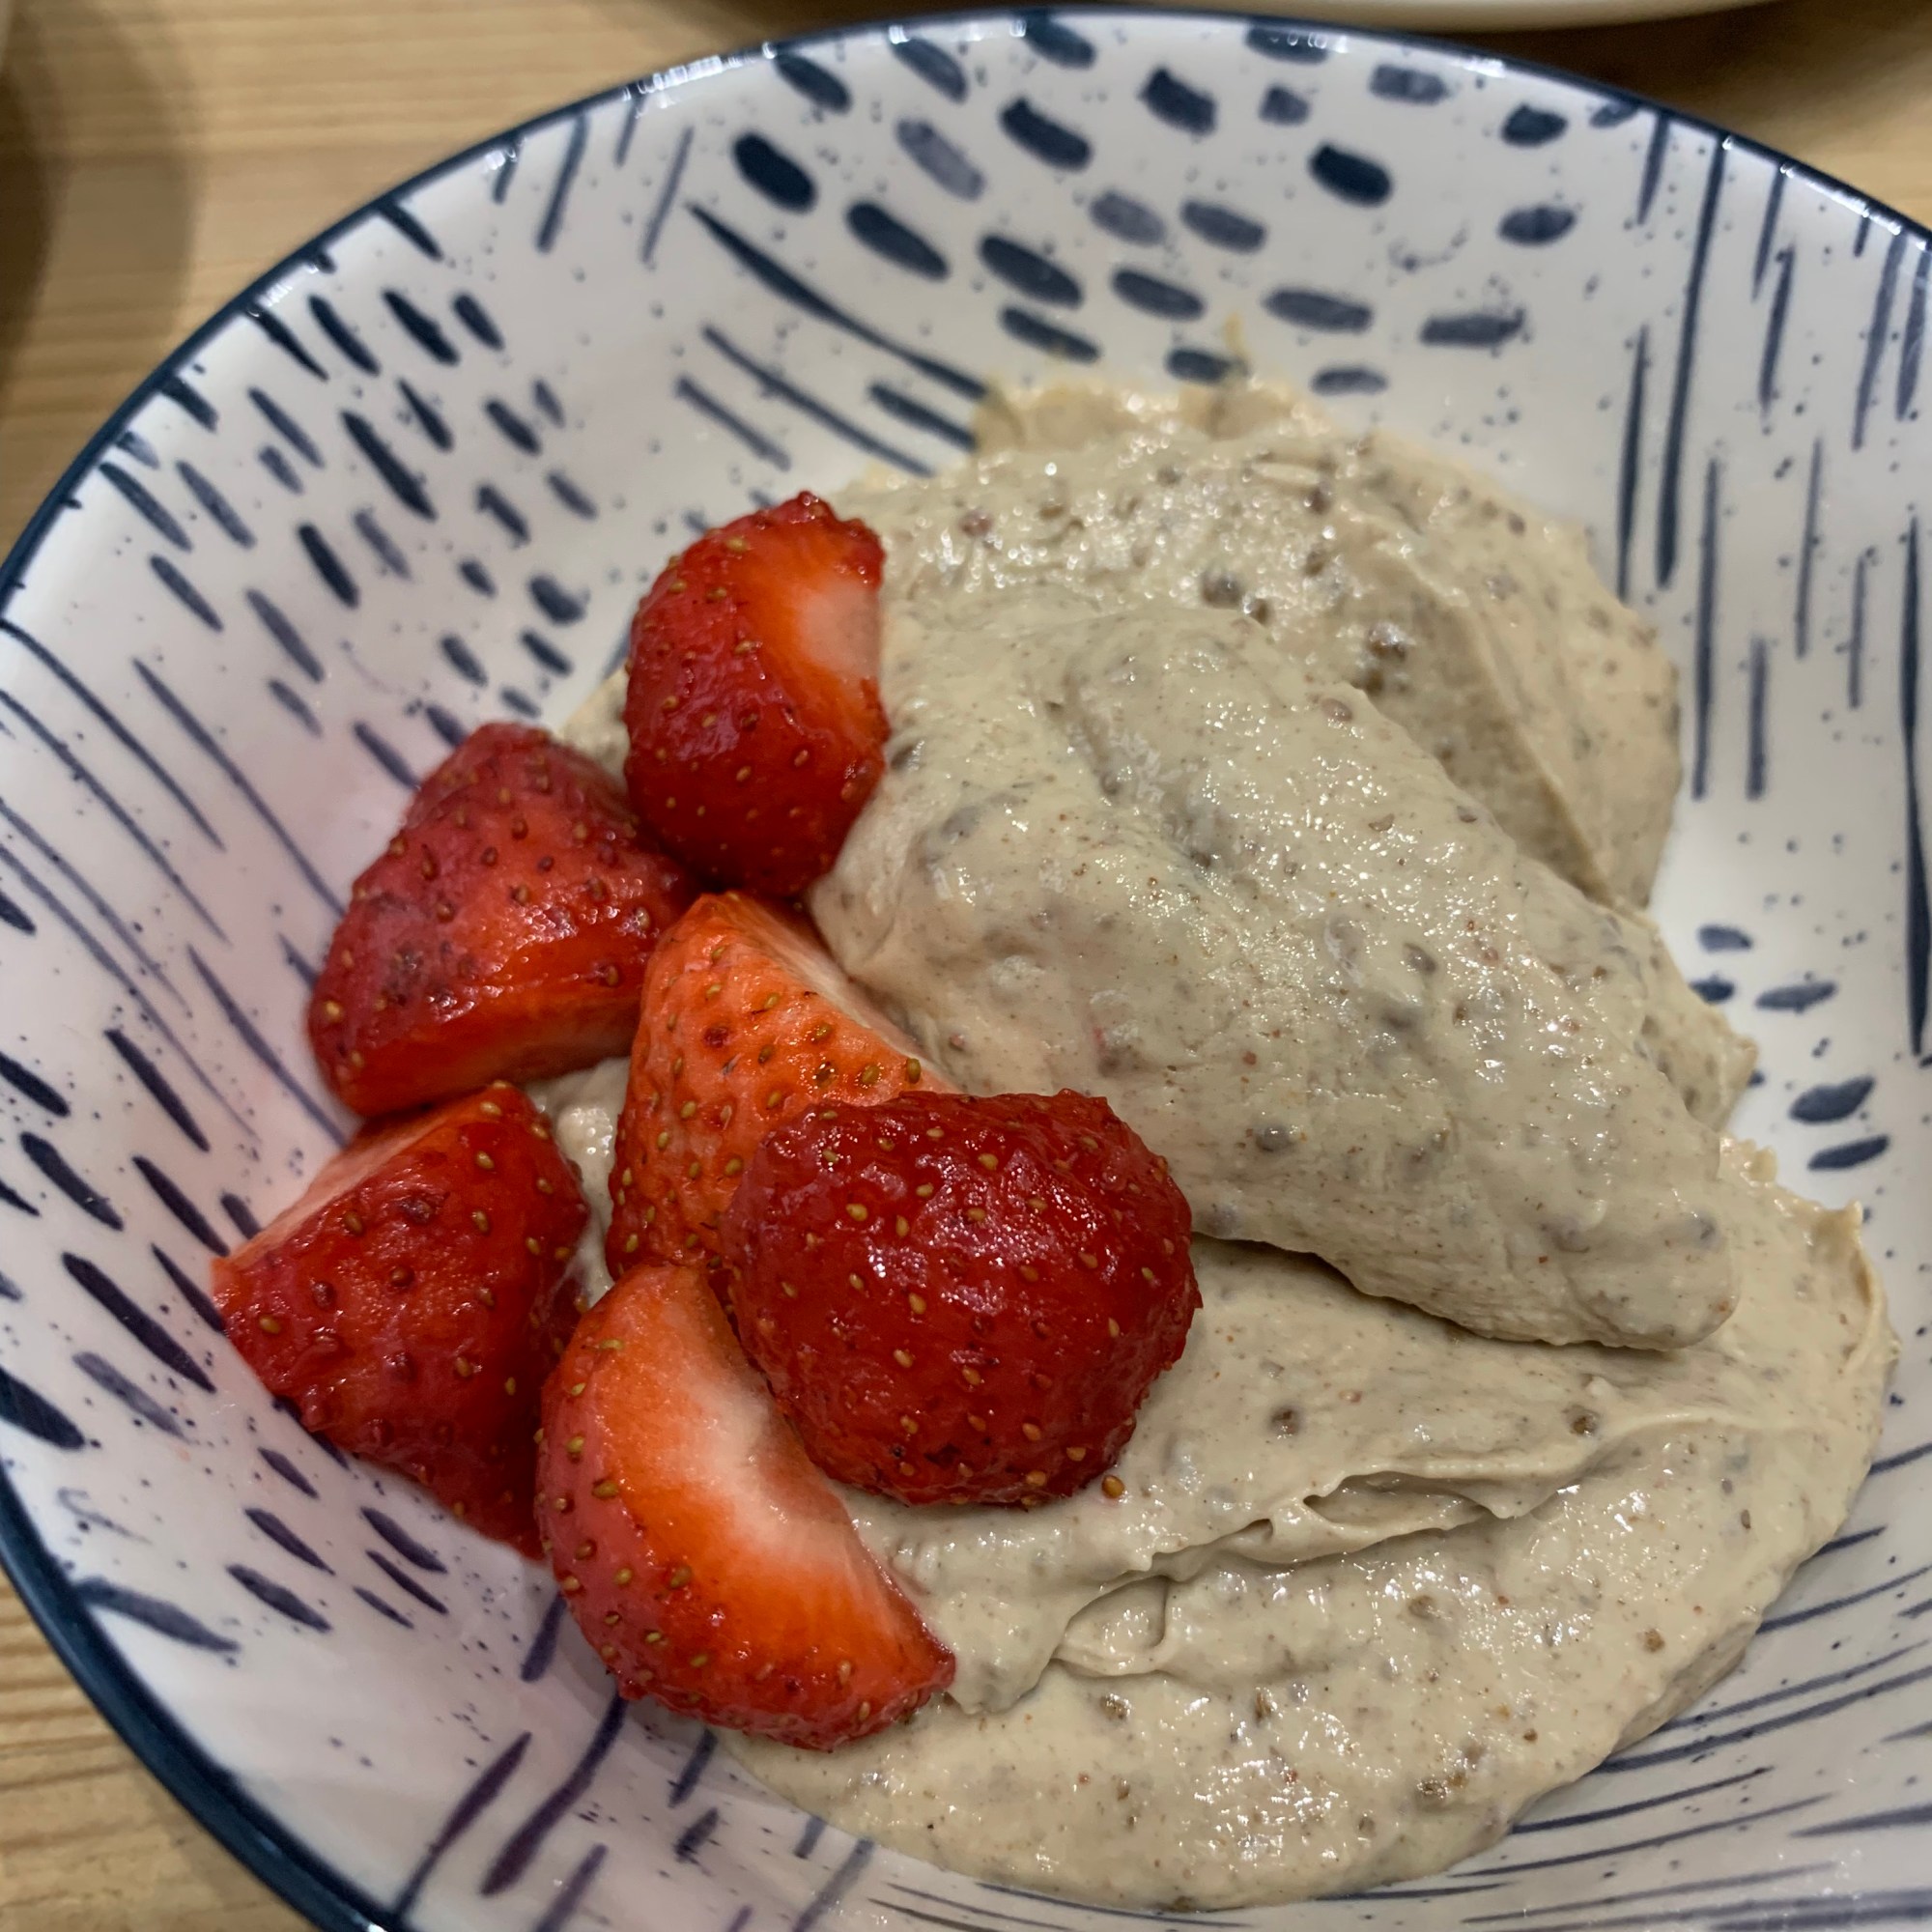
  • Serve with toppings of your choice, e.g. dark chocolate chunks, a drizzle of chocolate syrup, and crushed peanuts. I served mine with some fresh strawberries and blueberries
  • Serve and enjoy!!

Note: The pudding can be stored in the fridge for around 5 days in an airtight container.

Gluten-free flatbread

I made these to go with the chicken tikka masala. It’s a gluten-free recipe and was very easy to make. I put everything in a food processor and whizzed it up in one then left it to rest for 5 minutes. The rolling out into a thin oval shape was easy between two pieces of greaseproof paper. The cooking time was accurate and the finished flatbreads were perfect for scooping up curry. I would recommend this recipe.

Prep time: 10 mins | Cook time: 10 mins | Servings: 6

Nutrition per flatbread : Calories 194 | Carbs 30.3 g | Net Carbs 25.9g | Protein 2.7 g | Fat 6.9 g | Saturated Fat 4.1 g | Fibre 4.4 g | Sugar 1.5 g

Ingredients:

  • 1 cup light coconut milk (canned), plus more as needed (adds fat and moisture, but the flavour is not prominent)
  • 1 tbsp olive oil 
  • 1 tsp apple cider vinegar
  • 2 tsp baking powder
  • 1/2 heaping tsp sea salt
  • 3/4 tsp garlic powder
  • 3/4 tsp dried oregano
  • 1/2 cup coconut flour
  • 3/4 cup oat flour (I used gluten-free whole grain oat flour)
  • 3/4 cup potato starch (I used potato fibre instead)

For rolling, optional

  • 1/4 cup gluten-free all purpose flour (needed very little with using greaseproof paper to roll out)

Method:

  • In a medium mixing bowl add light coconut milk, olive oil, and apple cider vinegar and whisk to combine.
  • Next, add baking powder, sea salt, garlic powder, and dried oregano and whisk to combine. The mixture will likely fluff up and foam from the reaction of the baking powder and apple cider vinegar. This is normal!
  • Then, add coconut flour, oat flour, and potato starch and stir with a wooden spoon to combine, until a dough is formed. Let rest 5 minutes uncovered.
  • Note: I placed all the dough ingredients in a food processor and mixed until a dough formed. I found this to be easier and quicker.
  • The dough should be malleable and slightly tacky, it shouldn’t be crumbly at all.
  • I then formed my dough into one round ball, and then sectioned into 6 equal triangles. Roll each section of dough into a thin oval shape, for a thicker flatbread roll slightly thicker and cook for a bit longer.
  • Heat a skillet over medium/medium-high heat. Once hot, spray or drizzle with a little oil. Then use hands to carefully transfer the dough to the pan. If it cracks at all, just carefully and quickly patch back together with your hands.
  • Cook for 2-3 minutes or until the underside is golden brown. Bubbles may form while it’s cooking. Flip carefully and cook for another 2-3 minutes. Lower heat as needed to ensure it doesn’t burn, until both sides are golden brown. Repeat this process until all dough is used.
  • Store leftovers covered in the refrigerator or at room temperature for up to 2-3 days. To freeze, place cooked, cooled flatbread in a freezer-safe container or bag (adding parchment paper between each flatbread will prevent sticking) and freeze for up to 1 month.
  • To serve, either heat from frozen in a toaster oven, thaw overnight and then heat in a skillet, or microwave from frozen until warm.
  • I served my flatbreads with chicken tikka masala.

Keto Chicken Tikka Masala

I love curry and we had leftover chicken that needed a bit of spicing up! I found this recipe which sounded good. I didn’t do any of the raw chicken marinade part of the recipe, I just made the sauce and then folded in the diced leftover chicken. To me the recipe seemed a little overly complex, recipes should be simple. I like layers of flavour in my curries and it’s really important to cook dry spices off at the beginning in a little oil so that they aren’t harsh. Add a little water to them to prevent them burning. I added a good quality tikka masala paste to the other spices. This was a spicy curry rather than hot but it was excellent. I would recommend it.

Prep time: 5 mins | Cook time: 25 mins | Servings: 6

Nutrition (serving size 1 cup): Calories 385 | Total Carbs 9g | Net Carbs: 7g | Protein 32.3g | Fat 24g | Saturated Fat 13.5g | Fibre: 2.1g | Sugar: 5.1g

Ingredients:

Chicken marinade: (Please note, I missed out the need to marinate the raw chicken as I used leftover cooked chicken, diced)

  • 5 skinless chicken breasts (750g), diced
  • ½ cup (120g) plain yogurt
  • 3 garlic cloves, minced
  • 1 tbsp fresh ginger, grated
  • 2 tsp garam masala
  • 1 tsp each cumin, paprika
  • ¾ tsp salt
  • 1 tbsp lemon juice, optional

Sauce: (I just made the sauce)

  • 2 tbsp butter (I used a lactose-free butter)
  • 1 small yellow onion diced
  • 2 garlic cloves, minced (I used garlic paste instead)
  • 1 tbsp fresh ginger grated (I used ginger paste instead)
  • 1 tsp each garam masala, cumin, ground coriander
  • ½ tsp each turmeric, paprika, chili powder (I used 3 tsp of tikka masala paste instead)
  • 1.5 cups (360g) passata
  • 1 tbsp tomato puree
  • ¾ tsp salt
  • 1 cup double cream (I didn’t use any cream, as I felt it wasn’t needed)
  • ¾ tsp erythritol, optional (I didn’t add this, as it was sweet enough)
  • water to thin (Yes this was needed to get it to the right consistency.

Method

  • Add the diced chicken to a large bowl with the chicken marinade ingredients and mix to combine. Leave to marinade for at least 15 minutes or ideally overnight, covered in the fridge.
  • Heat 1 tbsp of butter or oil in large non-stick frying pan.
  • Fry the chicken for about 3 minutes per side, or until golden and almost cooked through. About 8 minutes in total. Remove from the pan.
  • Note: I had leftover cooked chicken, I diced this up and used this instead, and added after the sauce was made.
  • Add the remaining 1 tbsp of butter to the pan and fry the onions for 3 minutes on a medium heat until golden and softened.
  • Next add the garlic, ginger and spices and fry for 1 more minute until fragrant. (I added tikka masala paste as a substitute for some of the spices).
  • Once fragrant, add the passata. Turn the heat down to a simmer and cook for a further 10 minutes or until thick.
  • Add the cream and optional low carb sweeter if using. (I didn’t add any cream or sweetener).
  • Once the sauce is ready to your liking, put the chicken back in the pan and cook for about 5 minutes until the chicken is fully cooked through and warm.
  • Serve and enjoy!! I served mine with cauliflower rice and homemade flatbreads.

Ham and cauliflower casserole au gratin

We had cooked a ham and needed a recipe to use up quite a lot of leftovers. This recipe seemed to meet what we needed. It turned out to be rich, creamy and cheesy – I mean what else do you want from a recipe. For a meal using leftover ham, cream cheese, an opened carton of plant-based double cream, slightly wilted spring onions and frozen broccoli and cauliflower it was one of the best ever. I’m not a fan of frozen broccoli and cauliflower and we only keep it in for emergencies which somehow never happen. We loved this meal! It’s quite rich so I had mine with mixed salad and it was perfect. I highly recommend the you make it and its a straight forward recipe. Try it!

Prep time: 25 mins | Cook time: 35 mins | Servings: 6

Nutrition per serving : calories 238 | total fat 14g | saturated fat 5g | total carbs 7.7g | net carbs 5.7g | fibre 2g | sugar 4g | protein 20g

Ingredients:

  • 6 cups raw cauliflower flowerets, cut fairly small (I used half frozen cauliflower and half frozen broccoli instead)
  •  1/2 tsp. salt (for water to cook cauliflower)
  •  2 cups diced ham
  •  4 oz cream cheese, softened (I used a lactose-free cream cheese)
  •  3/4 cup Greek yogurt (I used 1/4 cup greek yoghurt, and 1/2 cup plant-based double cream instead)
  •  2 T finely-grated Parmesan cheese
  •  1/4 cup thinly sliced green onions (spring onions in UK)
  •  fresh ground black pepper to taste
  •  3/4 cup grated cheddar cheese (I used a lactose-free cheddar cheese)
  • I also added 250g mushrooms, sliced

Method:

  • Preheat oven to 350F/180C, and grease a ovenproof dish.
  • Fill a pan half full with water, add 1/2 tsp.salt, bring to a boil. (I steamed the broccoli and the cauliflower together then seasoned it lightly)
  • Add the cauliflower (I also added broccoli) to the water and cook until it’s just starting to get barely soft. Be careful not to overcook; the cauliflower will soften more in the oven.
  • Next make the sauce. Soften the cream cheese, then stir in the greek yoghurt (I also used plant-based double cream), parmesan, and spring onions.
  • Season to taste with fresh-ground black pepper.
  • Once the cauliflower (and broccoli) has started to soften, drain, then place back into the pan and mash until it’s partly mashed, you want it to be chunky.
  • Place the veg into an oven proof dish, and gently mix in the diced ham.
  • Stir in the sauce mixture and combine well with the cauliflower and ham mixture; then
  • Pour cauliflower mixture into the ovenproof dish, spread out evenly, and sprinkle with the remaining cheese.
  • Bake for around 30-35 minutes, or until the cheese is melted and lightly browned and all the mixture is hot throughout and starting to bubble.
  • Let sit 10 minutes for any liquid to be absorbed, then serve hot. I served mine with a side of salad.
  • Enjoy!!

Keto strawberry, almond, and chocolate muffins

We had strawberries sitting in the fridge so when I saw this recipe I was delighted. Chocolate and strawberries are a great combination. The recipe itself was very straightforward. The flavour of the muffins was sweet from the strawberries and then you got the dark flavour of the chocolate. The texture was excellent with a crunch from the chocolate chips. The combination was delicious. I kept the baked muffins in a box in the fridge because of using fresh fruit. It didn’t matter as they were gone in three days. This recipe is worth trying.

Prep time: 15 mins | Cook time: 20 mins | Servings: 12

Nutrition: Calories 232 | Fat 21g | Saturated Fat 6g | Fibre 2g | Carbs 5g | Net Carbs | 3g

Ingredients:

  • 25g (1/4 cup) coconut flour
  • 3 tsp baking powder
  • 200g (2 cups) almond flour
  • 50g (1/4 cup) powdered stevia sweetener (I used erythritol)
  • 250g strawberries, hulled, chopped
  • 75g dark chocolate (85% cocoa), chopped (I used Lily’s dark chocolate chips)
  • 3 eggs, lightly whisked
  • 2 tsp vanilla extract
  • 60ml (1/4 cup) almond milk
  • 125g unsalted butter, melted (I used a lactose-free butter)

Method:

  • Preheat oven to 340F, 170C/150C Fan-assisted
  • Line a muffin tin with paper cases.
  • In a bowl, sift the coconut flour, baking powder, almond flour, and sweetener.
  • Next add chopped strawberries, and chocolate to the bowl, and stir to combine.
  • Whisk the eggs, vanilla and almond milk together in a jug.
  • Add the egg mixture and butter to the dry ingredients and stir until combined.
  • Divide the mixture among the prepared muffin cases.
  • Bake for 20-25 minutes or until golden and a skewer inserted into the centre comes out clean.
  • Set aside for 5 minutes, to cool, before transferring to a wire rack to cool completely.
  • Serve & enjoy!!