Blog

Chewy Keto Bagels (gluten-free, lactose-free, low-carb)

Having just bought some commercial keto bagels which I wasn’t impressed by, I thought I would try making some. The one’s I bought were very expensive, small, and the texture wasn’t nice as it contained grated courgette (zucchini). I’ve decided that I need to make my own so I am researching and trying different recipes.

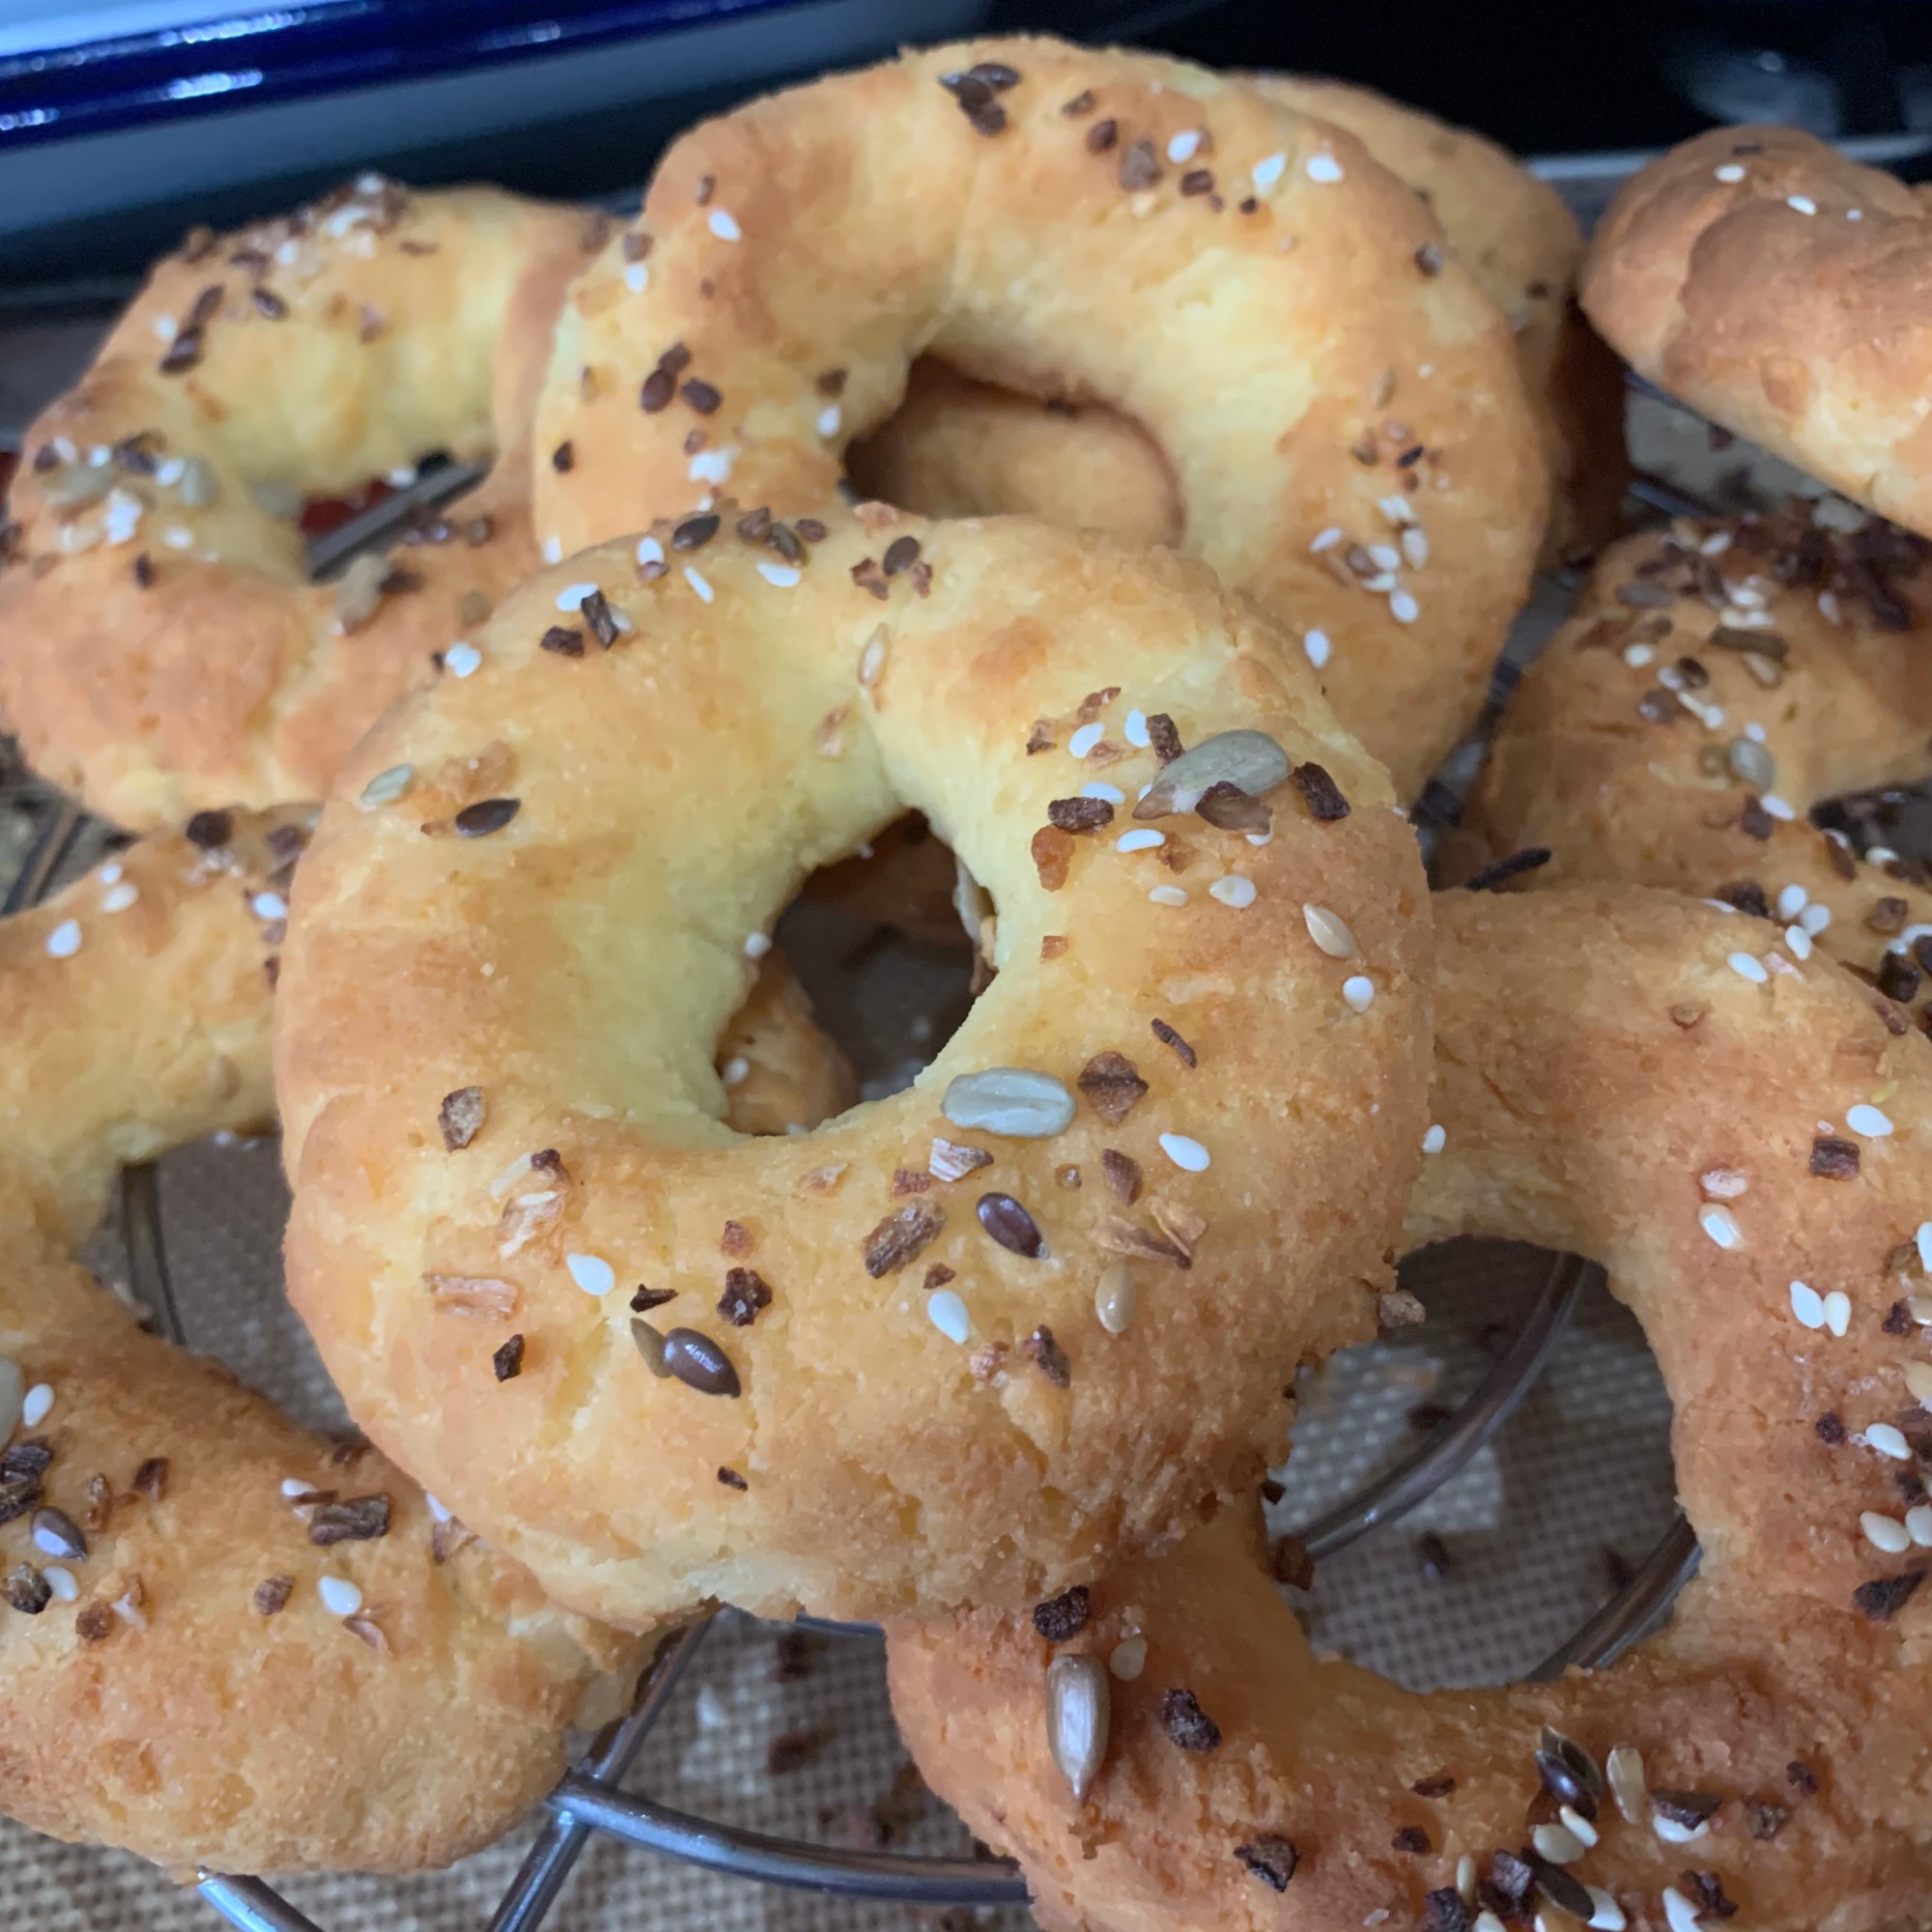
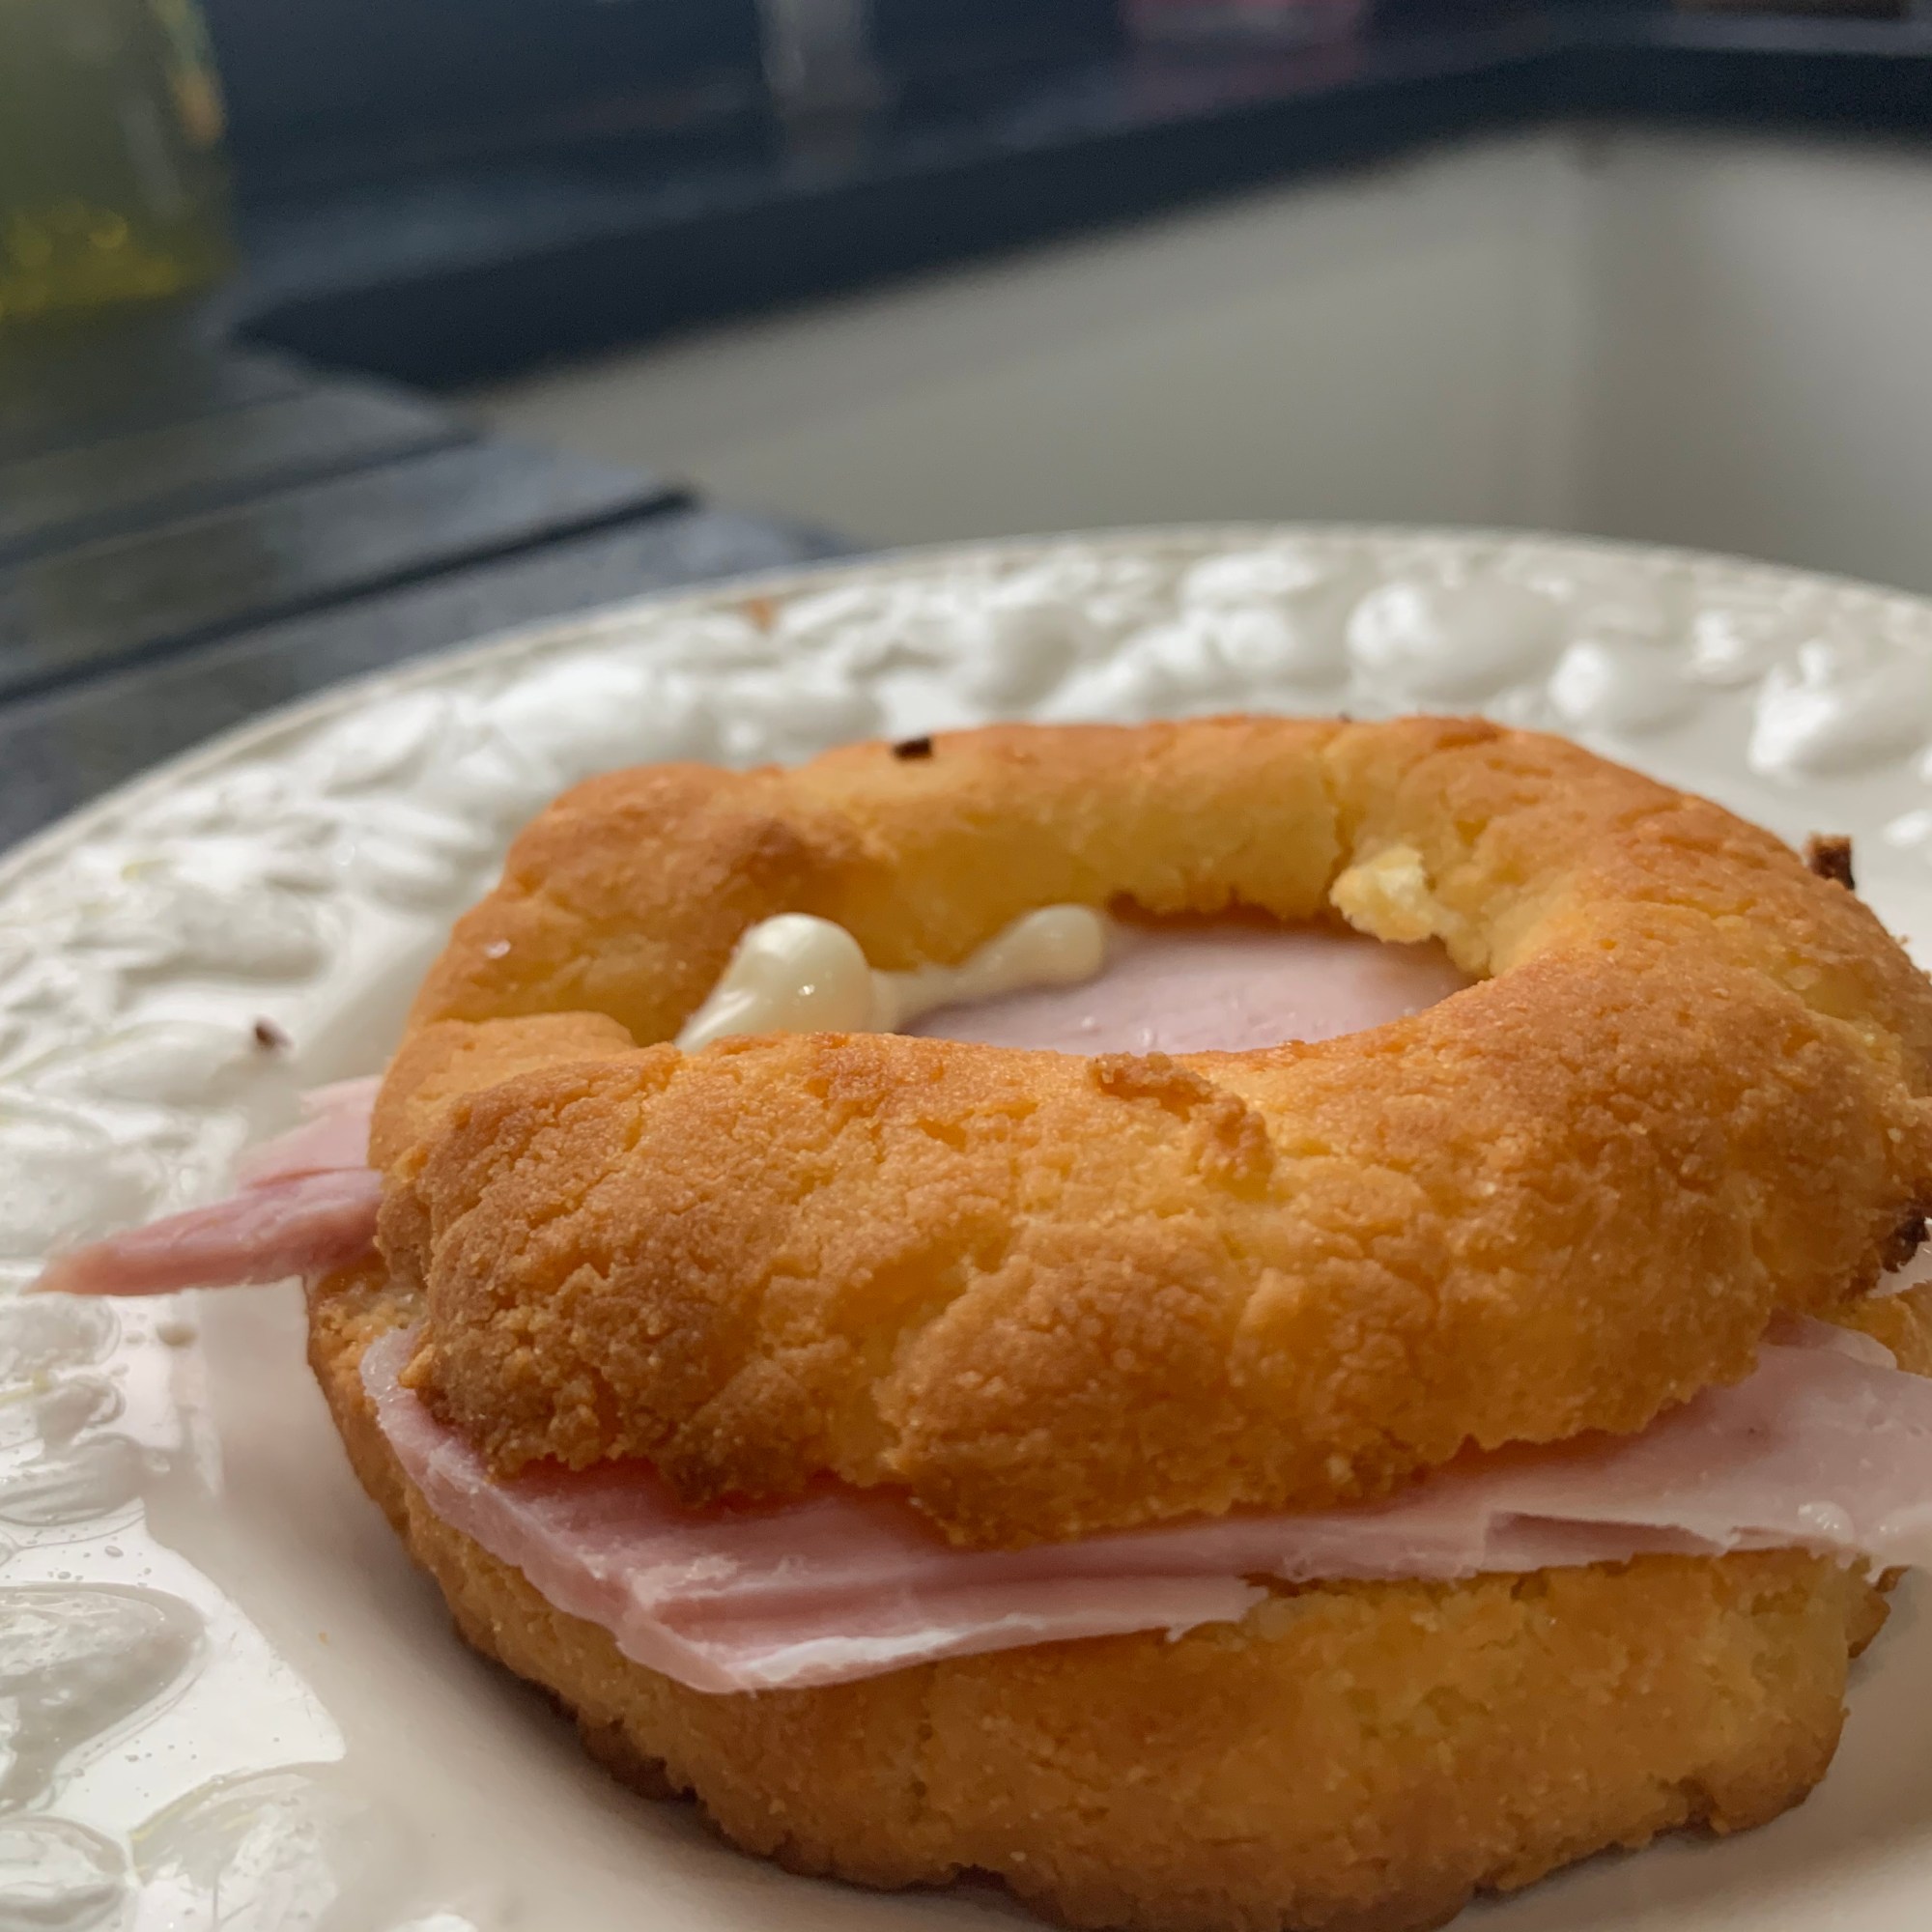
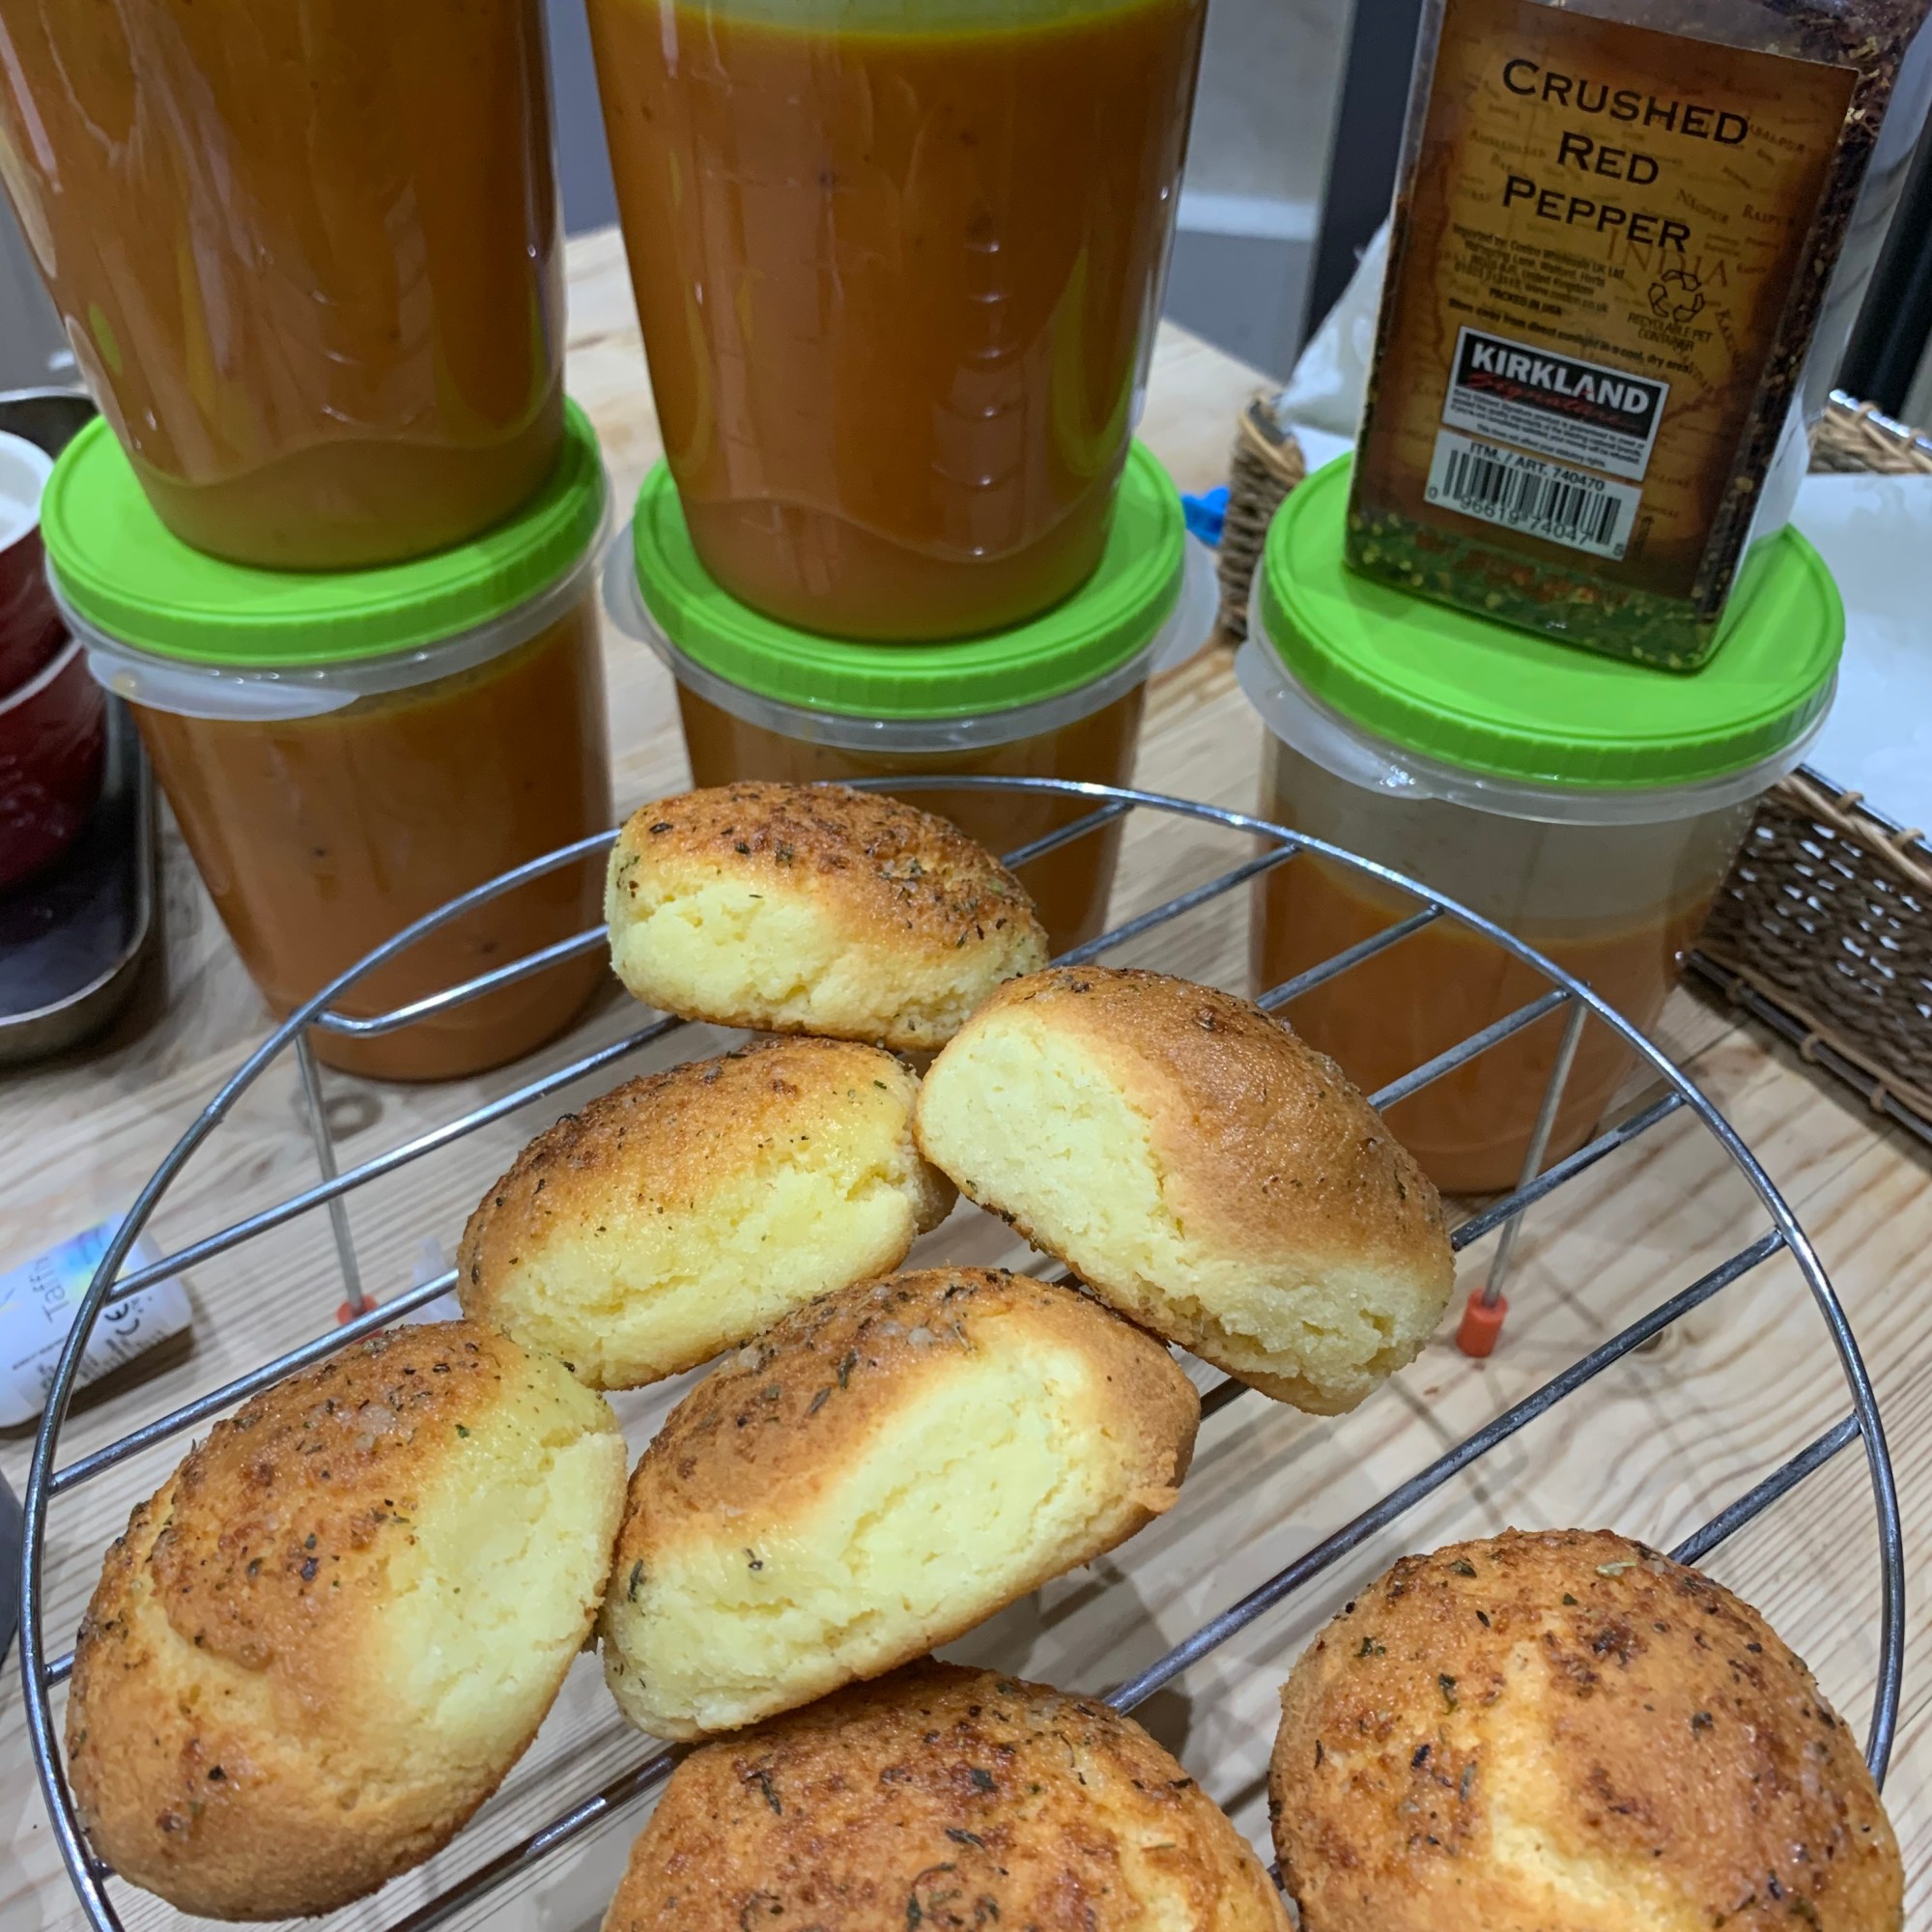
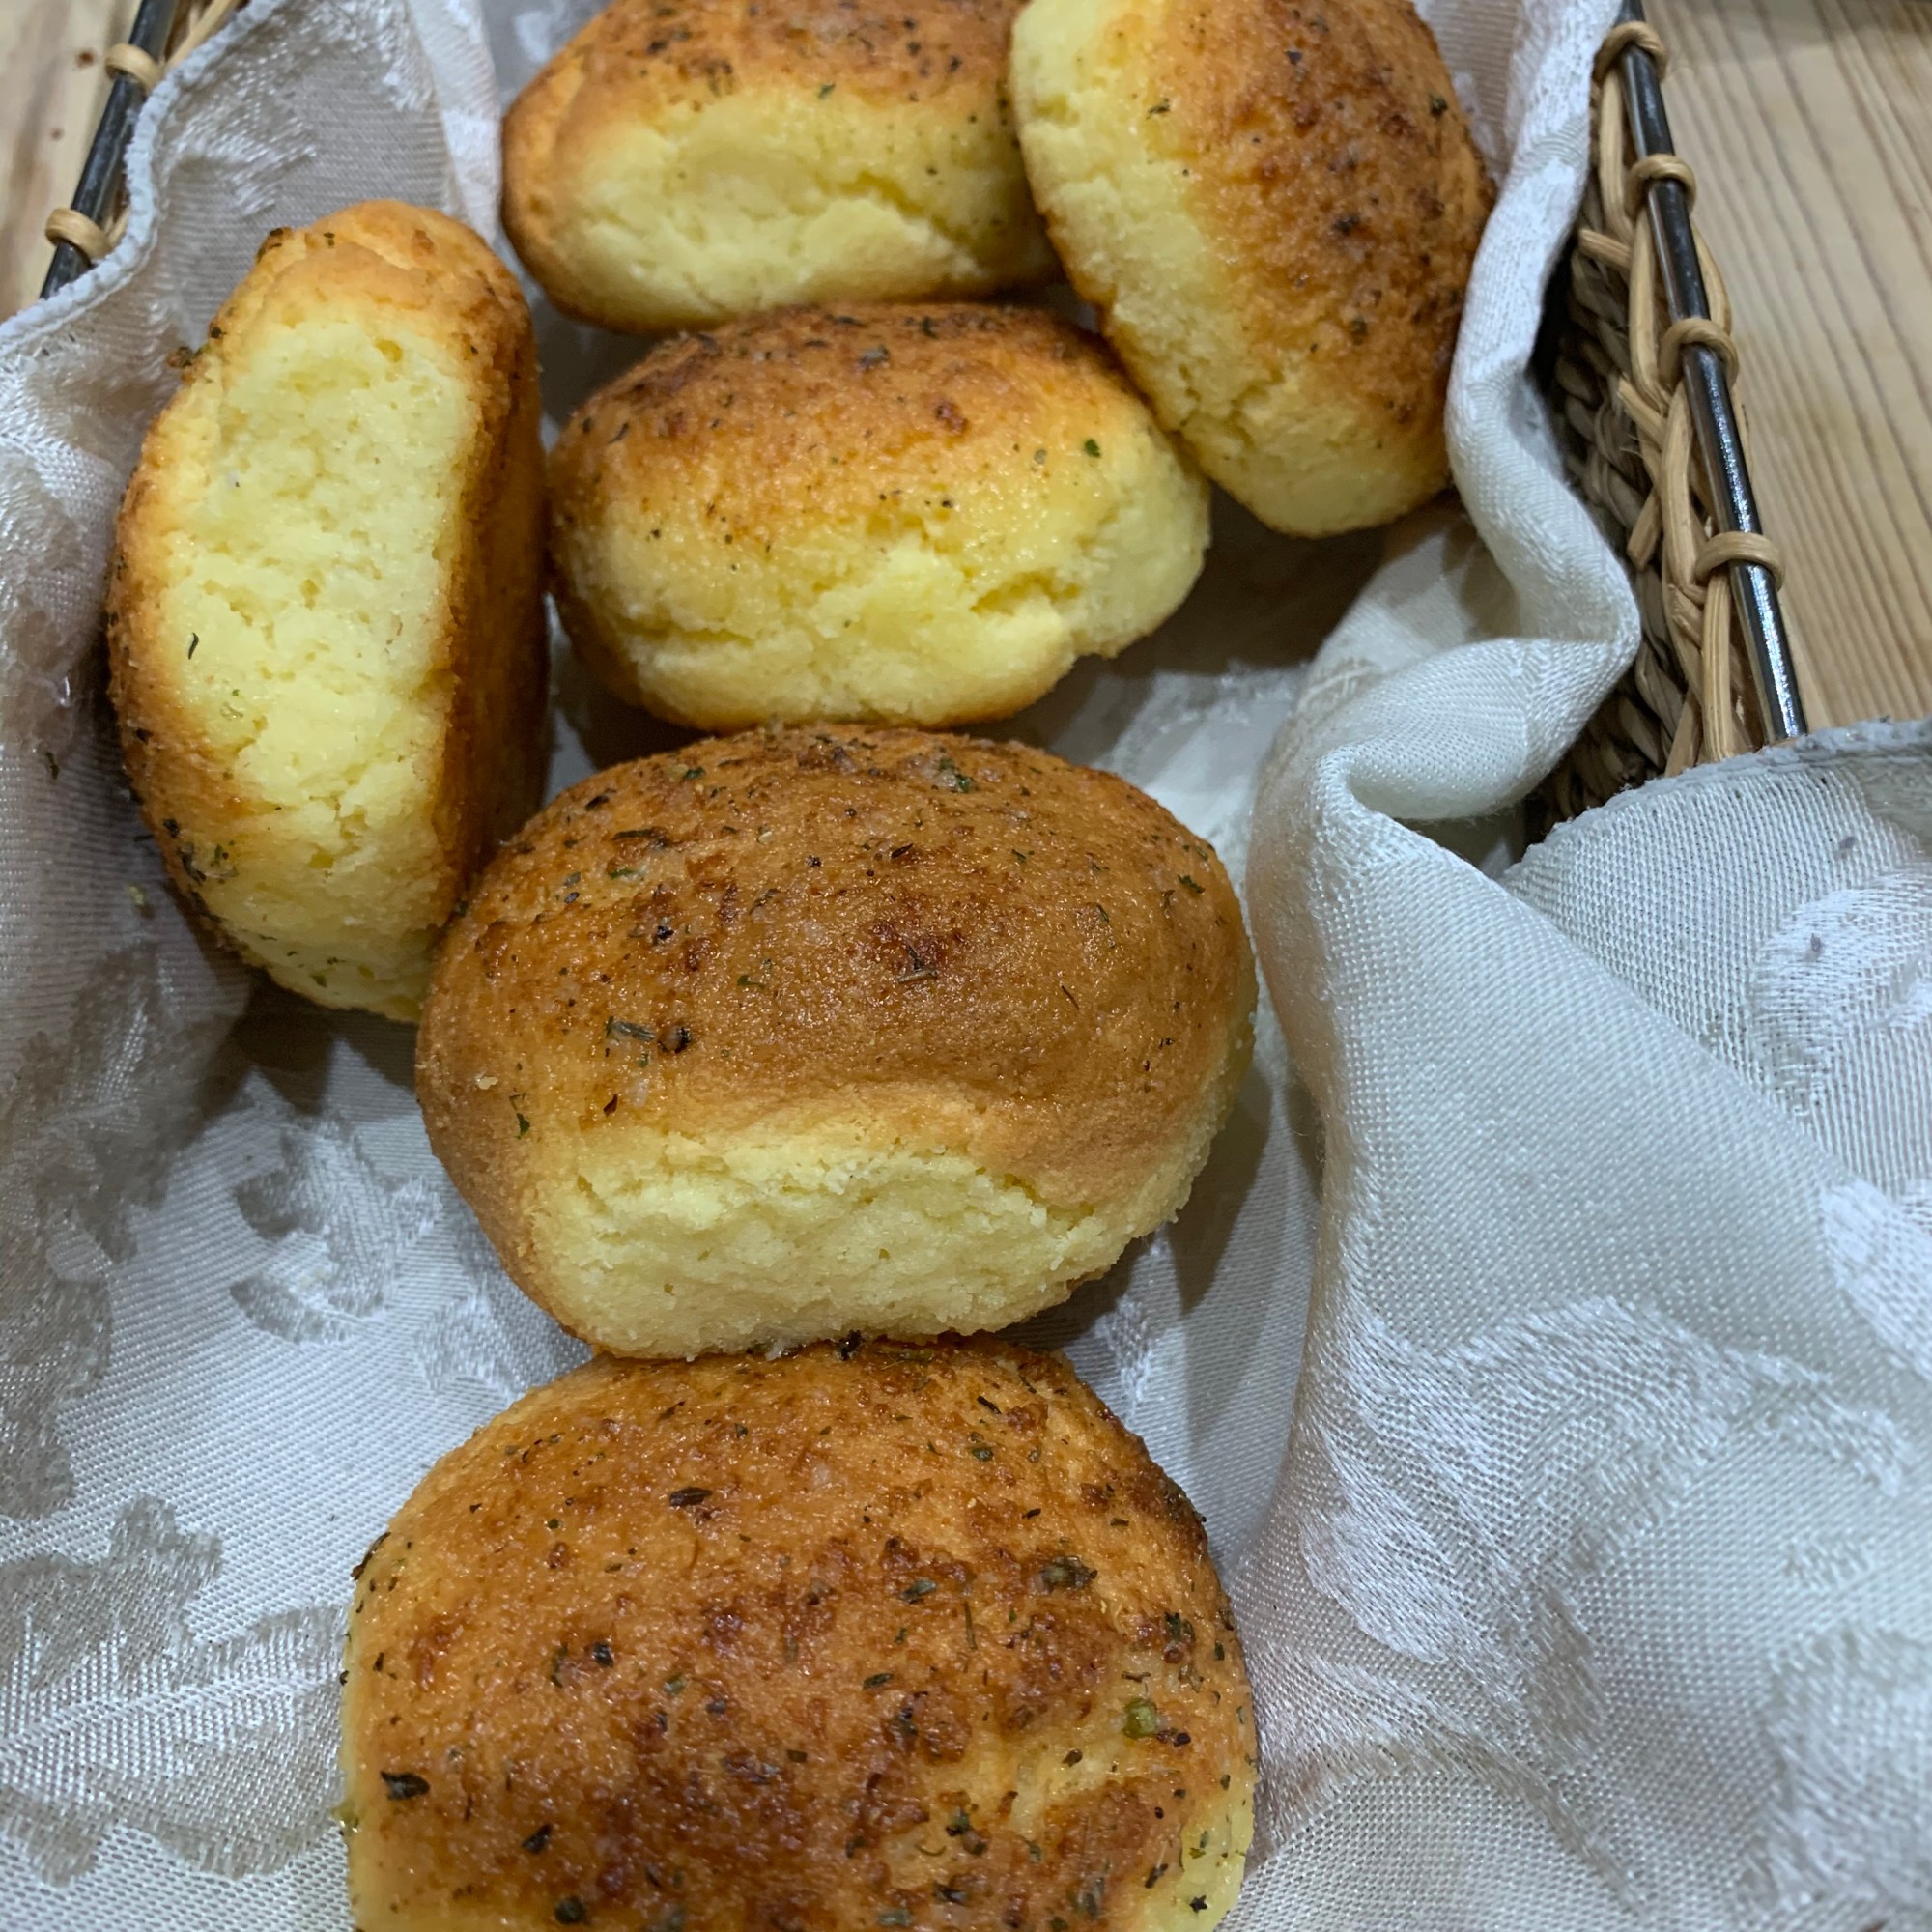
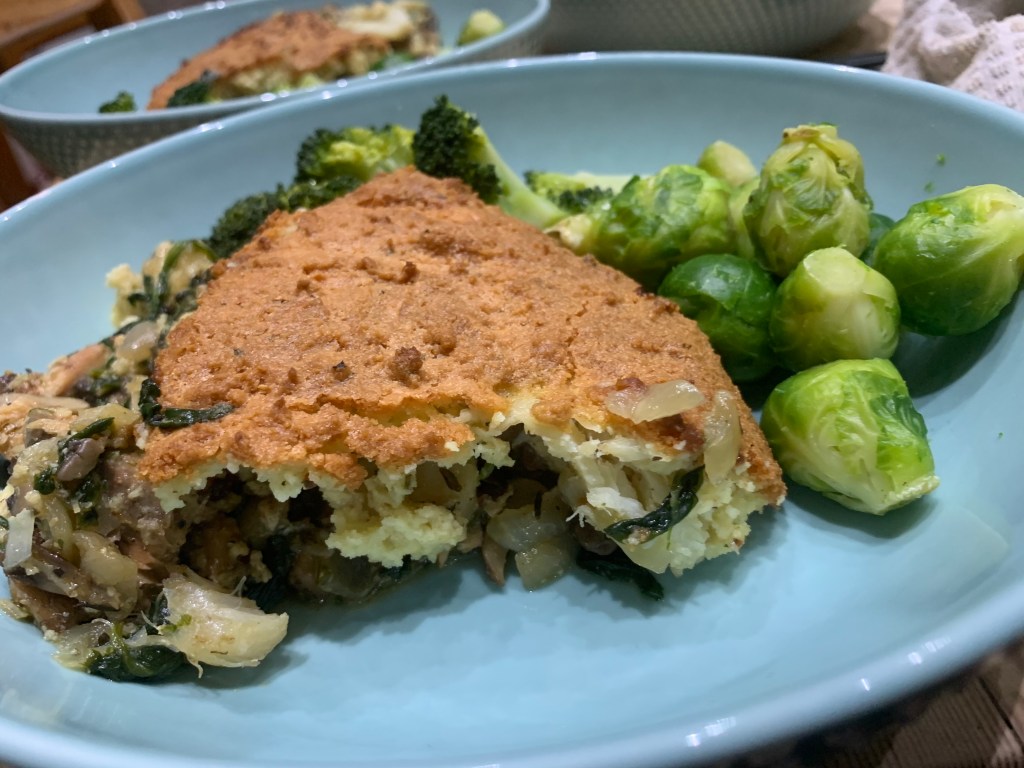
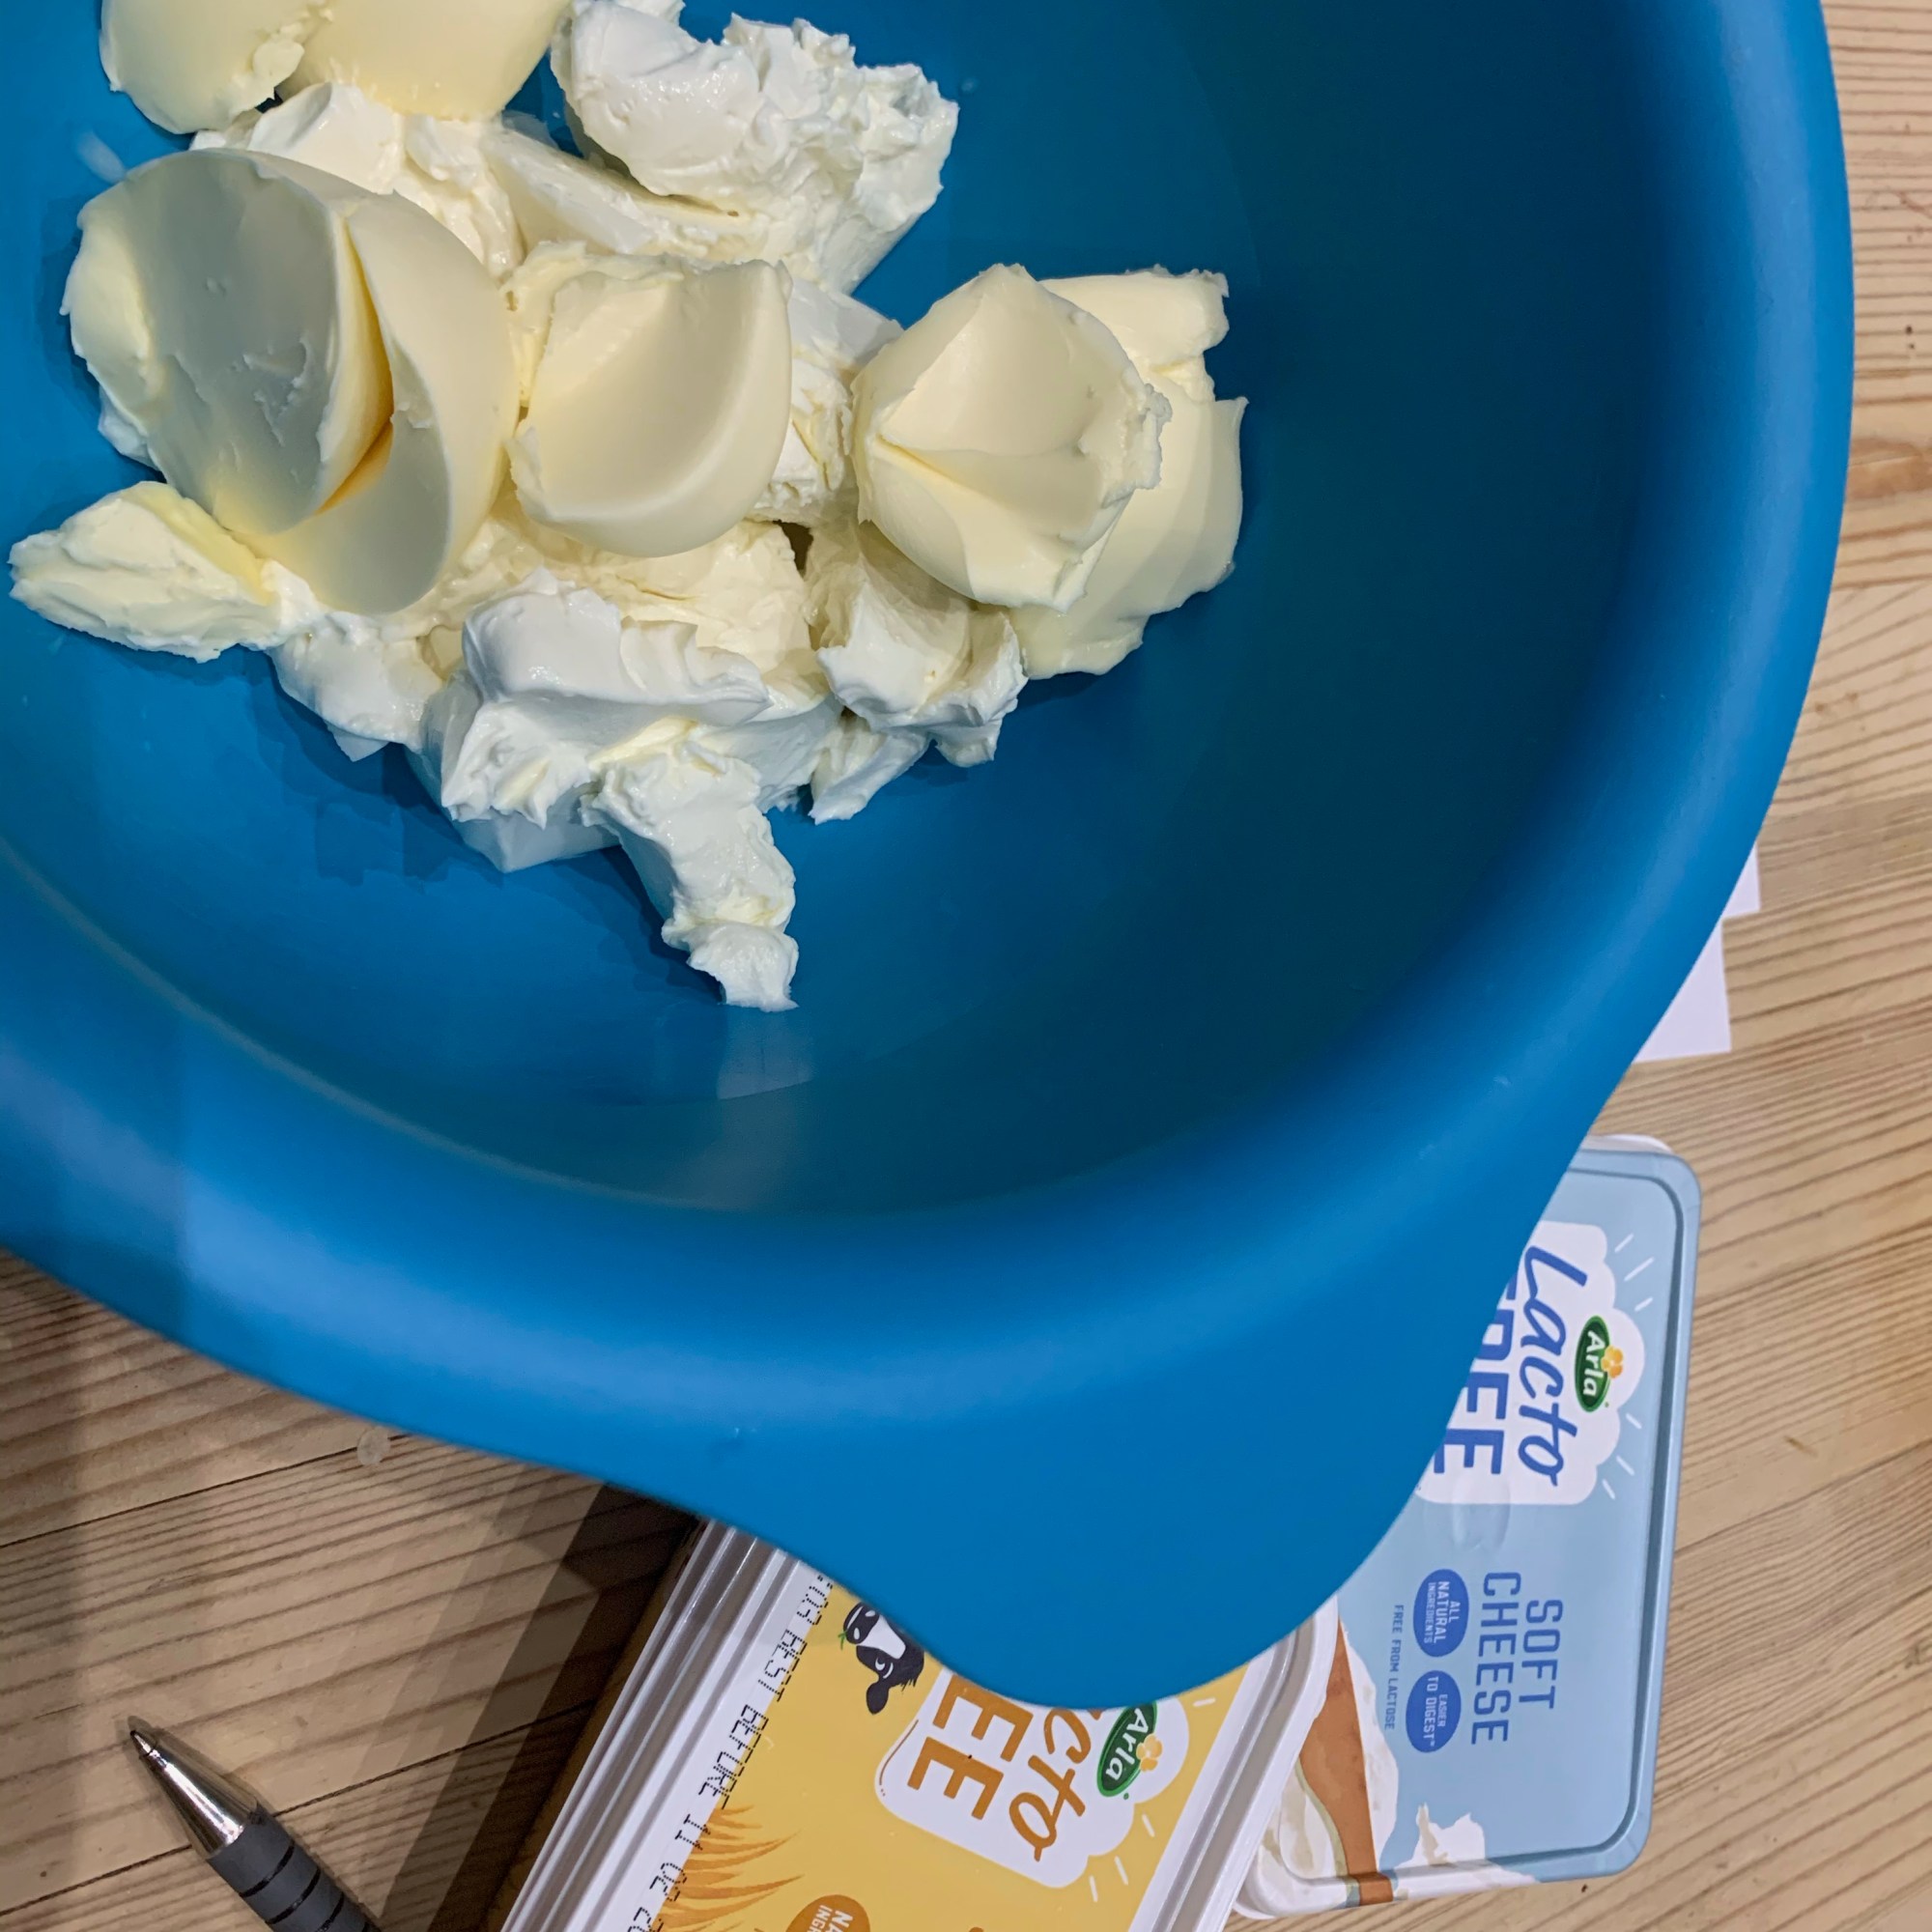
This recipe was my first trial. As I’m lactose-intolerant and based on my success with the cheddar garlic dinner rolls, I swapped the mozzarella for grated lactose-free cheddar. These bagels were much better than the expensive ones I bought. They toasted well, held together with a filling, and had a good flavour. Though, I need to put more seeds on next time. I also want to find the ideal flour blend of almond and coconut flour so I can use this in more recipes.

Next time, I won’t follow the recipe to roll the dough out into 8 inch rolls then pinch together into a circular bagel shape; this took too long. The dough feels less pliable as it cools so speed is important. Instead, I will trial using an ice-cream scoop to divide and shape into rolls and then poke a hole in the centre. The recipe is well worth making. They freeze well in ziplock bags and reheat very well in the microwave or toaster.

Prep time: 20 mins| Cook time: 20 mins | Servings: 8

Nutrition per Bagel: calories 190 | fat 12.3g | carbs 5.5g
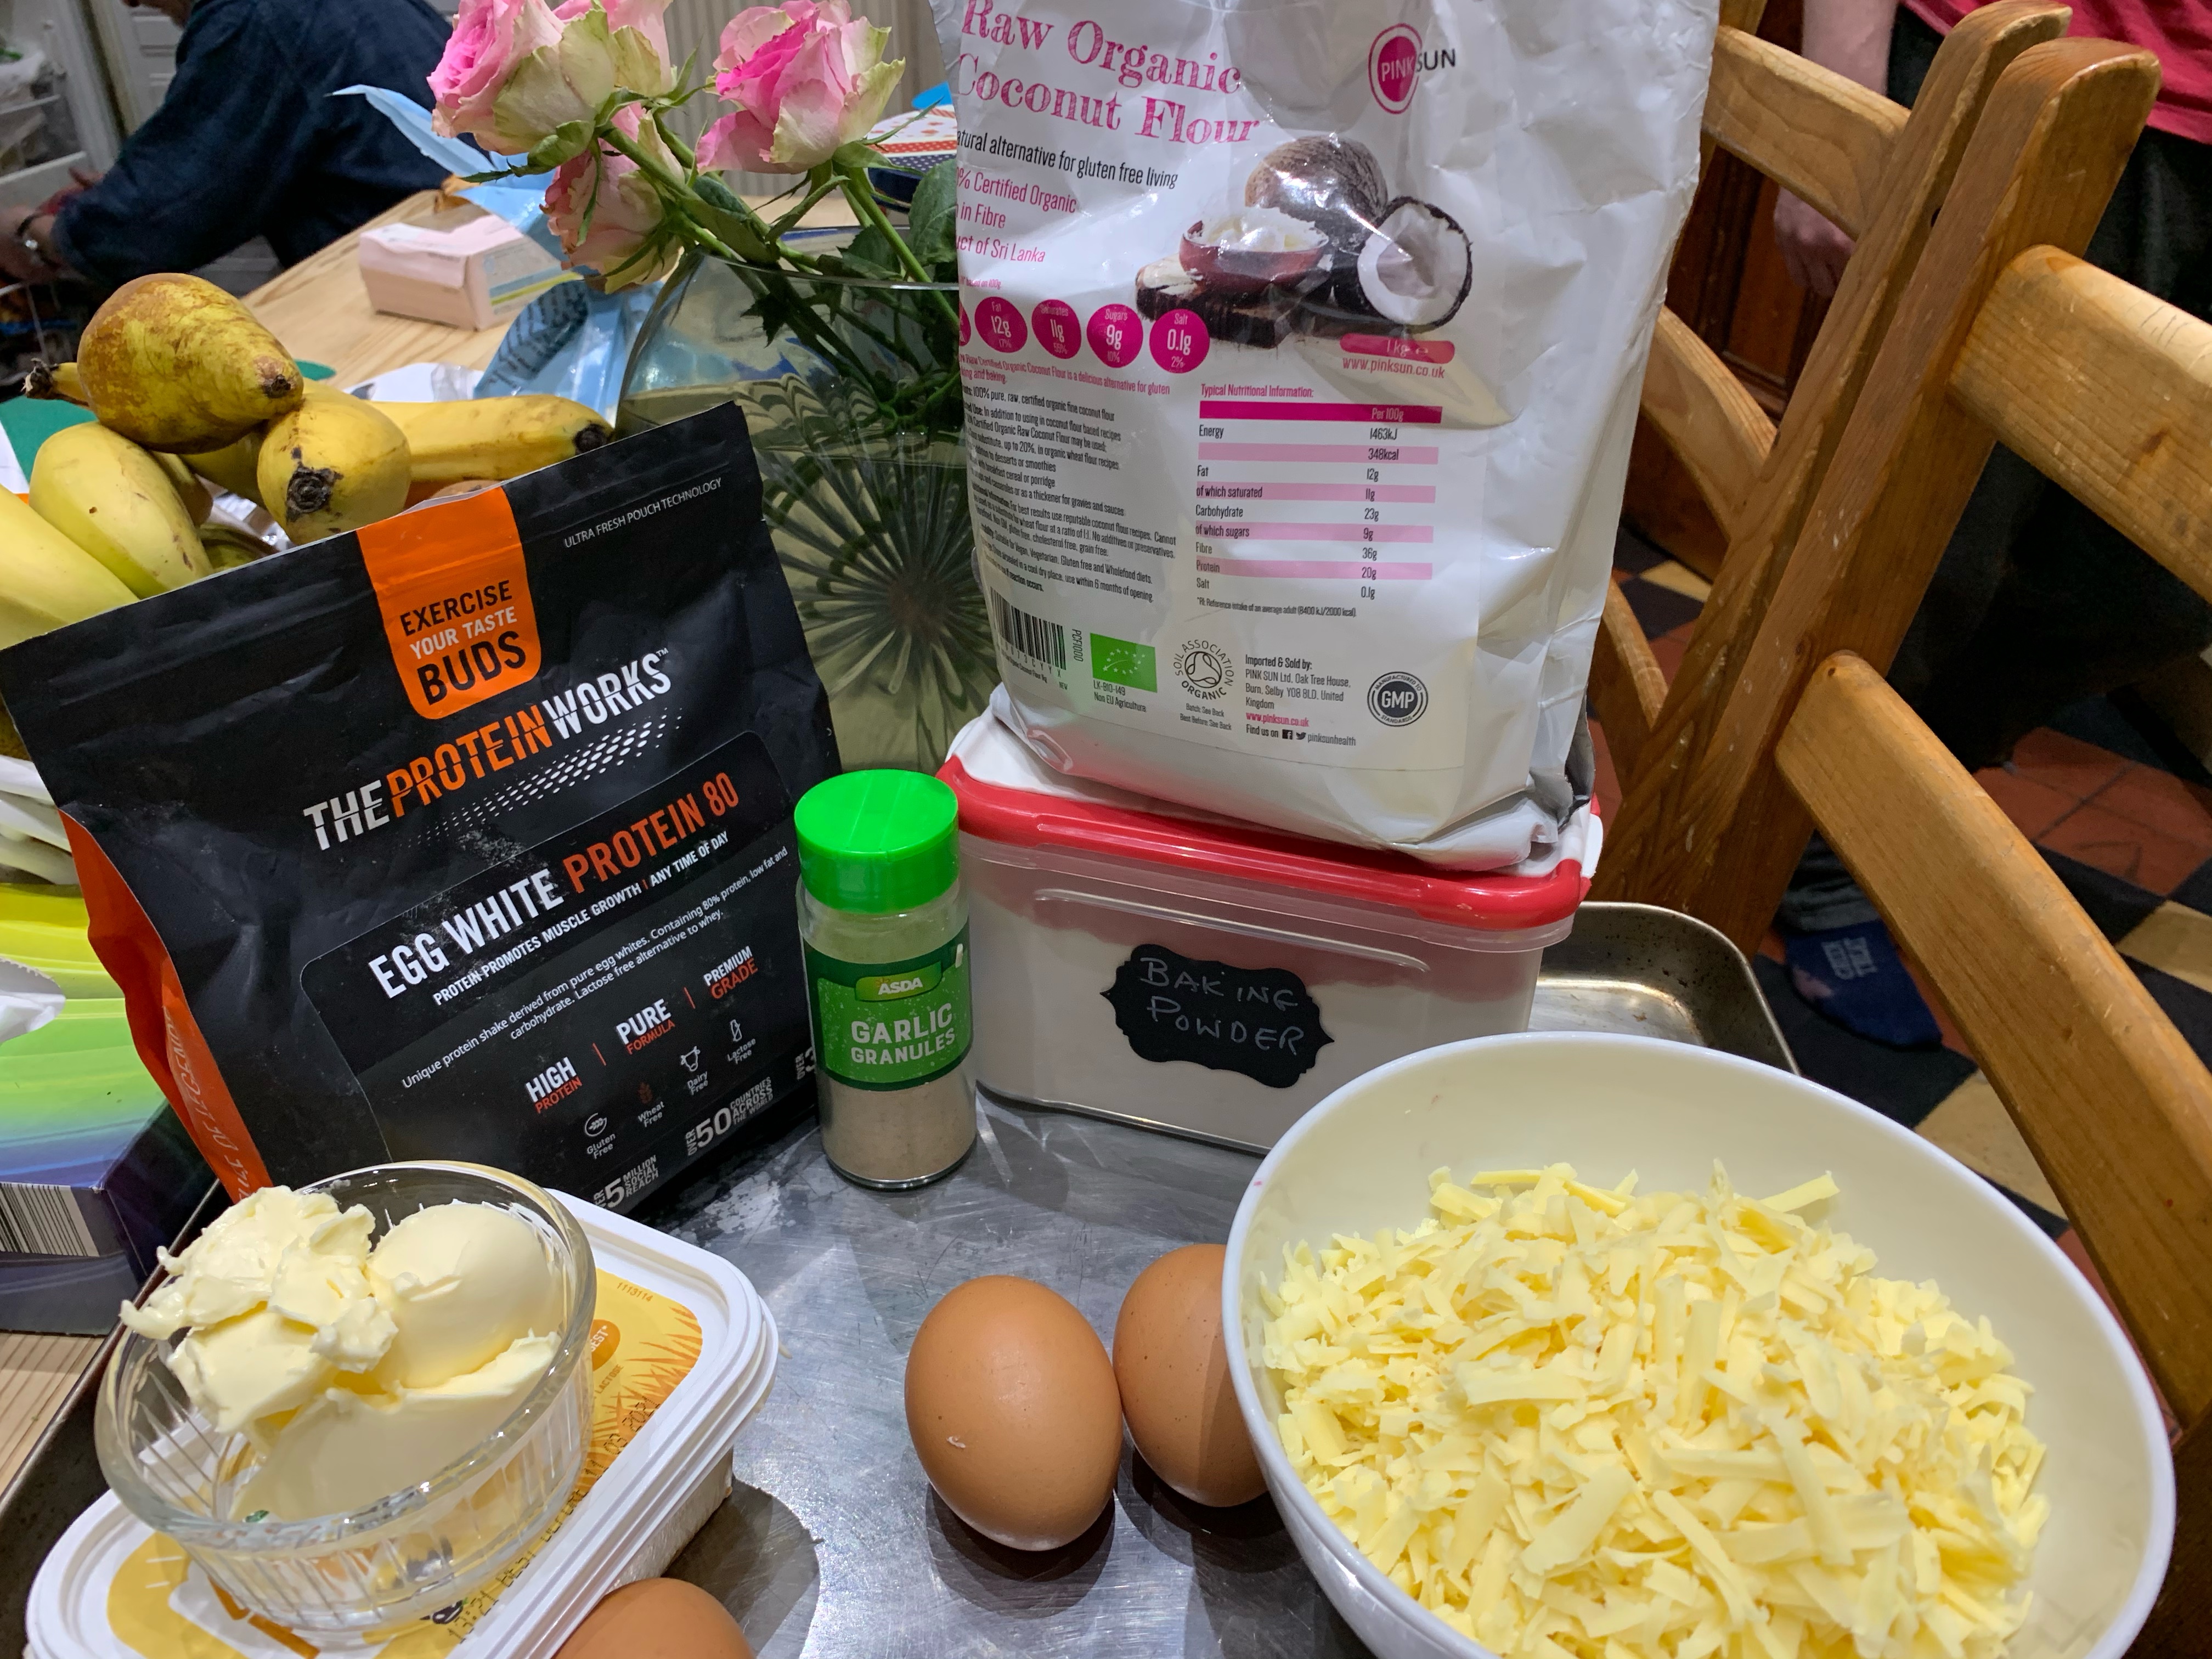
Ingredients:

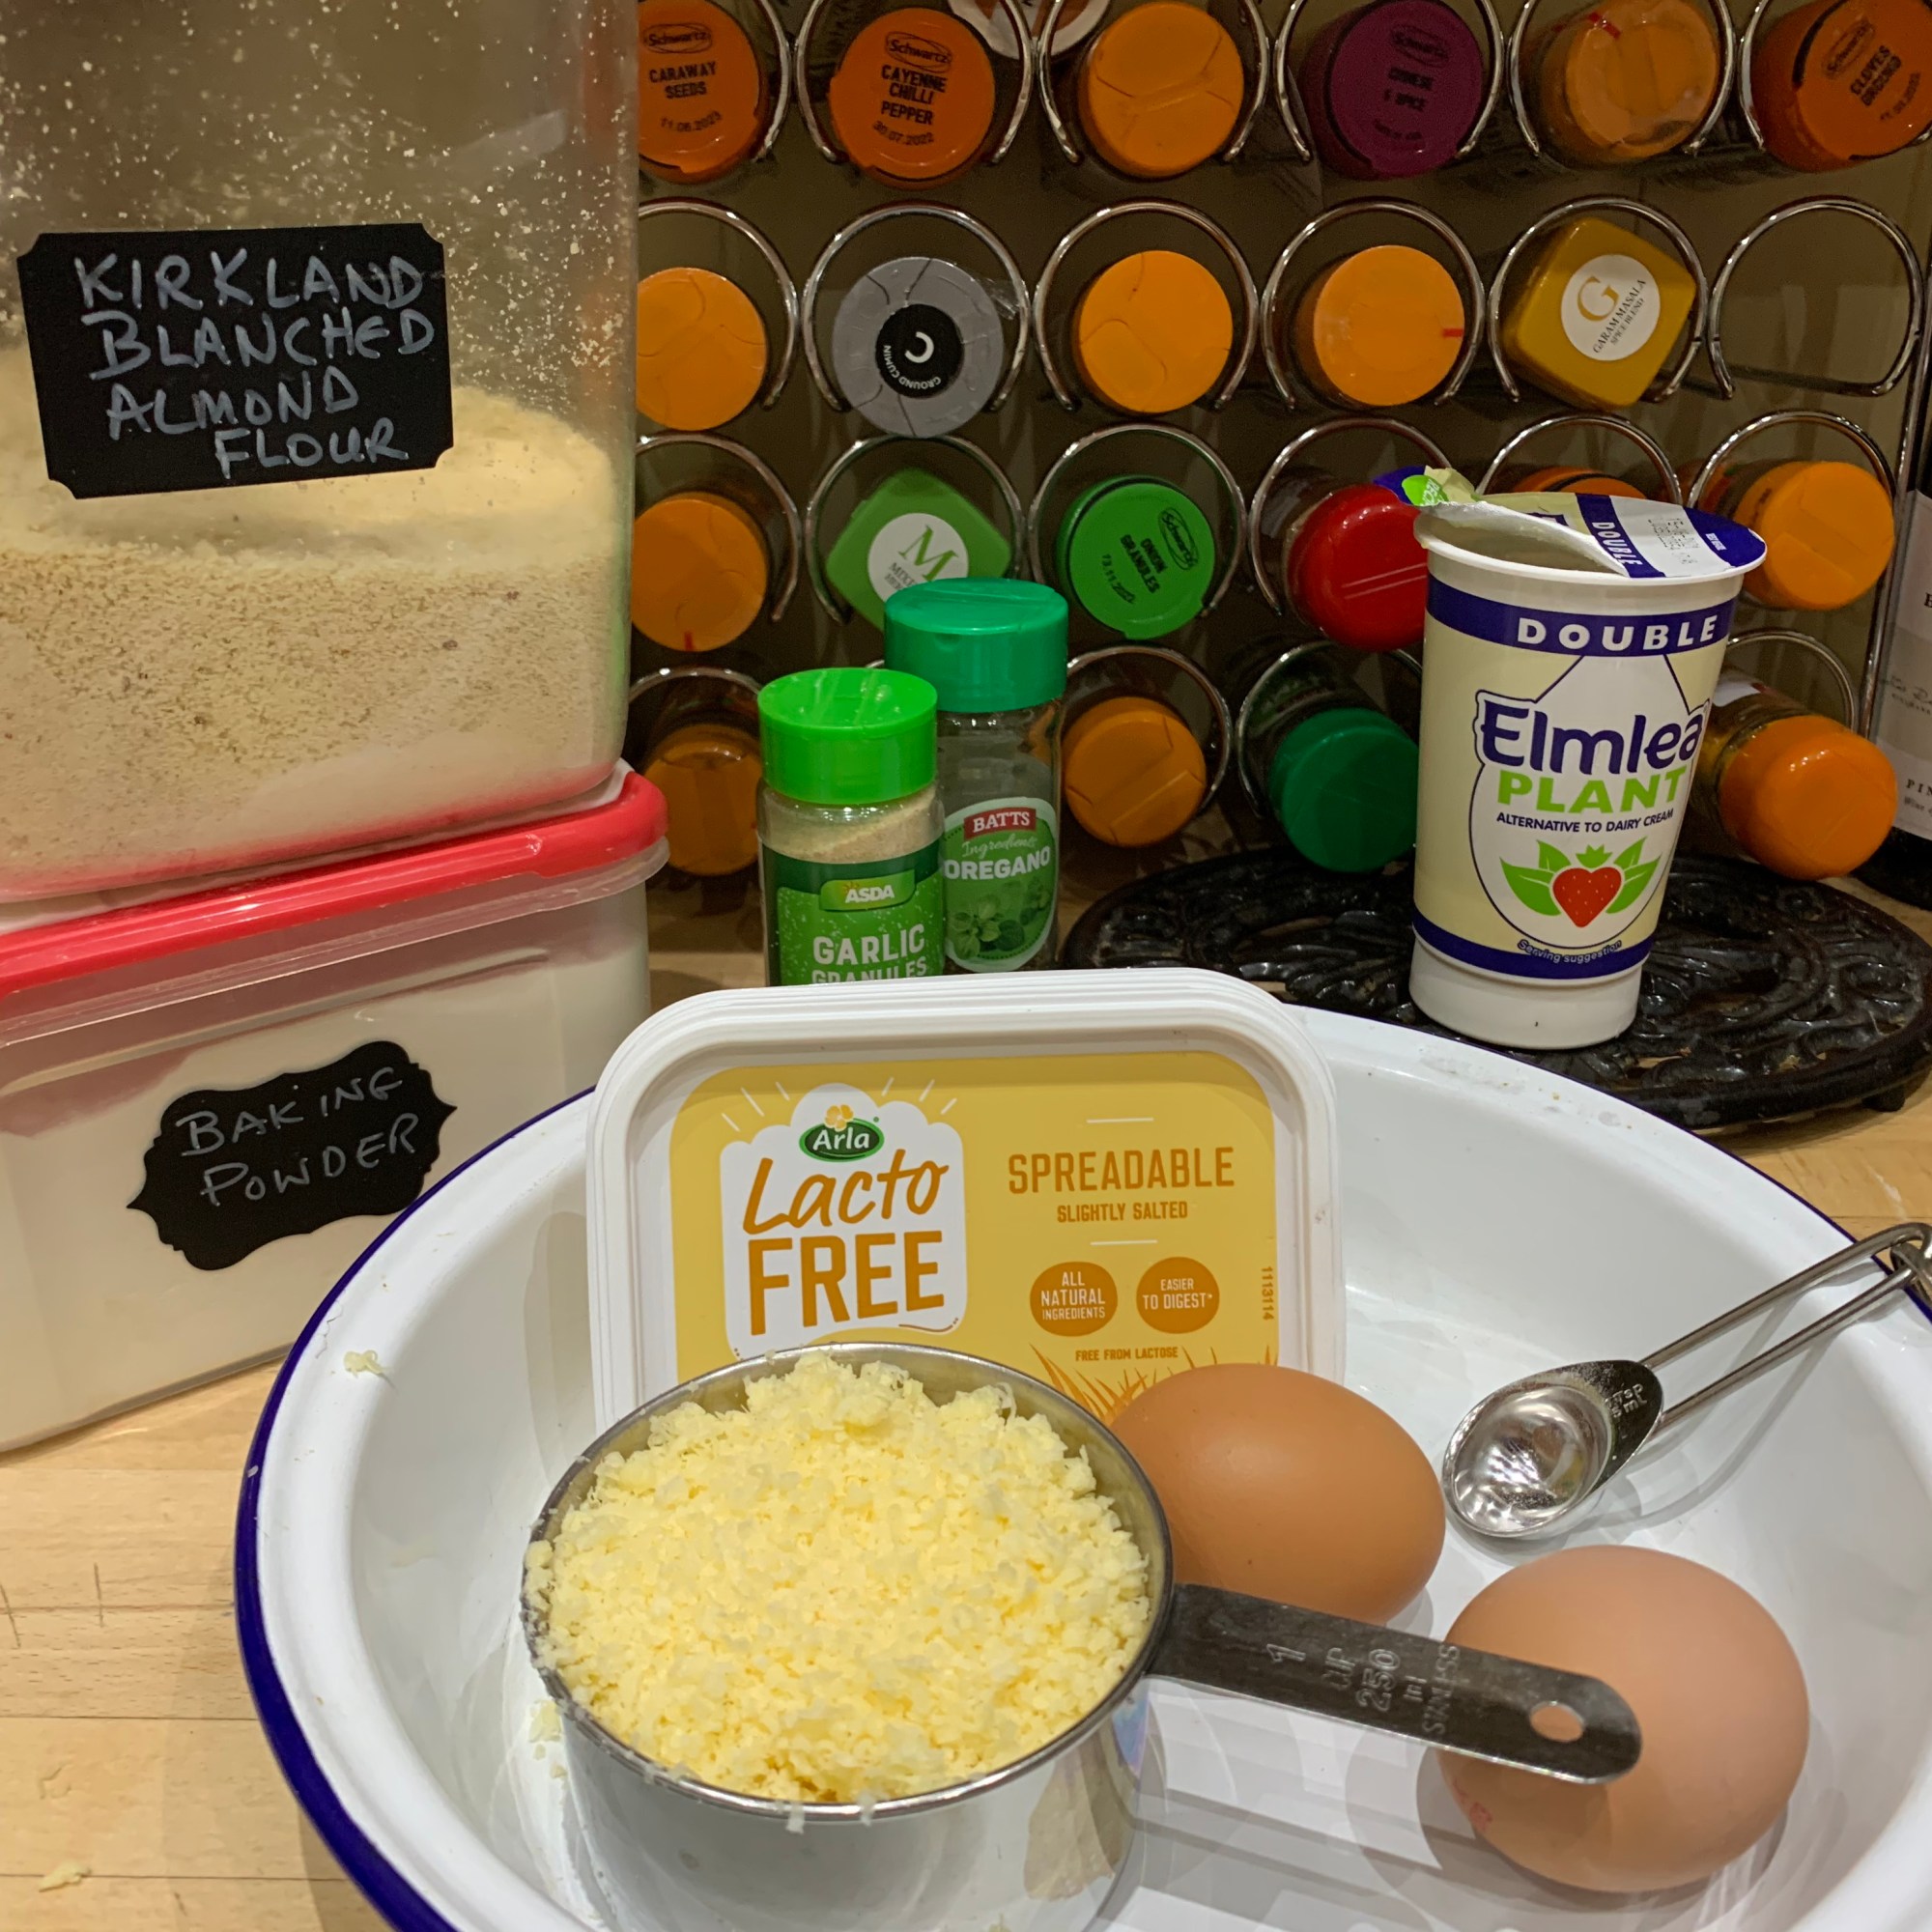
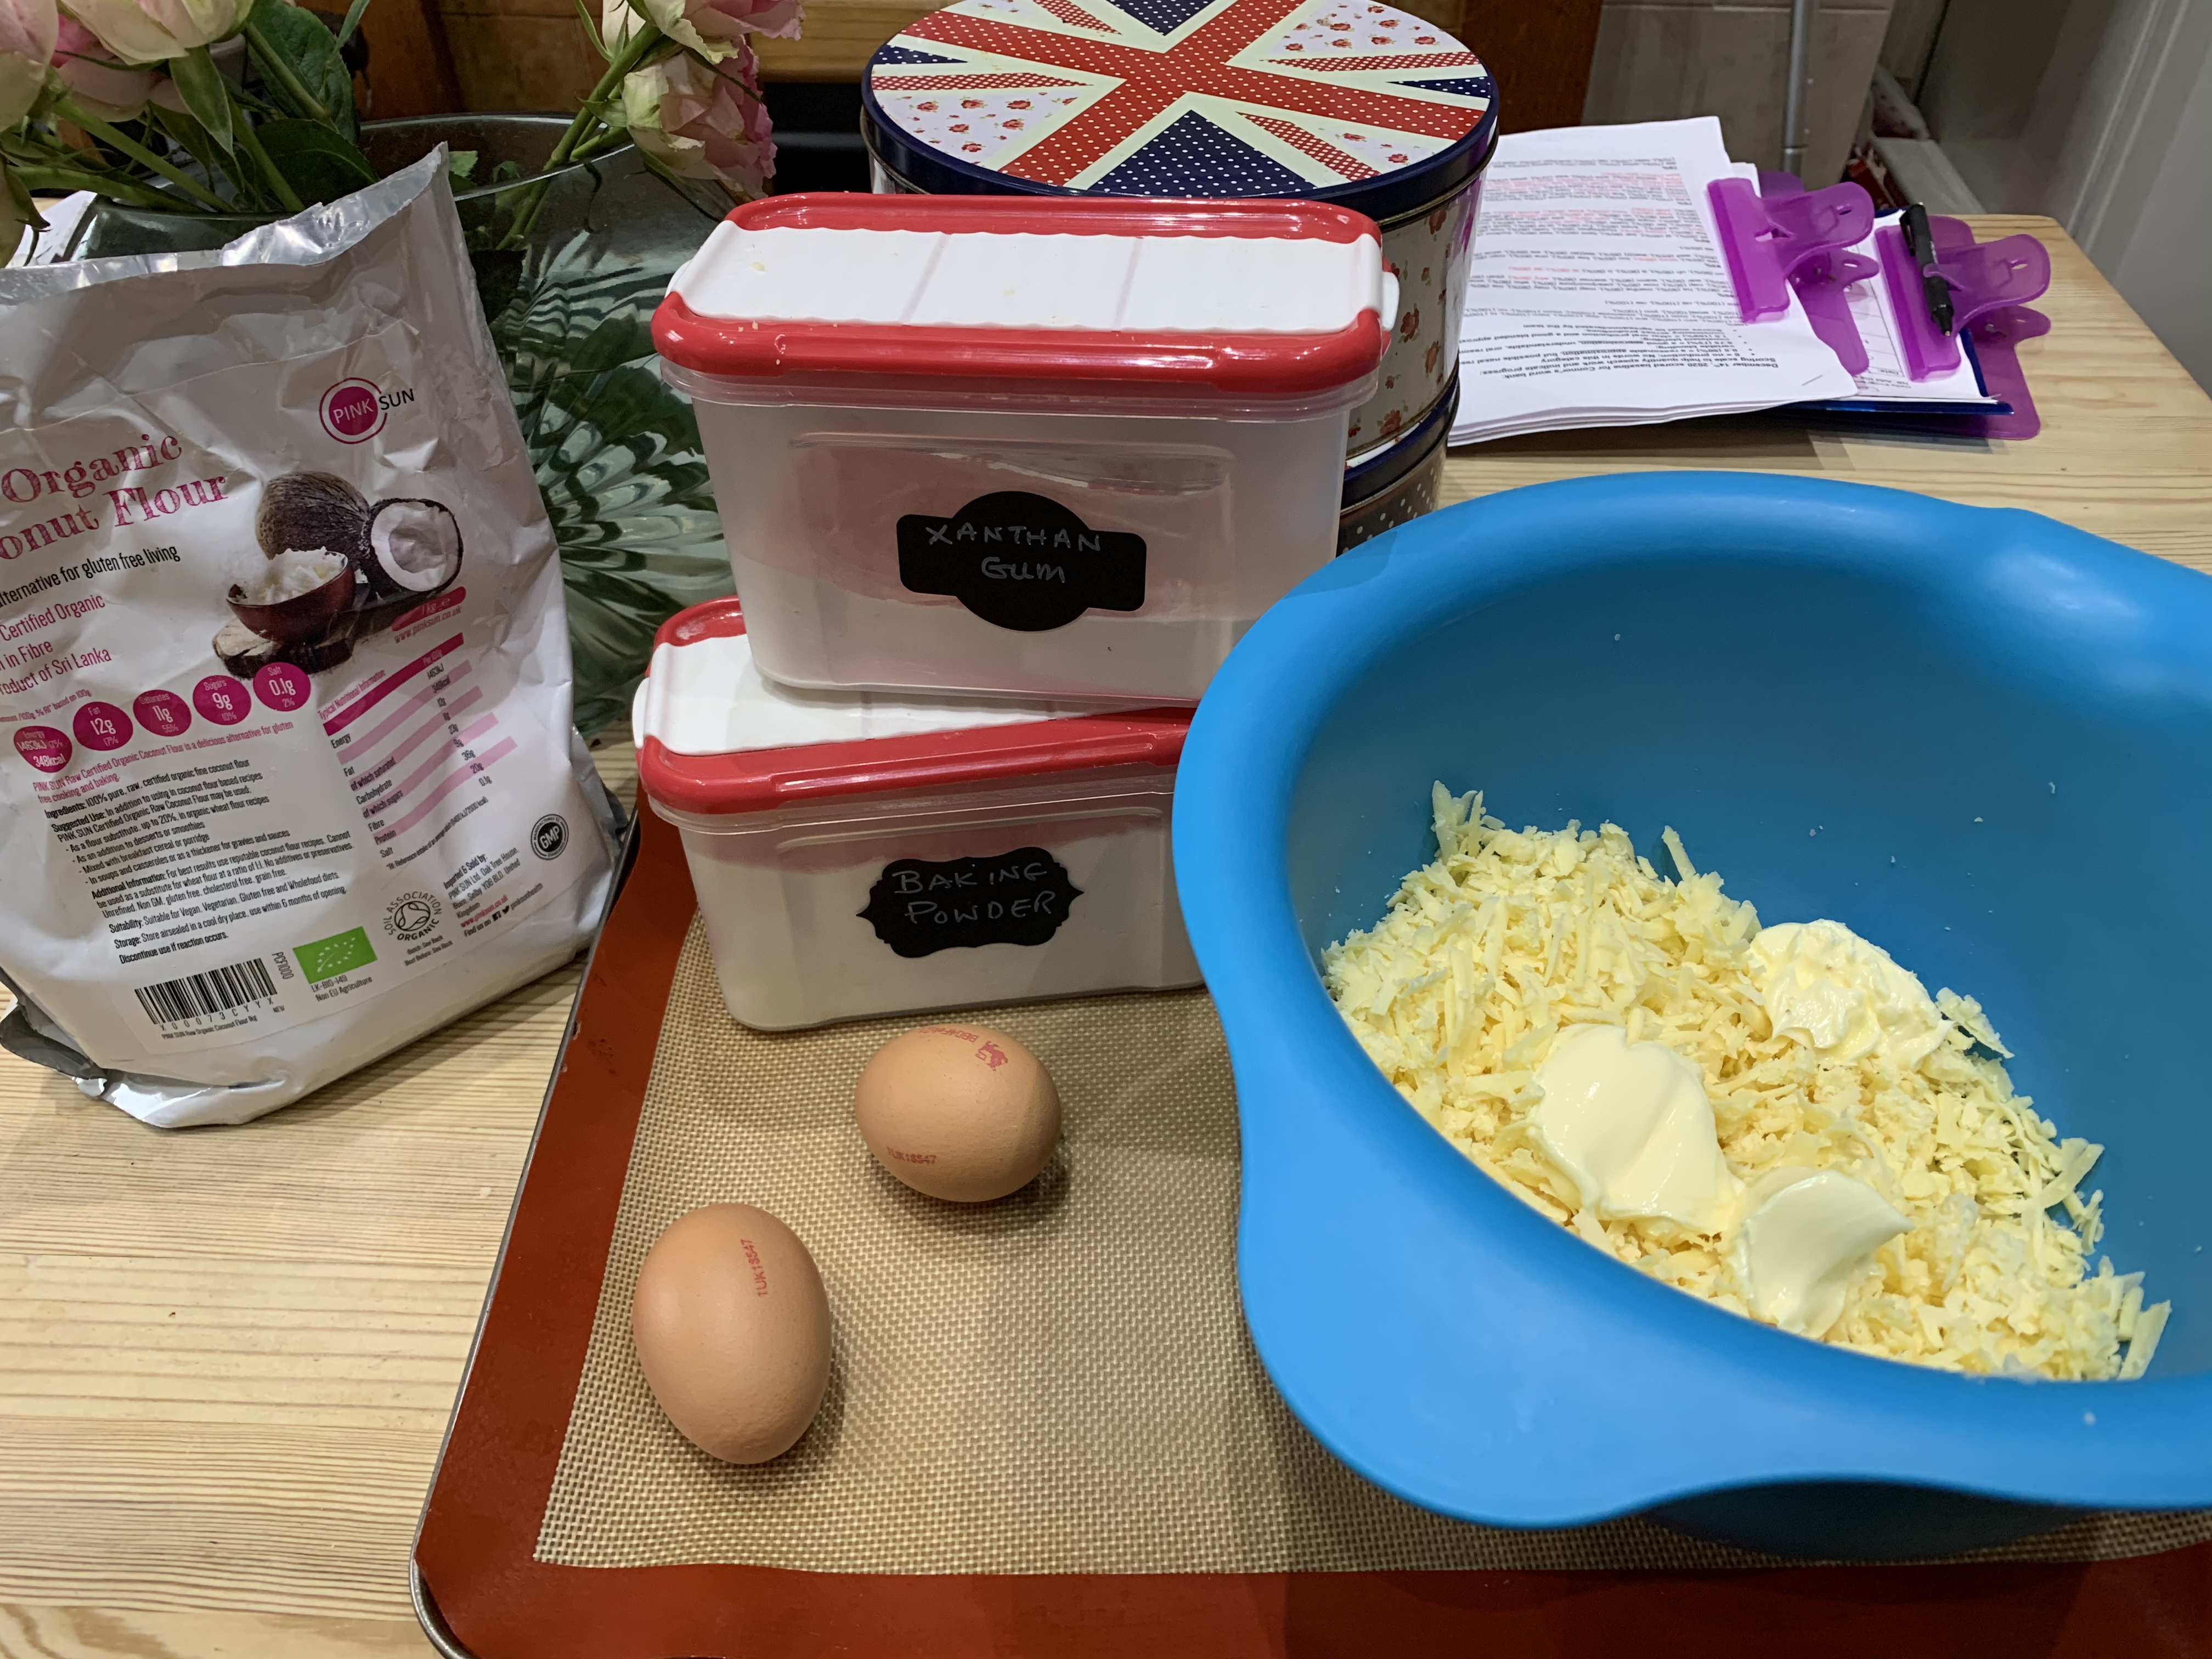
  • 1/2 cup coconut flour (56g)
  • 2 tsp baking powder (I used a gluten-free baking powder)
  • 3/4 tsp xanthan gum
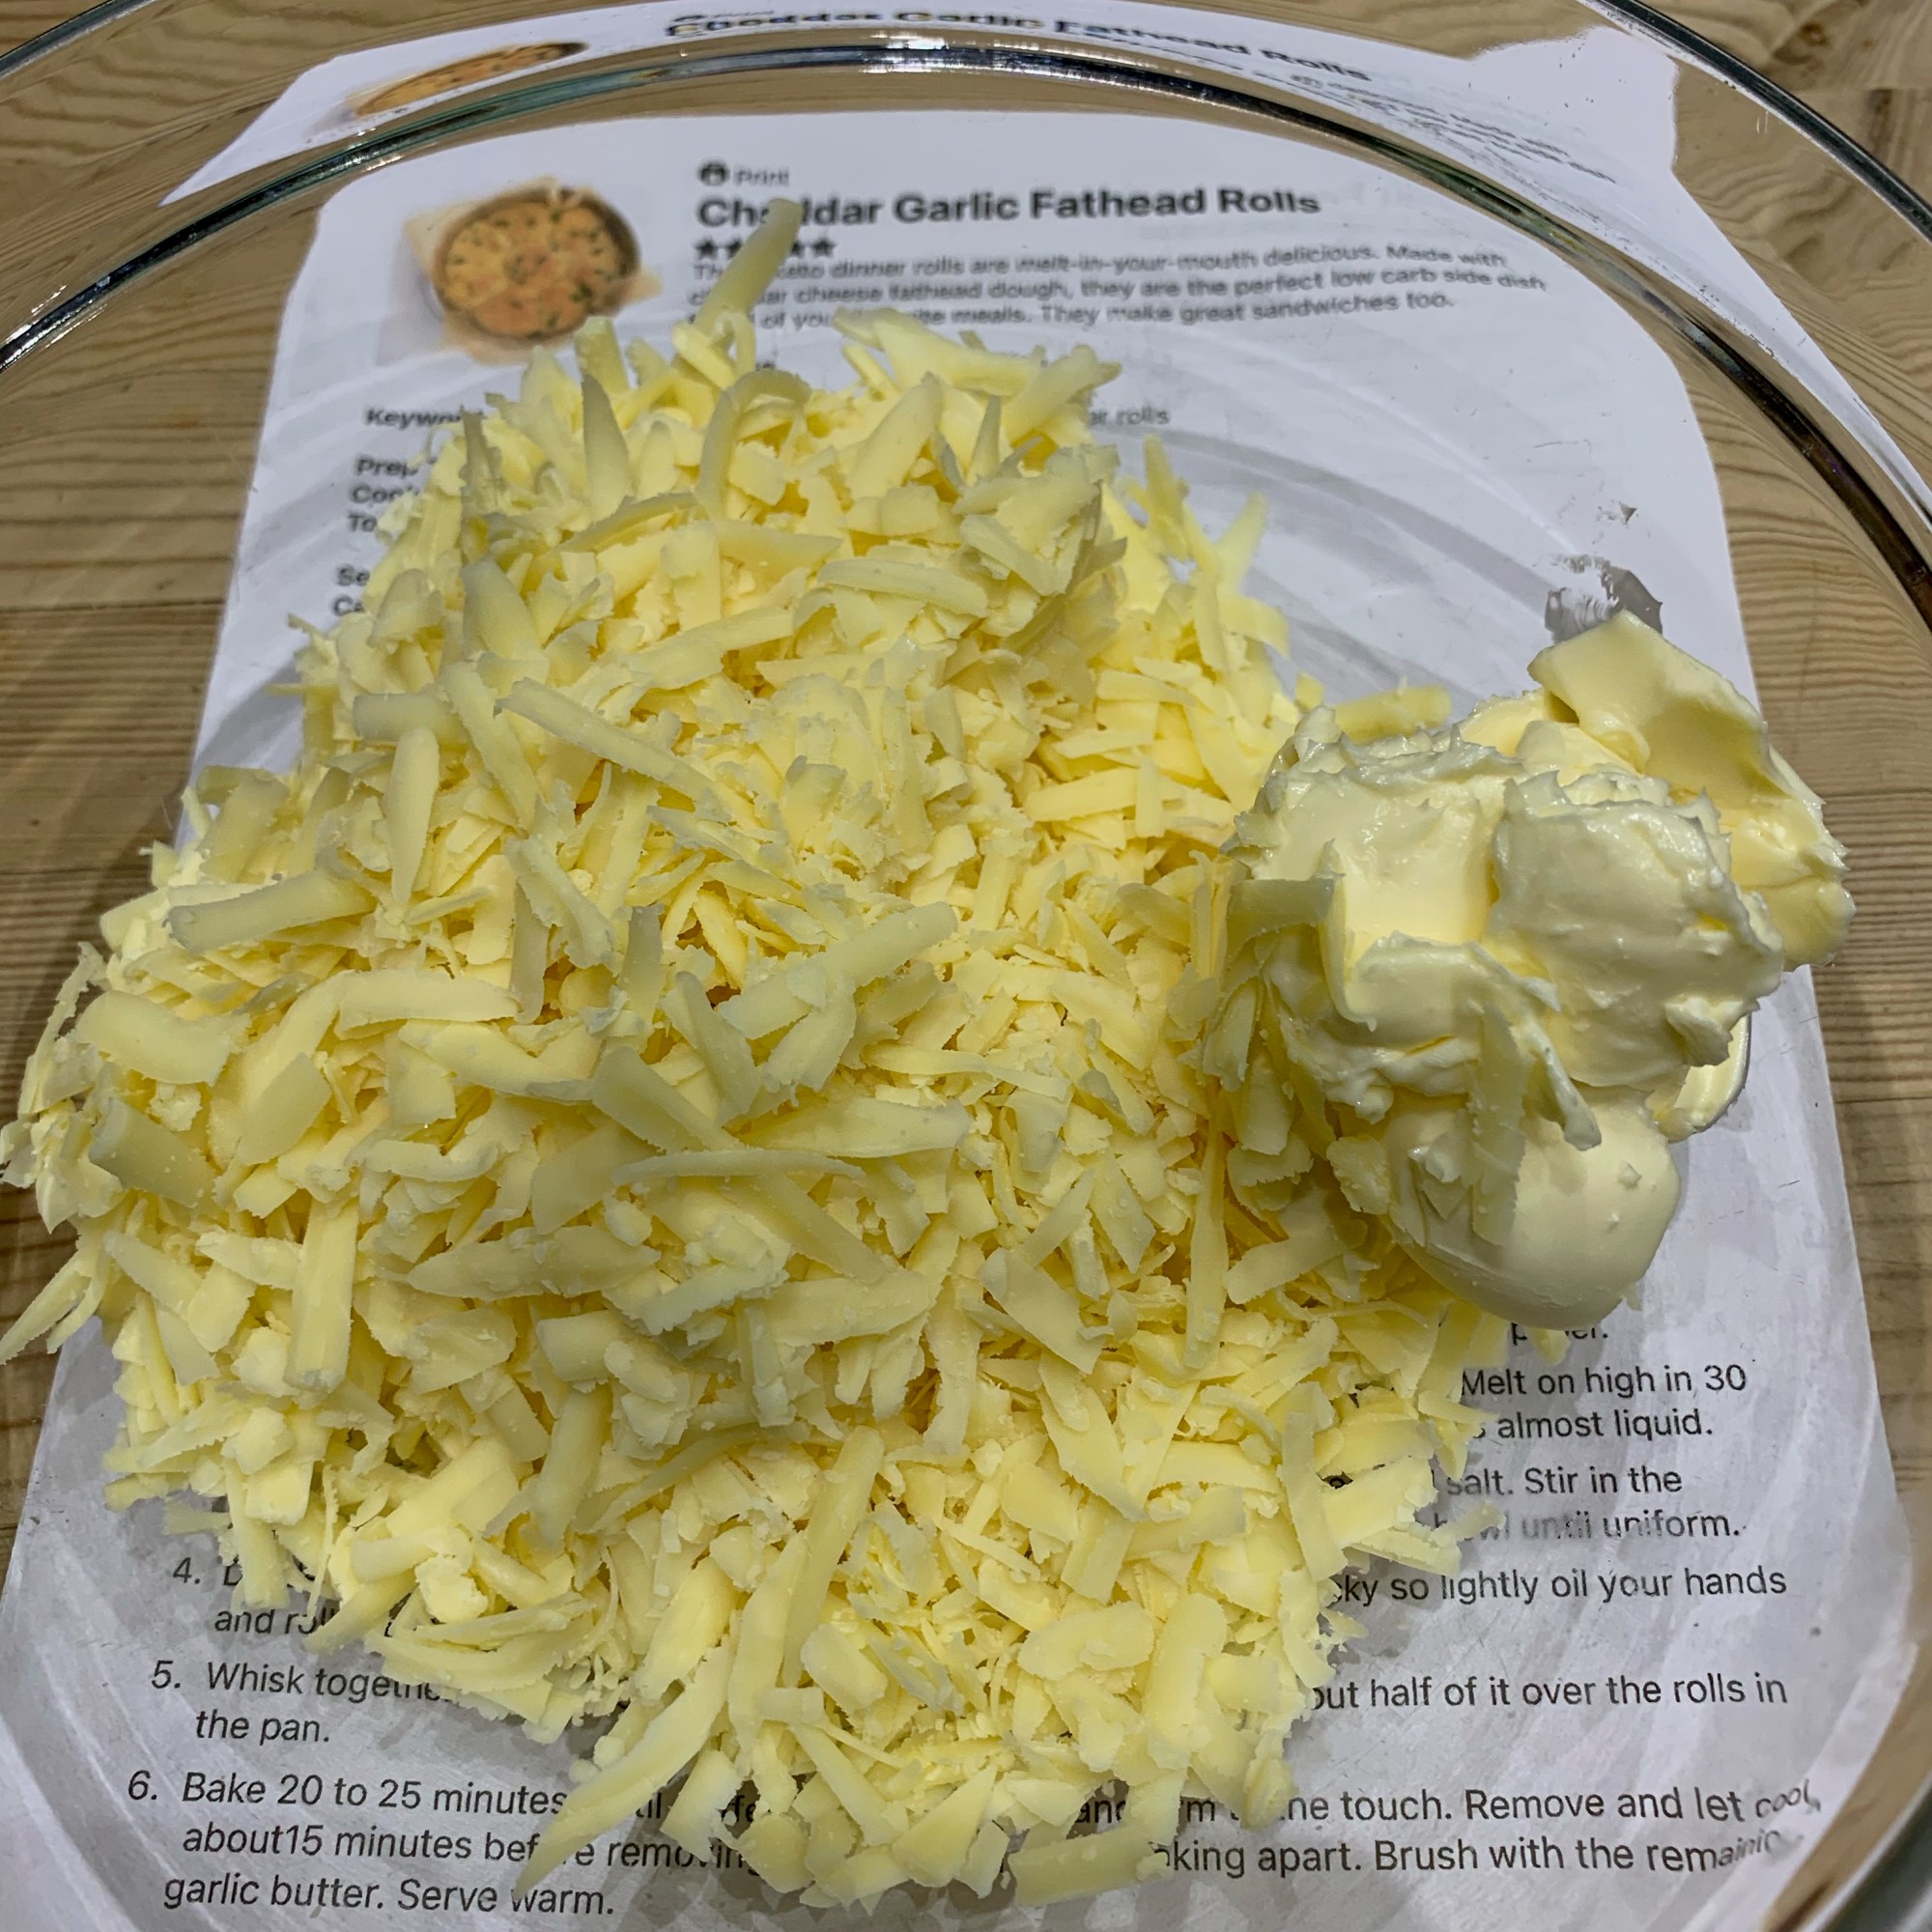
  • 12 oz mozzarella (I used a lactose-free cheddar cheese)
  • 2 large eggs

Optional seasoning topping

  • 1 tsp sesame seeds
  • 1 tsp poppyseed
  • 1 tsp dried minced onion
  • 1/2 tsp sea salt
  • 1 tbsp butter, melted (I used a lactose-free butter)

Method:

  • Preheat the oven to 350F/177C/157C fan-assisted oven, line a large baking tray with a silicone liner or grease-proof paper.
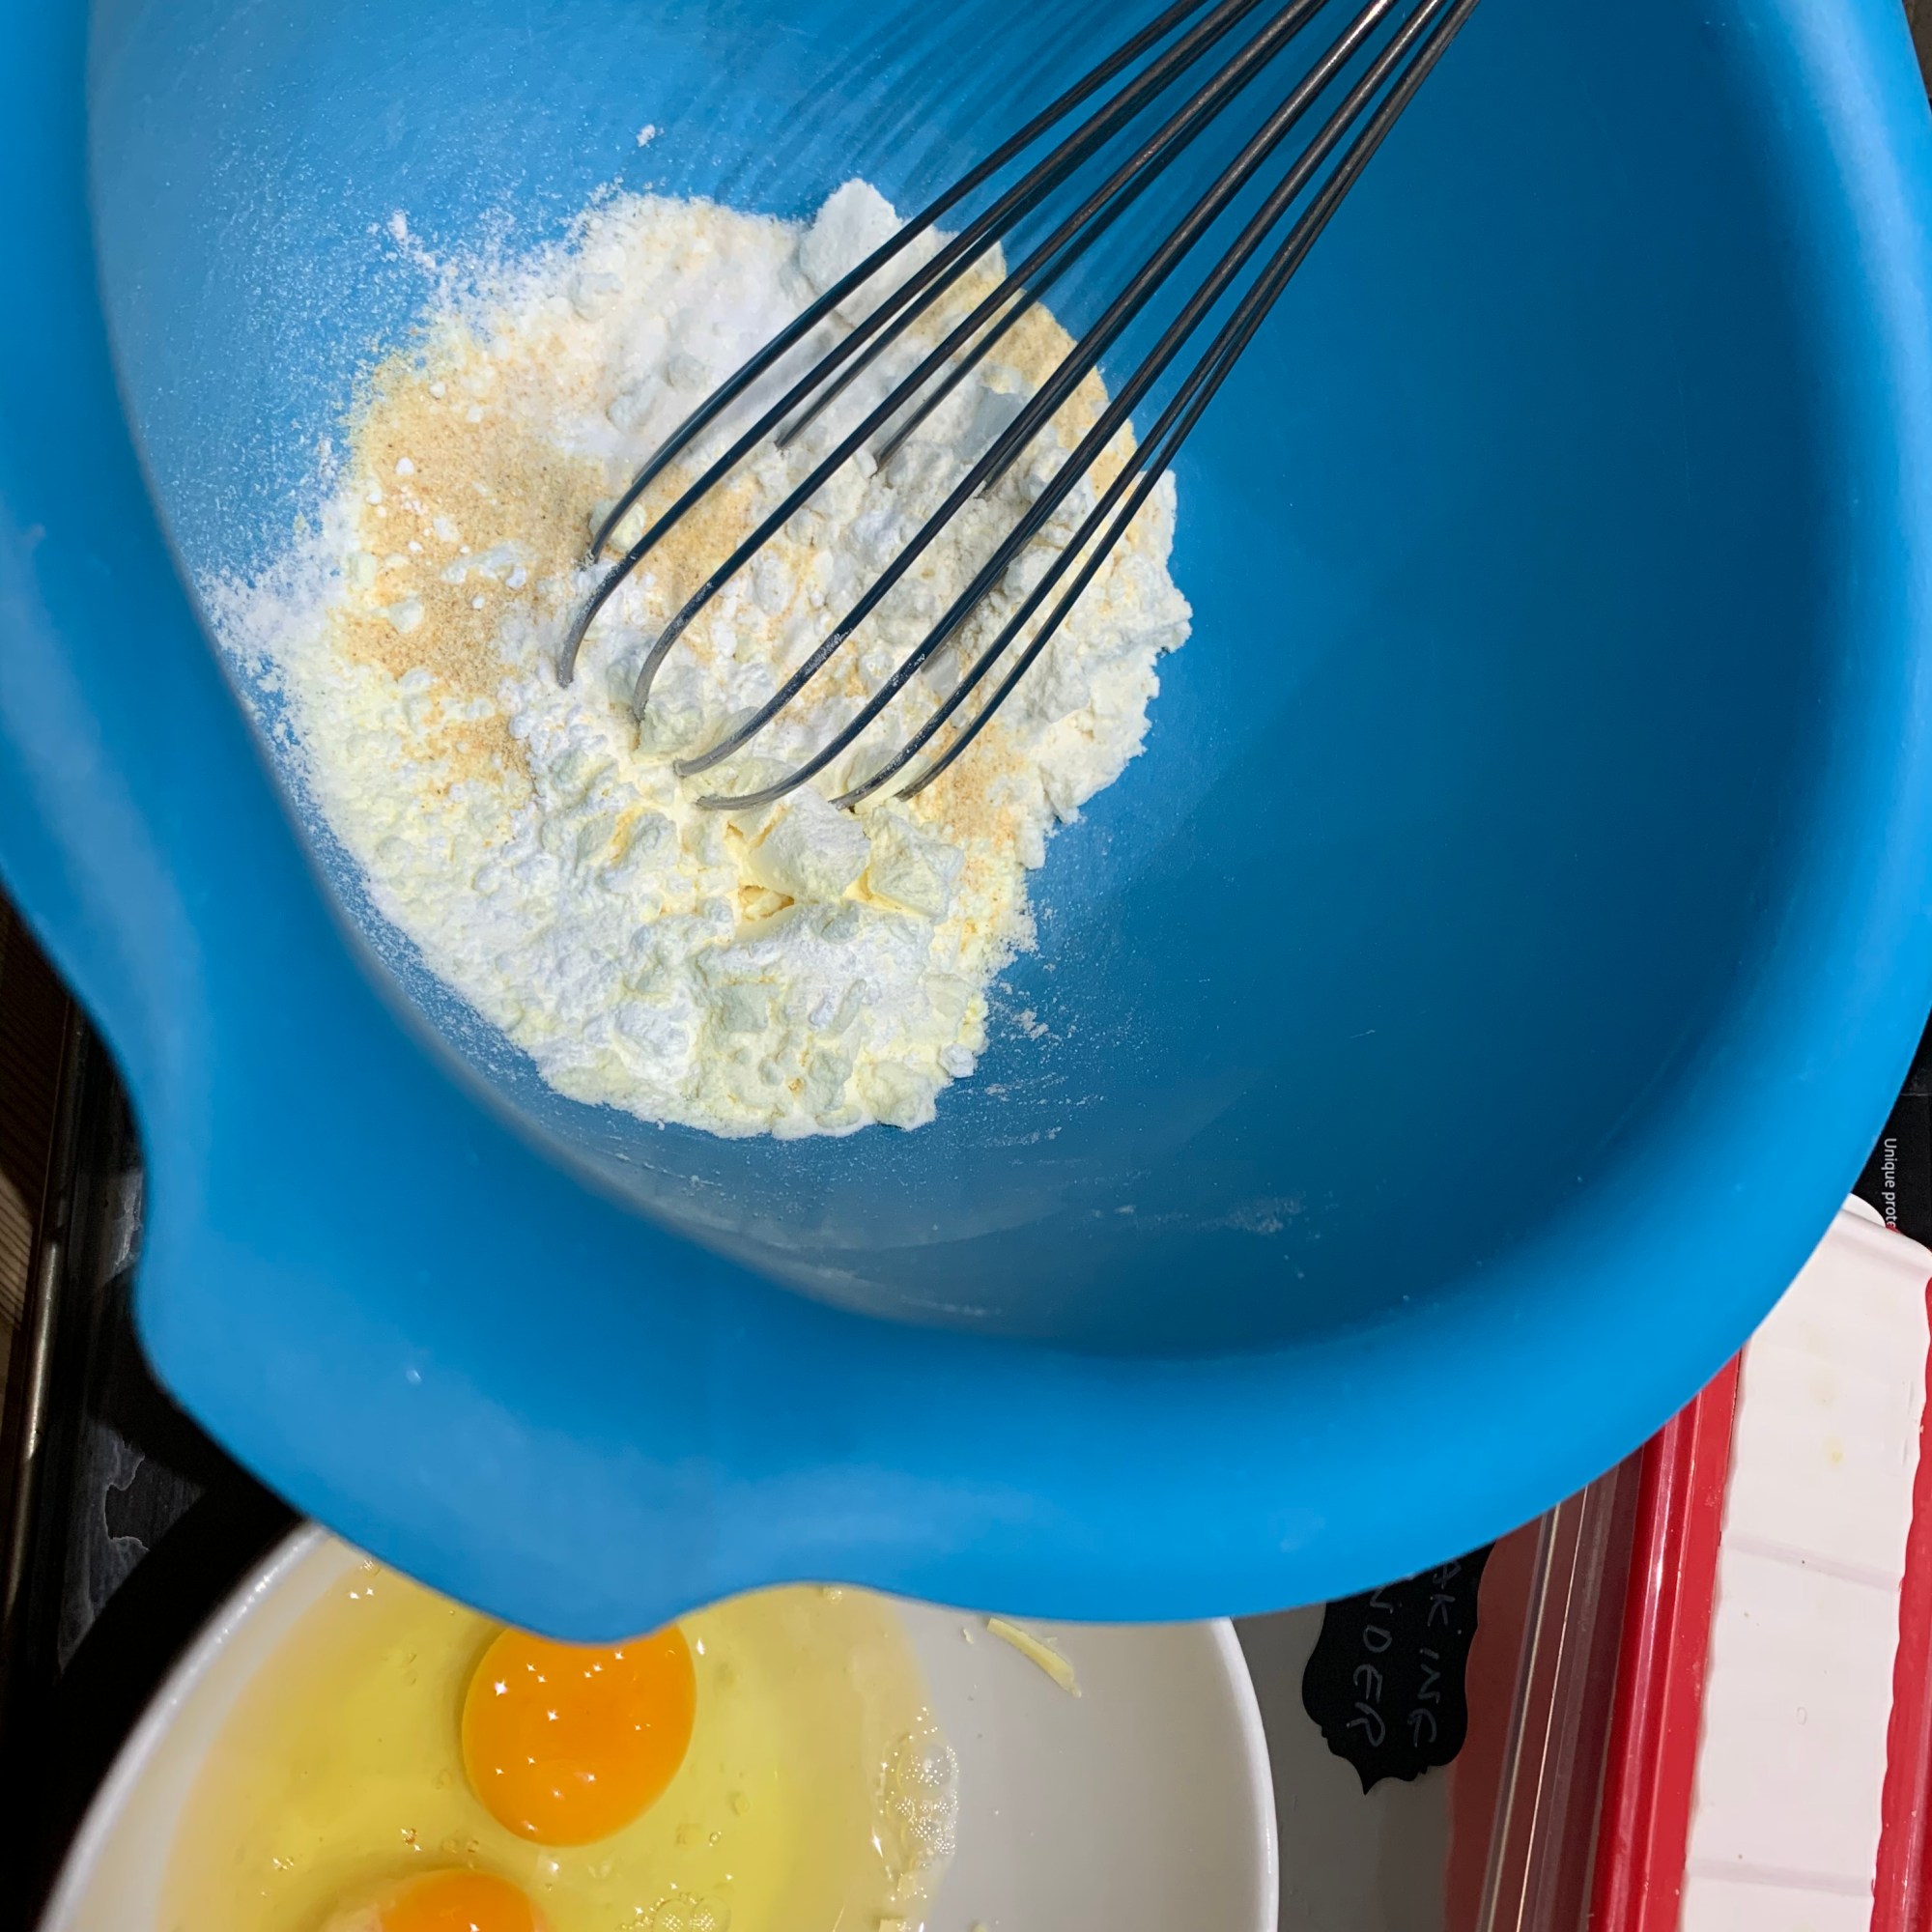
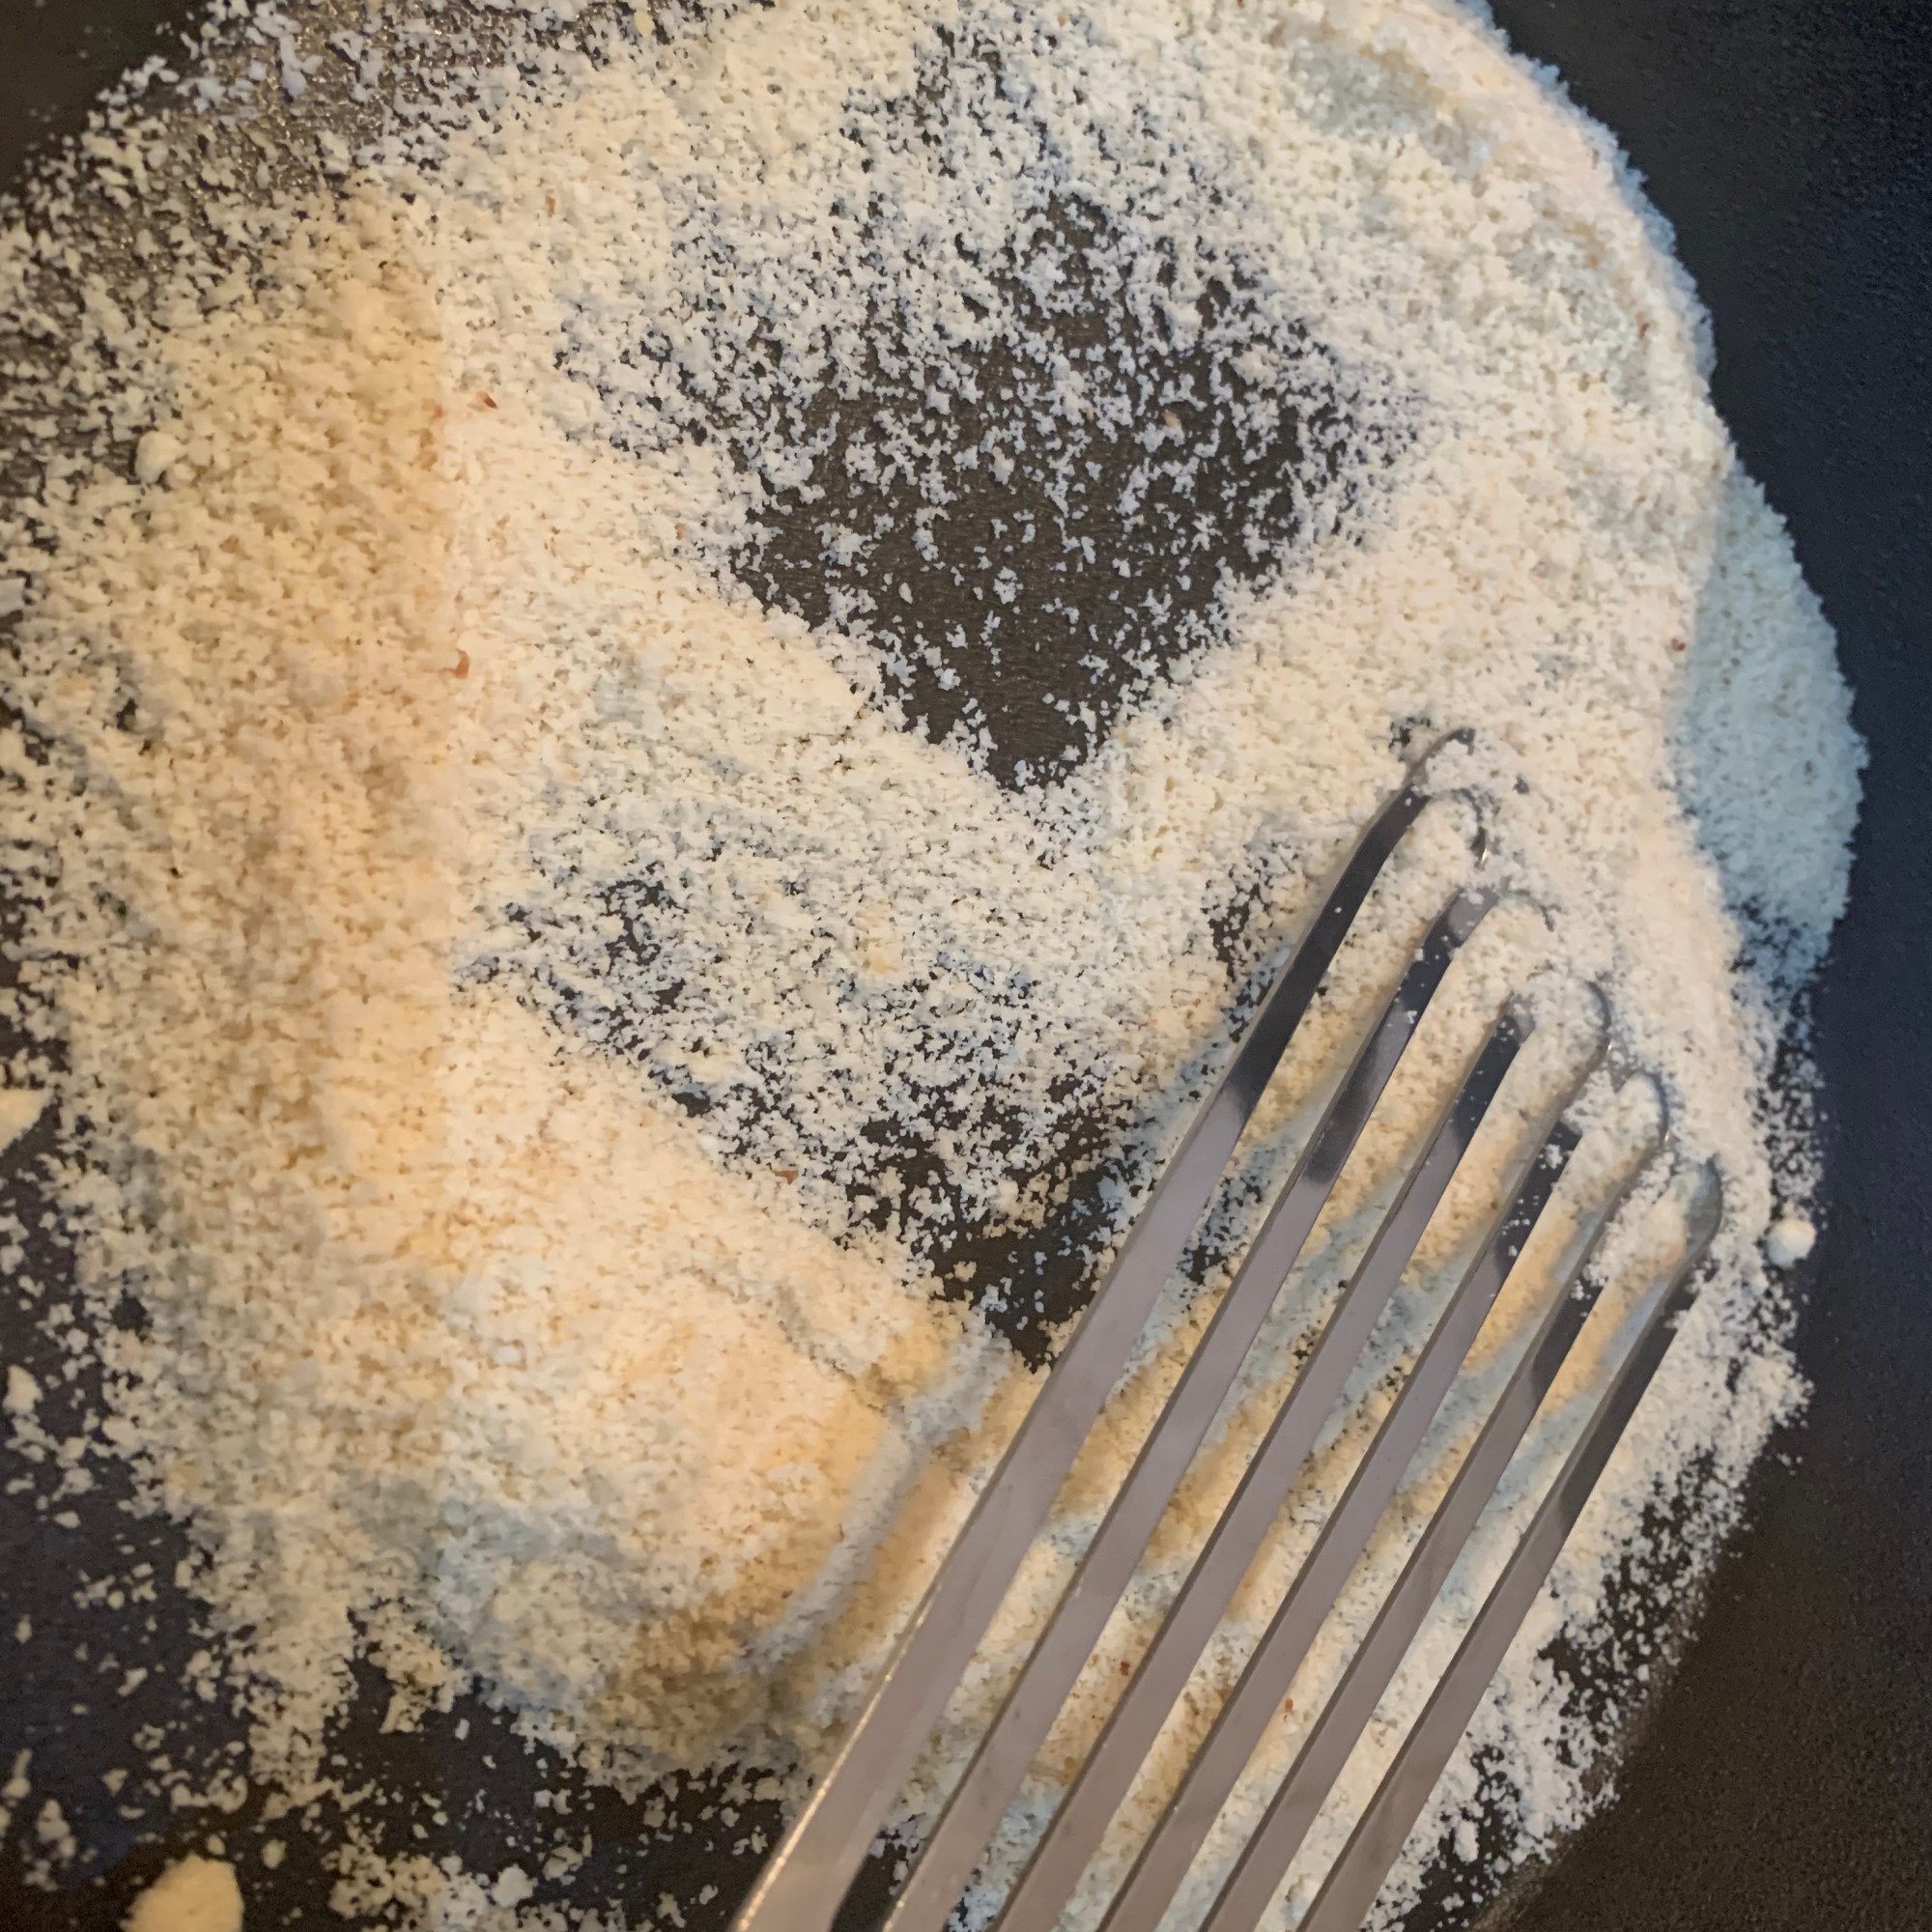
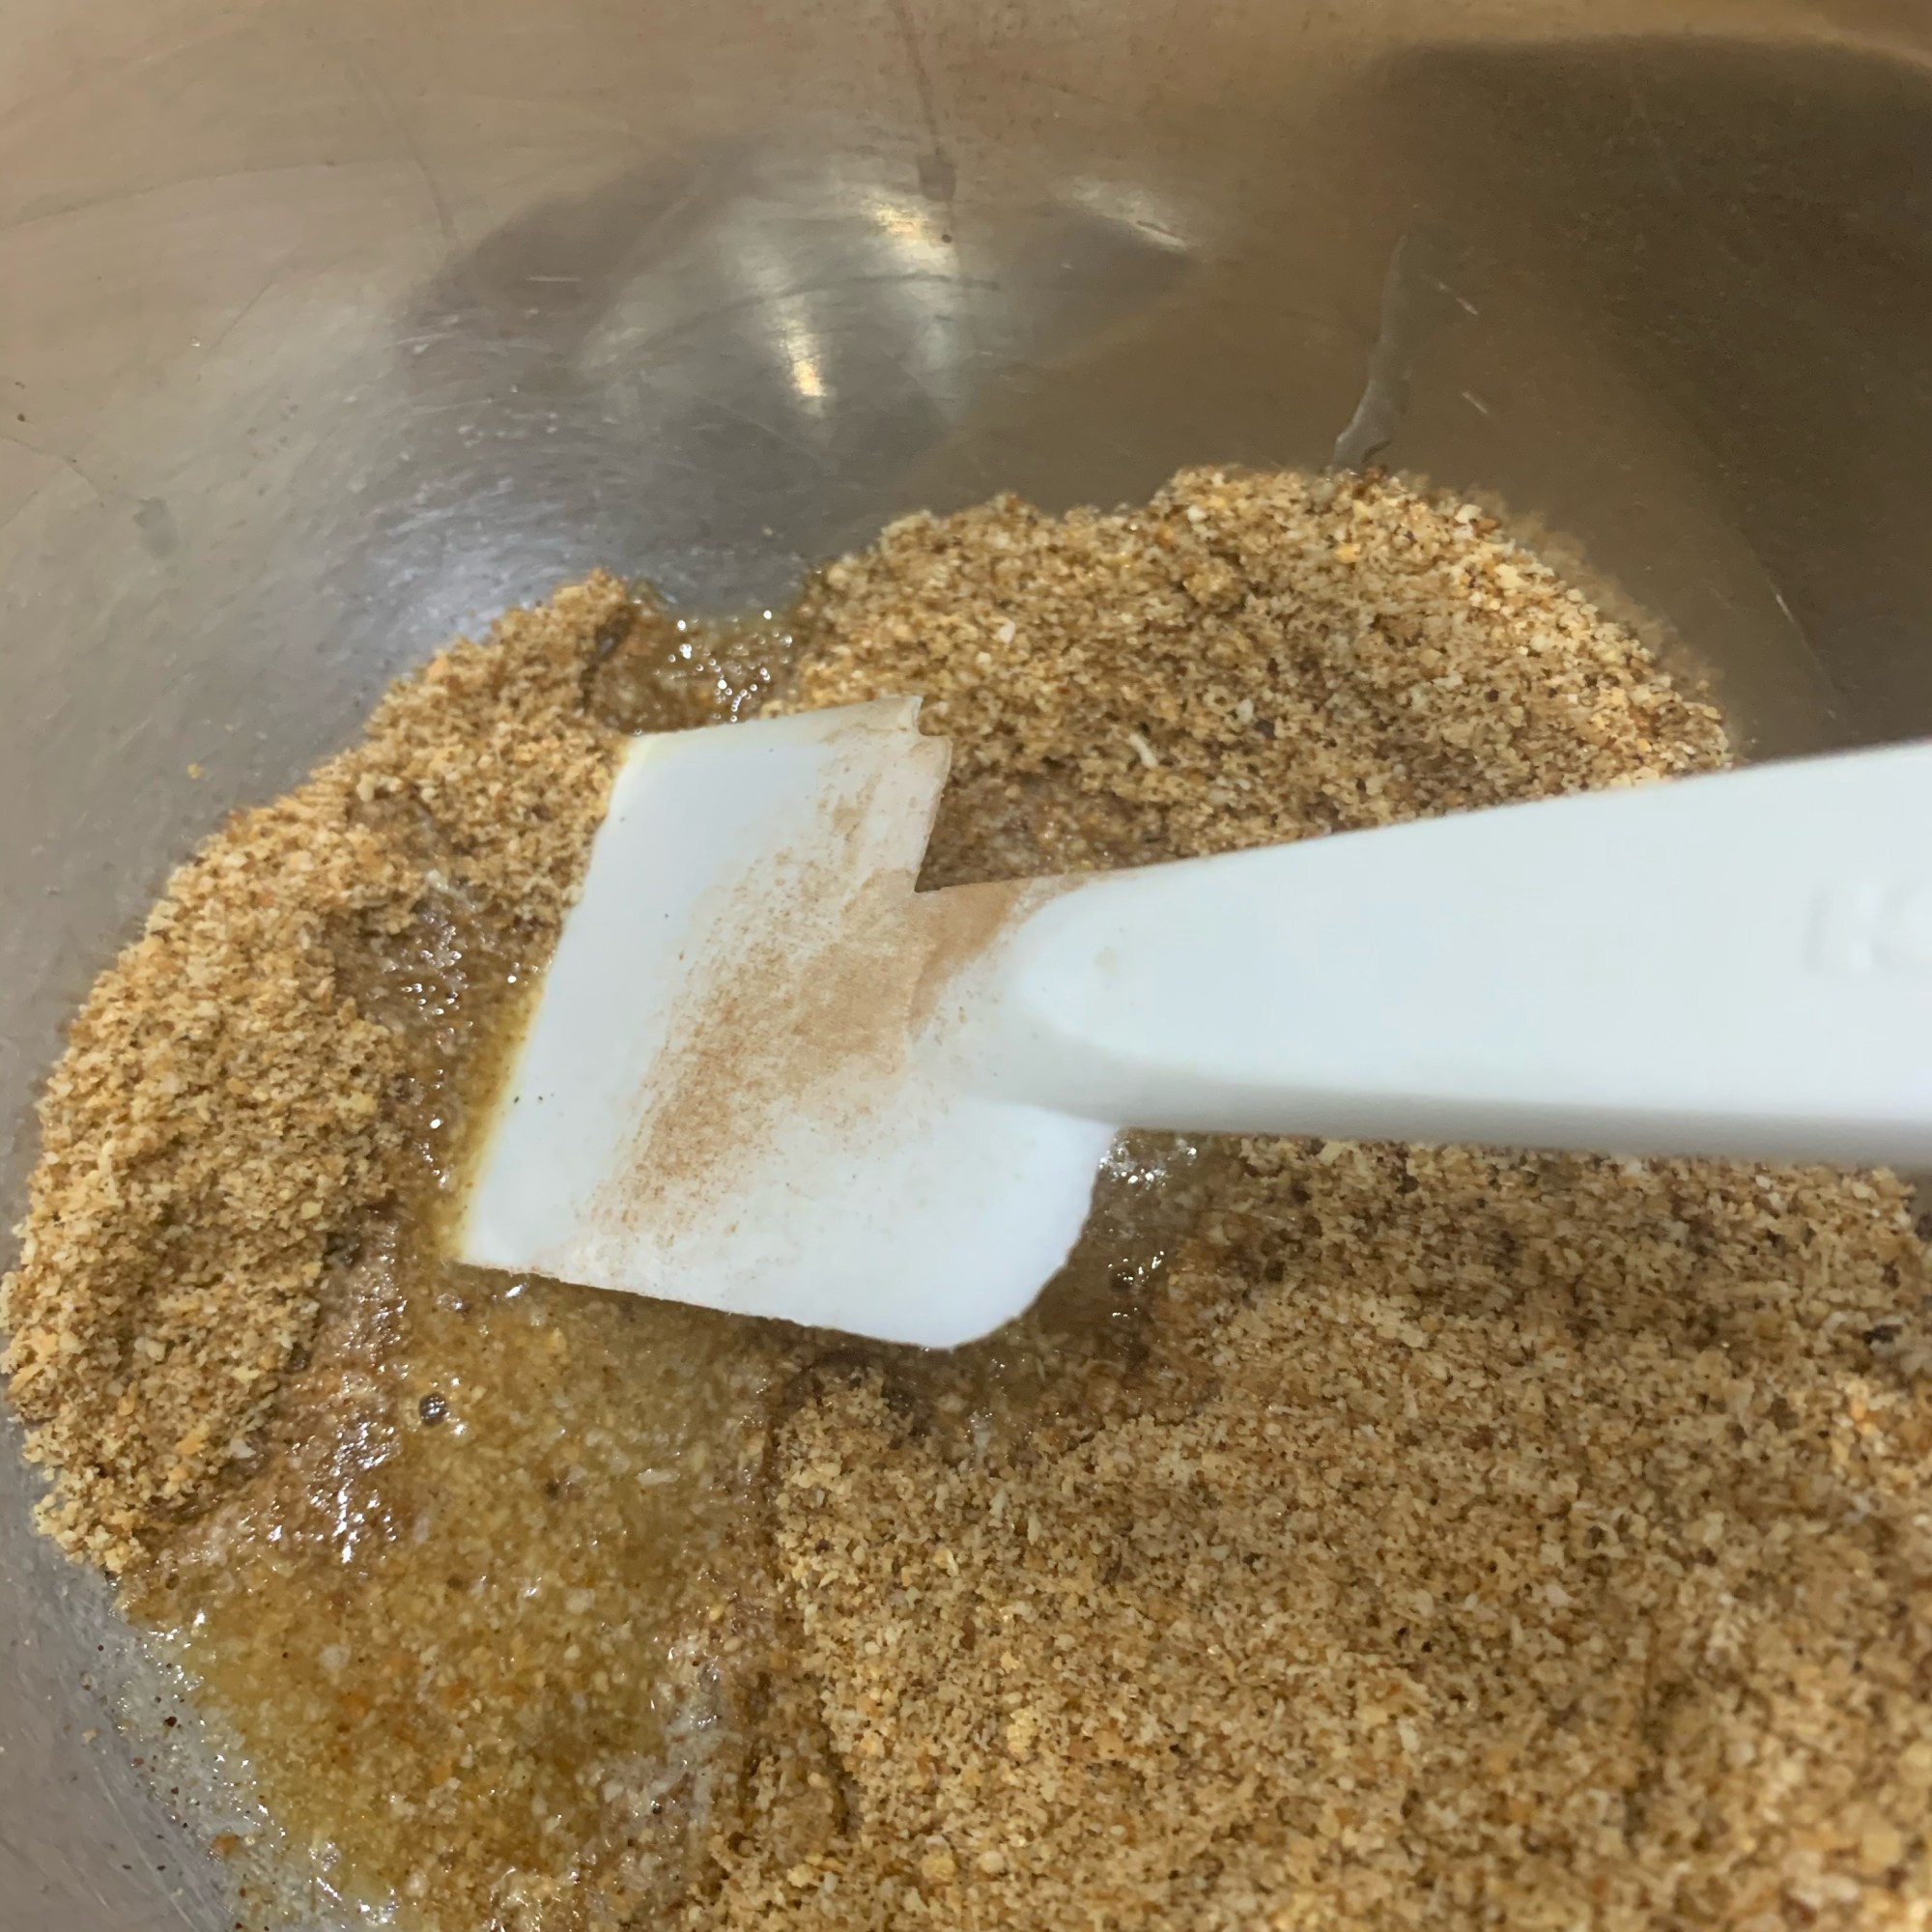
  • Mix together the coconut flour, baking powder, and xanthan gum. Set aside.
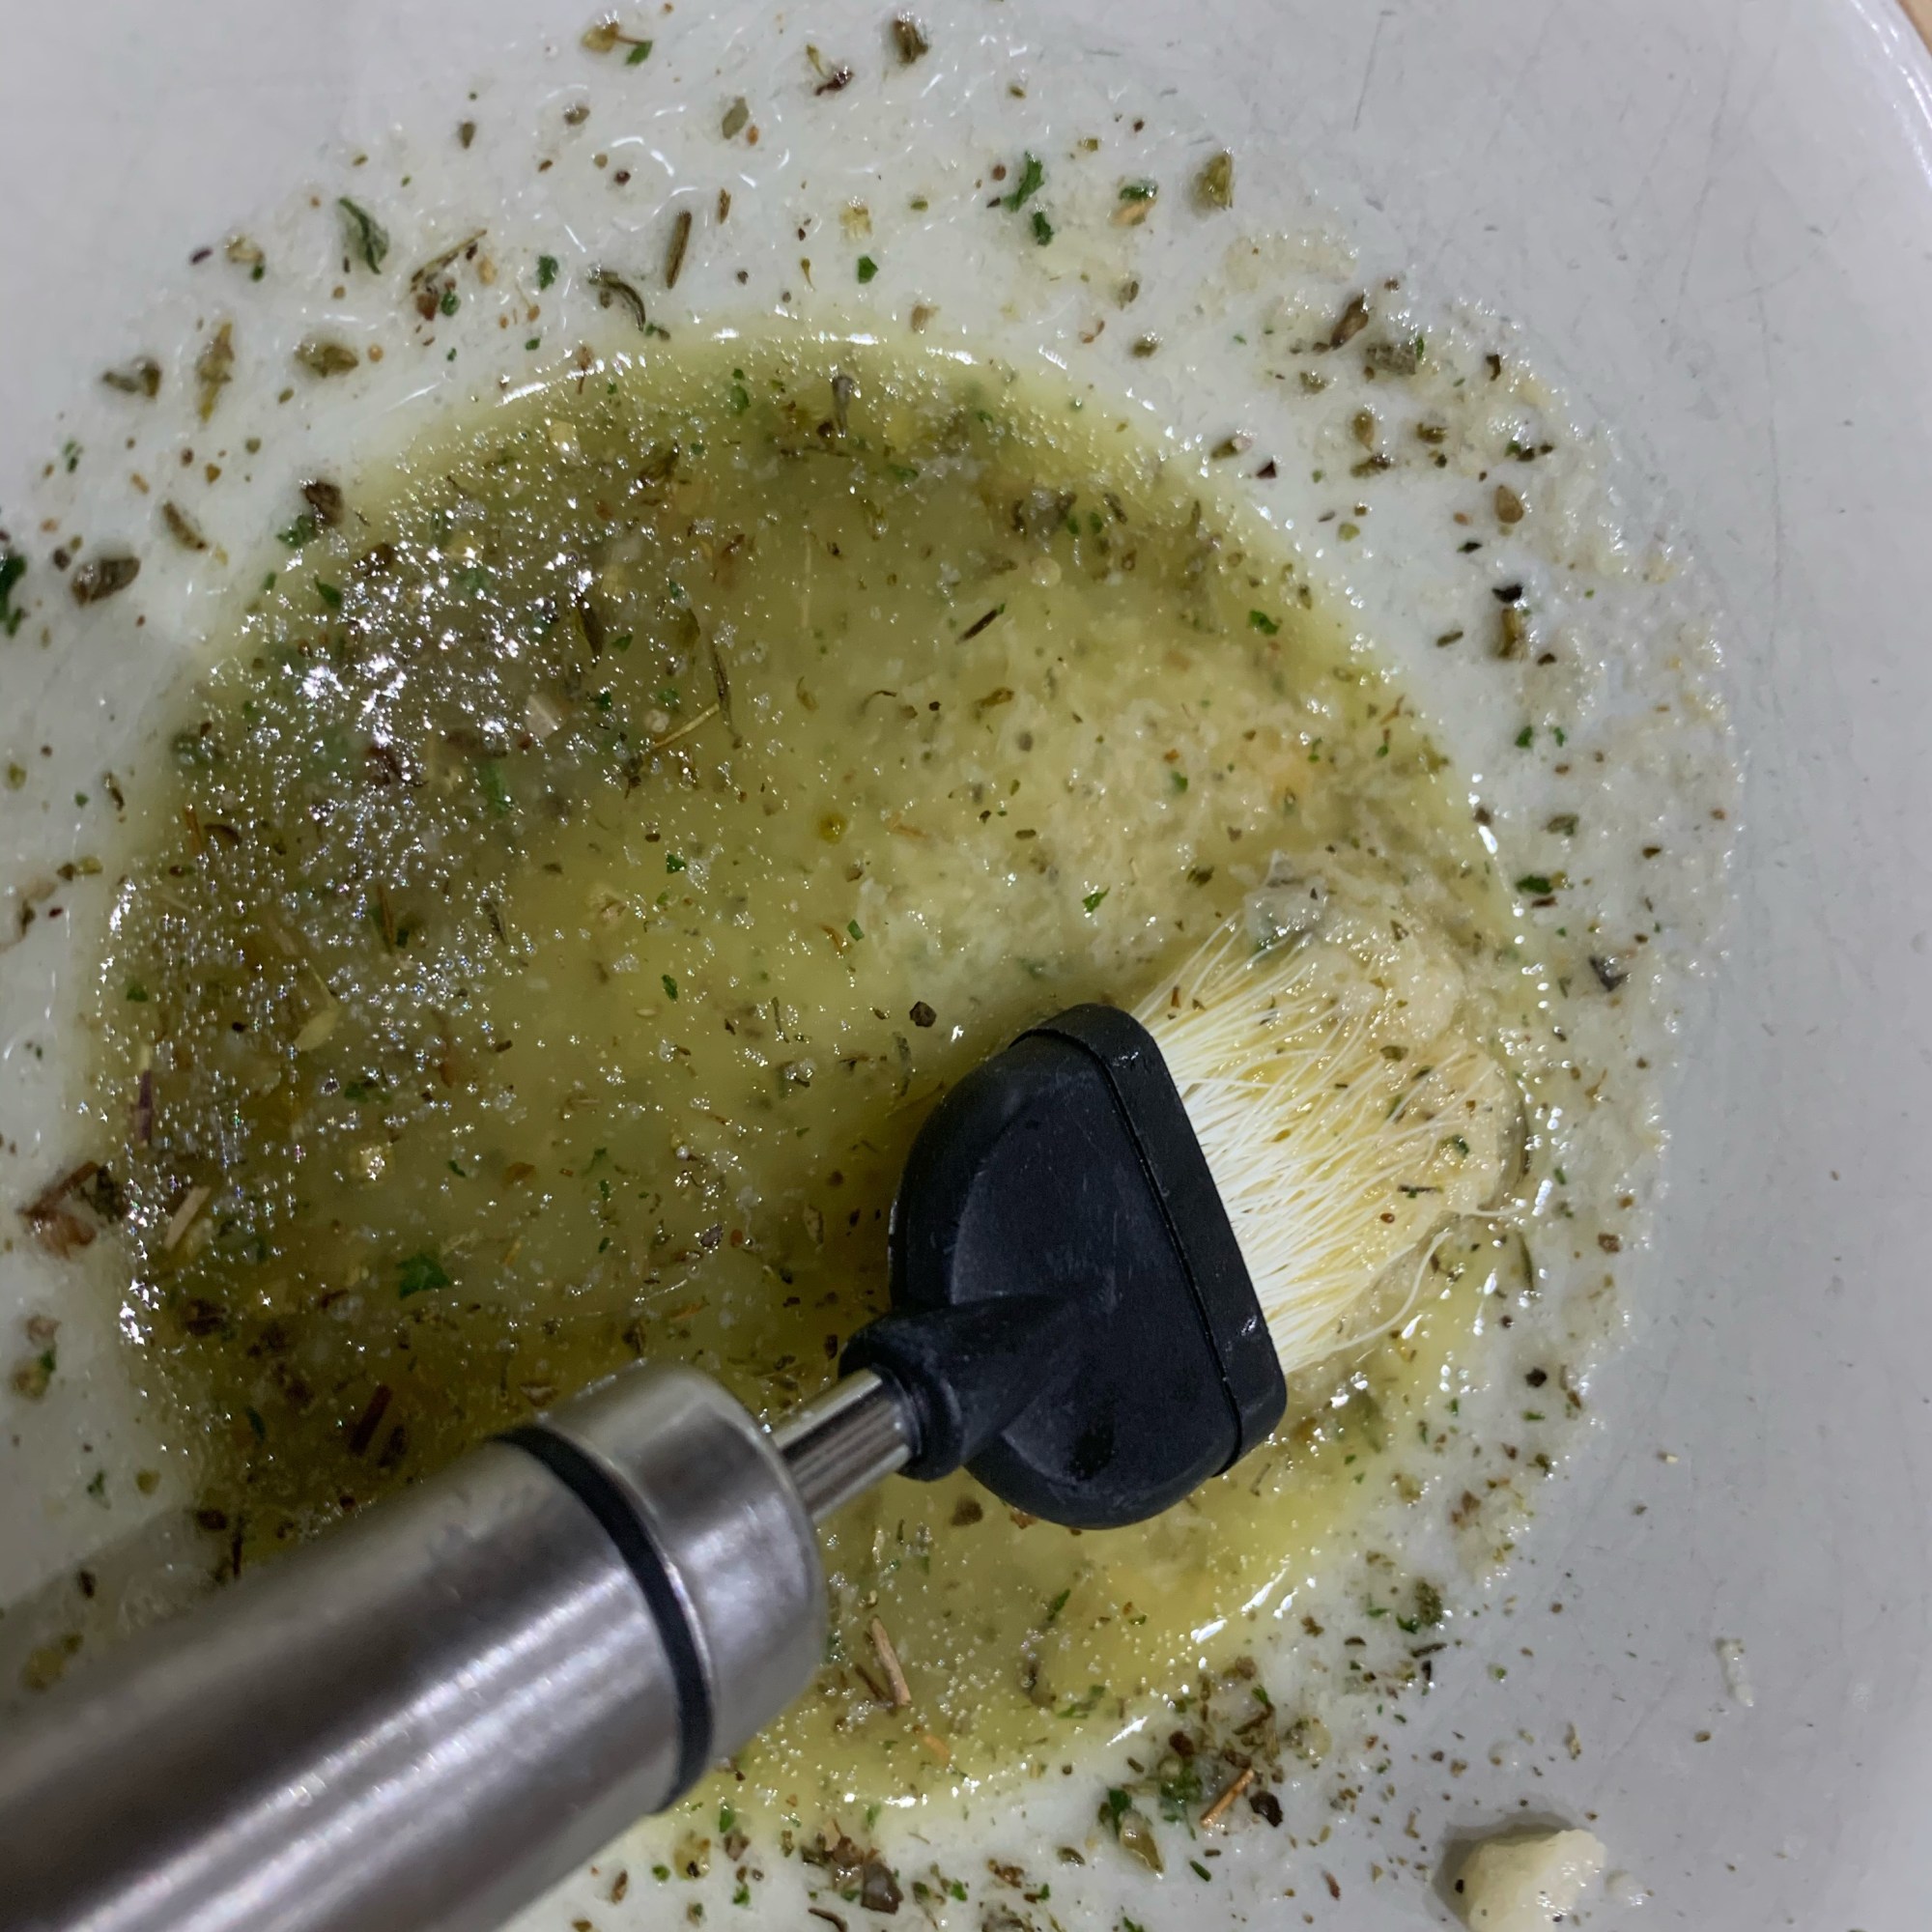
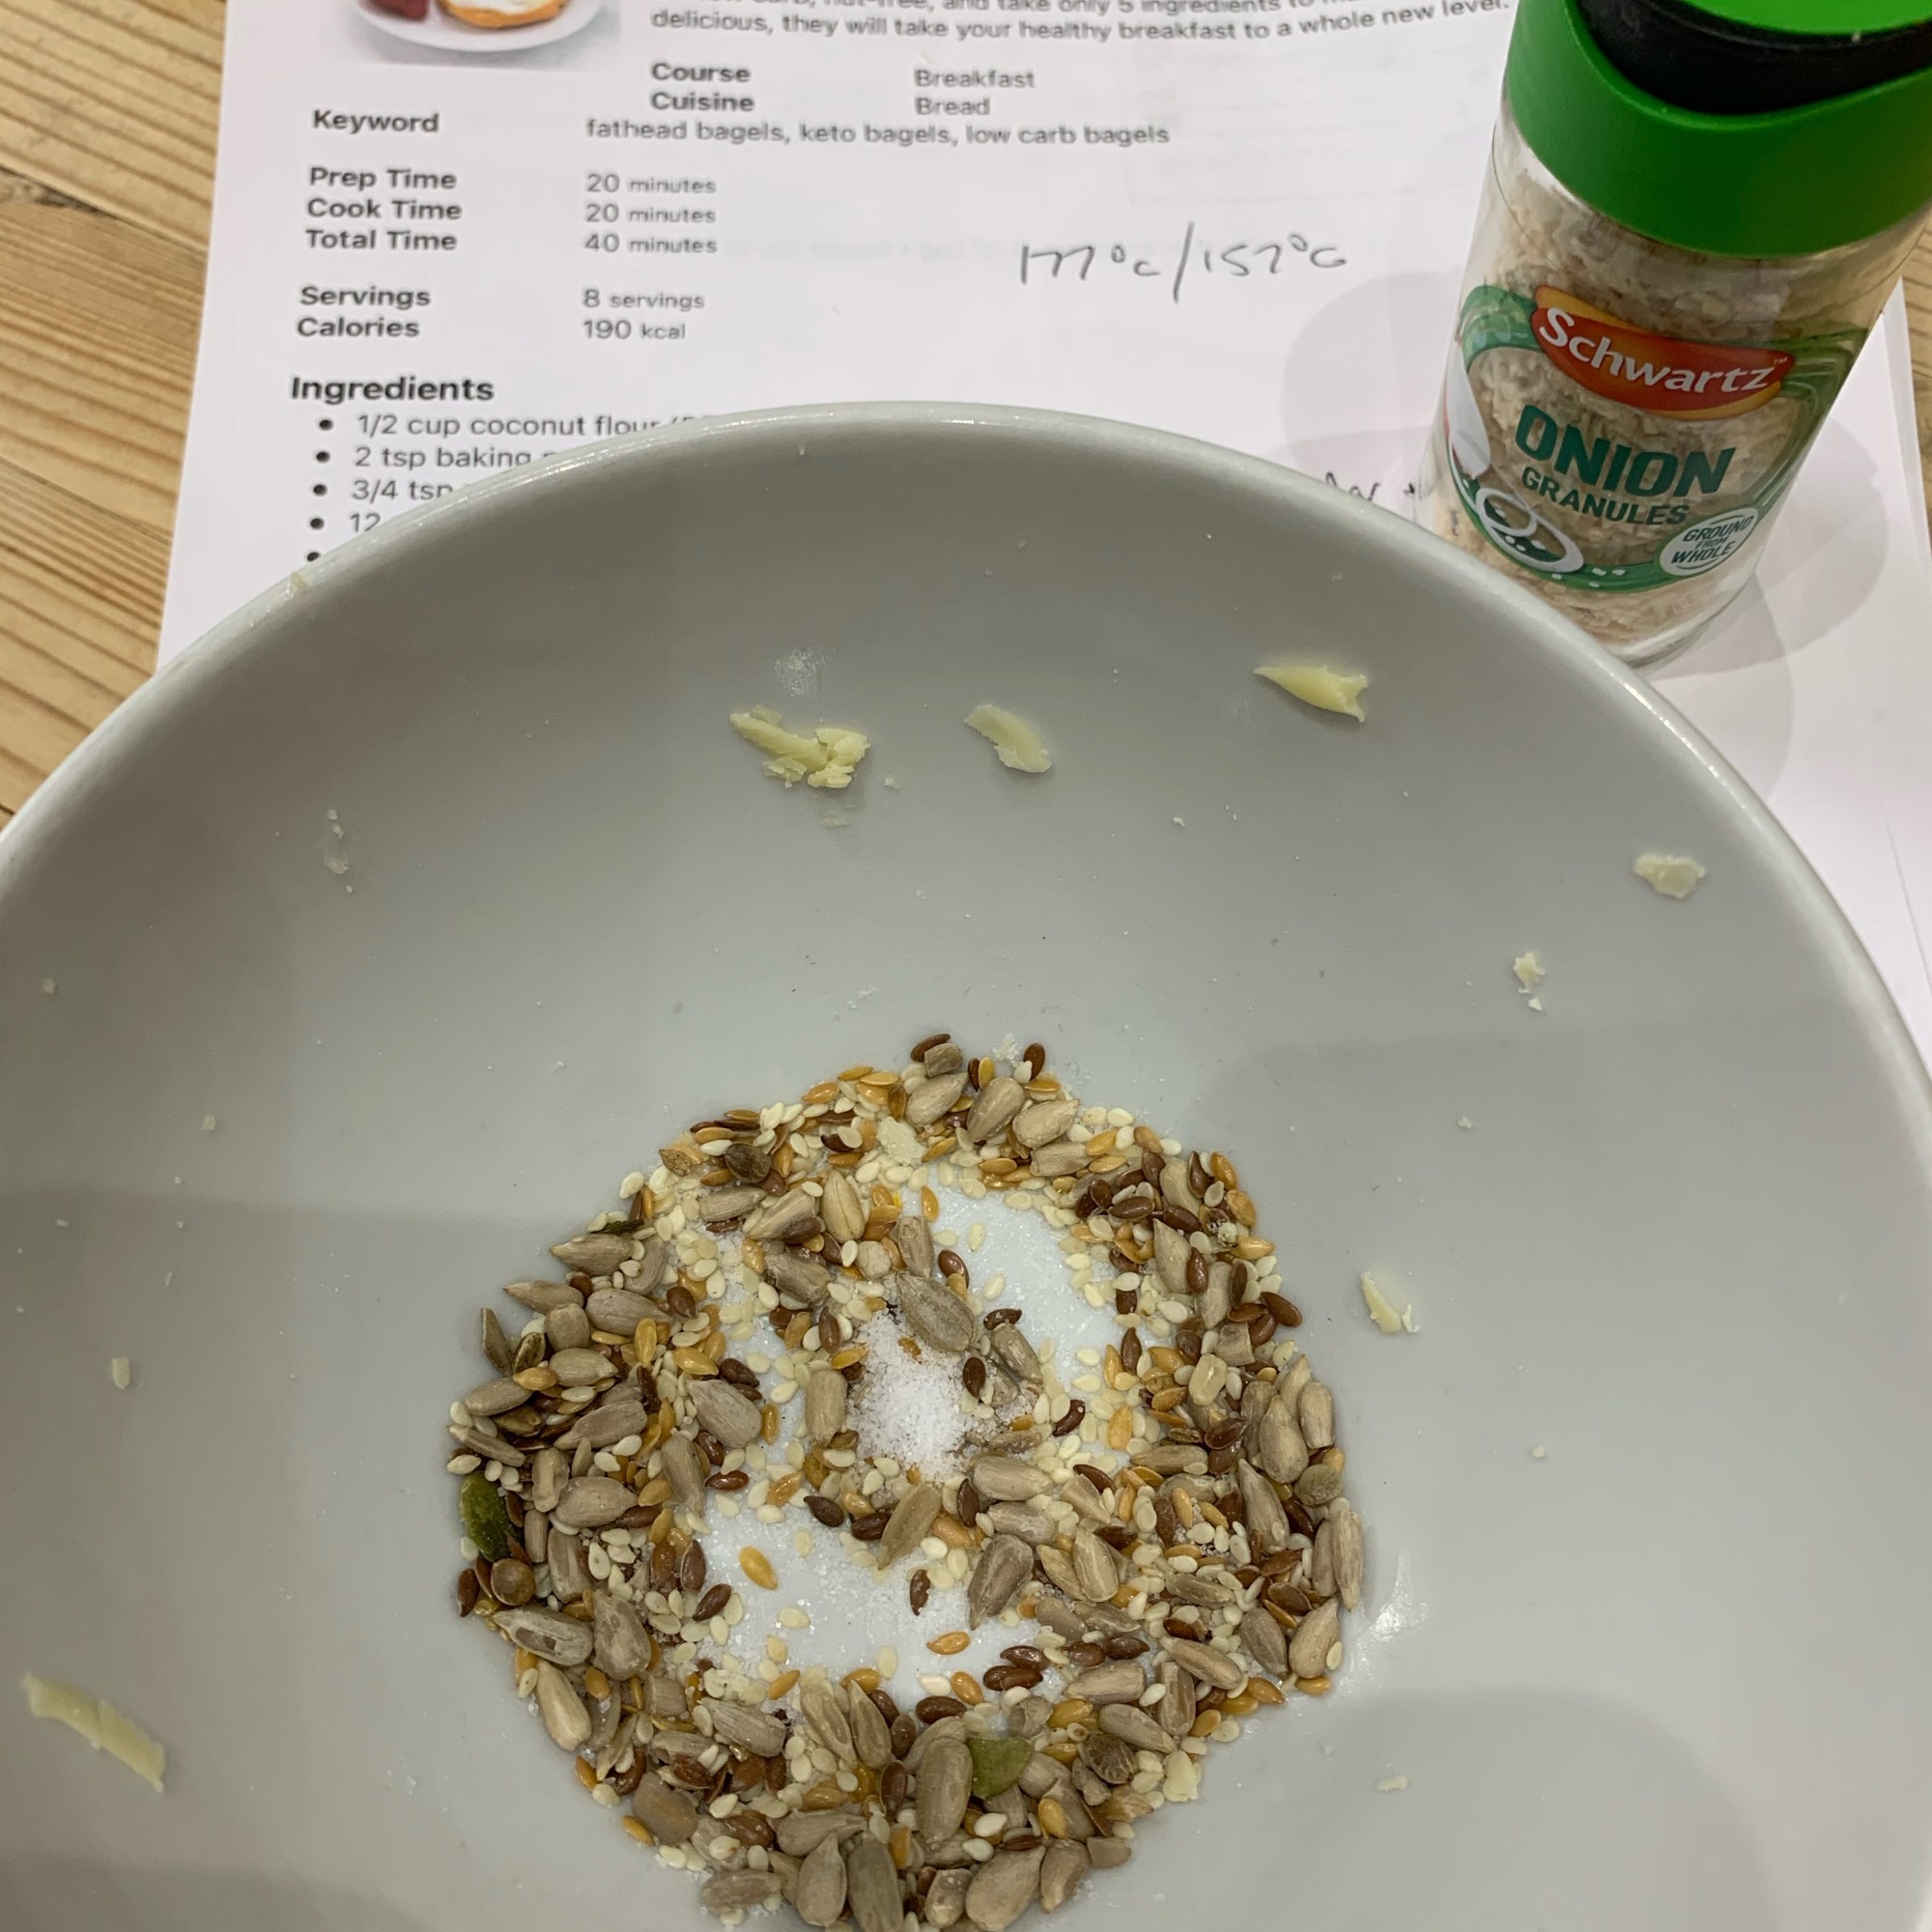
  • Prepare the topping, stir together the sesame seeds, poppyseed, dried onion, and salt. Once again, set aside.
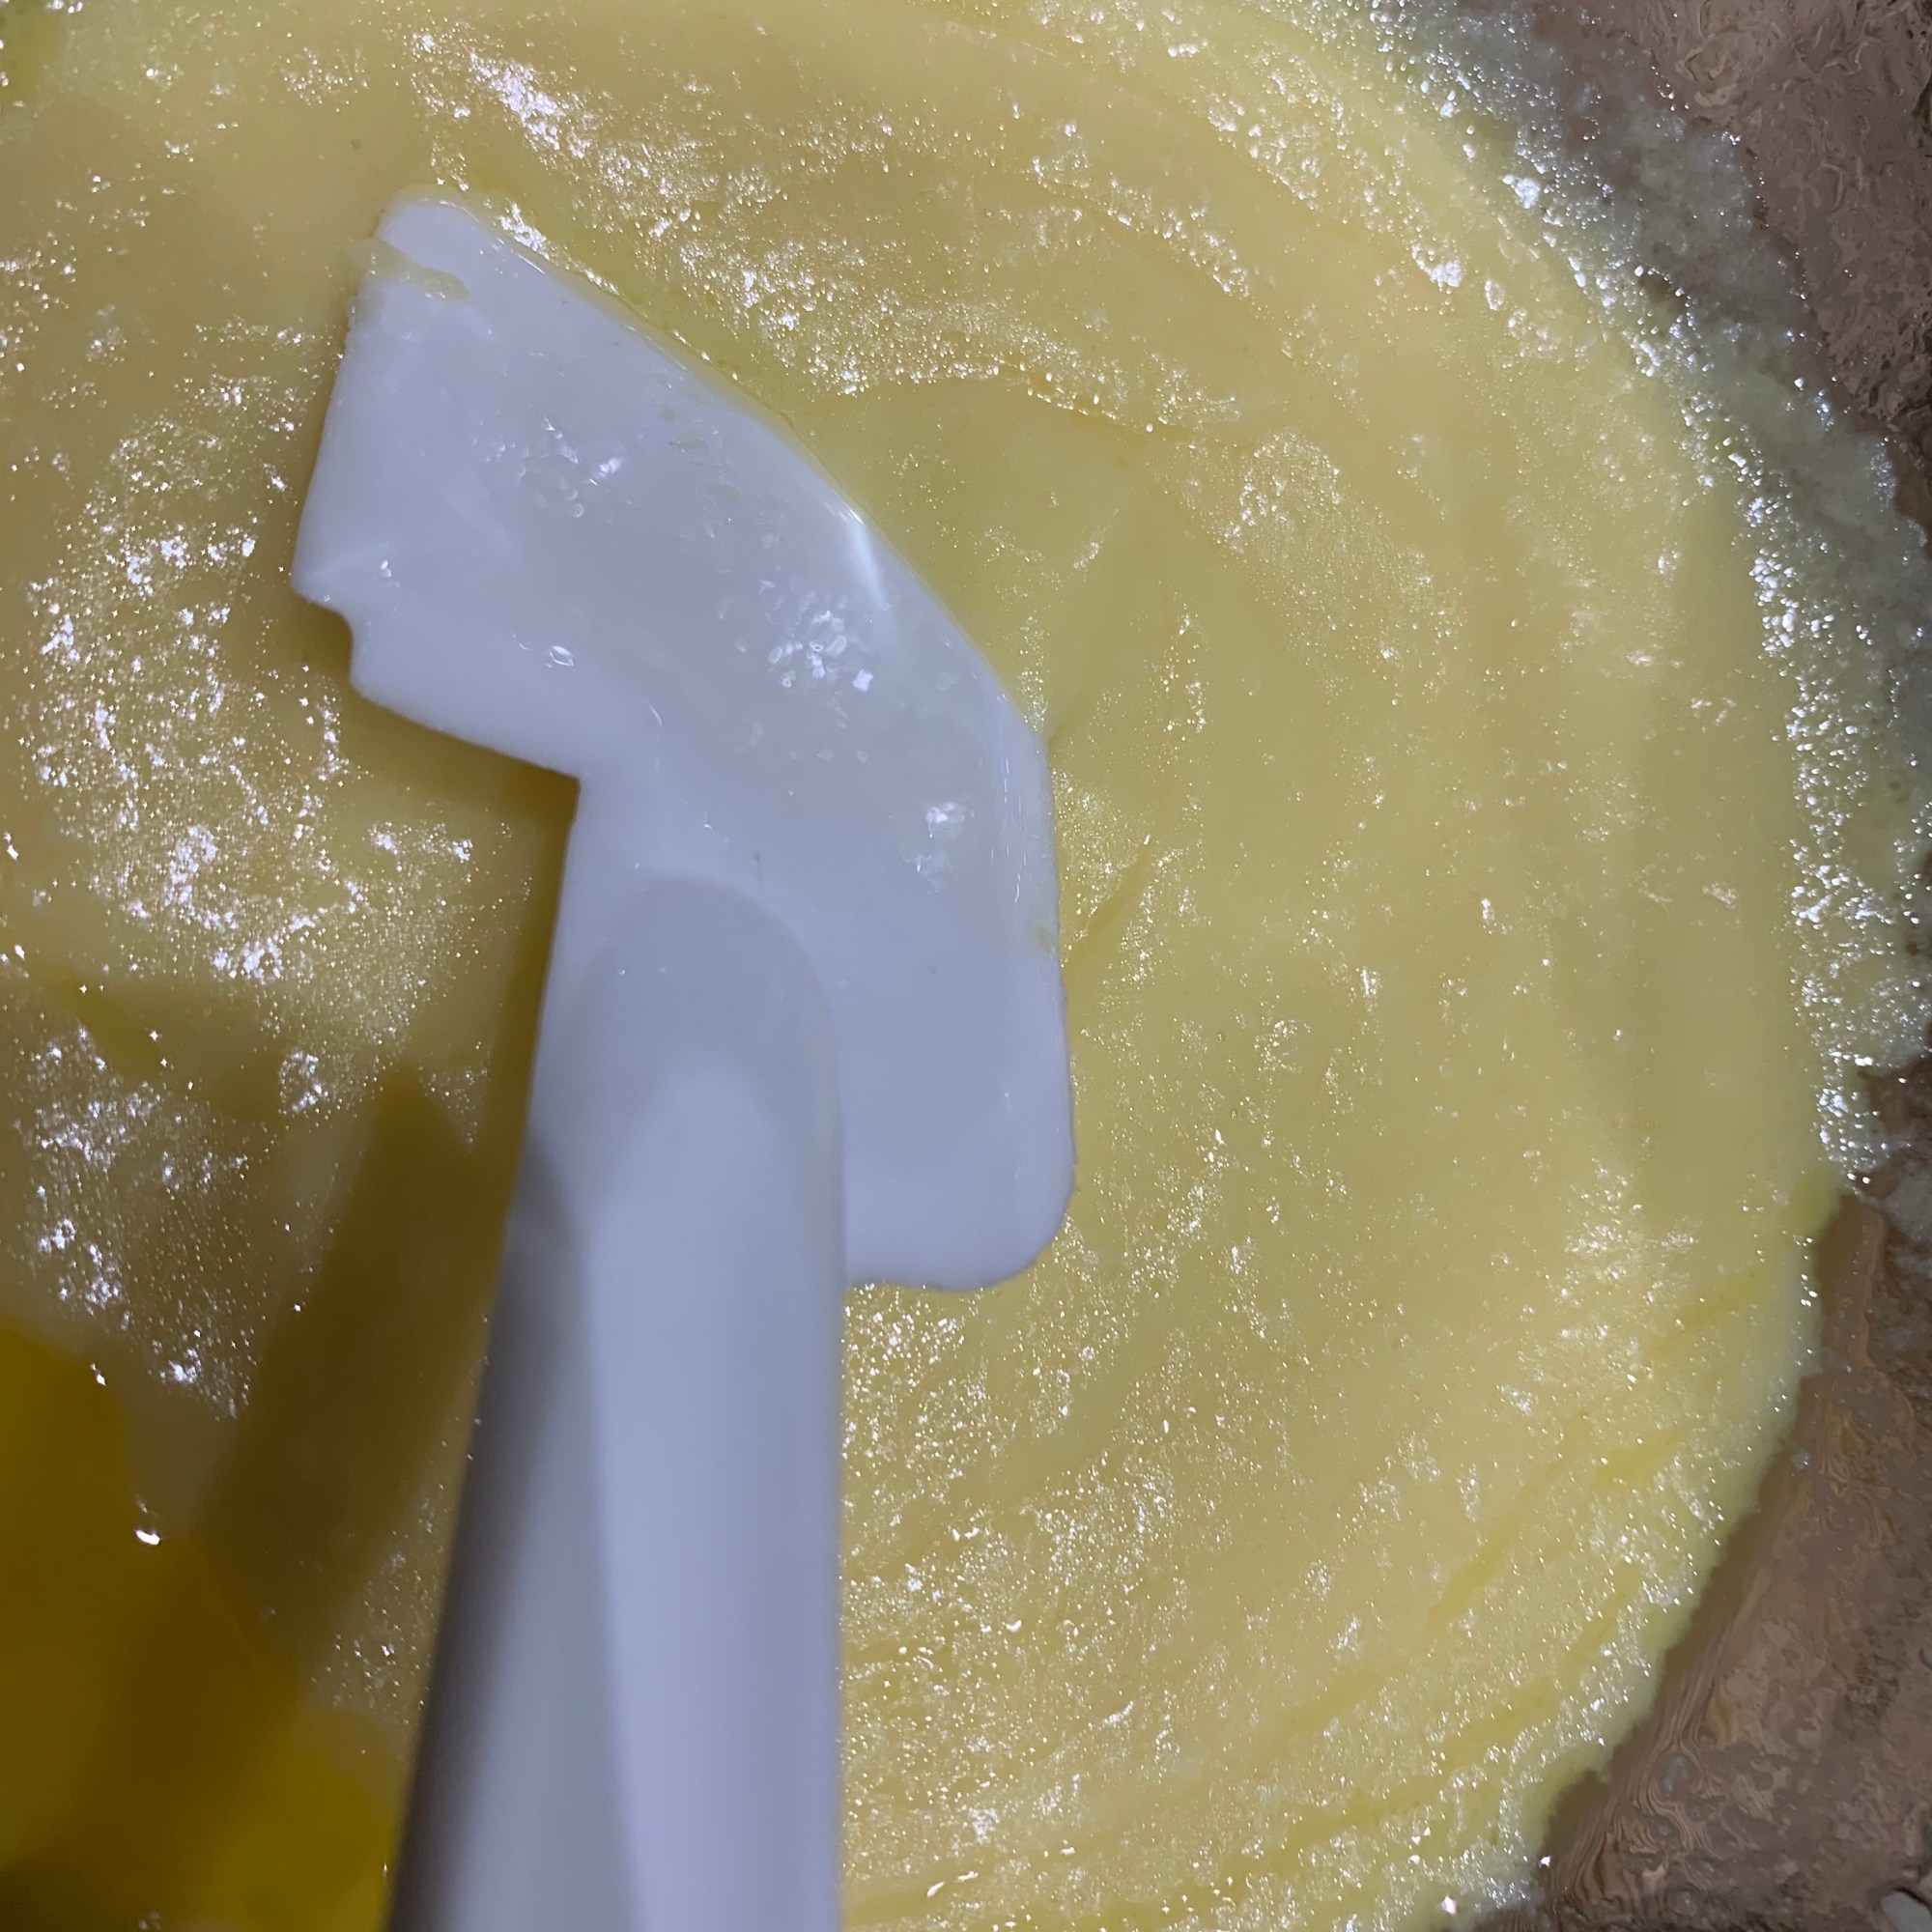
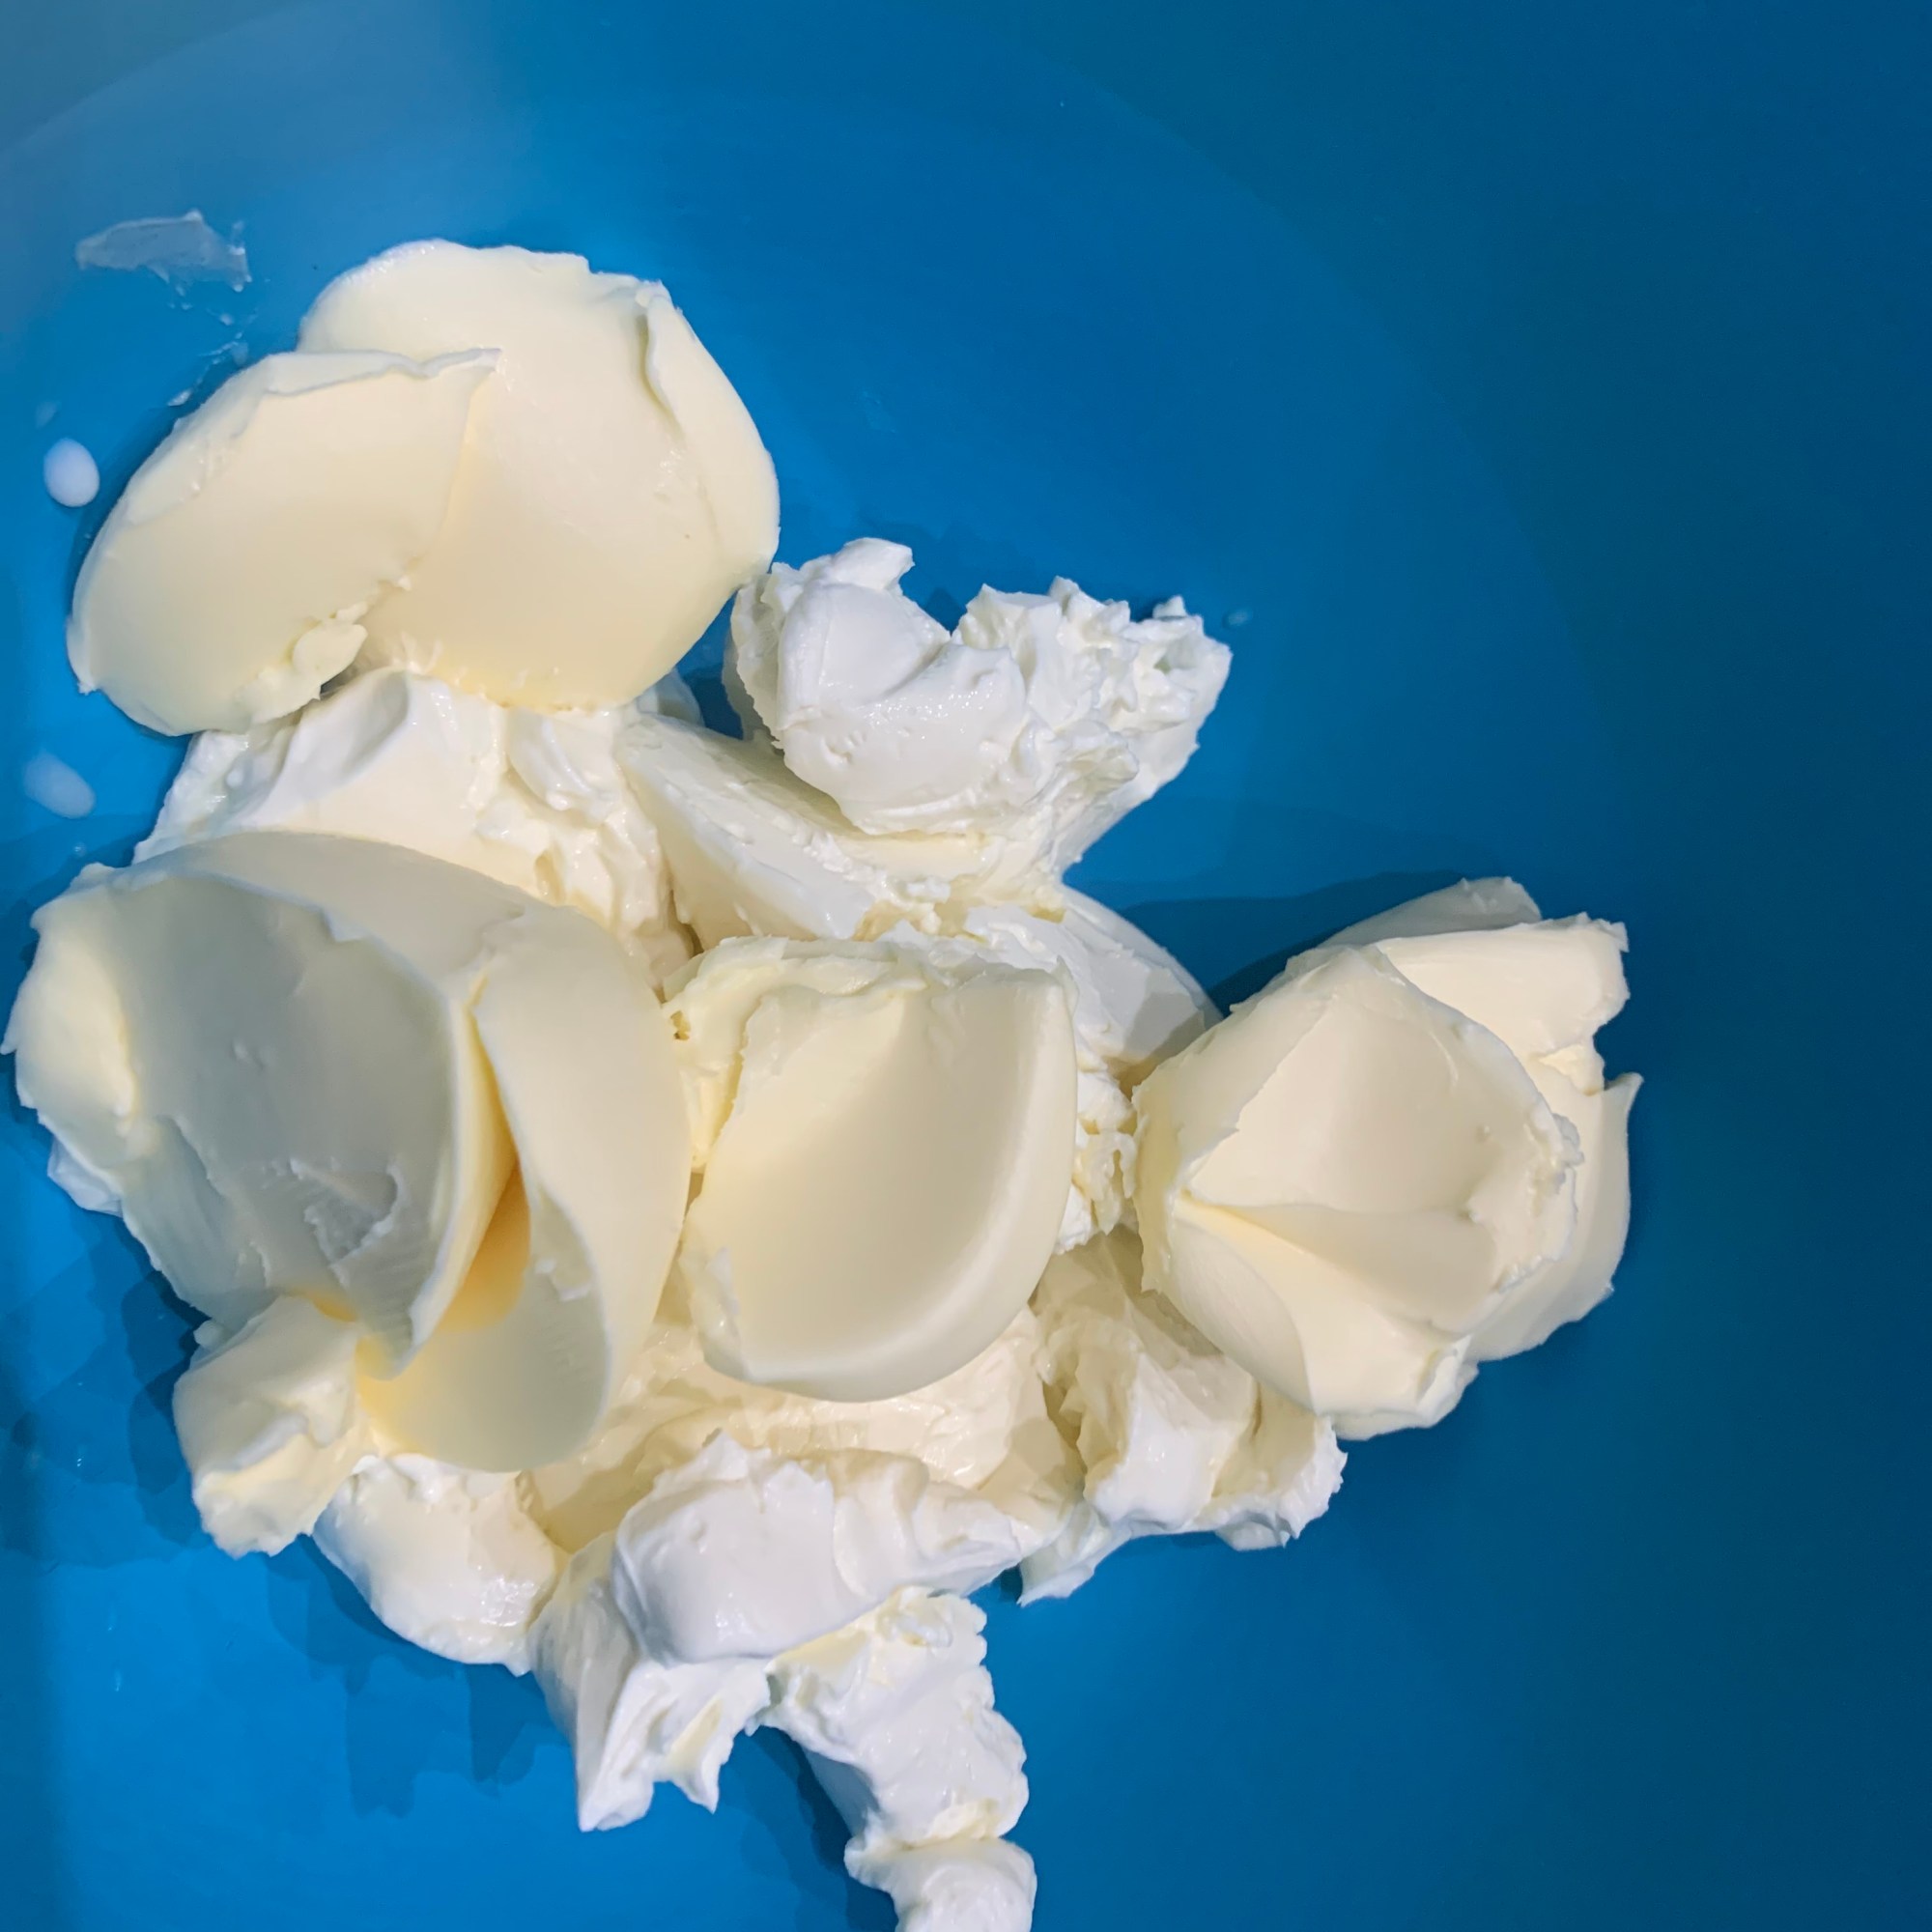
  • Next, melt the cheese in the microwave for 30 second increments, until melted and almost liquid in consistency. (Leave a minute in between to give time for the cheese to soften and melt so it doesn’t over-heat. I put a little butter in with the cheddar cheese as this was successful with the garlic dinner rolls.)
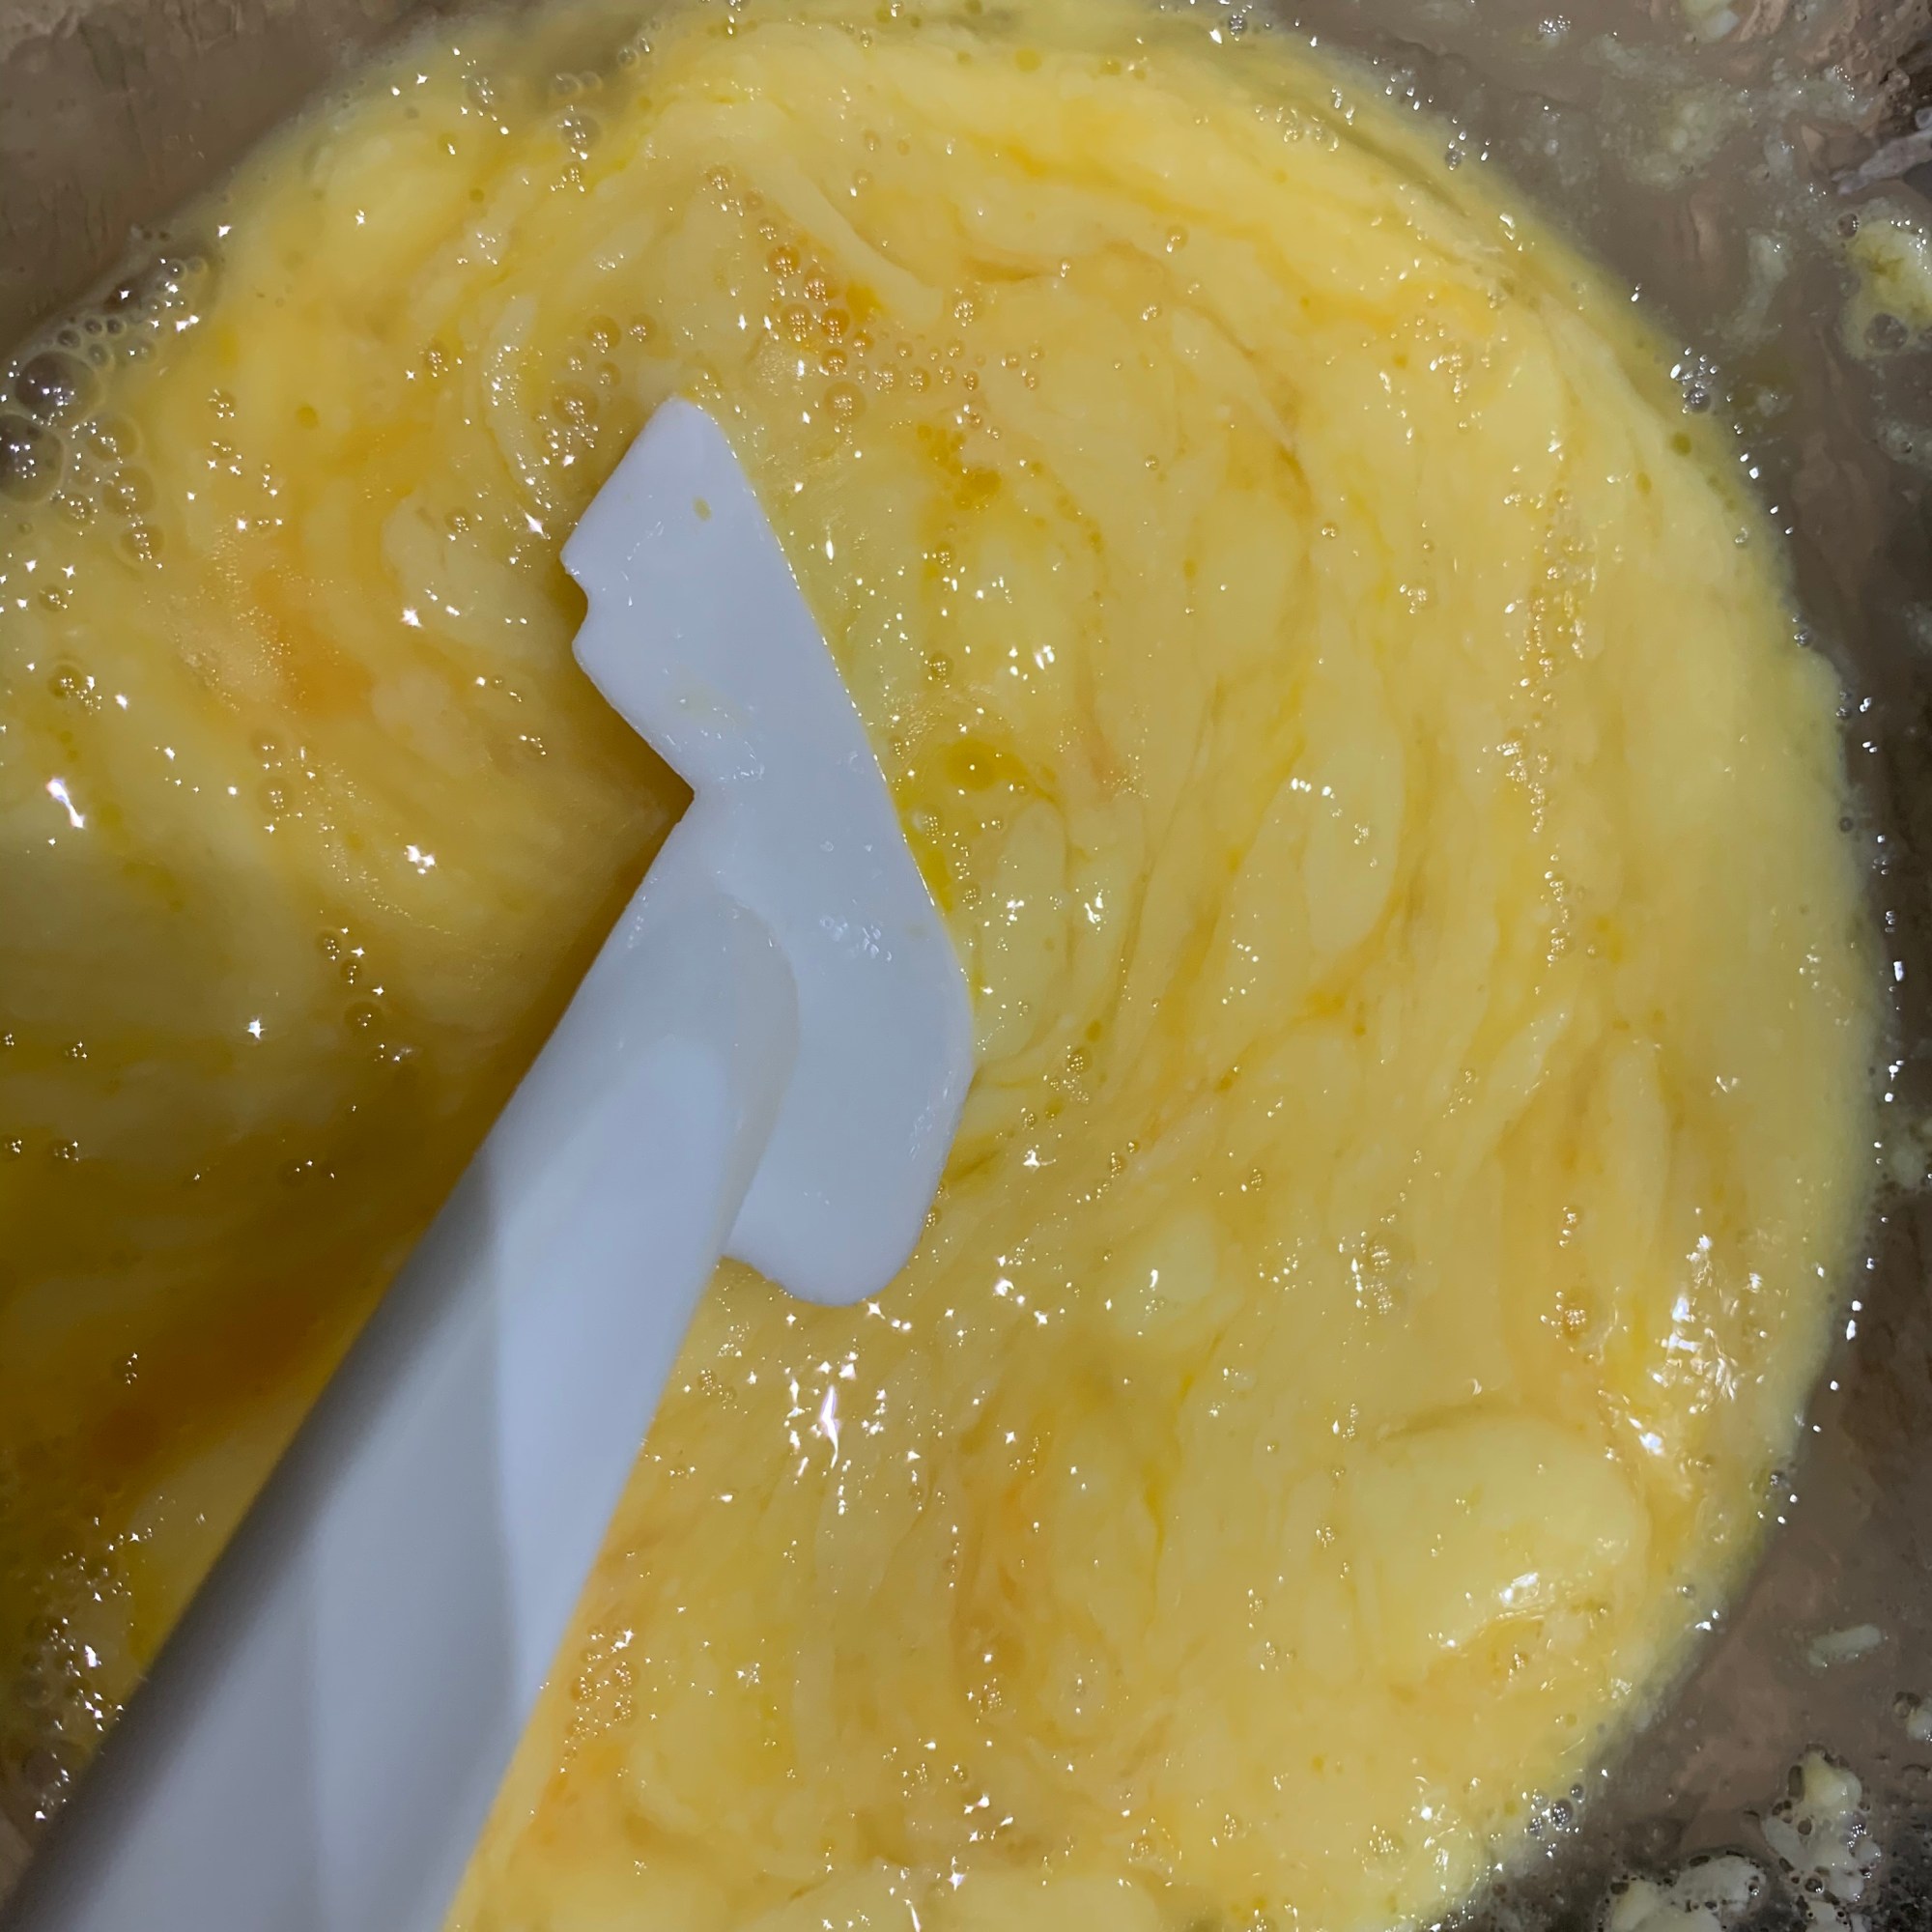
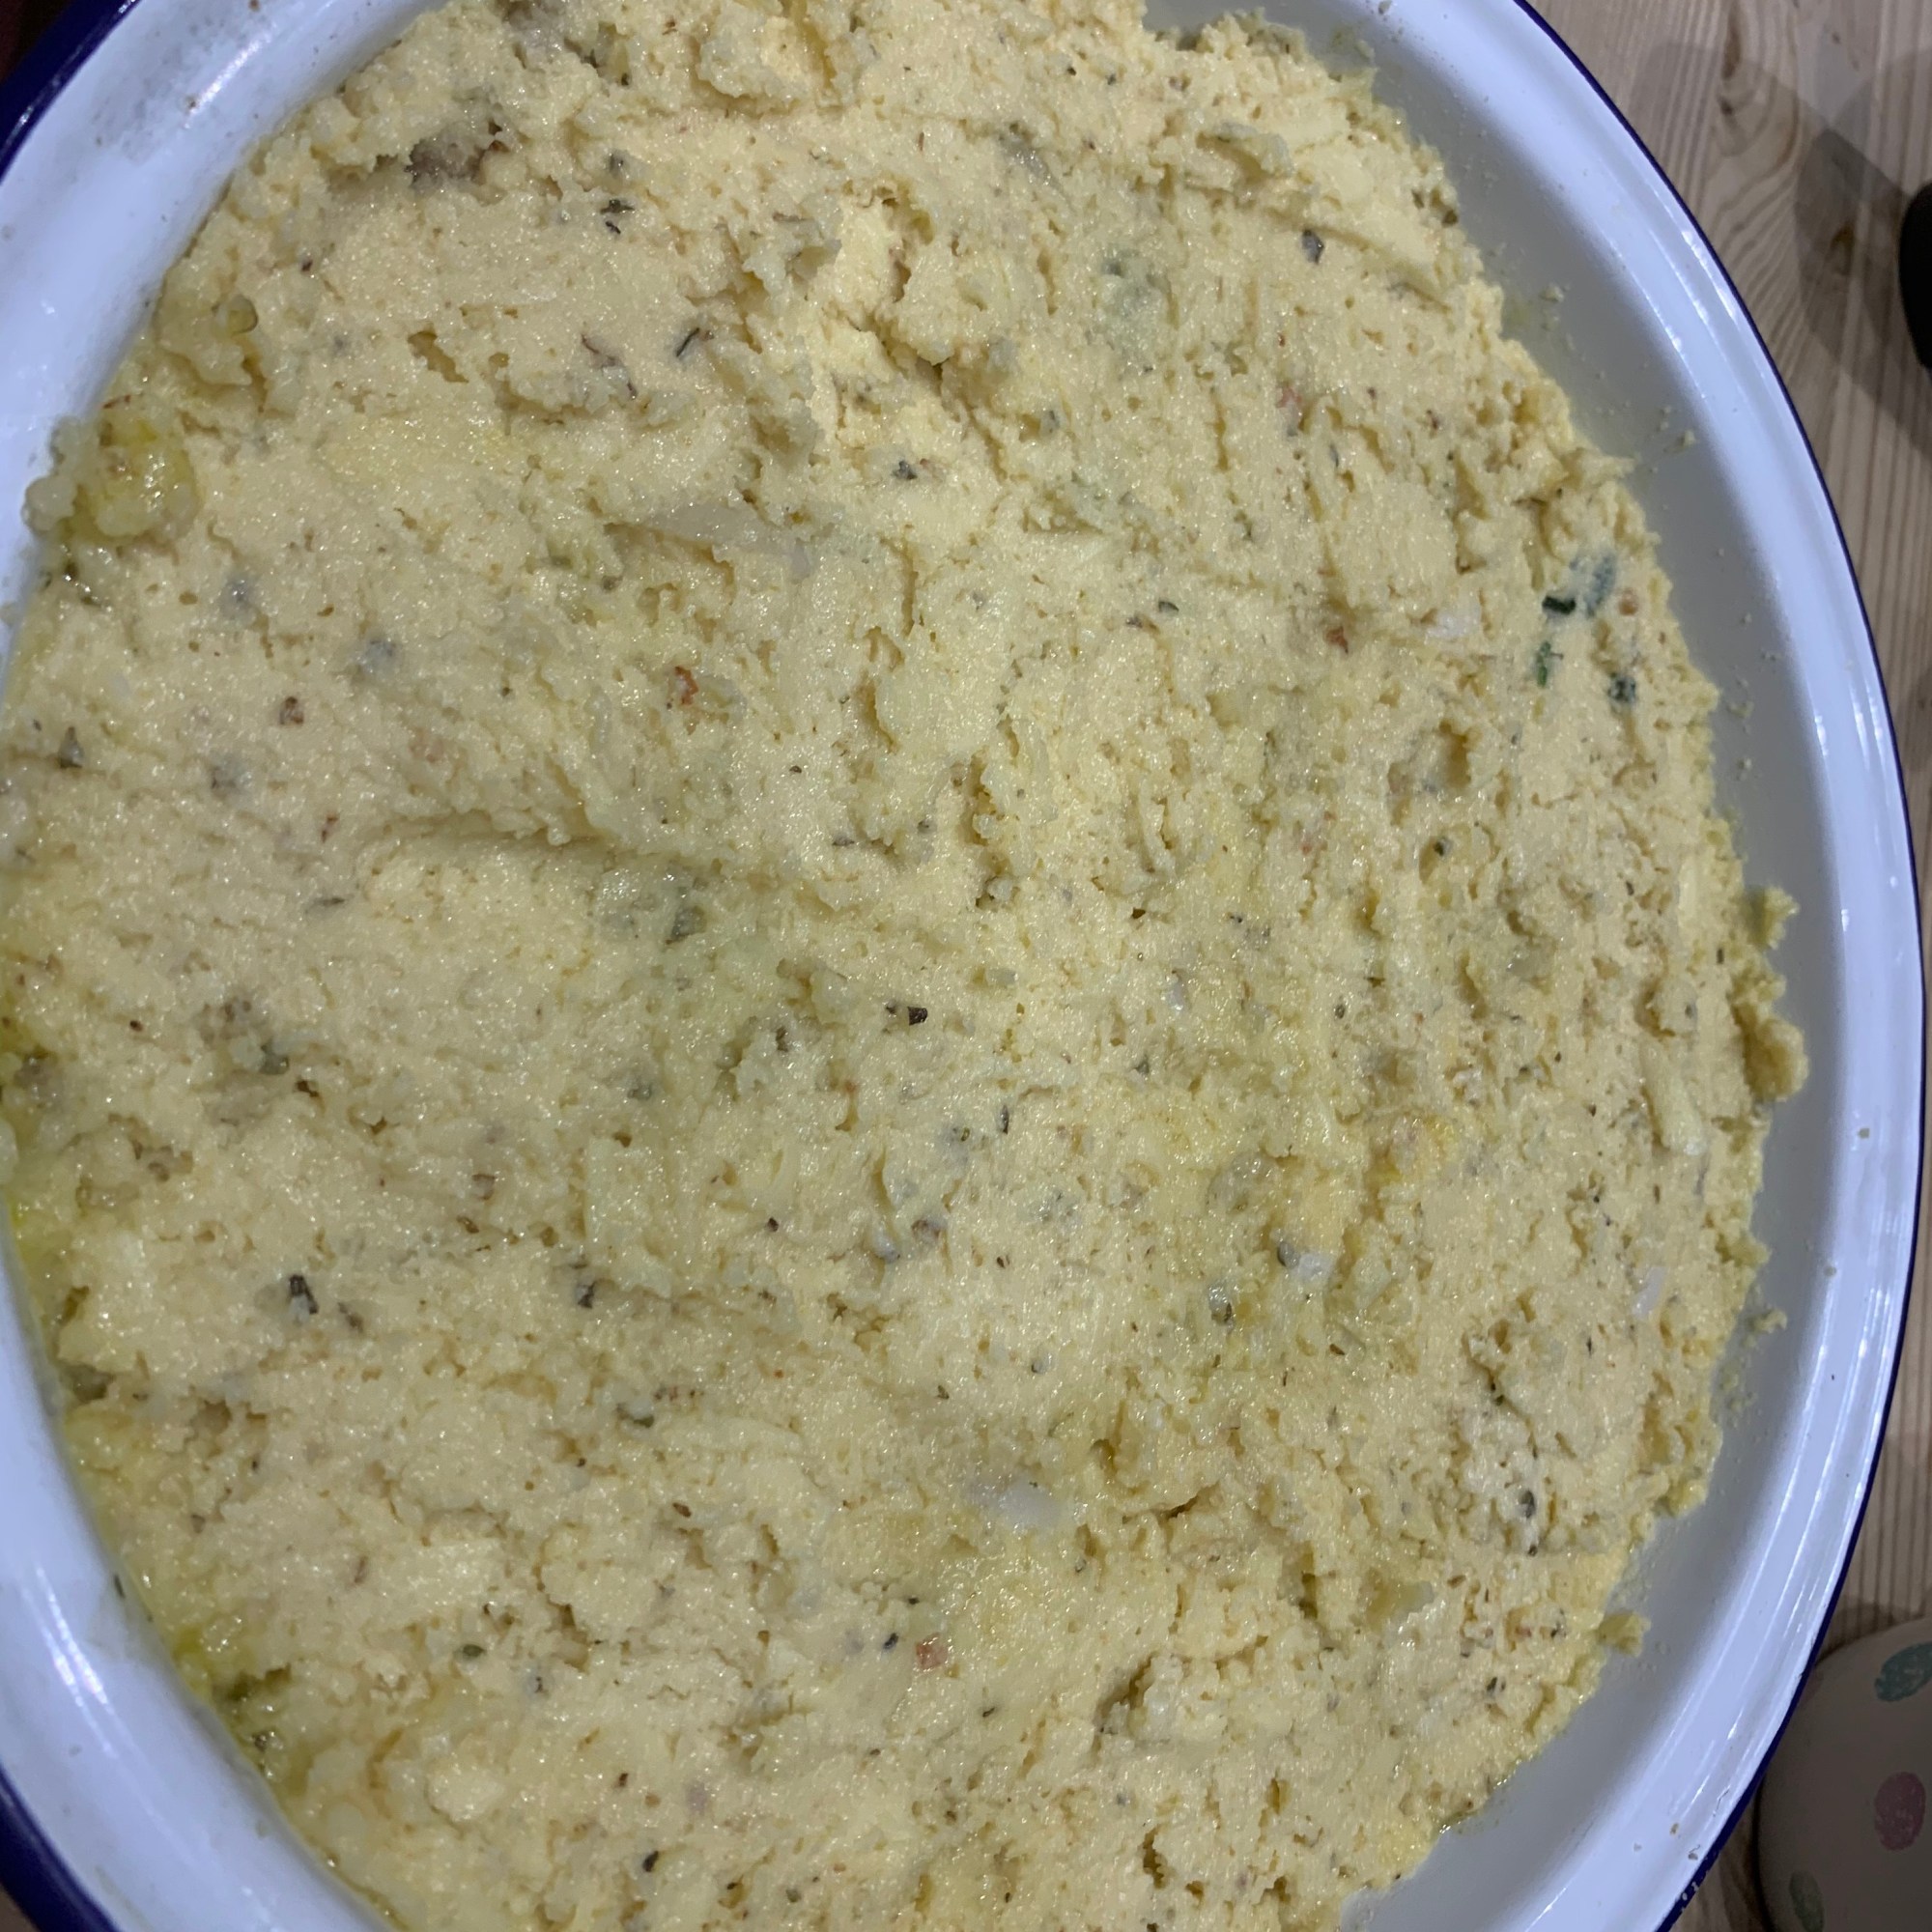
  • Stir the eggs into the cheese mixture, mix until well combined.
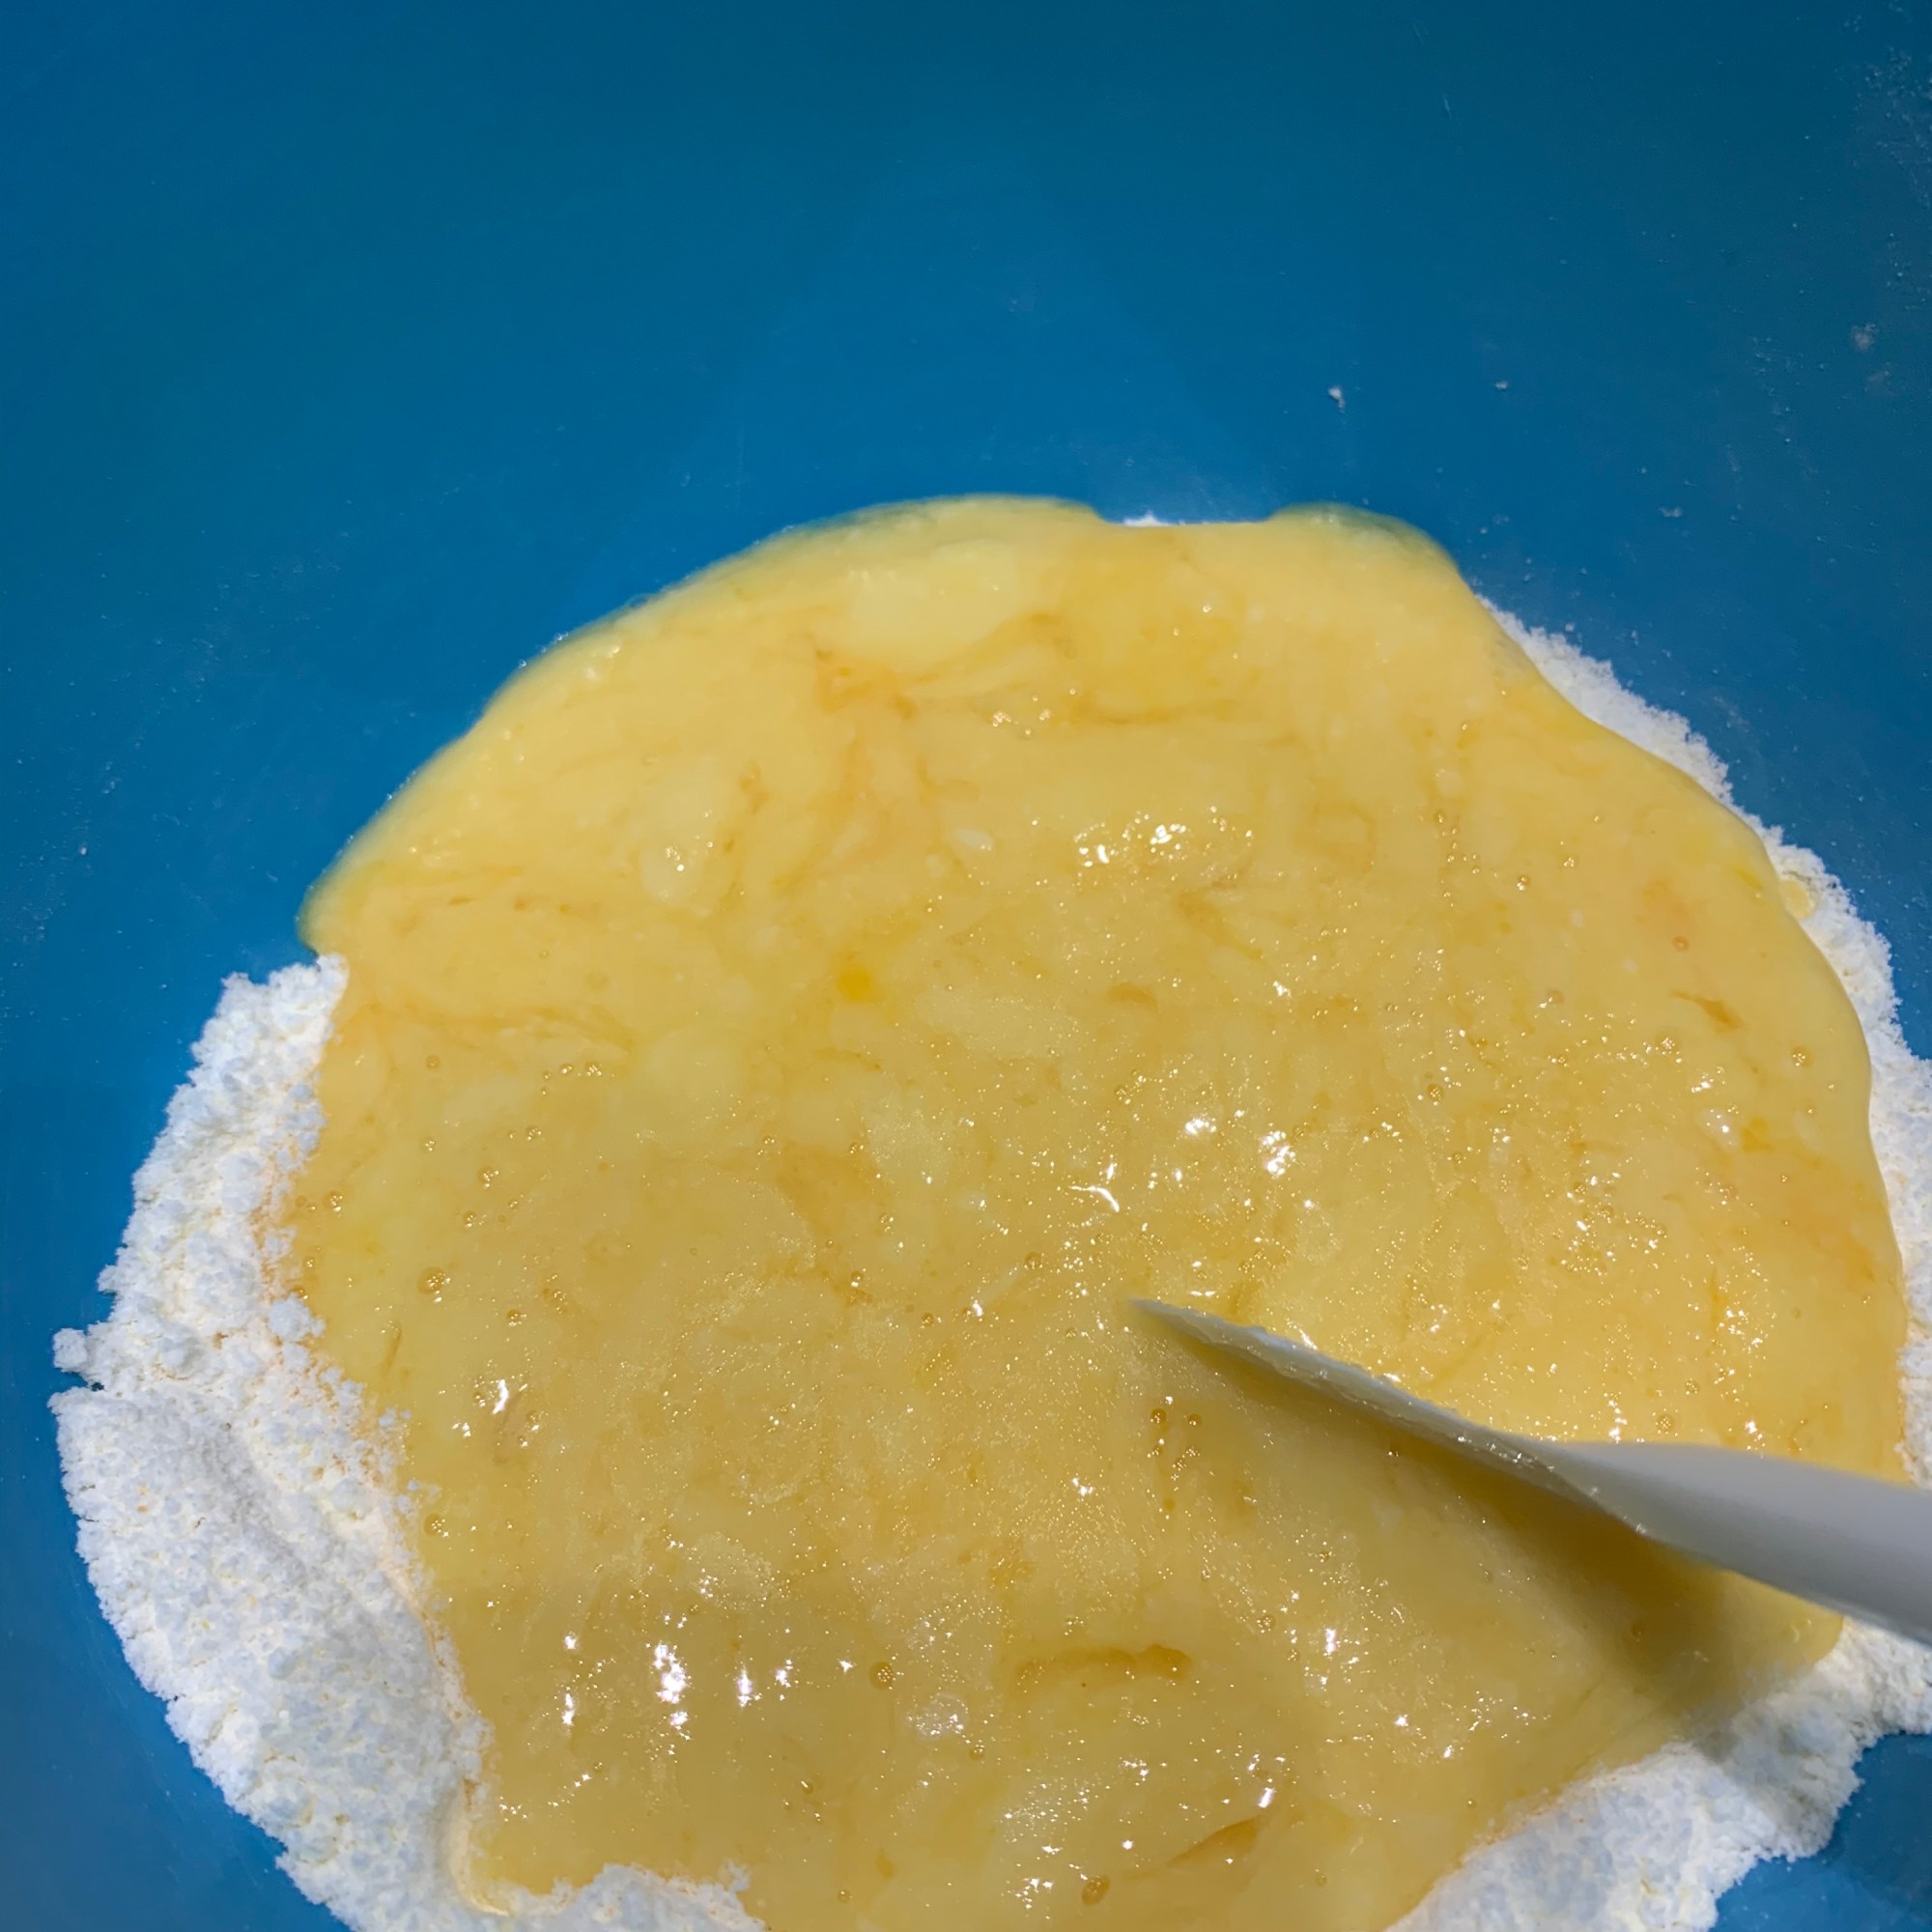
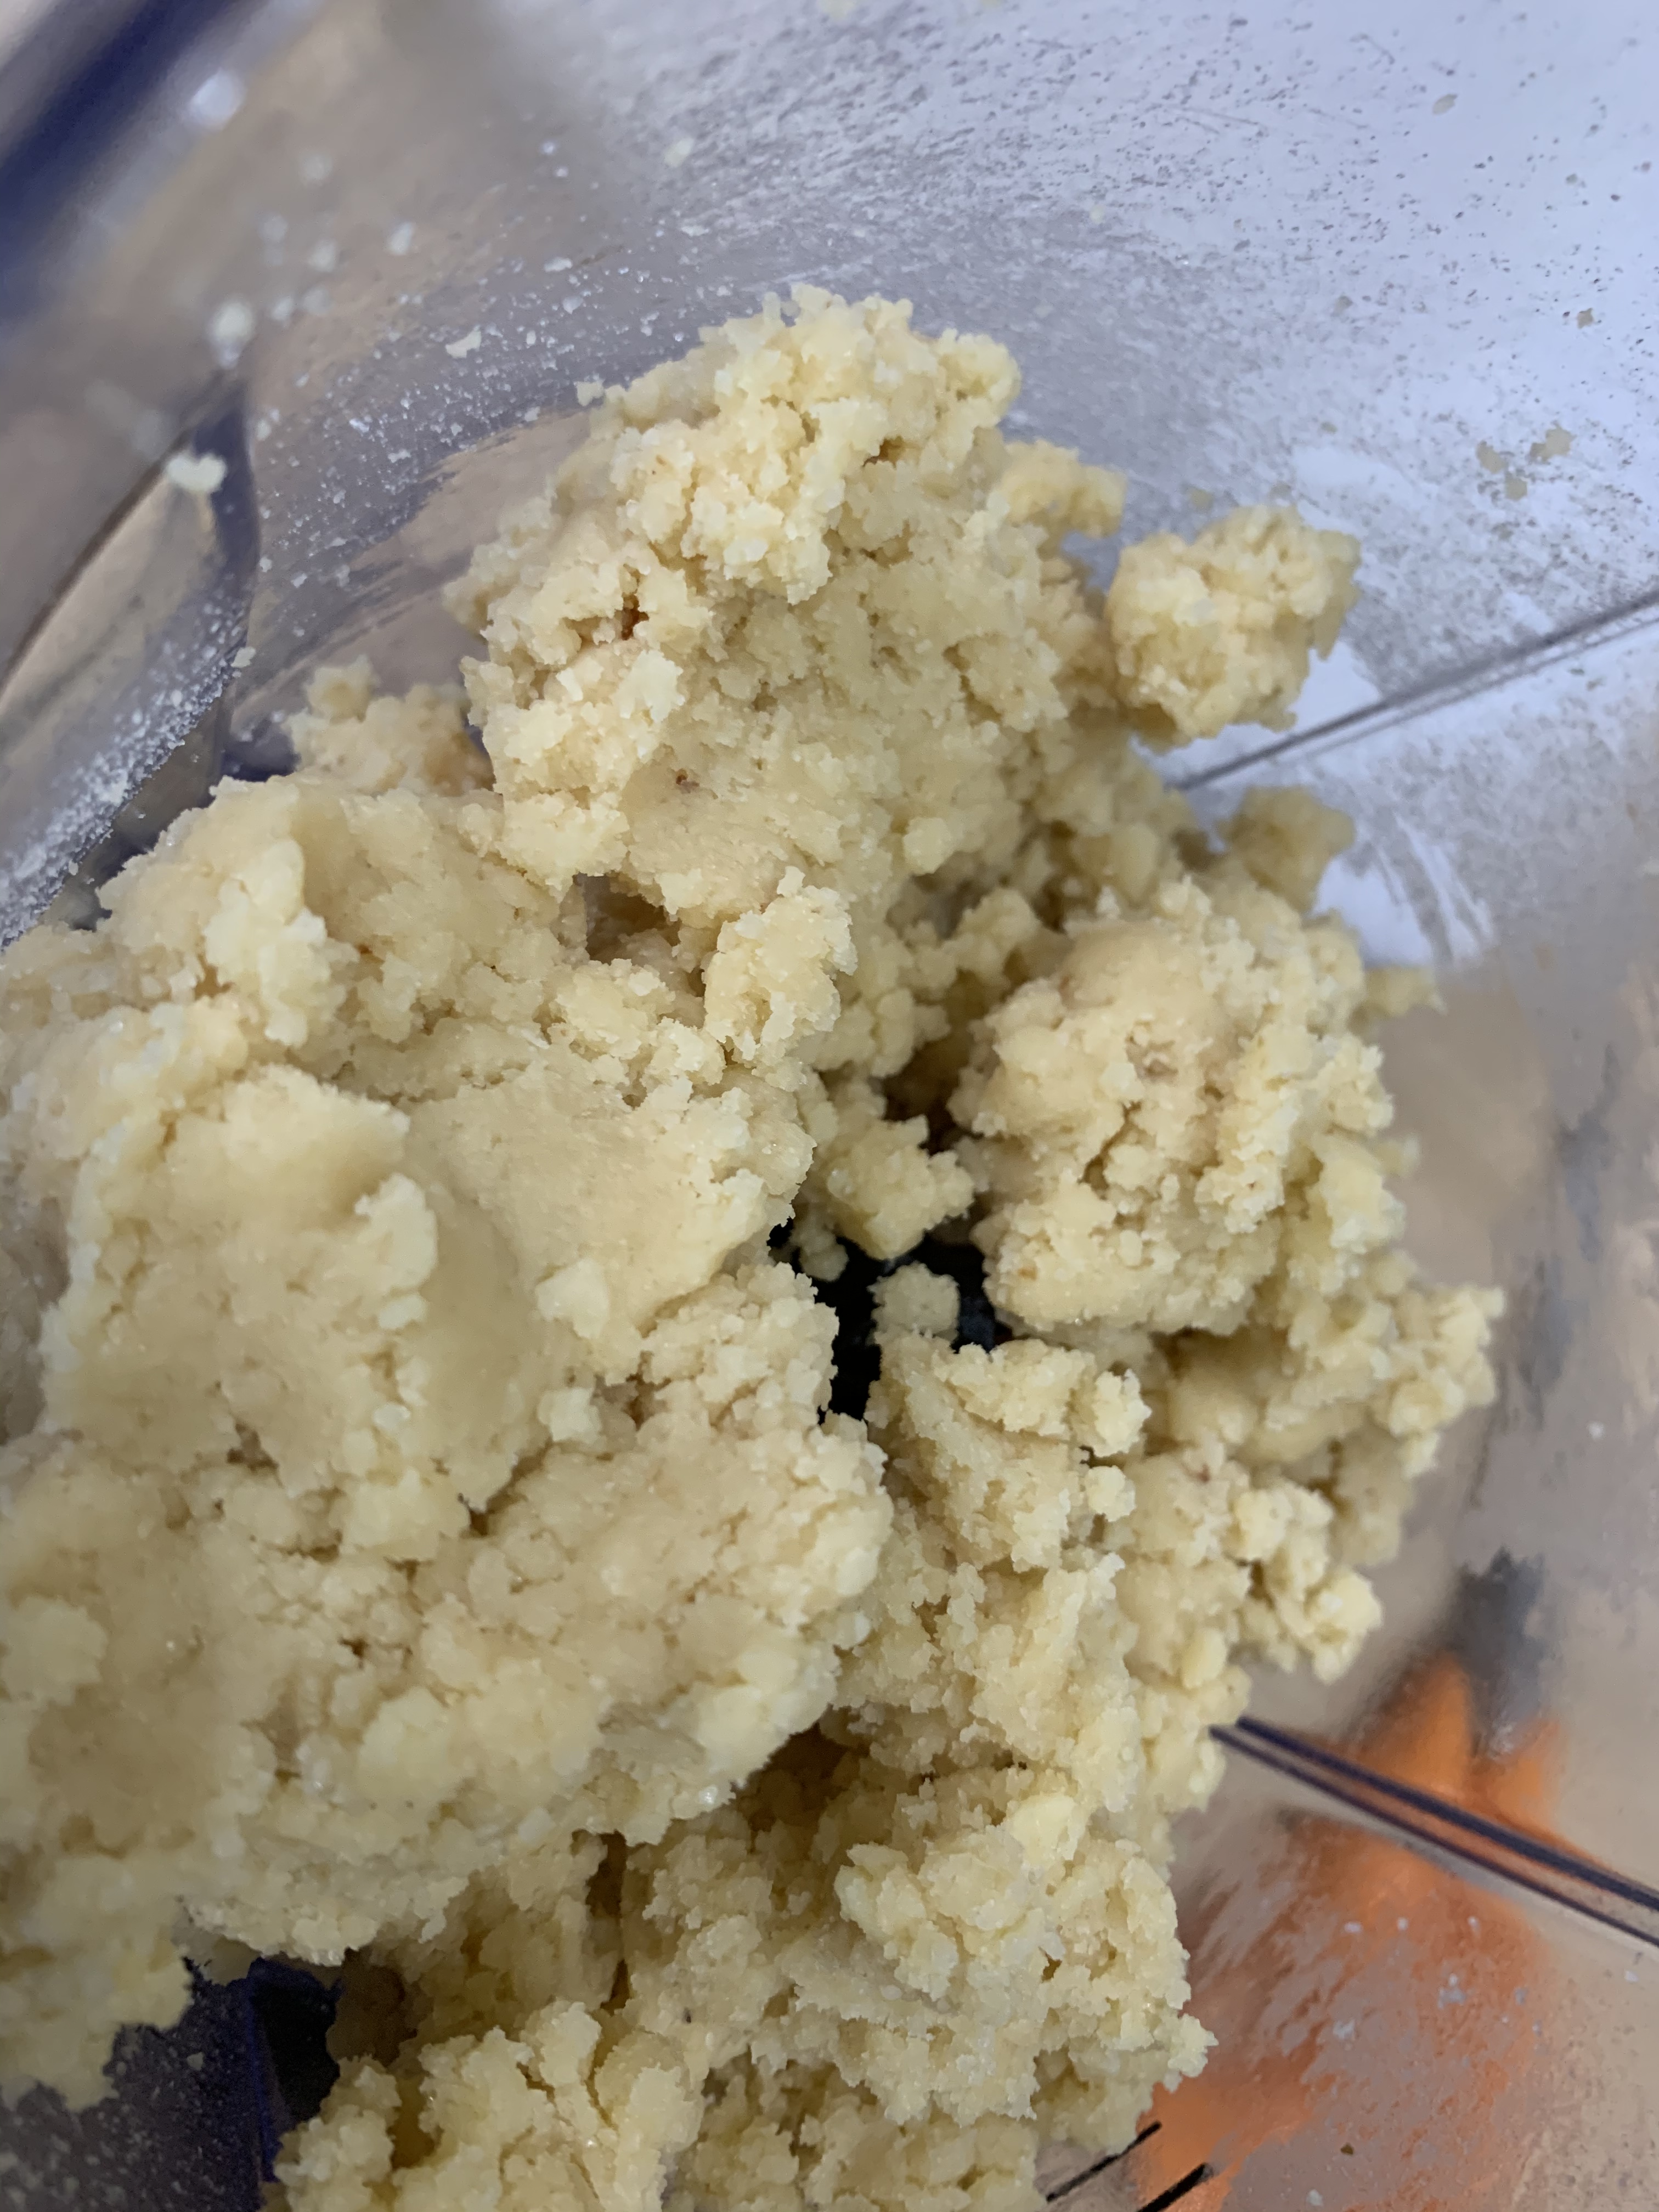
  • Then, add the cheese mixture to the dry ingredients, knead in the bowl using a spatula.
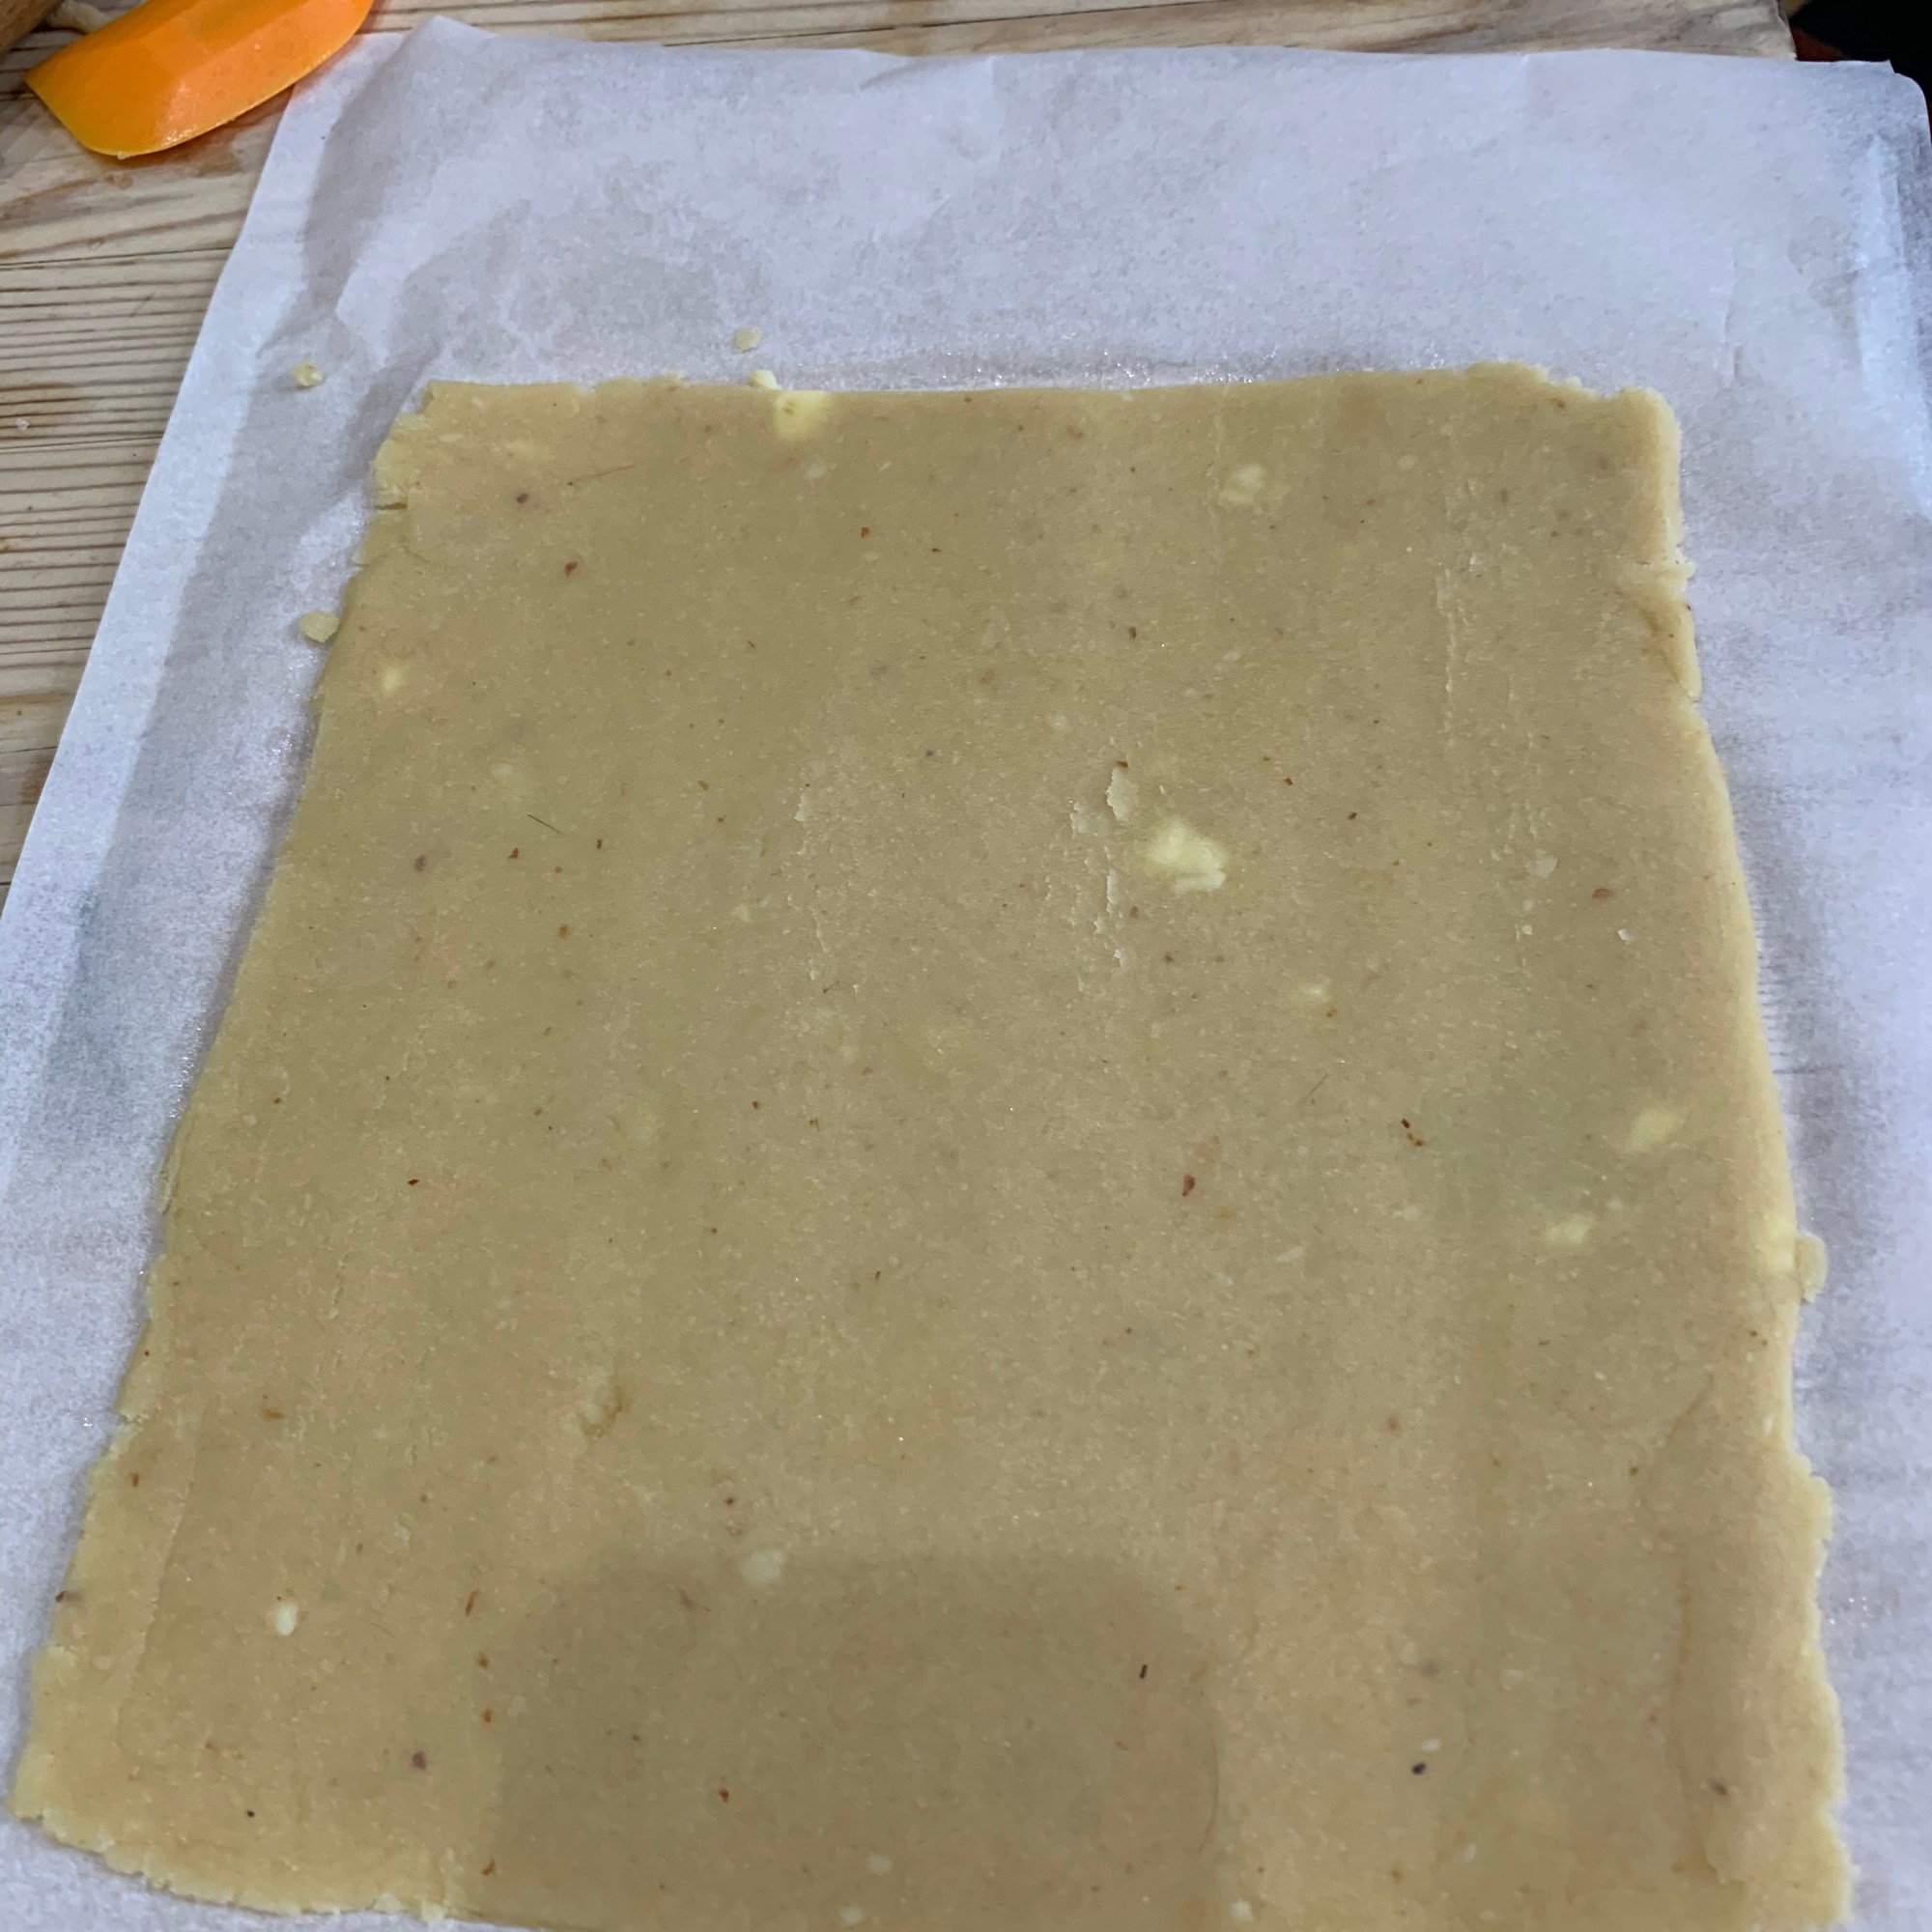
  • Then turn out the mixture onto the prepared baking tray; continue to knead together until a dough is formed.
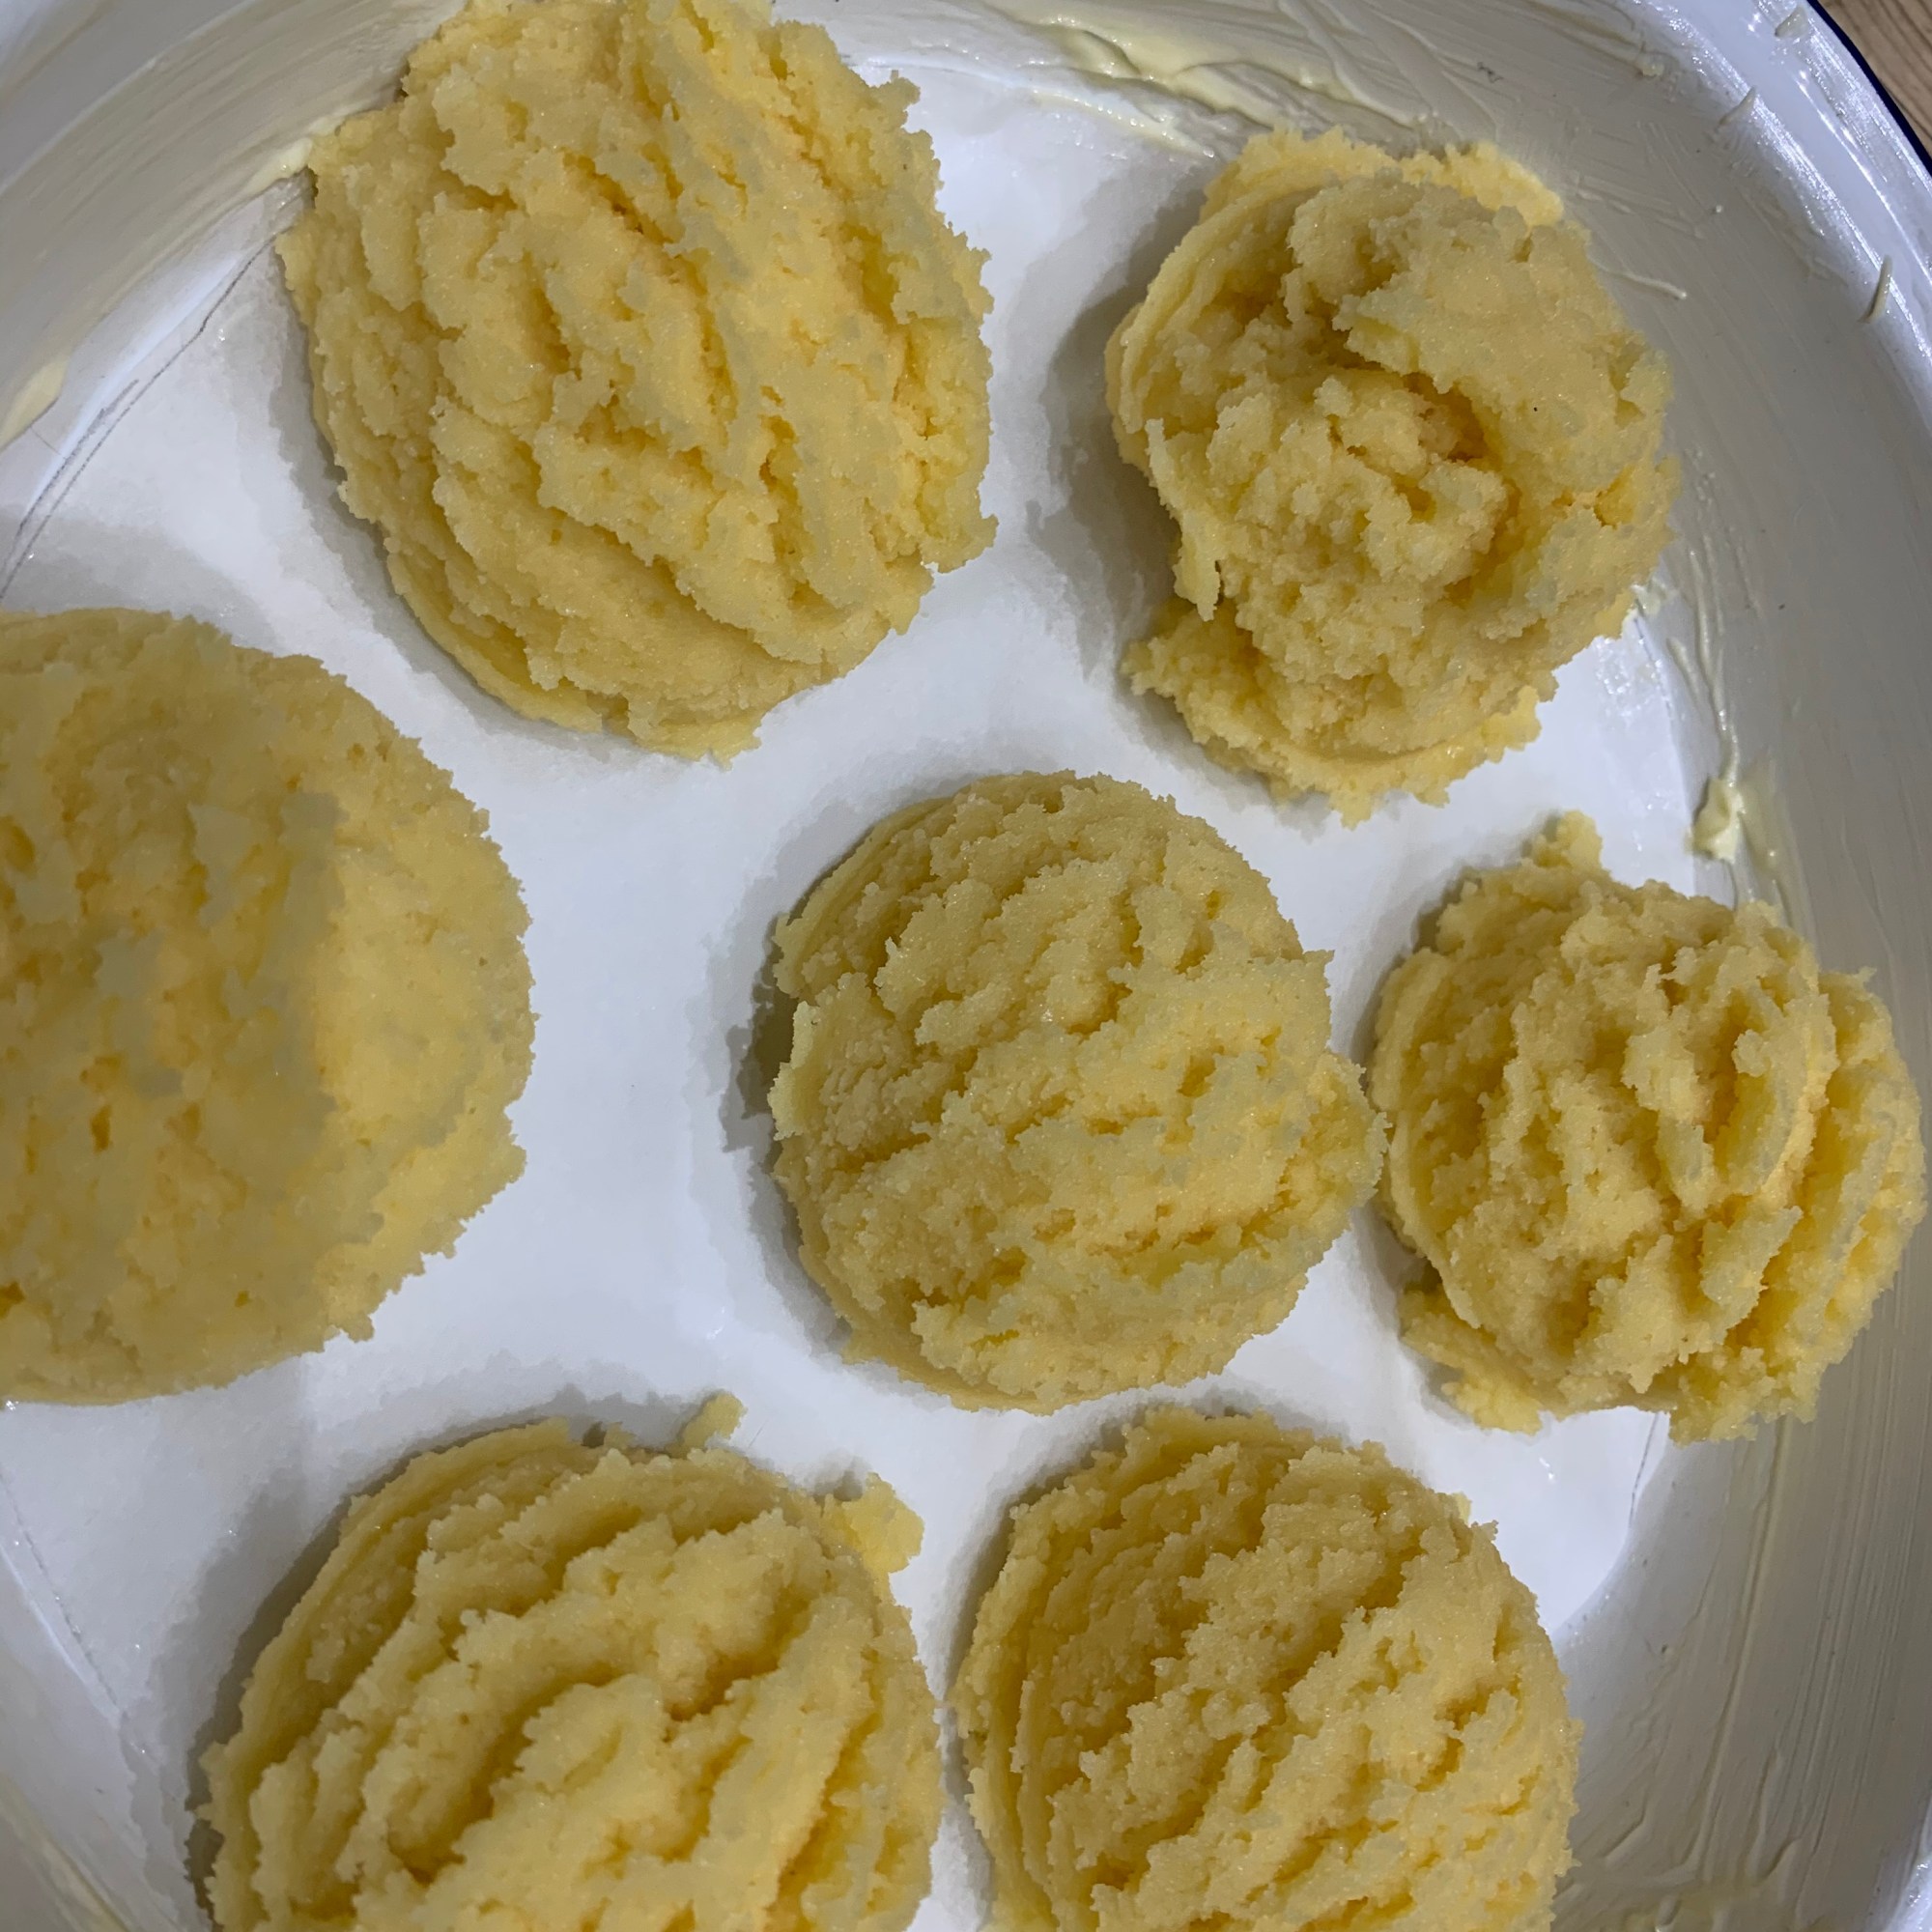
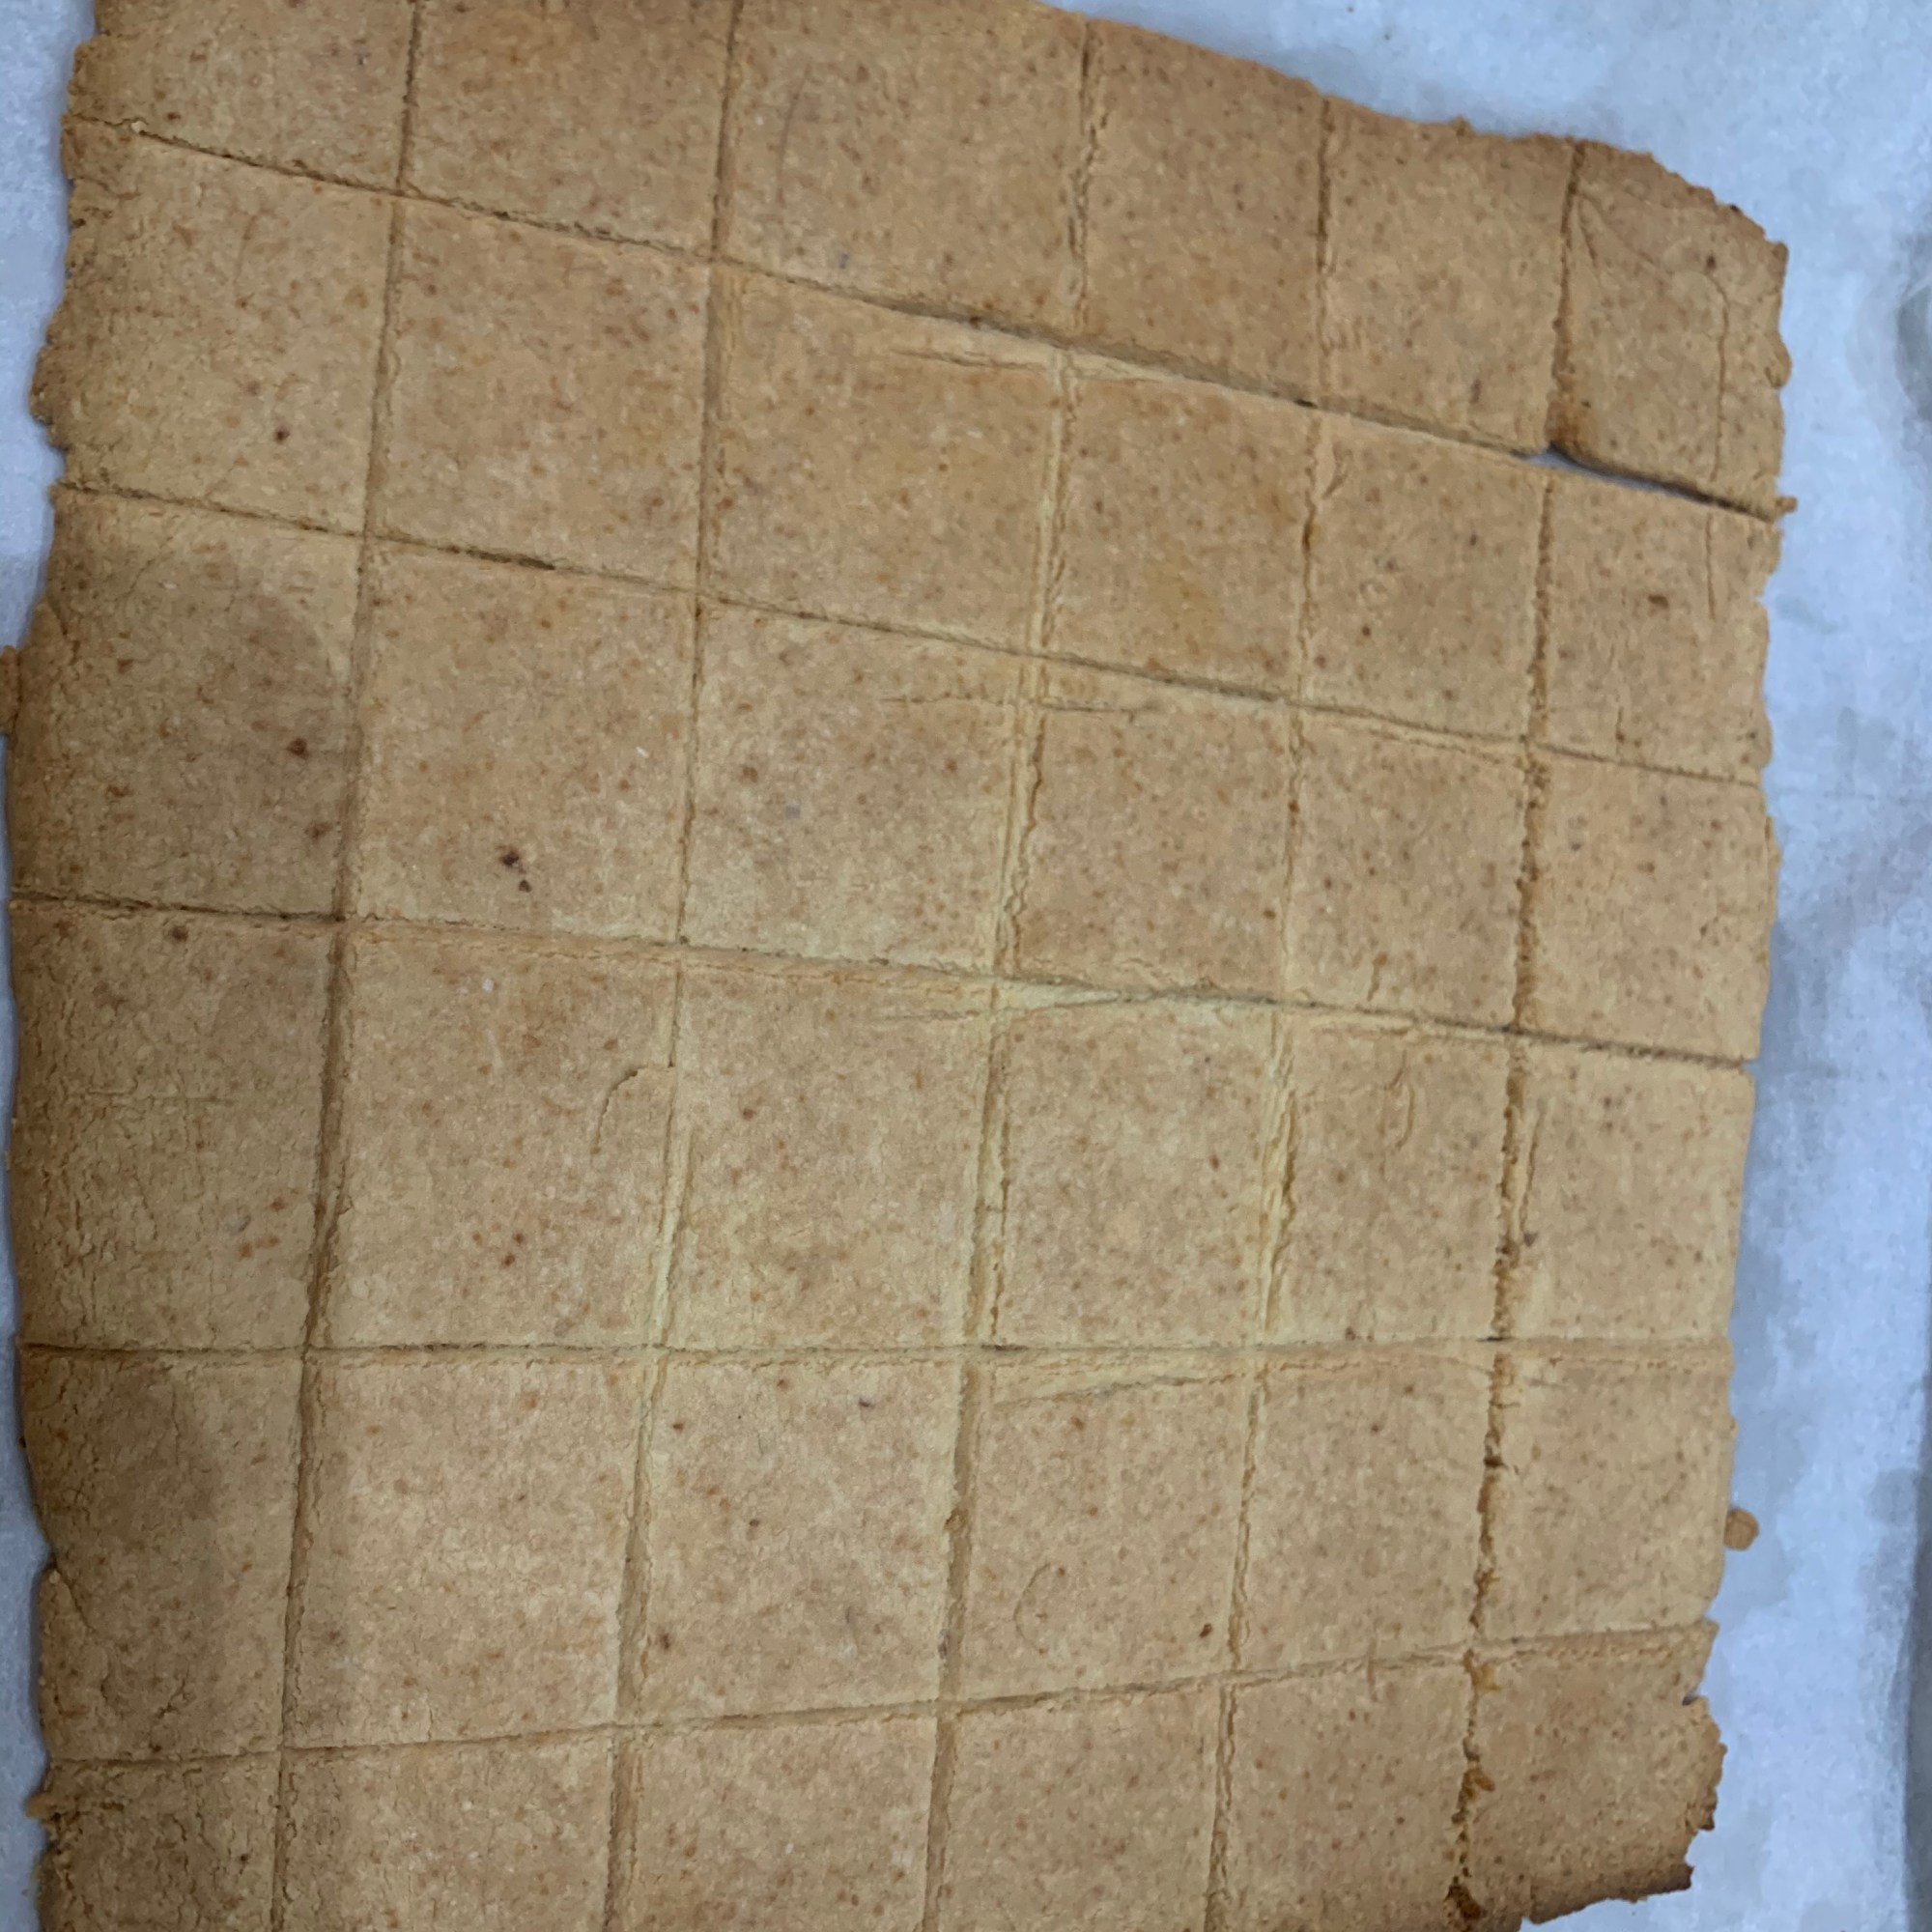
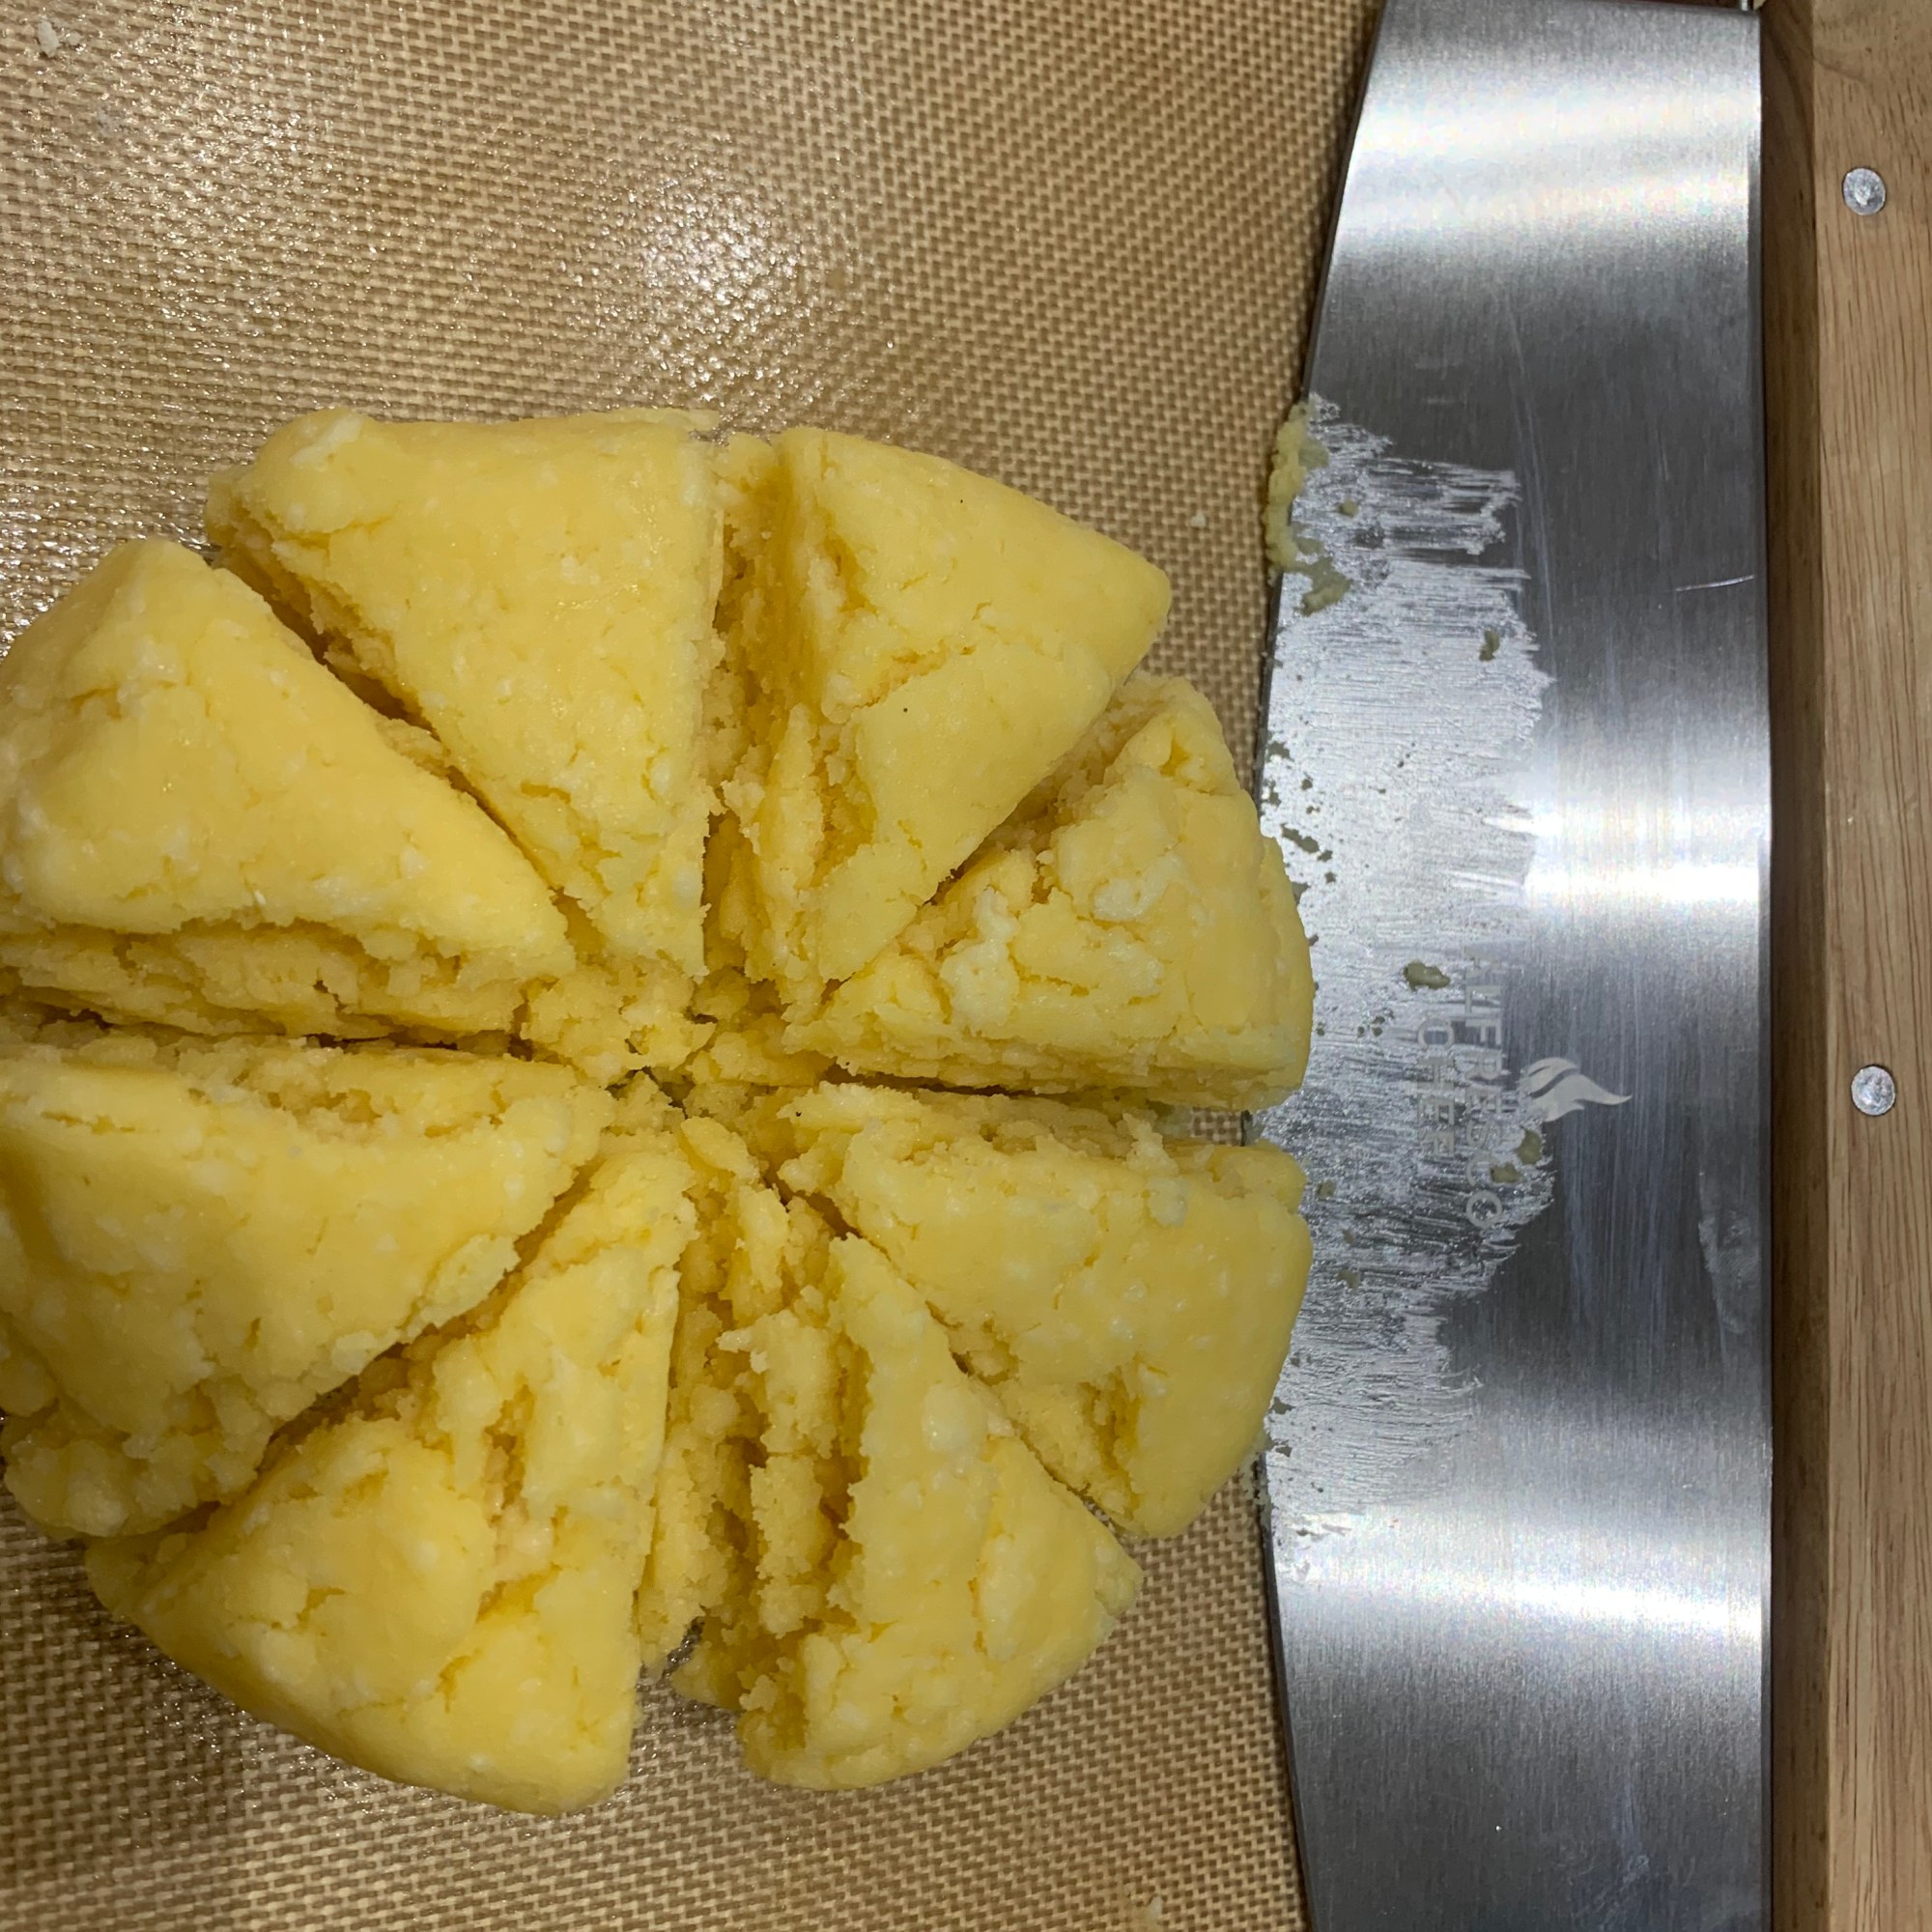
  • Cut the dough in half, then cut each half into 4 equal portions so that you have 8 equal pieces of dough all together.
  • Roll each portion out into a log about 8 inches long. Pinch the ends together, making a bagel shape. (Next time, I will trial using an ice-cream scoop to divide and shape the dough into rolls, then poke a hole in the centre)
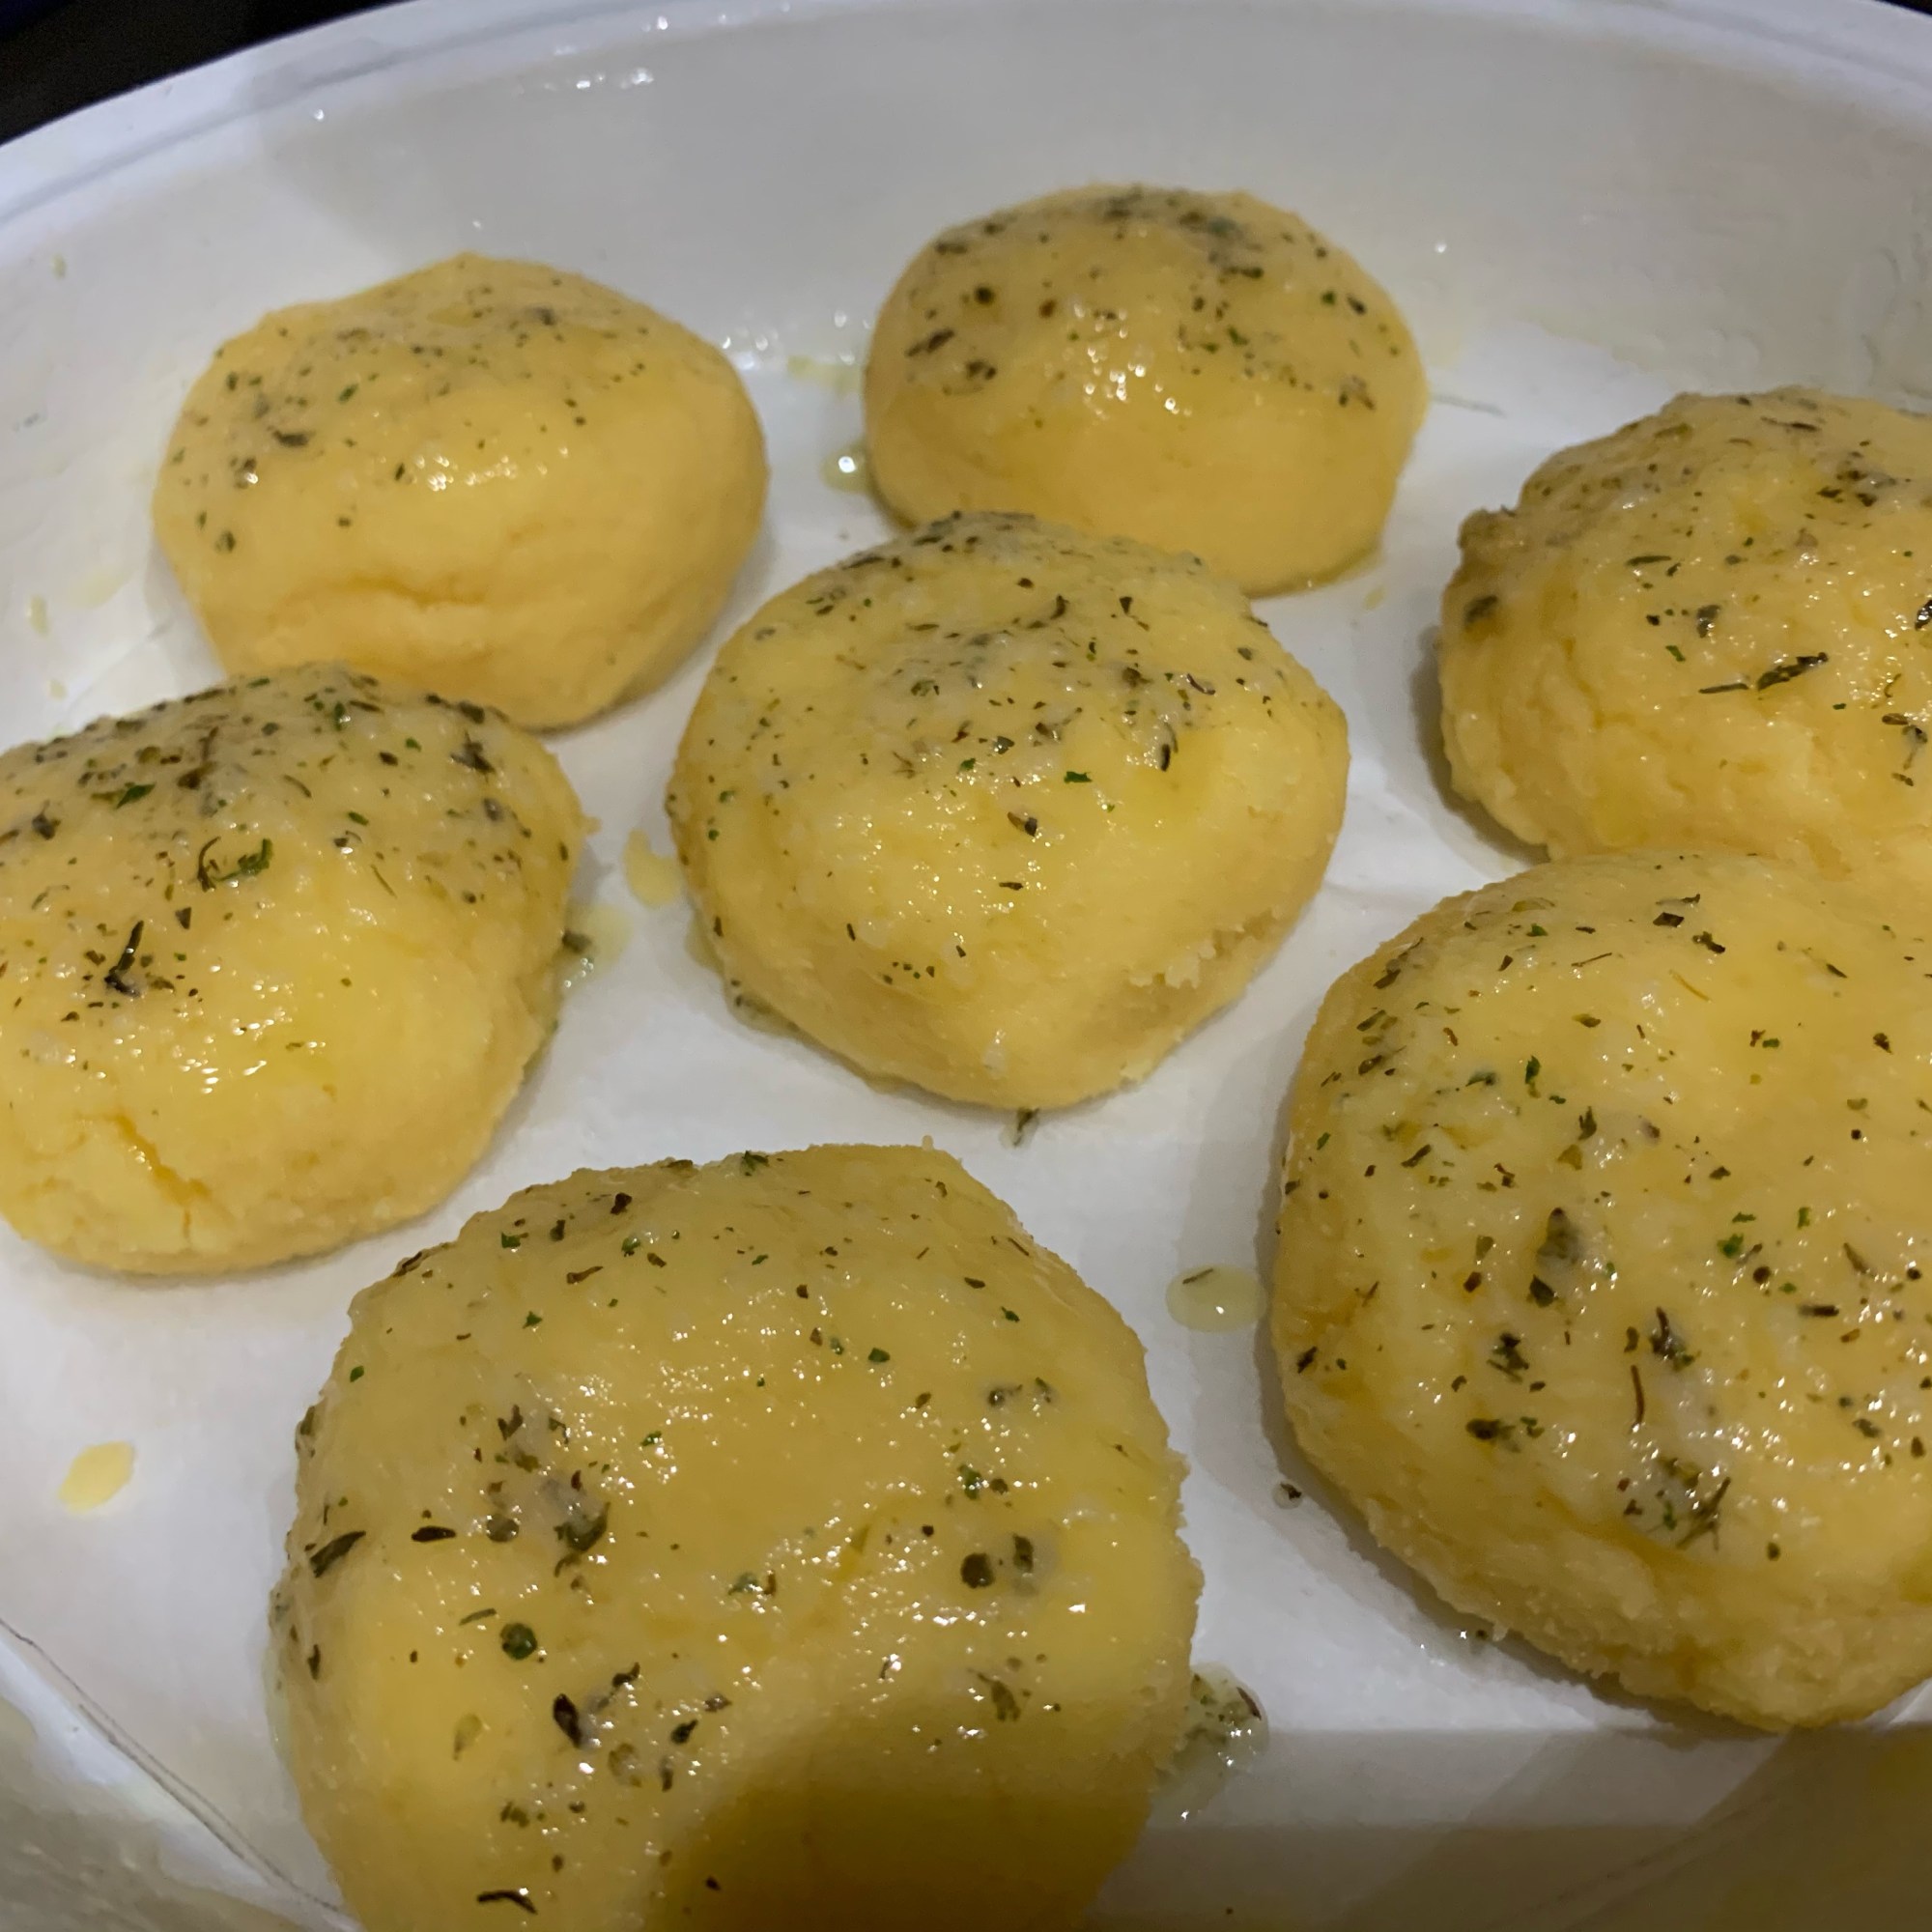
  • Brush the top of each bagel with melted butter, and dip firmly into the prepared seasoning topping.
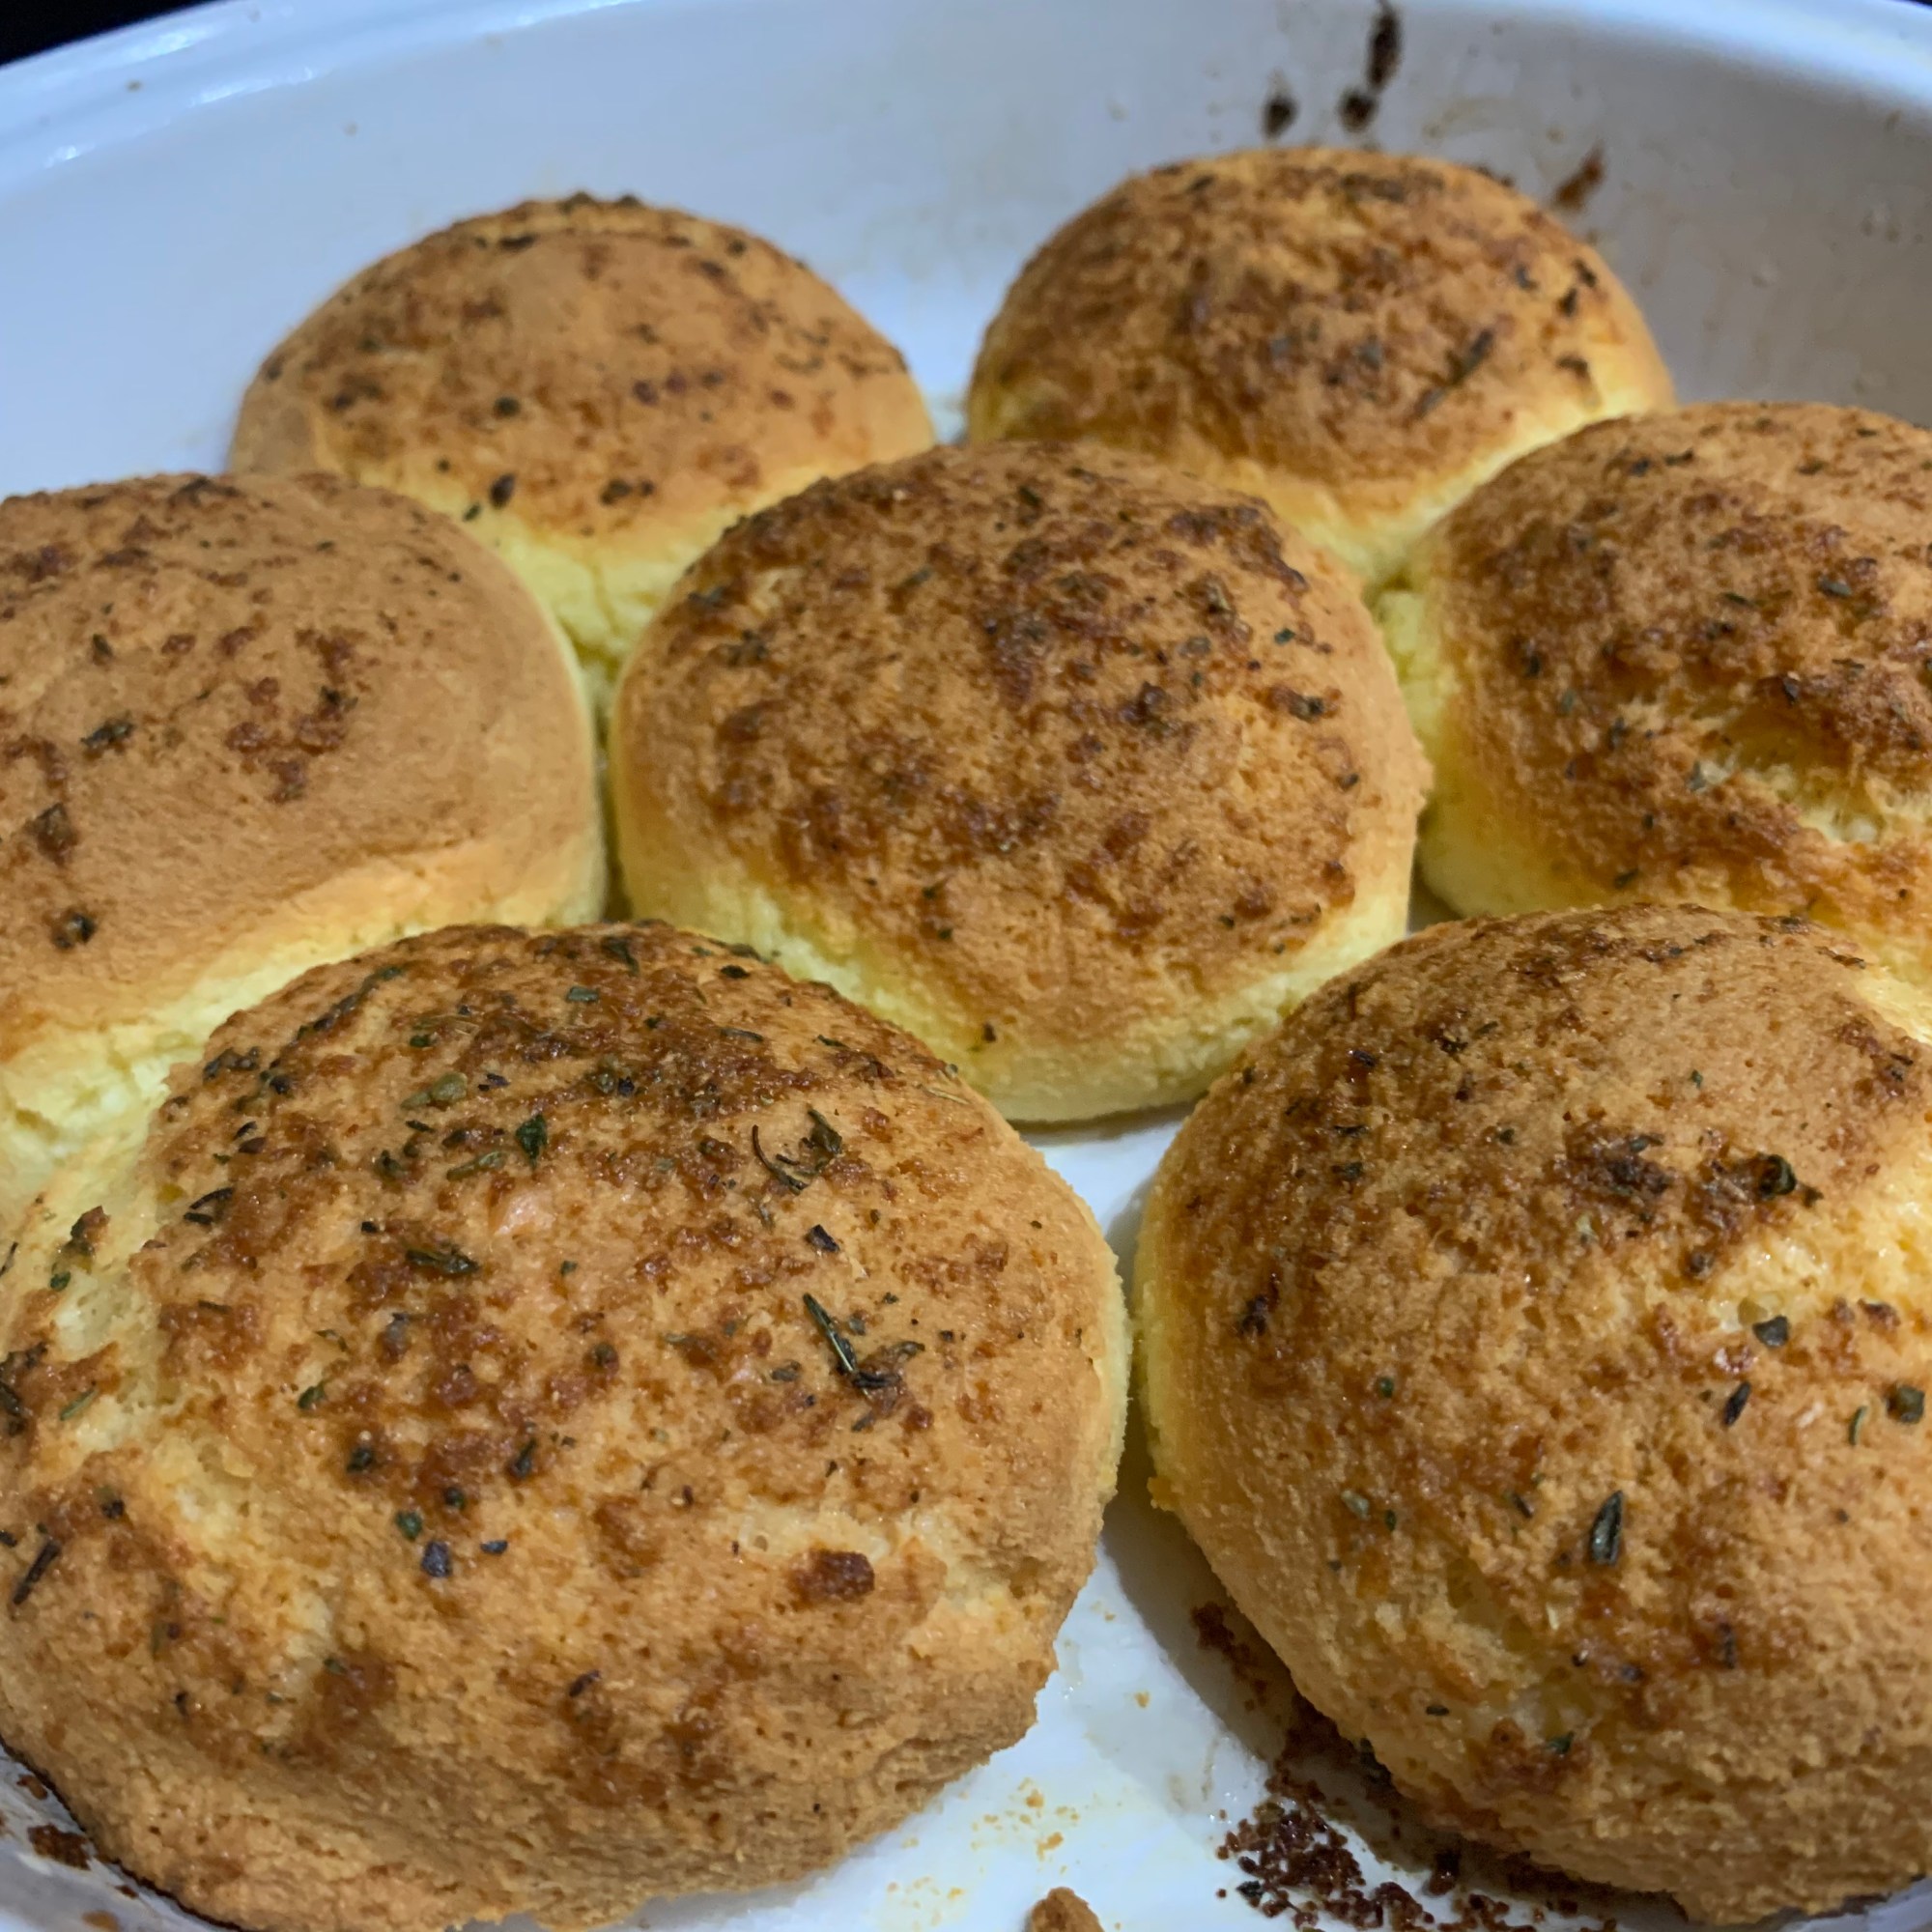
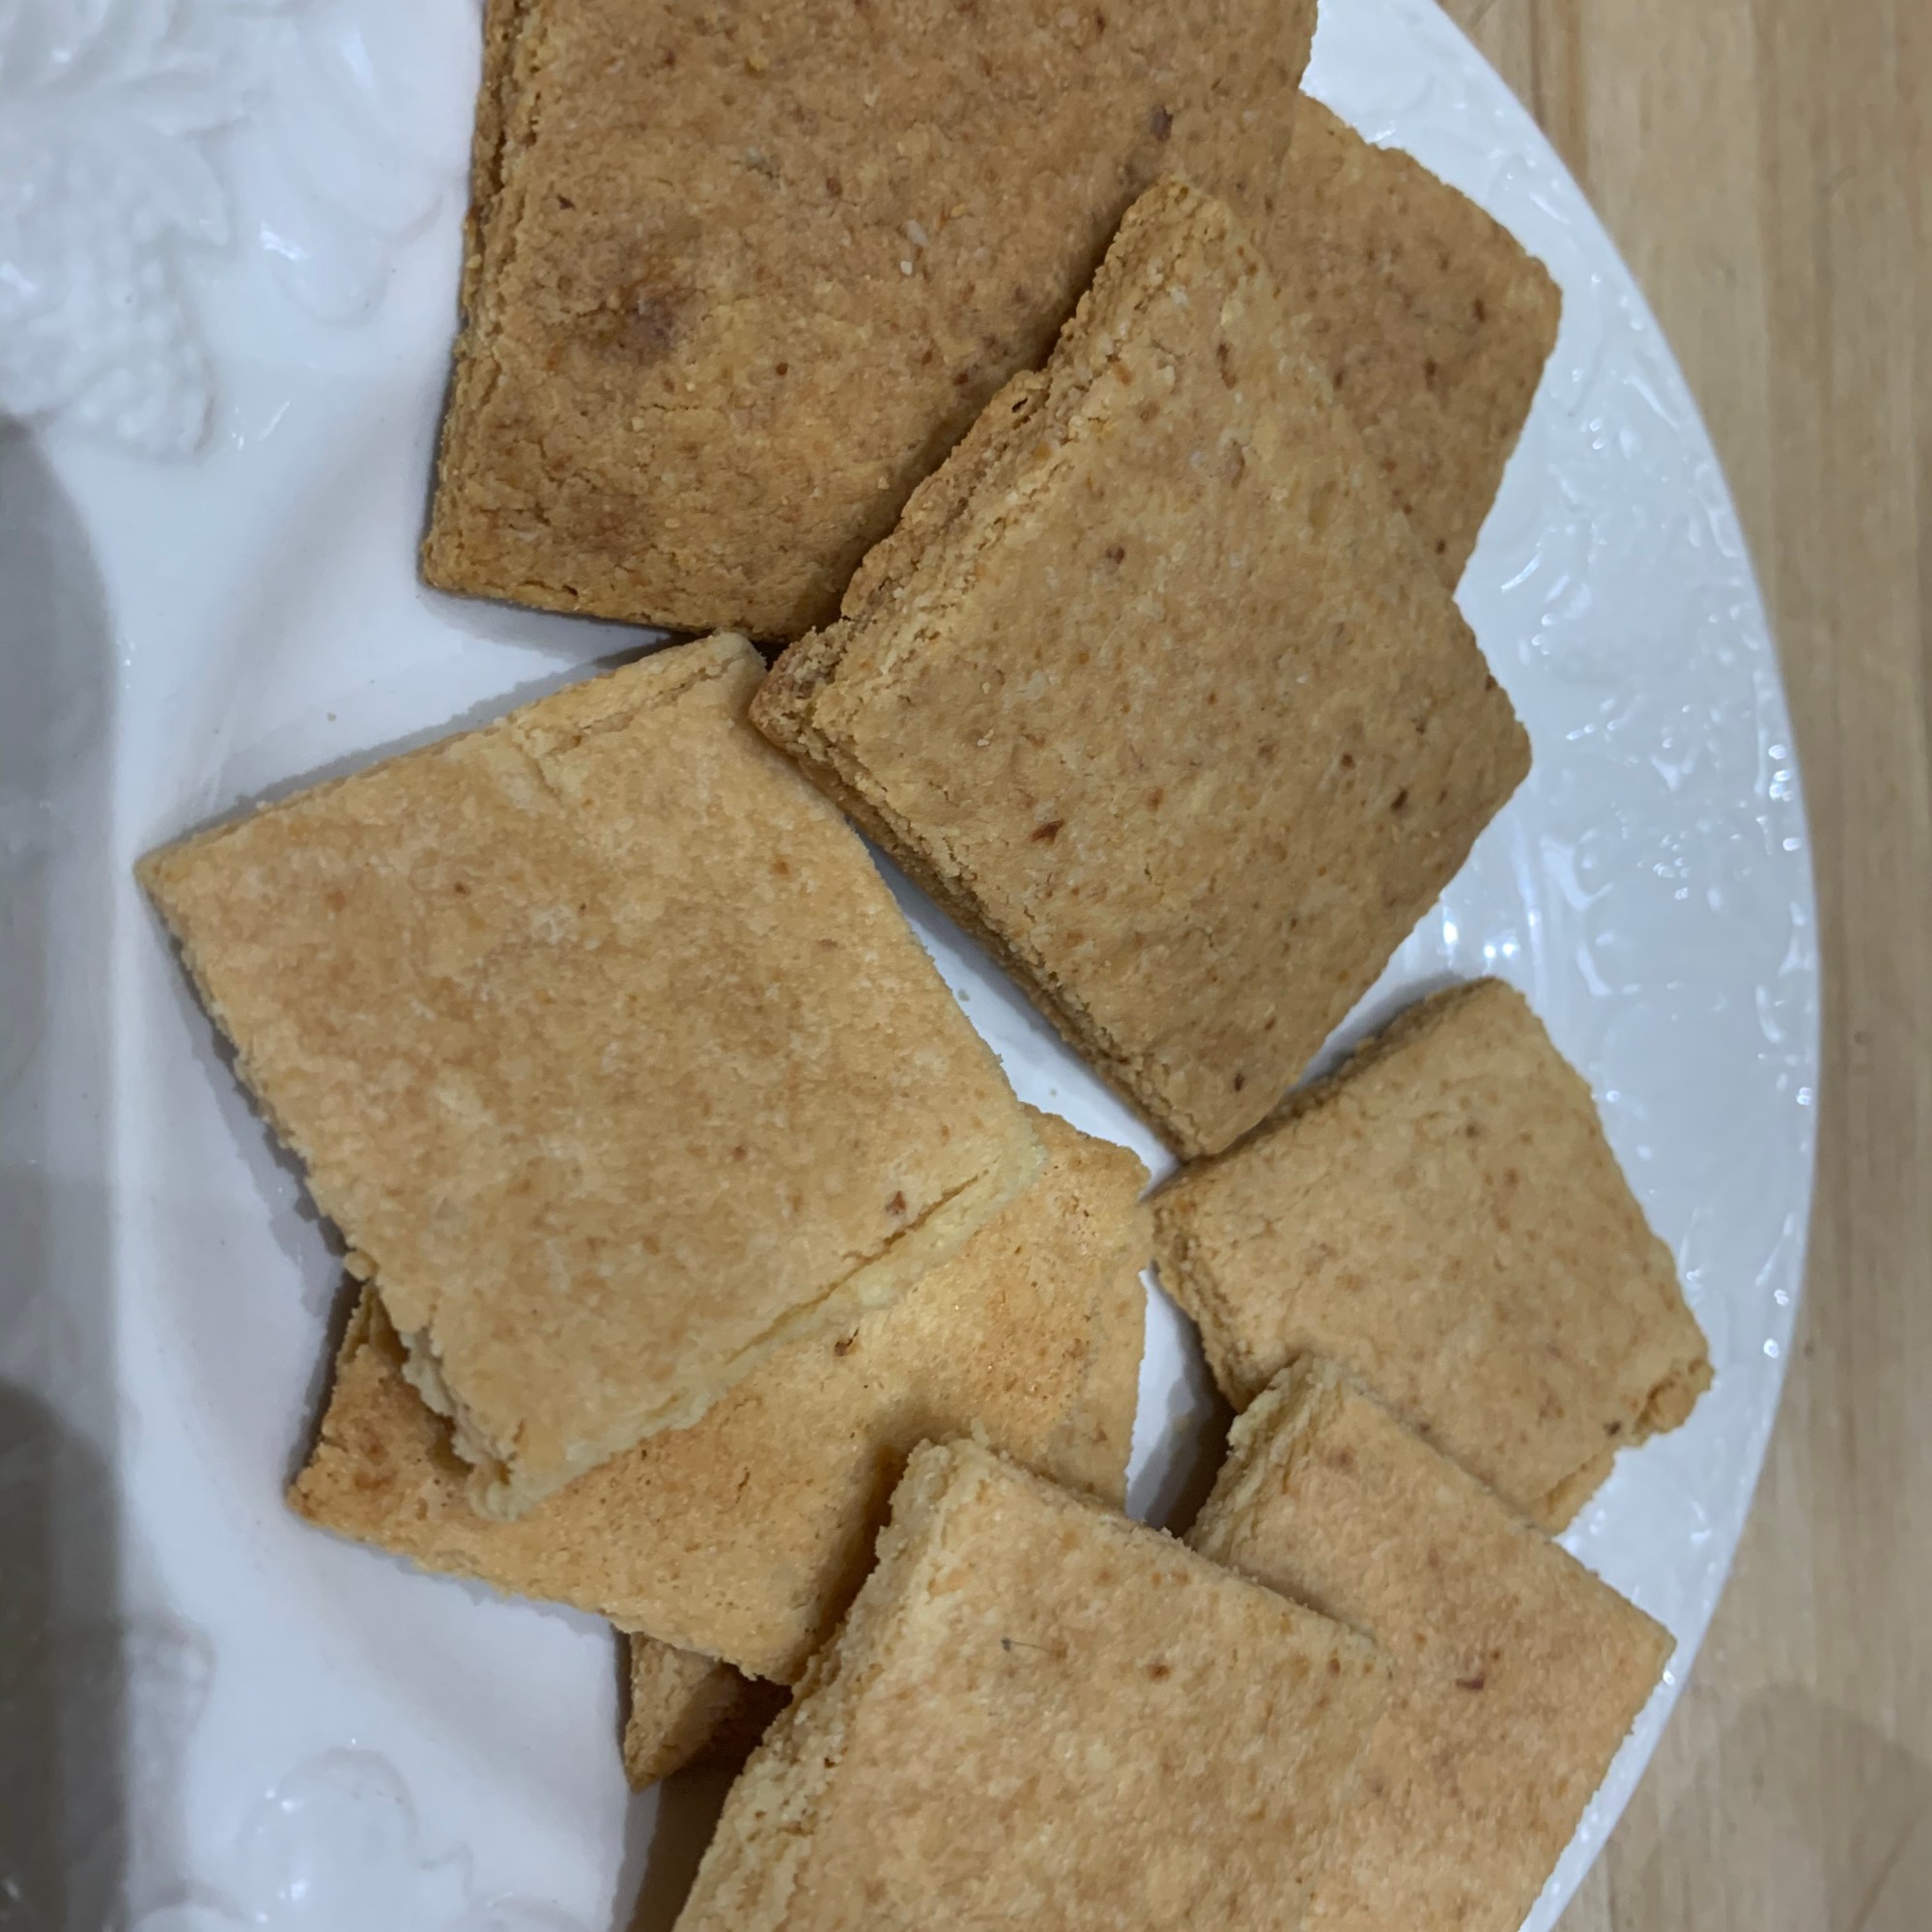
  • Bake for around 15-20 minutes, until the bagels have risen, and are golden brown. 
  • Enjoy!!

Keto Cheddar Garlic Rolls (gluten-free, lactose-free, low-carb)

Having just made 4 + 3/4 litres of my favourite soup: keto roasted tomato and garlic soup. I started thinking about what I could serve it with. I found this recipe for cheddar garlic dinner rolls – a fathead dough recipe. If I’m honest, I’ve had variable success with the standard fathead doughs but this one uses cheddar and butter. I was delighted with the results of this recipe as a first-time trial. They are soft, well-risen and a great texture to dunk in soup. This recipe is definitely one I will be making again. It is relatively easy to make following the method on the original recipe. Try it out especially if you like garlic. If you don’t, just brush with plain butter. They freeze and defrost well.

As I’m lactose intolerant, I don’t use whey protein but egg white protein powder works well as an alternative.

Prep time: 10 mins | Cook time: 25 mins | Servings: 8

Nutrition for 1 roll: calories 230 | fat 15.9g | carbs 5.9g

Rolls Ingredients:

  • 8 ounces cheddar cheese, grated (I used a lactose-free cheddar cheese)
  • 2 tbsp butter (I used a lactose-free butter)
  • 1/2 cup coconut flour
  • 1/4 cup unflavoured whey protein powder or egg white protein powder (I used egg white protein powder)
  • 4 tsp baking powder
  • 1 tsp garlic powder
  • 1/4 tsp salt
  • 2 large eggs plus 1 large egg white

Garlic butter:

  • 2 tbsp butter, melted (I used a lactose-free butter)
  • 2 cloves garlic minced
  • 1 tbsp chopped parsley (I used dried parsley)
  • 1/2 tsp sea salt
Ingredients

Method:

  • Preheat the oven to 350F/177C/157C fan-assisted.
  • Line an 8-inch round baking dish with grease-proof paper or butter/oil.
  • In a bowl, combine the grated cheese and butter. Melt in the microwave for 30 second increments, until the cheese and butter can be stirred together, and is an almost liquid consistency. (I found leaving a gap in between doing the microwave meant the cheese/butter mix did not over-heat).
  • In another bowl, combine the dry ingredients: coconut flour, protein/ egg white powder, baking powder, garlic powder, and salt.
  • To the cheese mixture, stir in the eggs and egg white, until combined.
  • Then, add the cheese mixture to the dry ingredients, use a spatula to ‘knead’ the mixture together until a dough forms.
  • Divide the dough into 8 equal portions. The dough will be quite sticky so lightly oil your hands and roll into 8 balls. Place in the prepared baking dish. (I found that by giving time for the coconut flour to absorb liquid it wasn’t sticky. I also used an ice-cream scoop to portion the dough, which it did perfectly. It made the process quicker. Then I shaped each one into a roll)
  • Whisk together the ingredients for the garlic butter. I already had a prepared garlic butter that I had made in the fridge, which is the same as this recipe.
  • Brush the about half of the garlic butter over the rolls, and then place in the oven.
  • Bake 20 to 25 minutes, until puffed, golden brown, and firm to the touch. (This timing was accurate)
  • Remove the rolls from the oven and let cool for around 15 minutes. Remove the rolls from the pan, and break apart.
  • Brush with the remaining garlic butter, and serve warm. I served mine with roasted tomato garlic soup. Enjoy!!

Keto fish pot pie with cheddar garlic crust

The original recipe is for chicken pot pie but it was the cheddar garlic crust that attracted my attention. I followed the recipe but swapped fish, mushrooms and spinach in for the filling. The recipe makes it clear that you need to reduce the sauce down. This is important because the topping needs to be light and fluffy and not soggy. The cheese topping is delicious and was risen and light. It is well worth making as it is more like a light pastry. Everybody enjoyed this meal with green vegetables. The net carbs are listed on the original recipe as 5g/sixth of the pie with 295 Cals.

Prep time: 15 minutes | Cook time: 25 minutes | Servings: 6

Ingredients

Crust:

  • 1 cup almond flour
  • 1 tsp baking powder
  • 1/2 tsp garlic powder
  • 1/2 tsp Italian seasoning
  • 2 eggs
  • 2 tbsp butter, melted (I used a lactose-free butter)
  • 2 tbsp sour cream (I used a plant-based double cream instead)
  • 1 cup cheddar cheese, grated (I used a lactose-free cheddar cheese)

Filling:

  • 2 tbsp butter (I used a lactose-free butter)
  • 1 tbsp olive oil
  • 1/2 medium sized onion, diced
  • 1/2 cup chopped celery (I used mushrooms instead)
  • 1 cup green beans, cut into bite sized pieces (I used spinach instead; a mix of fresh and frozen)
  • 1/2 tsp garlic powder
  • 1/2 tsp Italian seasoning
  • 550g fish of your choice (I used 2 fillets wild pacific salmon & 2 fillets cod loin)
  • 1/2 cup double cream (I used a plant-based double cream)
  • 1/2 cup vegetable stock (I used the unsweetened coconut milk from poaching the fish)
  • salt & pepper to taste

Note: the original recipe is a chicken pot pie, instead of fish they used 3 cups shredded rotisserie chicken, and chicken stock rather than vegetable stock.

Method:

  • Preheat the oven to 400 degrees F/204C/184C fan-assisted.
  • Combine all the ingredients for the crust, except for the cheese, in a bowl. I blended it in a food processor until smooth and creamy.
  • Then, stir the cheddar cheese into the crust mixture, and set aside.
  • Add milk, I used unsweetened coconut milk, to a pan and begin to poach your fish.
  • In a different pan, add olive oil and butter, over a medium-high heat.
  • Add the onions and mushrooms (or whatever vegetables you choose), and sauté for a few minutes until the onions are translucent and the vegetables have softened.
  • I then added the spinach to the pan. If you are using chicken add it now.
  • Then, stir in the double cream and vegetable stock, as well as salt and pepper to taste. I used the poaching liquid, instead of vegetable stock.
  • Cook the mixture until the sauce begins to thicken, and most of the liquid has been absorbed. I added the fish towards the end as I wanted to keep it in chunks.
  • Pour the filling mixture into a greased oven dish.
  • Spoon the crust mixture on top of the filling, and spread in an even layer with a spatula.
  • Bake the pot pie for 20-25minutes, until browned and bubbling.
  • Serve with sides of your choice, and enjoy!!

No bake Keto (Key) Lime Cheesecake (gluten-free, lactose-free)

I like cheesecake but don’t like bought ones. I have made this recipe several times, its easier than it appears and is always successful. The flavour is fresh and the texture is light and fluffy. I love the idea of hidden avocado and it adds to the structure of the dessert. We don’t have key limes here so I just used ordinary small limes. The dessert is very popular with everyone whose had it even if they don’t follow a keto diet. Here is the original recipe. Try it and it will become a favourite.

Prep time: 20 minutes | Cook time: 5 minutes | Servings: 6 people

Nutrition for 1 serving: calories 355 | fat 35g | carbs 5g | sugar 2g

Ingredients:

Note: the original recipe serves 1-2 people, I altered the the recipe online to make 6 portions.

Cracker crust:

  • 60g almond flour
  • 4 1/2 tsp powdered erythritol (I used a fine brown erythritol)
  • 3/4 tsp cinnamon
  • pinch of salt
  • 4 1/2 tsp butter, melted (I used a lactose-free butter)

Cheesecake filling:

  • 120g sour cream (I used a plant-based double cream instead as I don’t like sour cream)
  • 210g cream cheese, at room temperature (I used a lactose-free cream cheese)
  • 84g butter (I used a lactose-free butter)
  • 90g avocado
  • 1/2-3 tsp grated lime zest
  • 9-15 tsp fresh lime juice
  • 6-9 tbsp powdered erythritol ( I don’t like powdered erythritol so I used a fine brown erythritol and the texture was good)

Method:

For the crust:

  • Lightly toast the almond flour in a pan, over a medium heat, until golden and fragrant (around 2-4 minutes). (You can’t leave it unattended)
  • Put the toasted flour in a bowl, then mix in the erythritol, cinnamon, and salt.
  • Add melted butter, and mix until combined. Then press into a serving glass or dish.
  • Allow to cool to room temperature, then place in the fridge whilst you make the cheesecake filling.

Cheesecake filling:

  • In a bowl whip the sour cream (I used a plant-based double cream instead), then set aside.
  • In another bowl using an electric mixer, add the cream cheese and butter, and whip until combined.
  • Next add the avocado to the bowl, and mix until combined. (If it’s ripe its easy using a hand mixer or a processor)
  • Then add the lime zest, lime juice, and erythritol to taste. Limes can vary in flavour, start with the lower amount and add until you reach your desired taste. Note: flavours will continue to develop whilst chilling.
  • Fold in the whipped sour cream (whipped plant-based double cream) into the key lime mixture. Then spoon the cheesecake filing on top of the cracker crust.
  • Freeze for around 30-40 minutes, or chill in the fridge for a couple hours, ideally overnight. (3 hours was fine)
  • Optional: serve with more whipped sour cream (or double cream), and freshly grated lime zest. (I chose to just use freshly grated lemon zest)
  • Enjoy!!

2-ingredient Keto Crackers

These are addictive and crunchy. Everyone eats them and I’m now making a batch daily. My mother and my sister Martha are placing orders. Don’t put any other seasoning in other than salt. These are great low carb snacks and once you taste them you will find yourself making them frequently.

This is the original recipe, but keep it simple as you will be making them daily. Even using the high speed Ninja processor the dough doesn’t come together. To be able to roll it you need a texture of play dough. Add water until it reaches this. This isn’t a pastry so the idea is that you roll gently with pressure.

Prep time: 5 mins | Cook time: 15 mins | Servings: 8

Nutrition for 1 serving: calories 121 | carbs 3g | net carbs 1g | fat 10g |

Ingredients:

  • 1 cup almond flour
  • 1 cup grated cheese (I used a lactose-free cheddar cheese)
  • 1/4 tsp salt, to taste
  • 1-2 tbsp water*

Notes: * water is only needed, if the dough is too crumbly. See note above about required texture.

Method:

  • Preheat the oven to 180 degrees celsius. I used 160C as it’s a fan-assisted oven) Line a large baking tray with grease-proof paper.
  • In a high speed blender/food processor (I used the Ninja), add the almond flour, grated cheese, and salt. Blend until a dough forms, if the dough looks crumbly add 1-2 tbsp of water. Pinch the dough to see if it comes together.
  • Line a large sheet of grease-proof paper on a flat surface. Transfer the dough onto it and place another sheet of grease-proof paper on top. I’ve now made these 4 times and you can roll the dough out on the bottom piece of grease-proof paper without a piece on top. It’s simpler. Just do it slowly and gradually. If it rips then put it back in place and be gentle the way you roll the edges.
  • Press down on the dough, then using a rolling pin roll out the dough, until around 1/4 inch in thickness.
  • Using a pizza cutter or a knife, slice up the dough into squares, forming crackers. I roll out to a 9 inch square and then cut into 1.5 x 1.5 inch squares for snack crackers or bigger for crackers to have with dips or (more) cheese!
  • Transfer the crackers onto the lined baking tray. Bake for around 12 minutes, flipping halfway through. (Again I like simple, so when it had baked for 12 minutes, I reduced the temperature from 160C to 140C for 10 minutes, instead of flipping them over. Then switch off the oven and leave them in for 5-10 minutes. ) With this recipe it’s important to understand your oven temperatures.
  • Remove from the oven, and allow to cool completely. Enjoy!!

Notes:

  • To store: store at room temperature, in an airtight container. I use a ziplock bag with all the air removed. They will remain fresh for at least 3 days, or can be stored in the fridge to keep them longer. Believe me, they are lucky to last the day!
  • To freeze: place in a ziplock bag, and store for up to 2 months. Thaw overnight in the fridge, and reheat in the oven once thawed out.
  • To crisp up: If refrigerated or frozen, reheat in the oven or toaster, to crisp up again.