Blog

Keto Muffins: Cinnamon ‘Sugar’ Style

I was very excited to find this recipe, as a donut with coffee is a treat. None of my family wants the carbs, calories or the aftertaste of cheap fat. So this recipe is a great find. The original recipe said to use small cases, which I followed but judging by the photos they may have used very small cases, as mine didn’t rise anywhere like their photos.

However, to me they look like the sort of donuts you have with custard or jam inside. The taste and texture are like the fresh sugar donuts you buy. This recipe is a definite keeper. I’m going to use a ring donut tin next time, and add a little additional liquid. I might also try making them with a little raspberry chia seed jam piped into the middle.

Are these good? Oh YES! Are these worth making? Most definitely! If you want a pastry with your morning coffee that is sweet, flavoursome, tender, and easy to make- try these! Only 2g of net carbs for one. Enjoy!

Nutrition for 1 donut: Calories 200 | Total fat 18g | Carbs 5g | Net Carbs 2g | Fibre 3g | Protein 5g

Prep time: 10 mins | Cook time: 20 mins | Servings: 12

Ingredients:

  • ½ cup double cream (I used a plant-based double cream)
  • 5 tbsp butter, softened (I used lactose-free butter)
  • 2 large eggs
  • 1 tsp vanilla
  • ½ cup powdered sweetener (I used erythritol)
  • ½ cups blanched almond flour
  • 2 tablespoons psyllium husk powder
  • 2 tsp baking powder (I used gluten-free baking powder)
  • 1/2 tsp nutmeg
  • 1/2 tsp ginger
  • 1/4 tsp mixed spice/ allspice (I left this out)
Sugar topping:
  • 2 tbsp butter, melted (I used lactose-free butter)
  • 1 tsp cinnamon
  • ¼ cup granulated sweetener (I used erythritol)

Method:

  • Preheat oven to 175 degrees C/ 155 degrees C fan-assisted/ 350 degrees F. 
  • Line a muffin tray with muffin cases. 
  • In a medium bowl using an electric mixer, cream butter, sweetener and vanilla until smooth. Beat in eggs and cream. 
  • In a separate bowl, whisk together all dry ingredients (except for the topping ingredients).   
  • Slowly add to the wet ingredients, continuously mixing with the electric mixer. 
  • Using an ice-cream scoop, spoon the mixture in even amounts into each muffin cup. 
  • Bake 18-20 minutes or until edges are golden and set up.  
  • Allow to cool completely. 
  • Brush finished muffins with butter, roll in cinnamon sweetener mix.
  • Serve & enjoy! 

Keto Chicken Broccoli Casserole

This recipe for chicken broccoli casserole is a real comfort food. It was cold, wet, and windy here yesterday. This was the type of food we needed! It’s a great balance between creamy cheese sauce, chicken, and broccoli. You don’t really need anything else with it, other than fresh baby spinach and some roasted brussel sprouts. The recipe serves 6 portions, but we divided it between four of us. It’s rich, creamy and satisfying. It would be quicker using rotisserie chicken, but we sautéed some chopped, raw chicken. It took around 20 minutes to make.

Prep time: 5 mins | Cook time: 16 mins | Servings: 6

Nutrition: 1 serving = 1/6th of recipe | Calories: 493 kcak | Carbs: 6.1g | Fibre: 1.5g | Protein: 27.2g | Fat: 34.7g | Net carbs: 4.6g

Ingredients

  • 1/4 cup butter, divided (I used lactose-free butter)
  • 12 ounces broccoli , coarsely chopped
  • 2 cloves garlic, minced
  • 1 cup double cream (I used a plant-based double cream)
  • 1 1/2 cups shredded mozzarella, divided (I used lactose-free cheddar instead, as I don’t like mozzarella)
  • 1/2 cup grated parmesan cheese
  • Salt and pepper, to taste
  • 3 cups cooked chopped chicken (about 1 1/4 lbs)

Instructions

  • Put a 10-inch ovenproof skillet over medium heat, add 2 tablespoons of butter. Once melted, add the broccoli and sauté until bright green and just tender, about 4 minutes. Remove the broccoli to a bowl.
  • Melt the remaining butter in the pan and add the garlic, cook for around 1 minute. Next, add the cream and bring to a simmer, cook until reduced by about half. This takes approx. 3 to 5 minutes.
  • Stir in 1/2 cup of the cheese (mozzarella or cheddar) and all of the Parmesan until melted. Season with salt and pepper to taste. Then, stir in the broccoli and chicken, and top with the remaining 1 cup of mozzarella cheese. 
  • Preheat the grill (broiler). Set the pan about 6 inches from the heat and grill (broil) until the cheese is beginning to brown, around 2 to 5 minutes (depends on how intense your grill/broiler is).
  • Serve with your favourite veg & enjoy!!

Lemon Mousse Cake

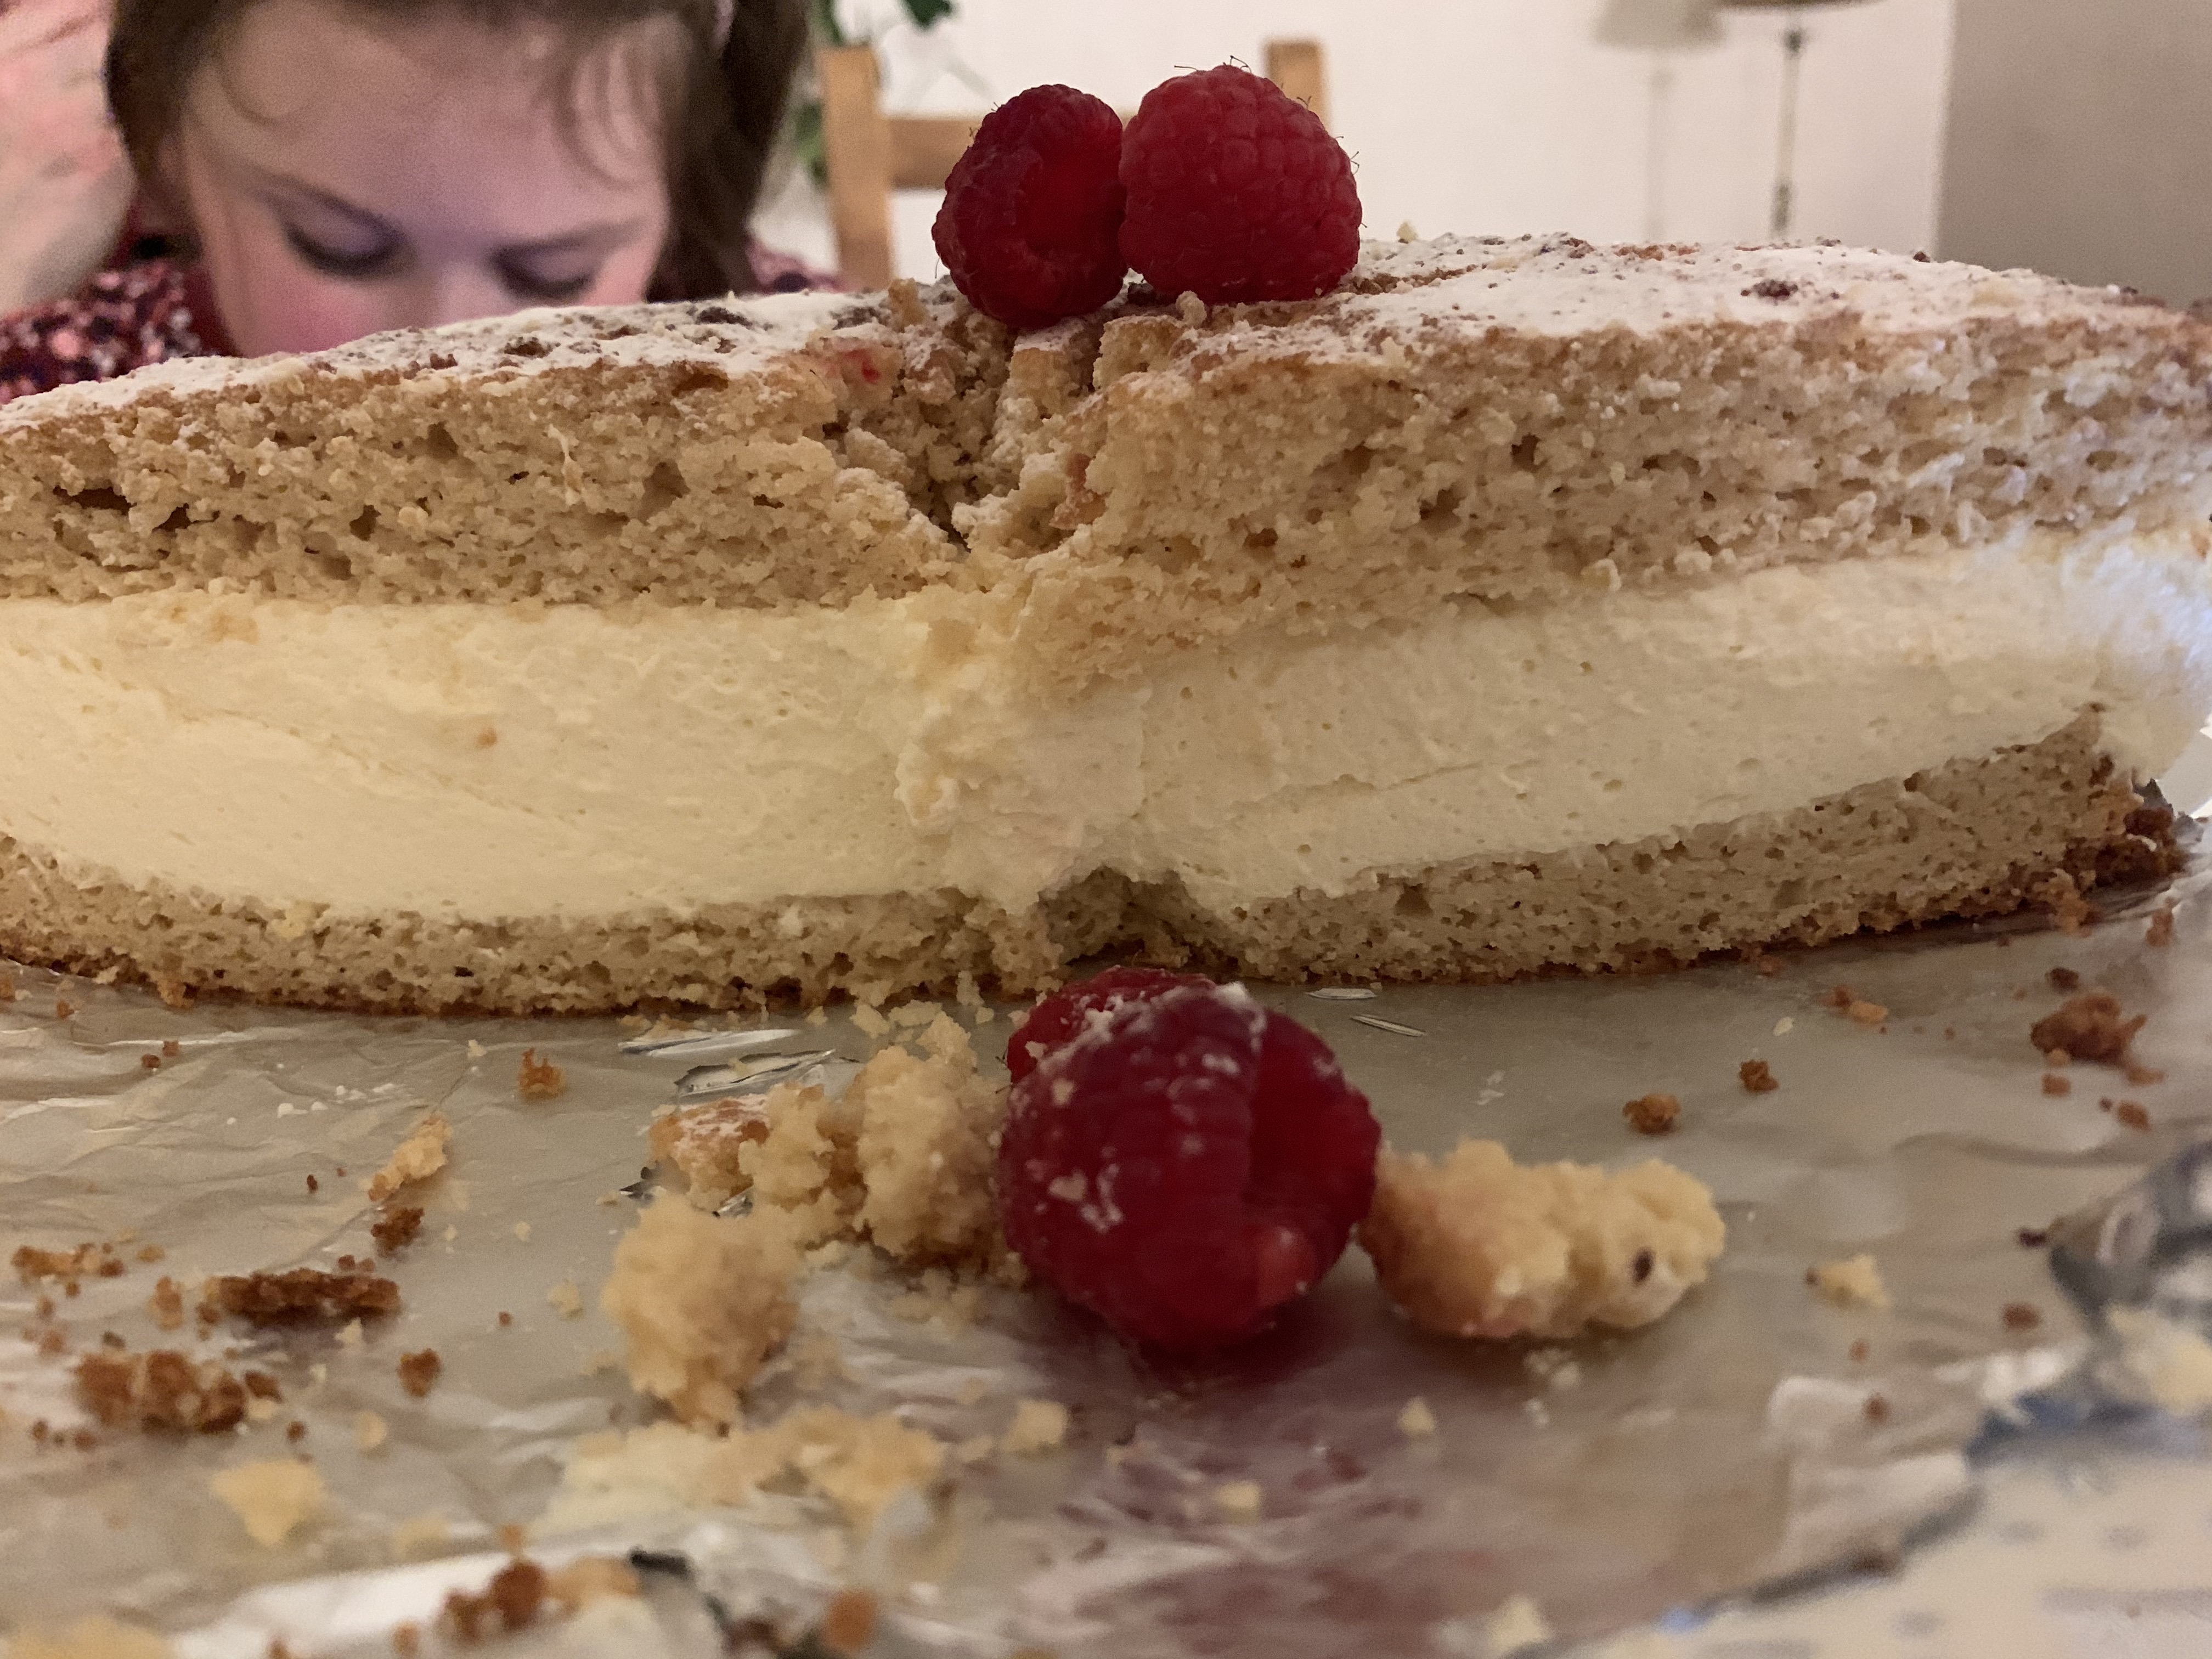
This is a recipe that has been in our family for decades. I think a friend of a family member was a catering lecturer in the college where she worked. I converted it into a Keto-friendly cake using the lemon pound cake recipe that I posted on the blog last year (see below, I’ve included it here). I made a different lemon curd recipe. This is a celebratory cake made as a birthday cake – it’s delicious and feels decadent! It looks more complex than it was to make.

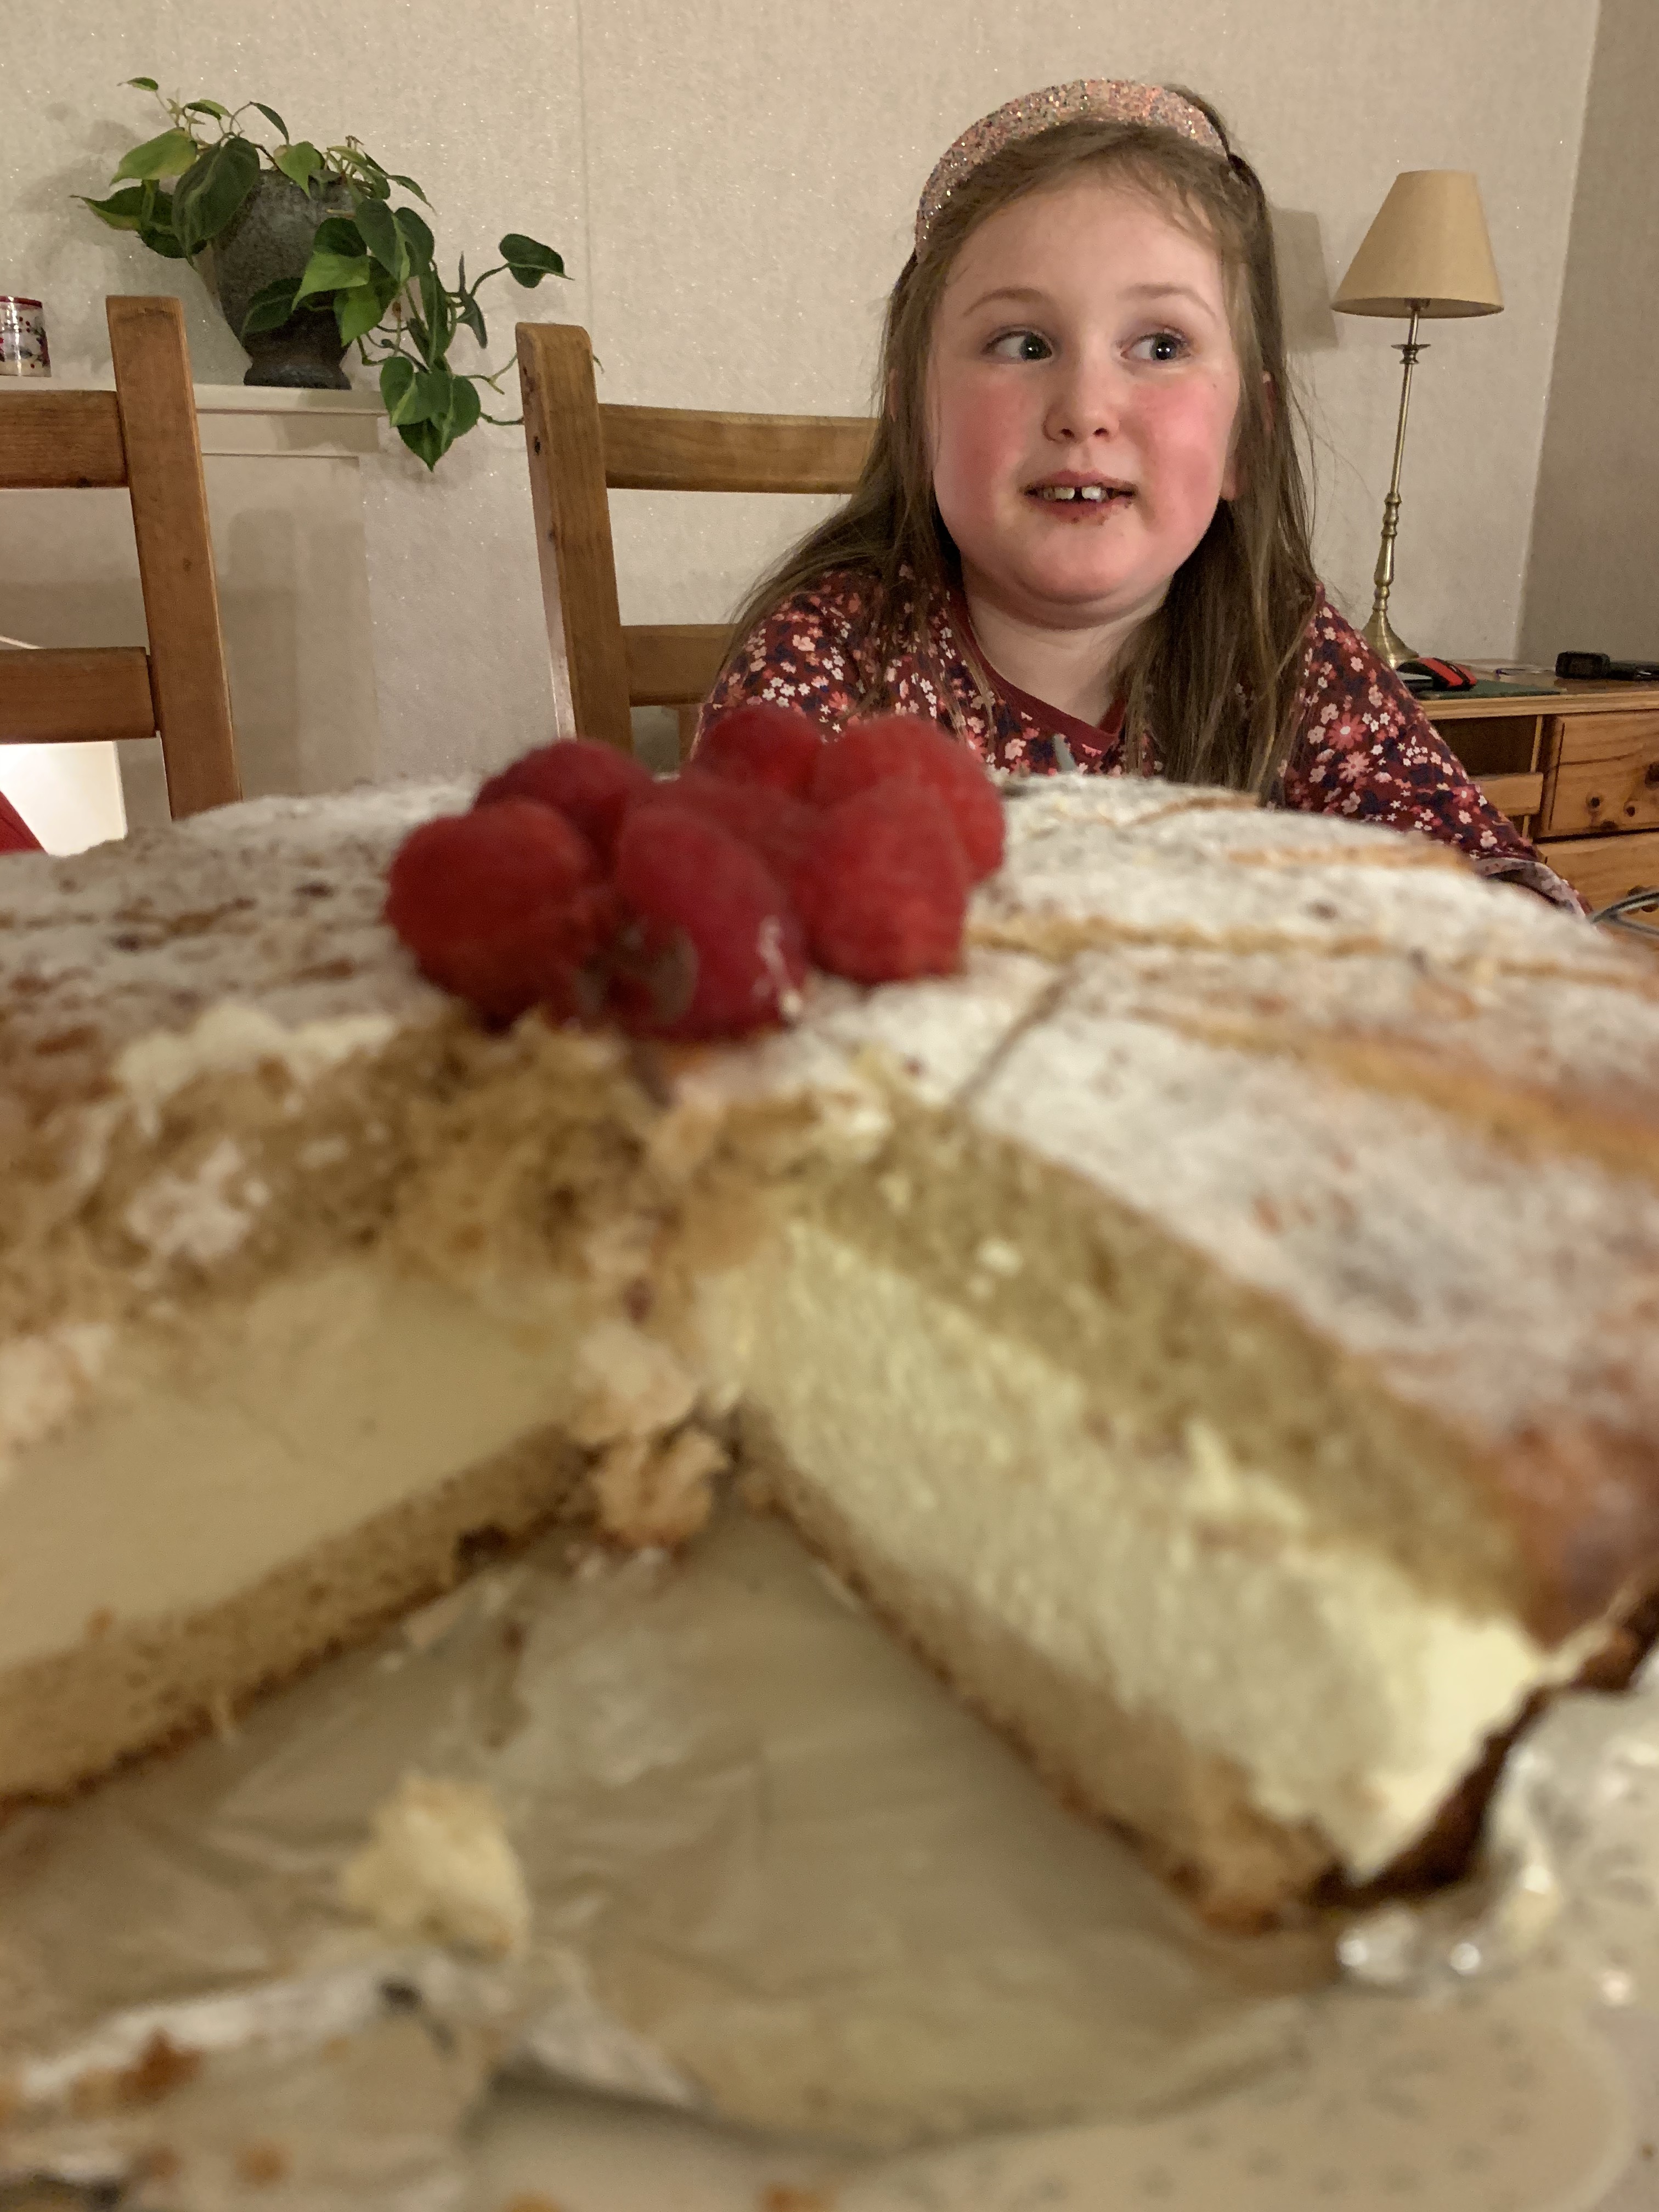
To give the overall approximate net carbs, I calculated the whole lemon mousse topping as lemon curd (8 Tbspns) 4g carbs, double cream 6g carbs and the cream cheese 6g carbs with a total of 16g carbs. The cake is cut into 16 slices, the topping provides 1g carb/slice. The lemon pound cake is 3.9 net carbs. I calculated that a 1/16th slice of this lemon mousse cake is 4.9g carbs. Be careful as you slice it as it’s so good there’s a tendency to encroach on the next slice.

Lemon Pound Cake

Nutrition lemon pound cake (1 slice): 174 cals | 5.1g carbs | 1.2g fibre | 10.9g fat | 1.1g sugar | 3.9g net carbs.

Lemon pound cake | Prep time: 15 mins | Cook time: 50 mins | Servings: 16

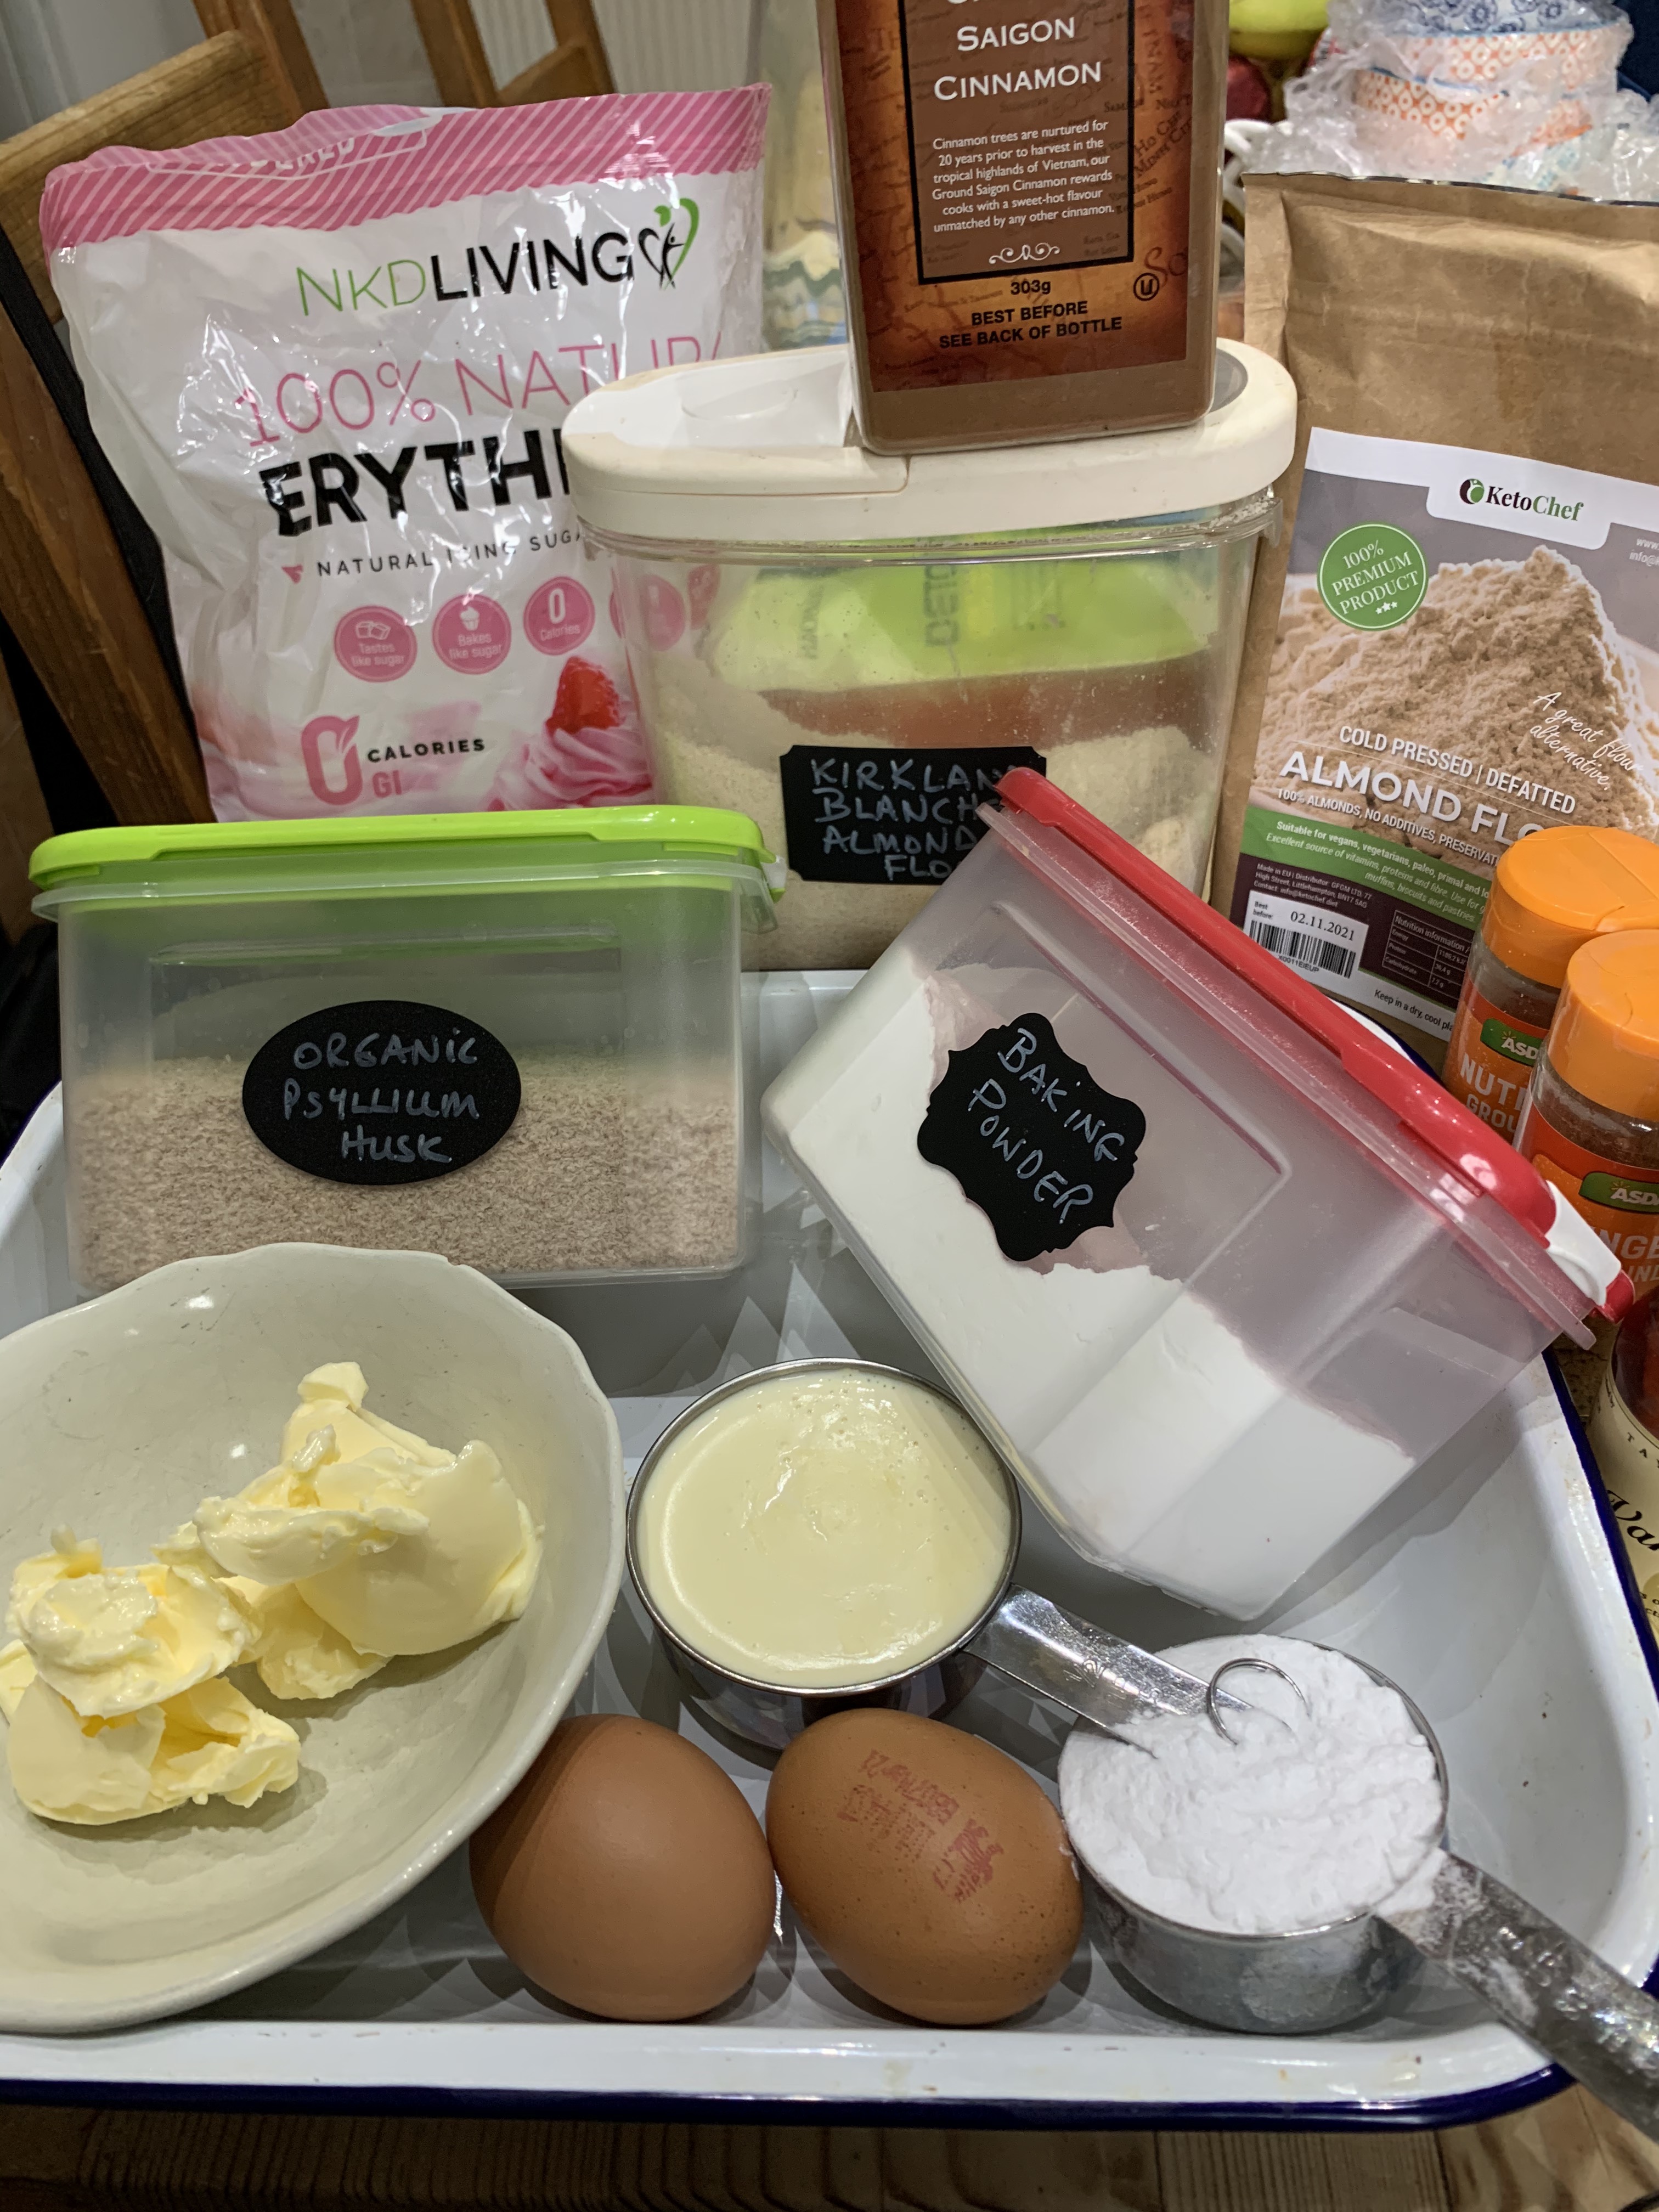
Ingredients for Lemon pound cake:

  • 5 eggs â€“ at room temperature
  • 3/4 cup/150g erythritol or xylitol
  • 1/2 cup/120ml melted coconut oil or melted butter (I used lactose free butter)
  • 2 cups/220g almond flour 
  • 1/4 cup/35g coconut flour 
  • 1 tablespoon baking powder
  • 1/4 cup/60ml lemon juice 
  • 1/2 tablespoon lemon zest â€“ optional (you definitely need the lemon zest)

Method for the Lemon Pound Cake

  • Preheat oven to 350F/180C/160C fan-assisted. 
  • Line an 8 inch round cake tin with a piece of parchment paper.
  • Slightly oil the paper to make sure the pound cake doesn’t stick. Set aside. 
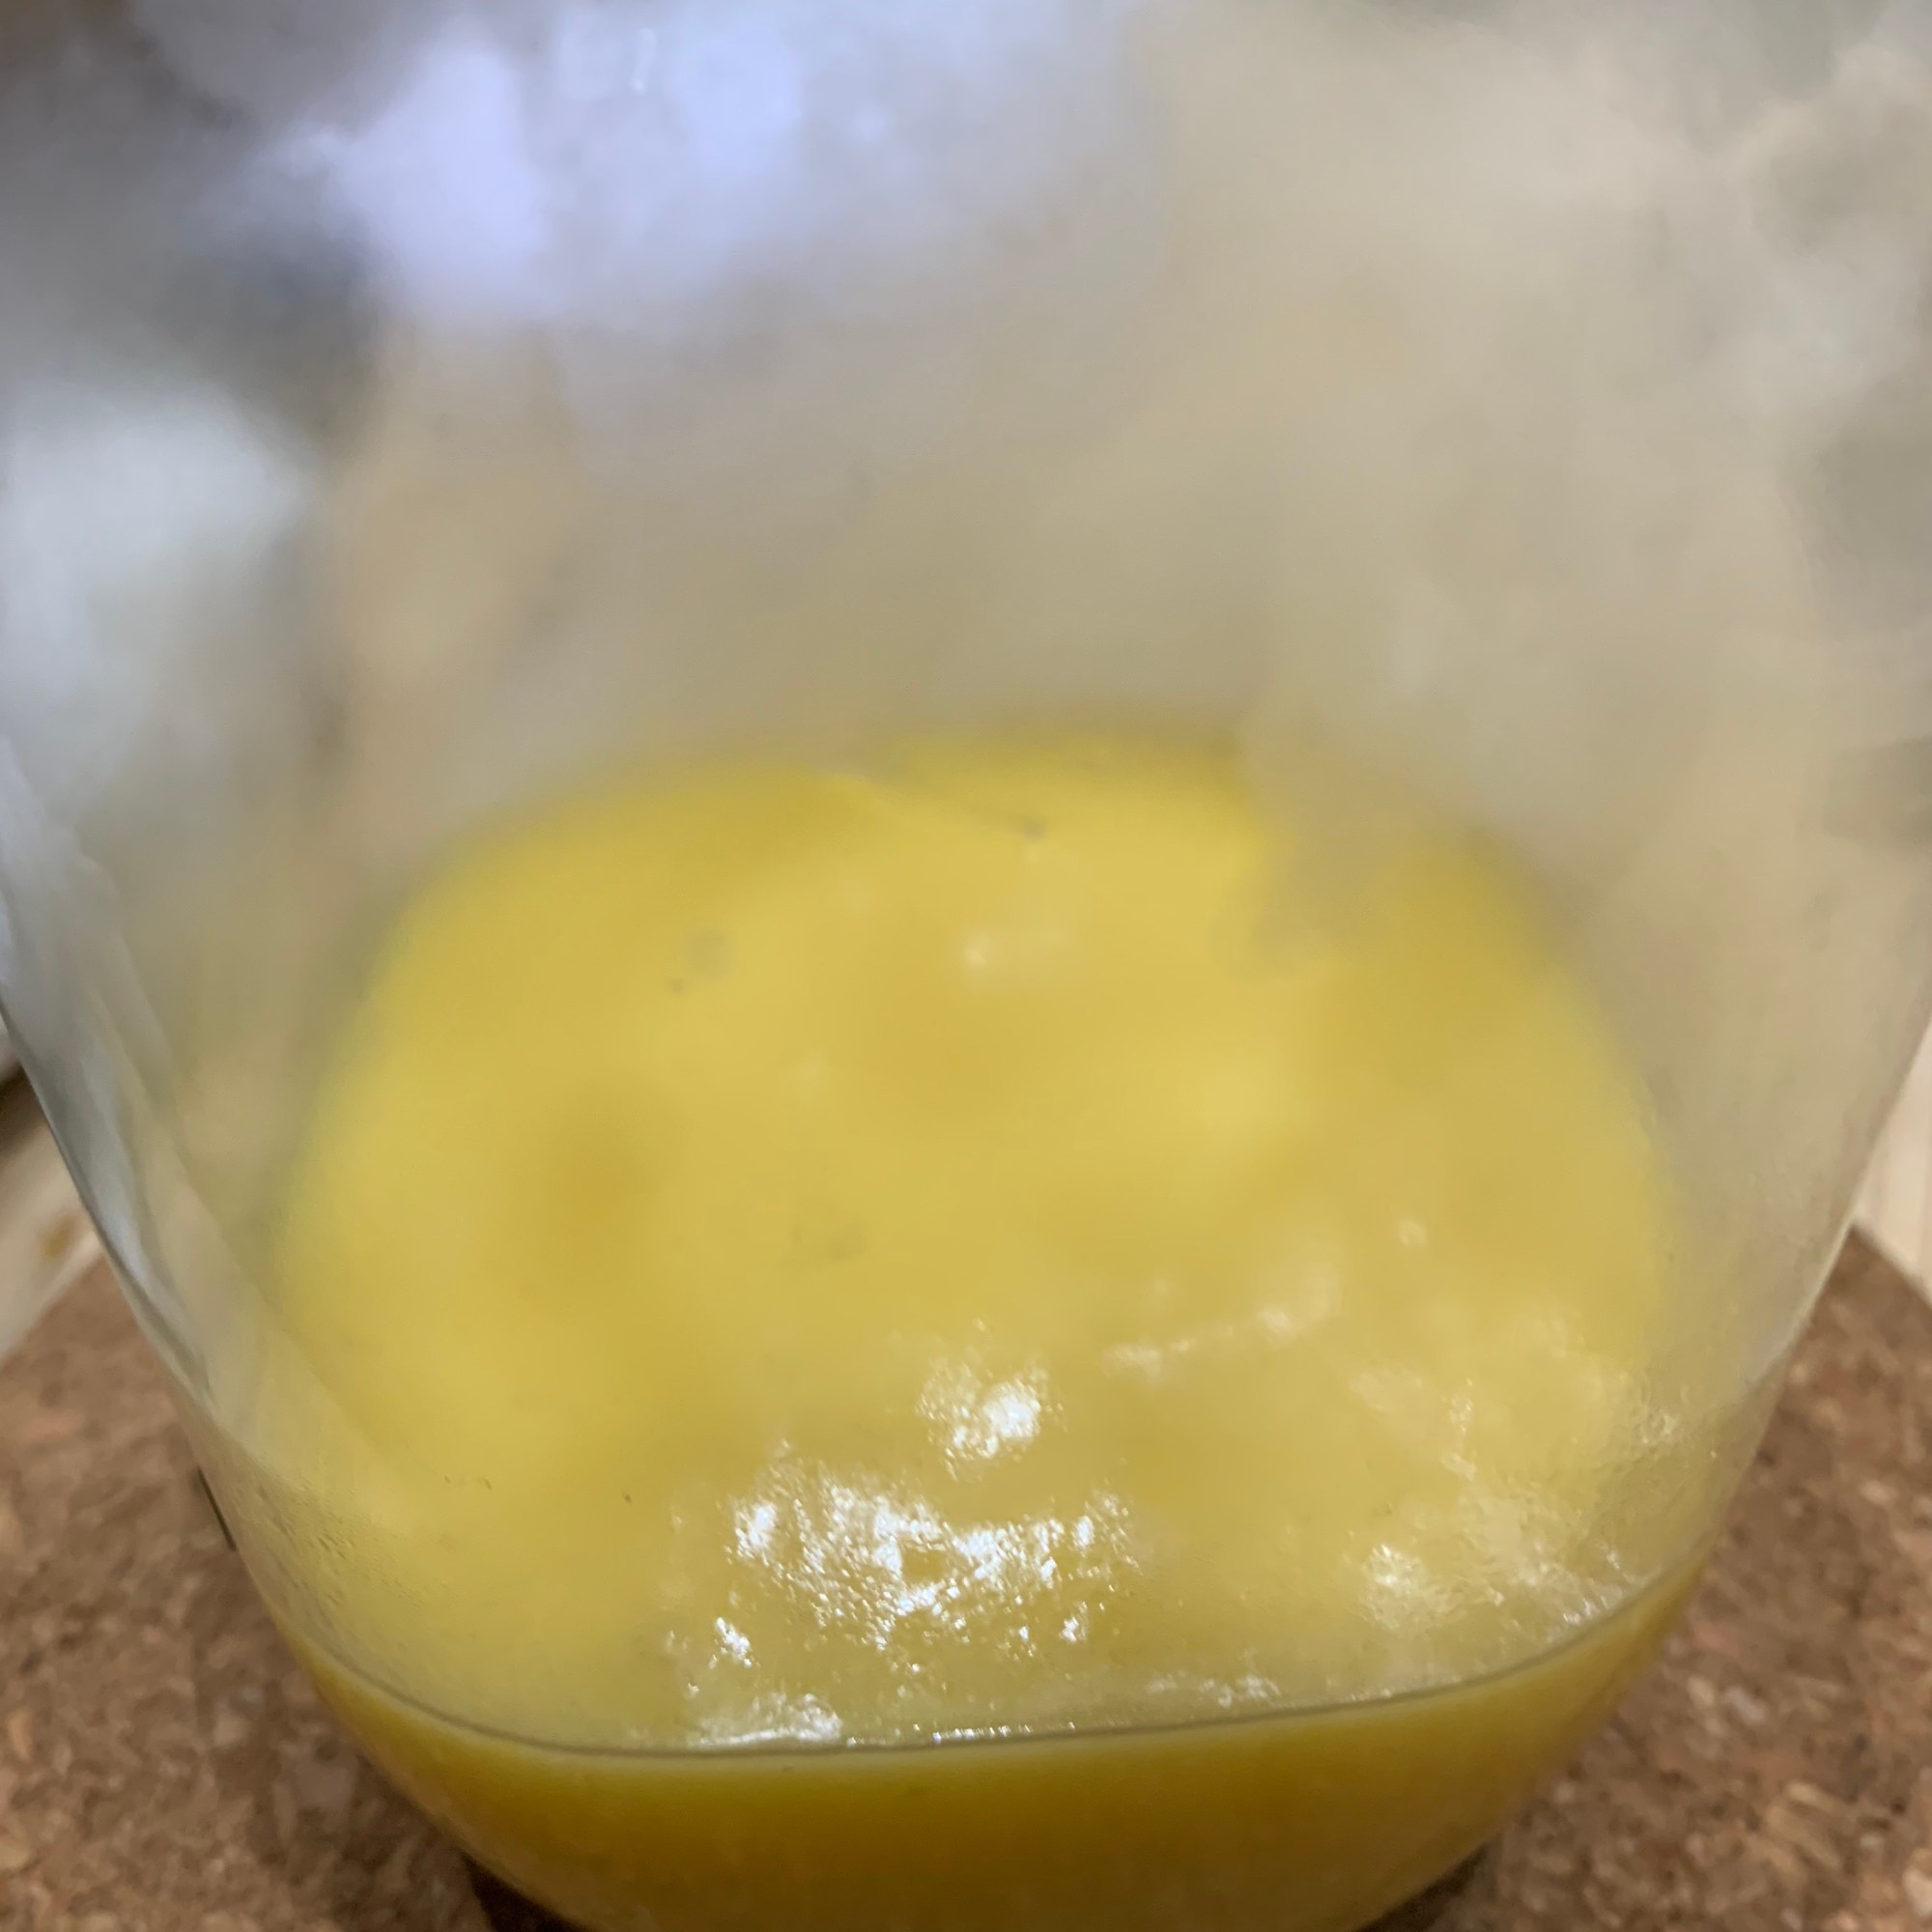
  • In a medium mixing bowl, whisk together the eggs, erythritol, melted butter and lemon juice. Make sure that your butter is not too hot or it will ‘cook’ the eggs and create lumps. 
  • NOTE: All your ingredients must be roughly at same temperature, think room temperature, especially the eggs and lemon juice. Cold ingredients, just out of the fridge will solidify the coconut oil creating oil lumps, or use melted butter to prevent this happening. Then, set aside. 
  • In a different large mixing bowl, whisk together the almond flour, coconut flour and baking powder. Stir to evenly combine, then add the lemon zest.
  • Pour the liquid ingredients into the dry ingredients.
  • Stir all the ingredients together with a spatula until it forms a consistent cake batter with no lumps. Combine for at least 2 minutes to make sure the coconut flour fibre absorbs the moisture. 
  • Transfer the cake batter into your chosen tin. Make sure you are aware of the cooking times for the loaf cake and if you decide to use an alternative tin that you monitor the cake carefully after about 45-50 minutes.
  • Place the baking tin in the centre of your oven and bake at 180C /160C fan-assisted (350F). After 15 minutes decrease temperature to 160C/140C (320F) and cover the cake with a loose piece of foil. This will prevent the top of the cake from burning and enable the middle to bake slowly. Keep baking for 45- 60 minutes in total, or until a toothpick inserted in the centre of the cake comes out with little to no crumbs on it. Note: the 8 inch cake cooked in 50 minutes total because it was thinner.
  • Cool for 10 minutes in the tin, then turn the cake out.
  • Transfer to a cooling rack to cool completely. It takes approximately 3 hours to cool fully. 

Lemon curd (Yield 1 1/2 cups) | Prep time: 15 mins | Cook time: 10 mins | Servings: 10

Nutrition lemon curd (2 tbsp): 98 cals | 1g net carbs | 10g fat | 1g Protein

Ingredients for sugar-free lemon curd:

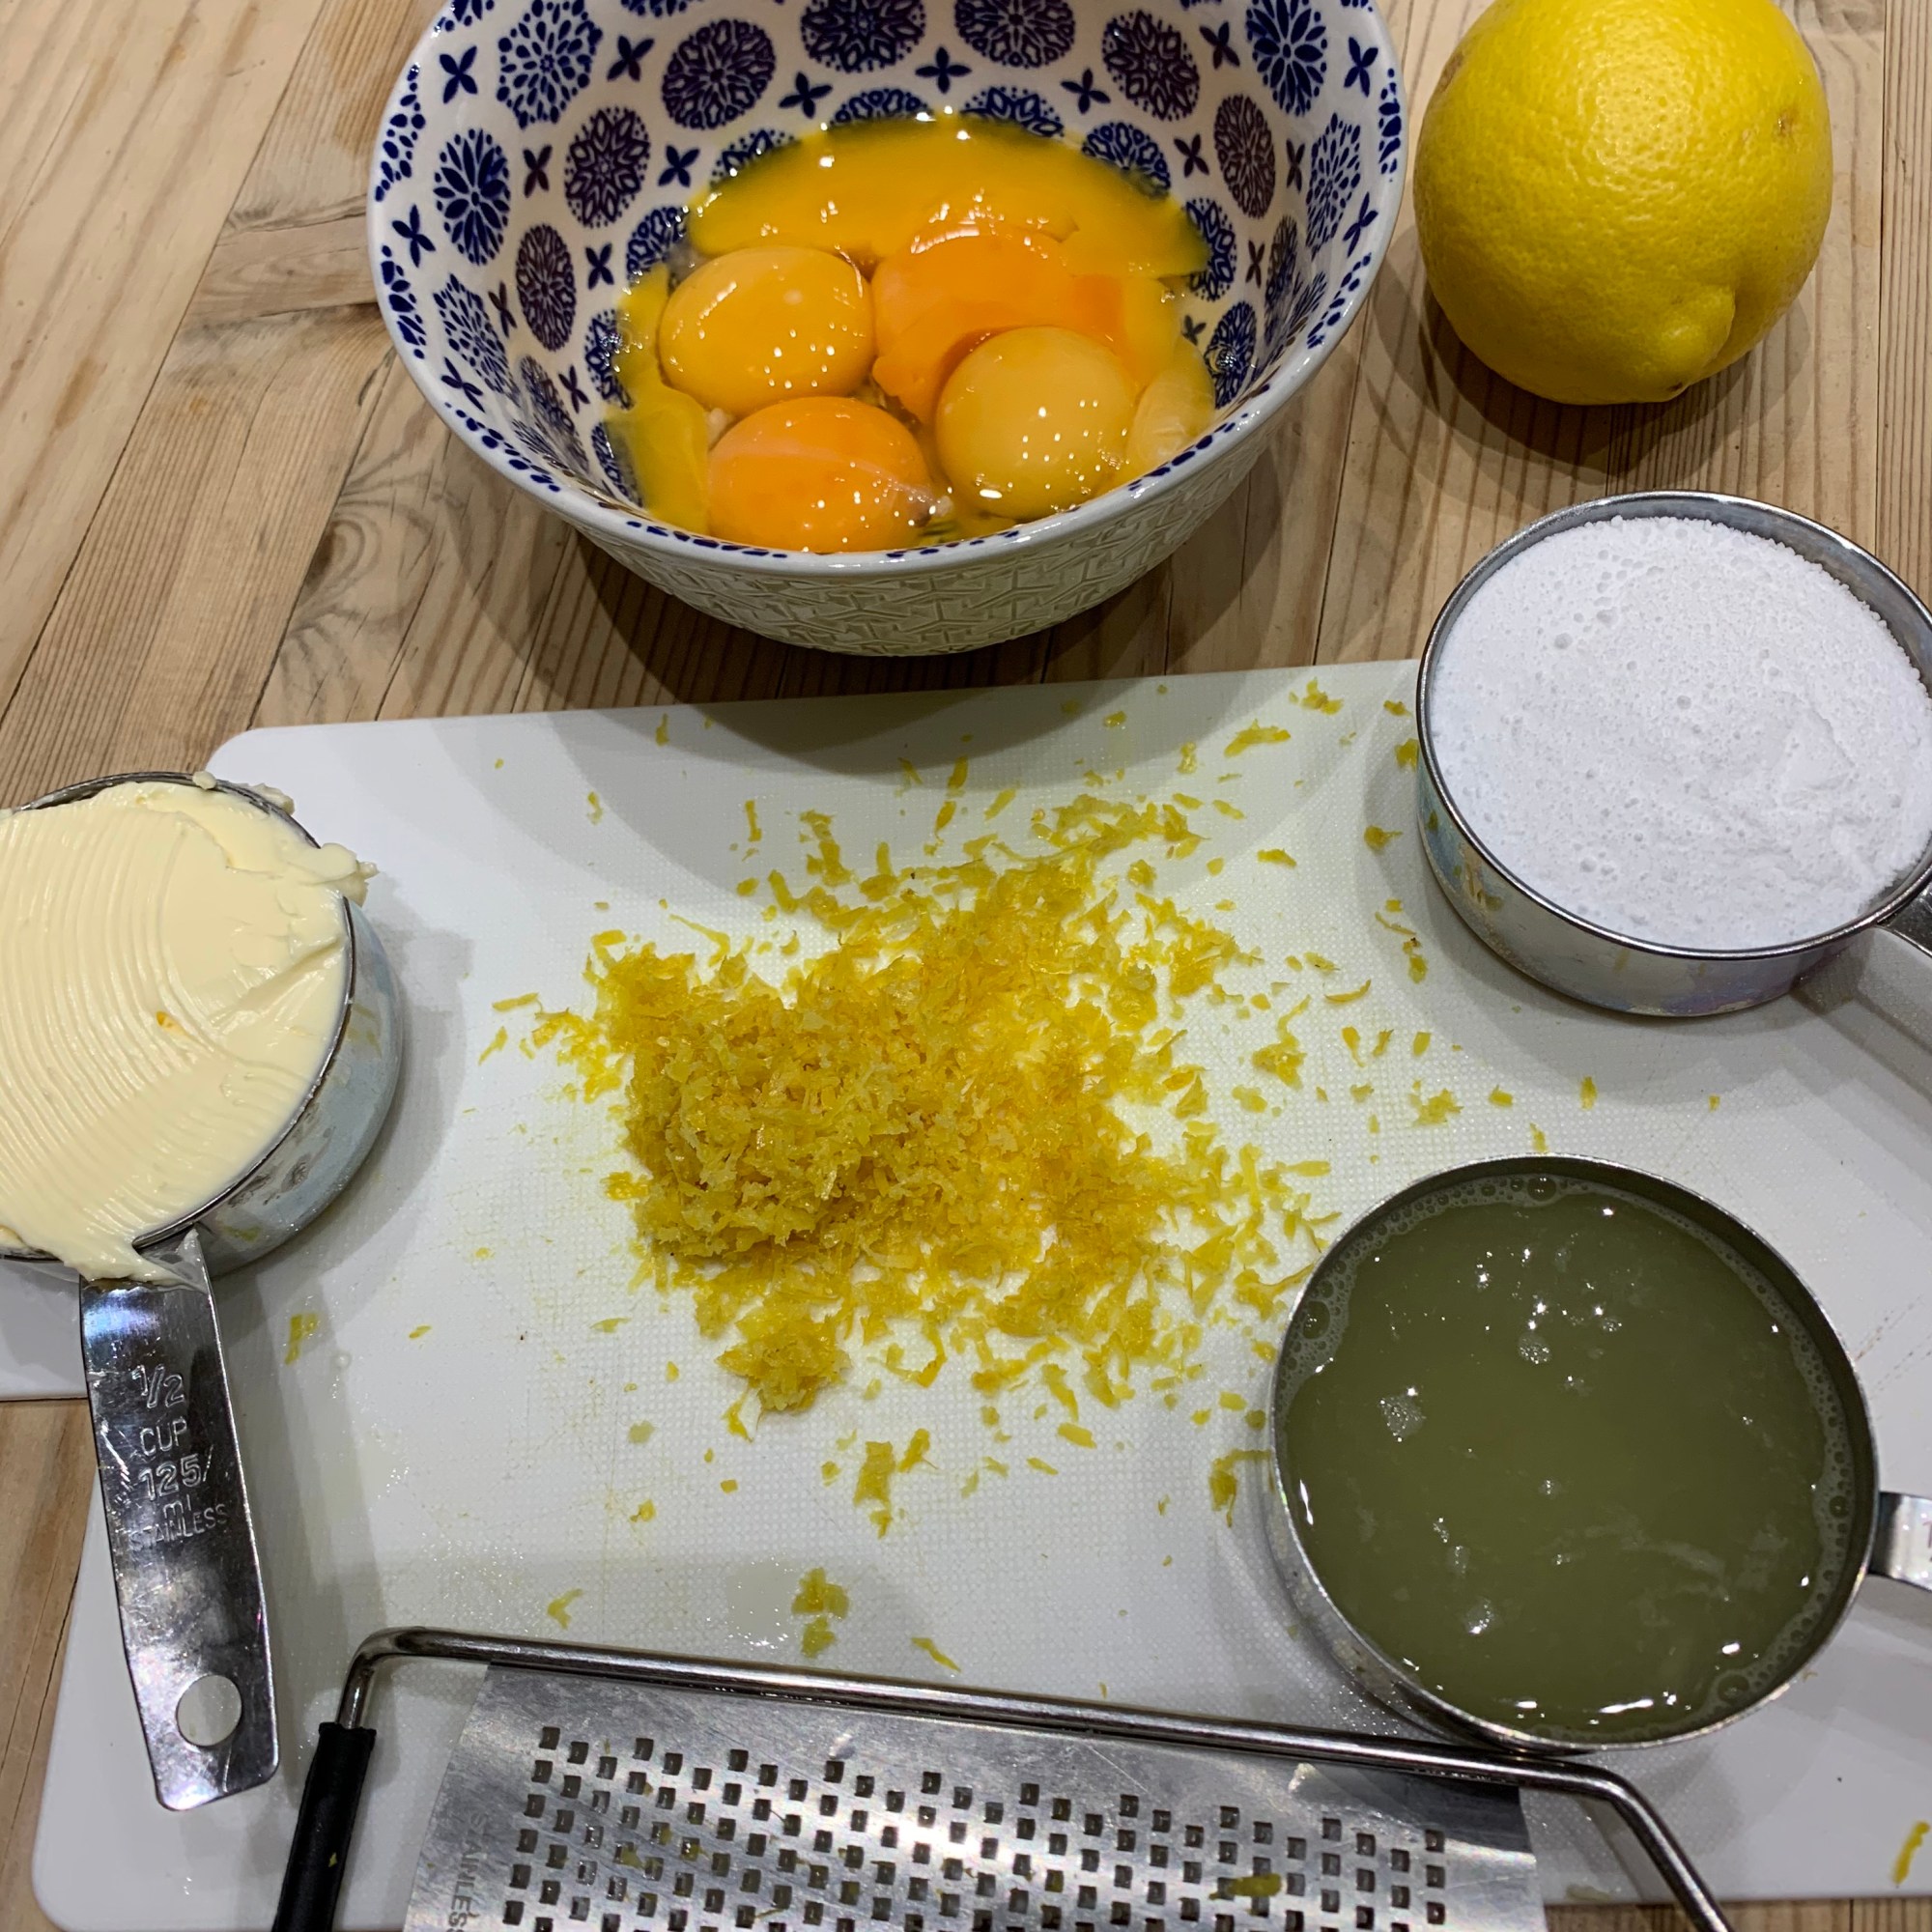
  • 1/2 cup butter (I used lactose free)
  • 1/2 cup fresh lemon juice
  • 1/2 cup/65g xylitol (or other equivalent zero calorie sweetener)
  • 1/4 cup lemon zest
  • 6 large egg yolks 

Method for the lemon curd:

  • Melt the butter in a small saucepan on low heat
  • Remove pan from the heat and whisk in the sweetener, lemon juice and lemon zest until dissolved.
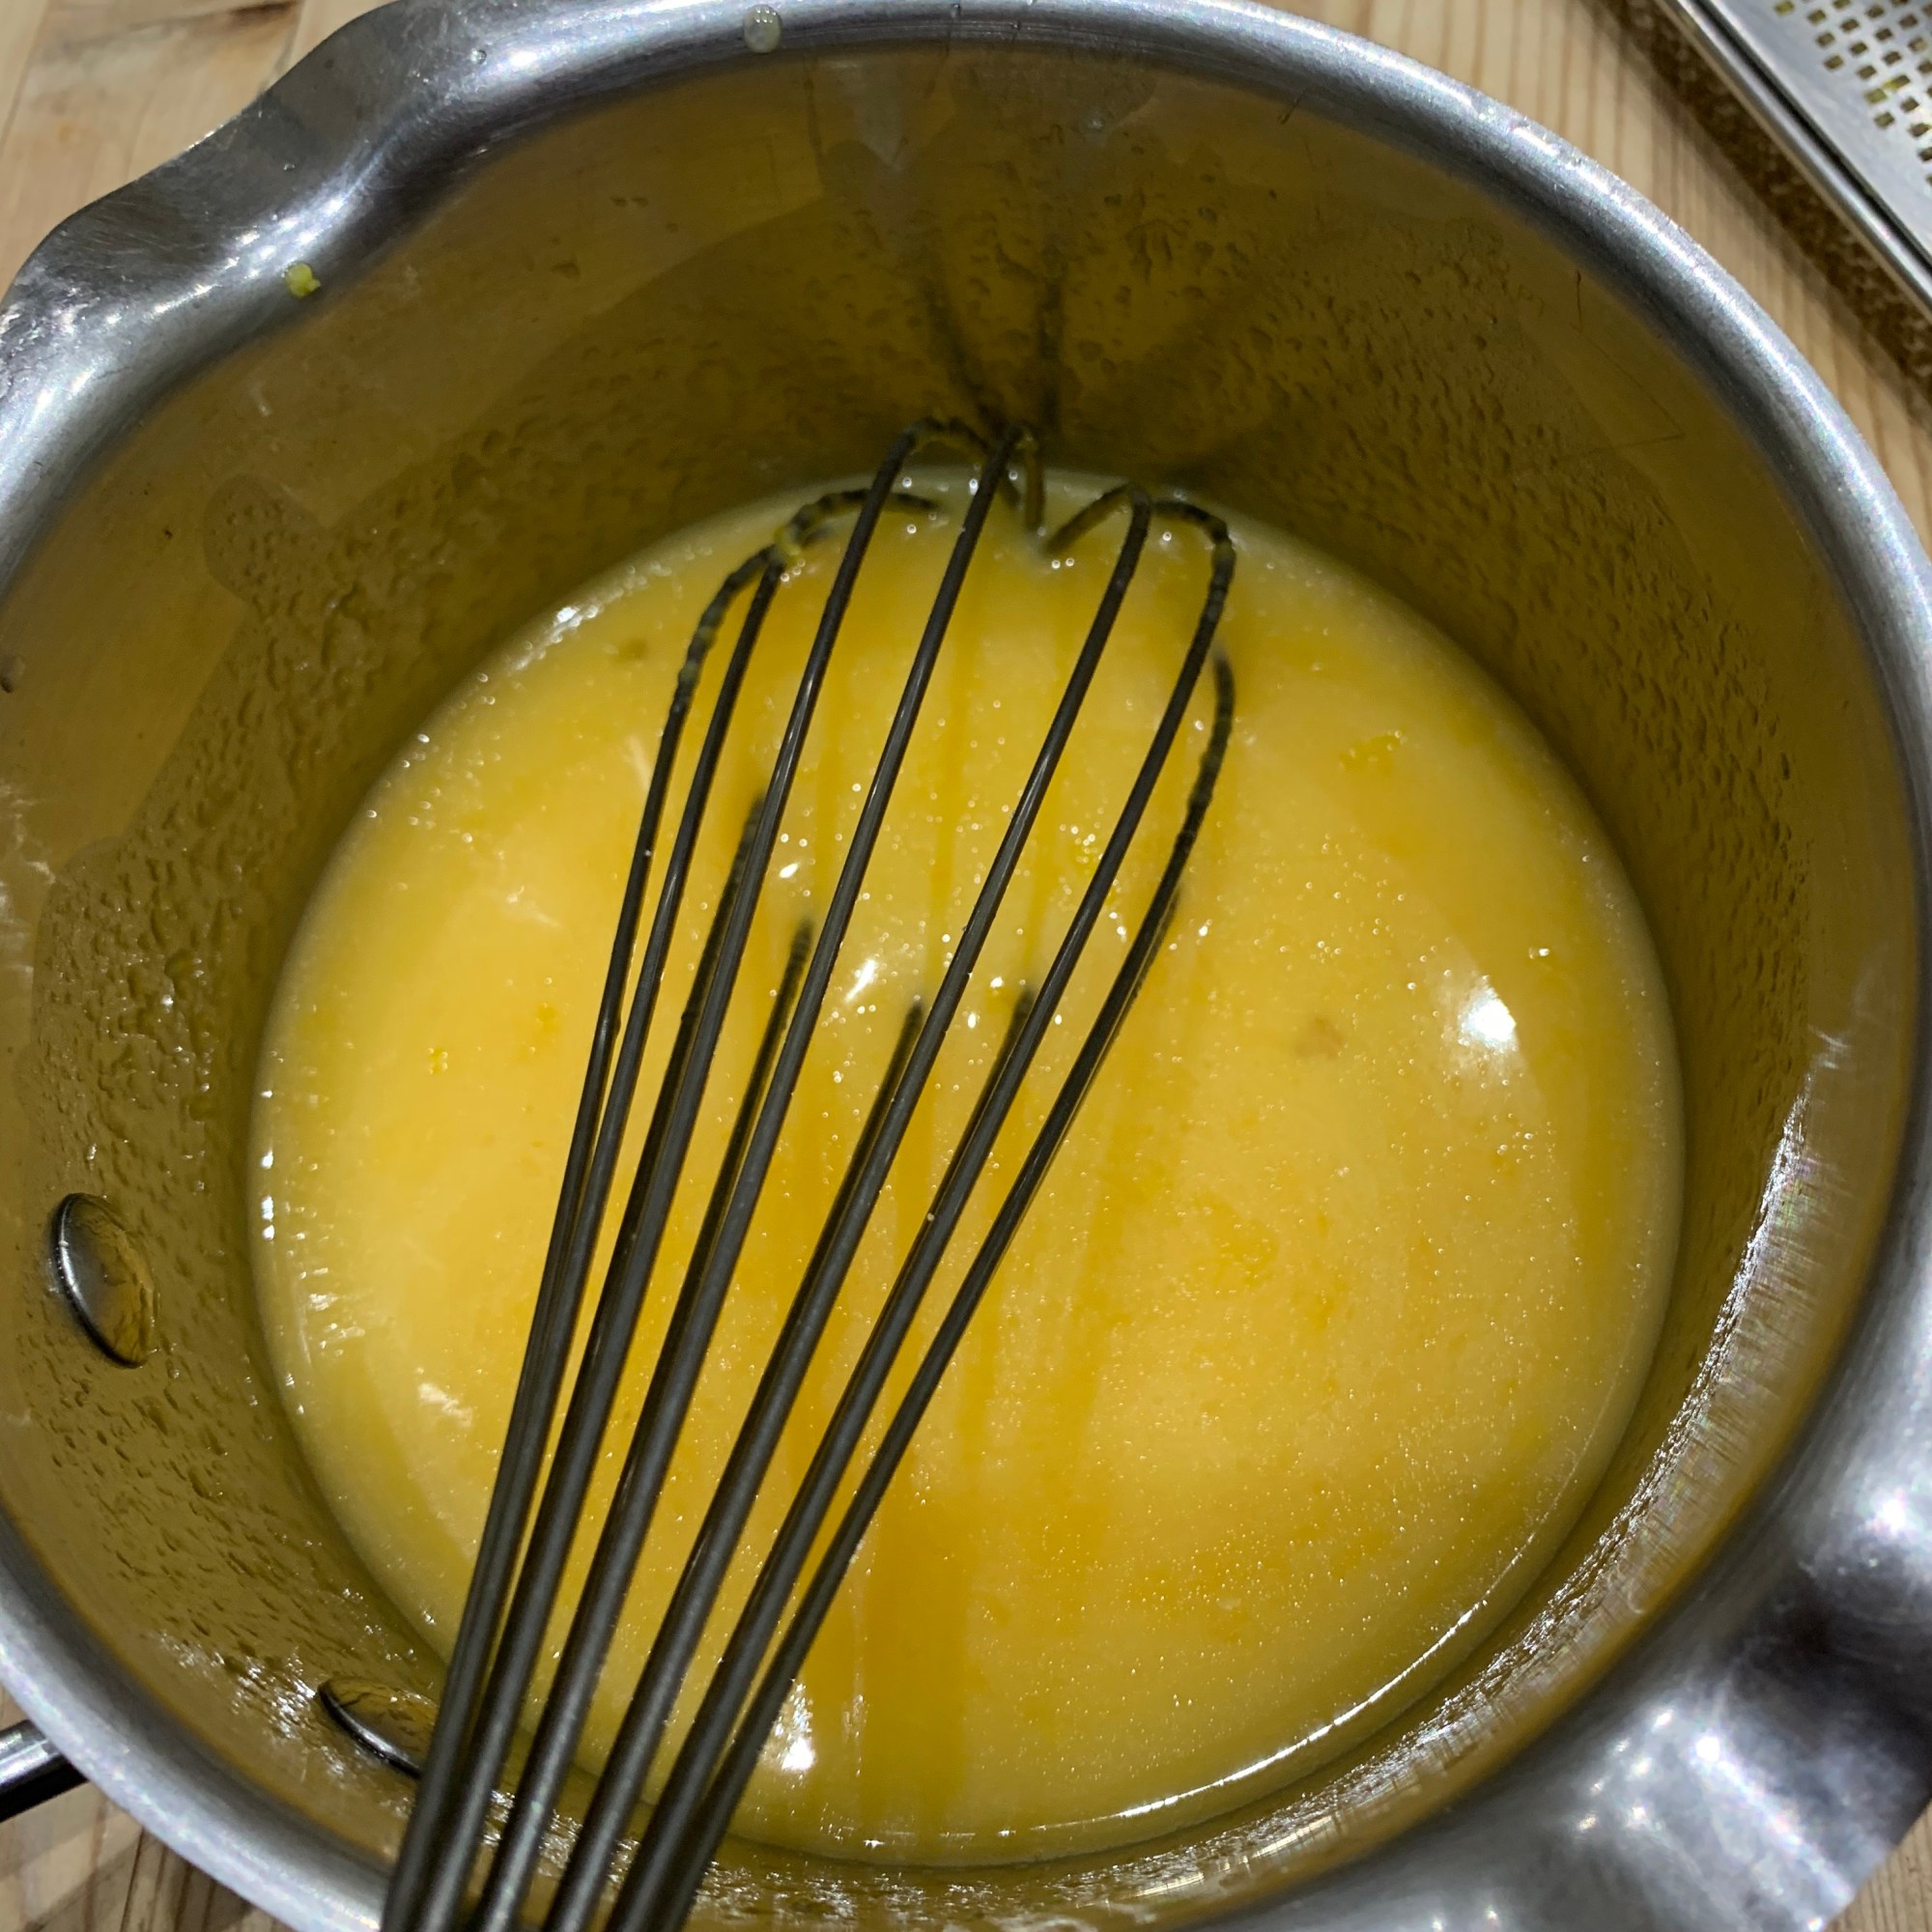
  • Whisk in the egg yolks and return the pan to the stove over a low heat.
  • Whisk continually until the curd starts to thicken.The lemon curd, will thicken suddenly. 
  • Note: I kept removing the pan from the heat and stirring to ensure it didn’t over cook and remained smooth.
  • Remove the pan from the heat and strain the curd into a small bowl to remove the zest.
  • Let cool to room temperature, then cover and store in the fridge for up to one month.

Constructing the Lemon Mousse Cake

Making the Lemon Mousse Filling

Ingredients

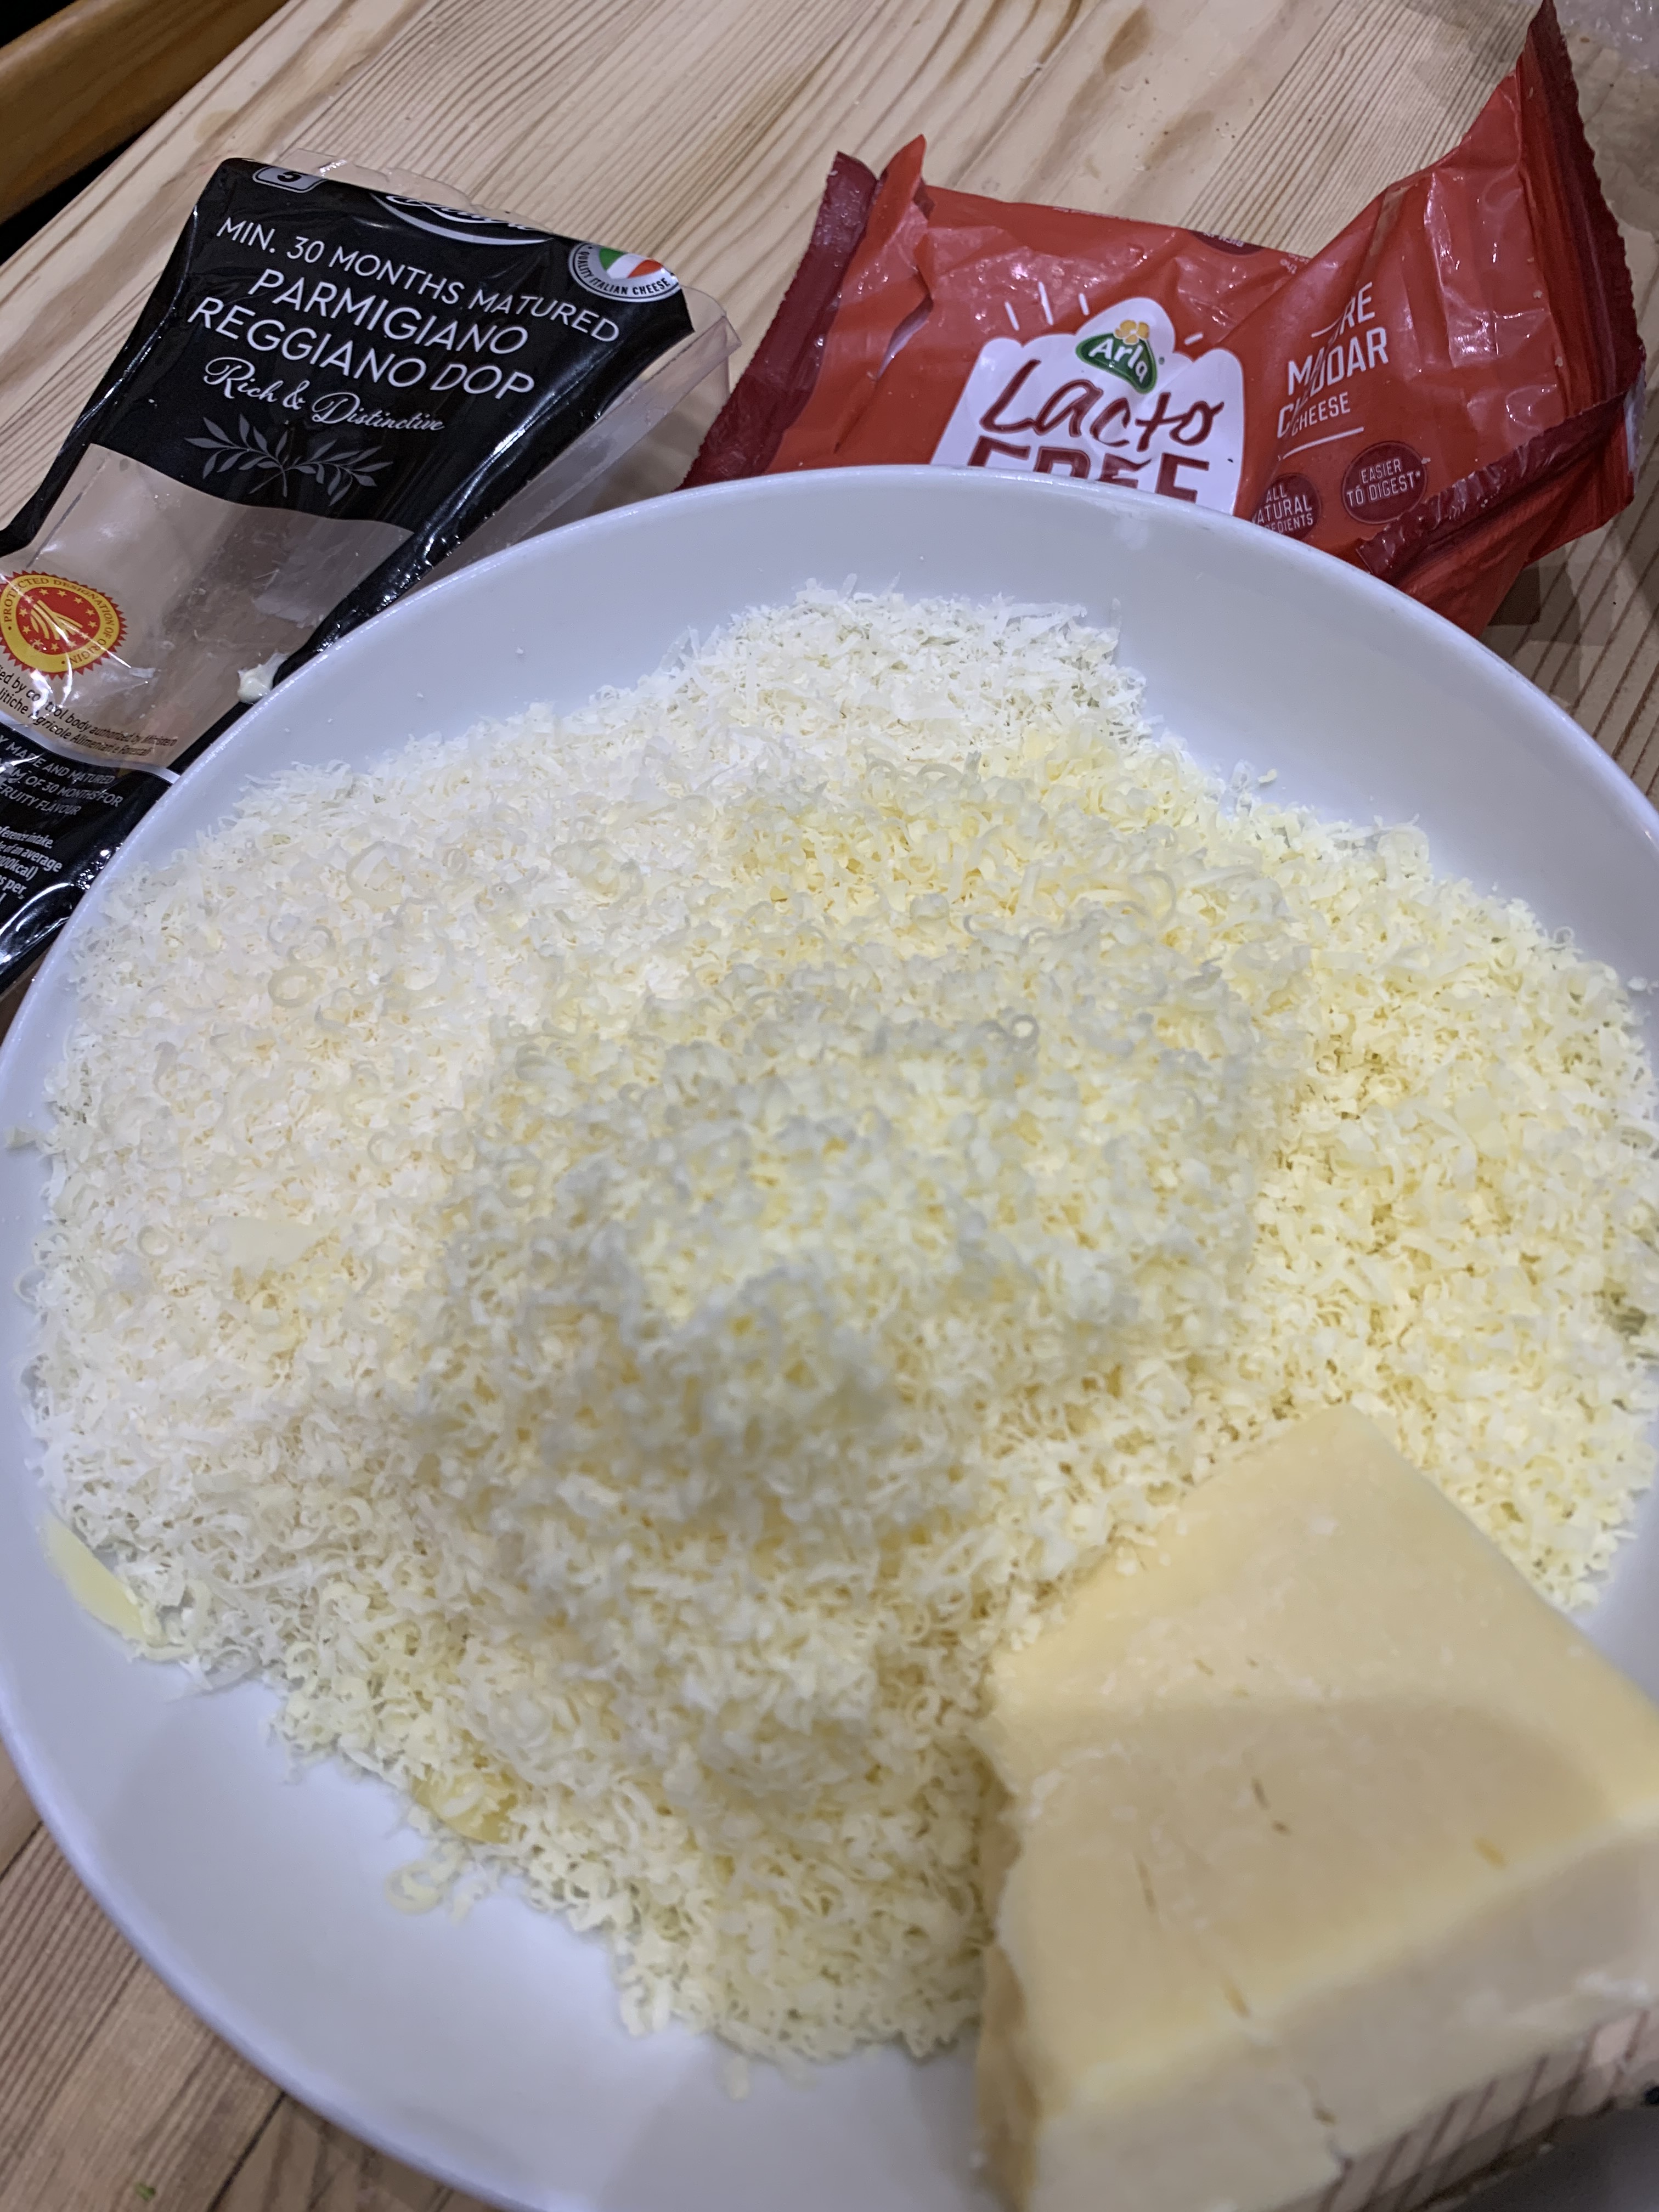
  • 5 ounces cream cheese (I used lactose-free)
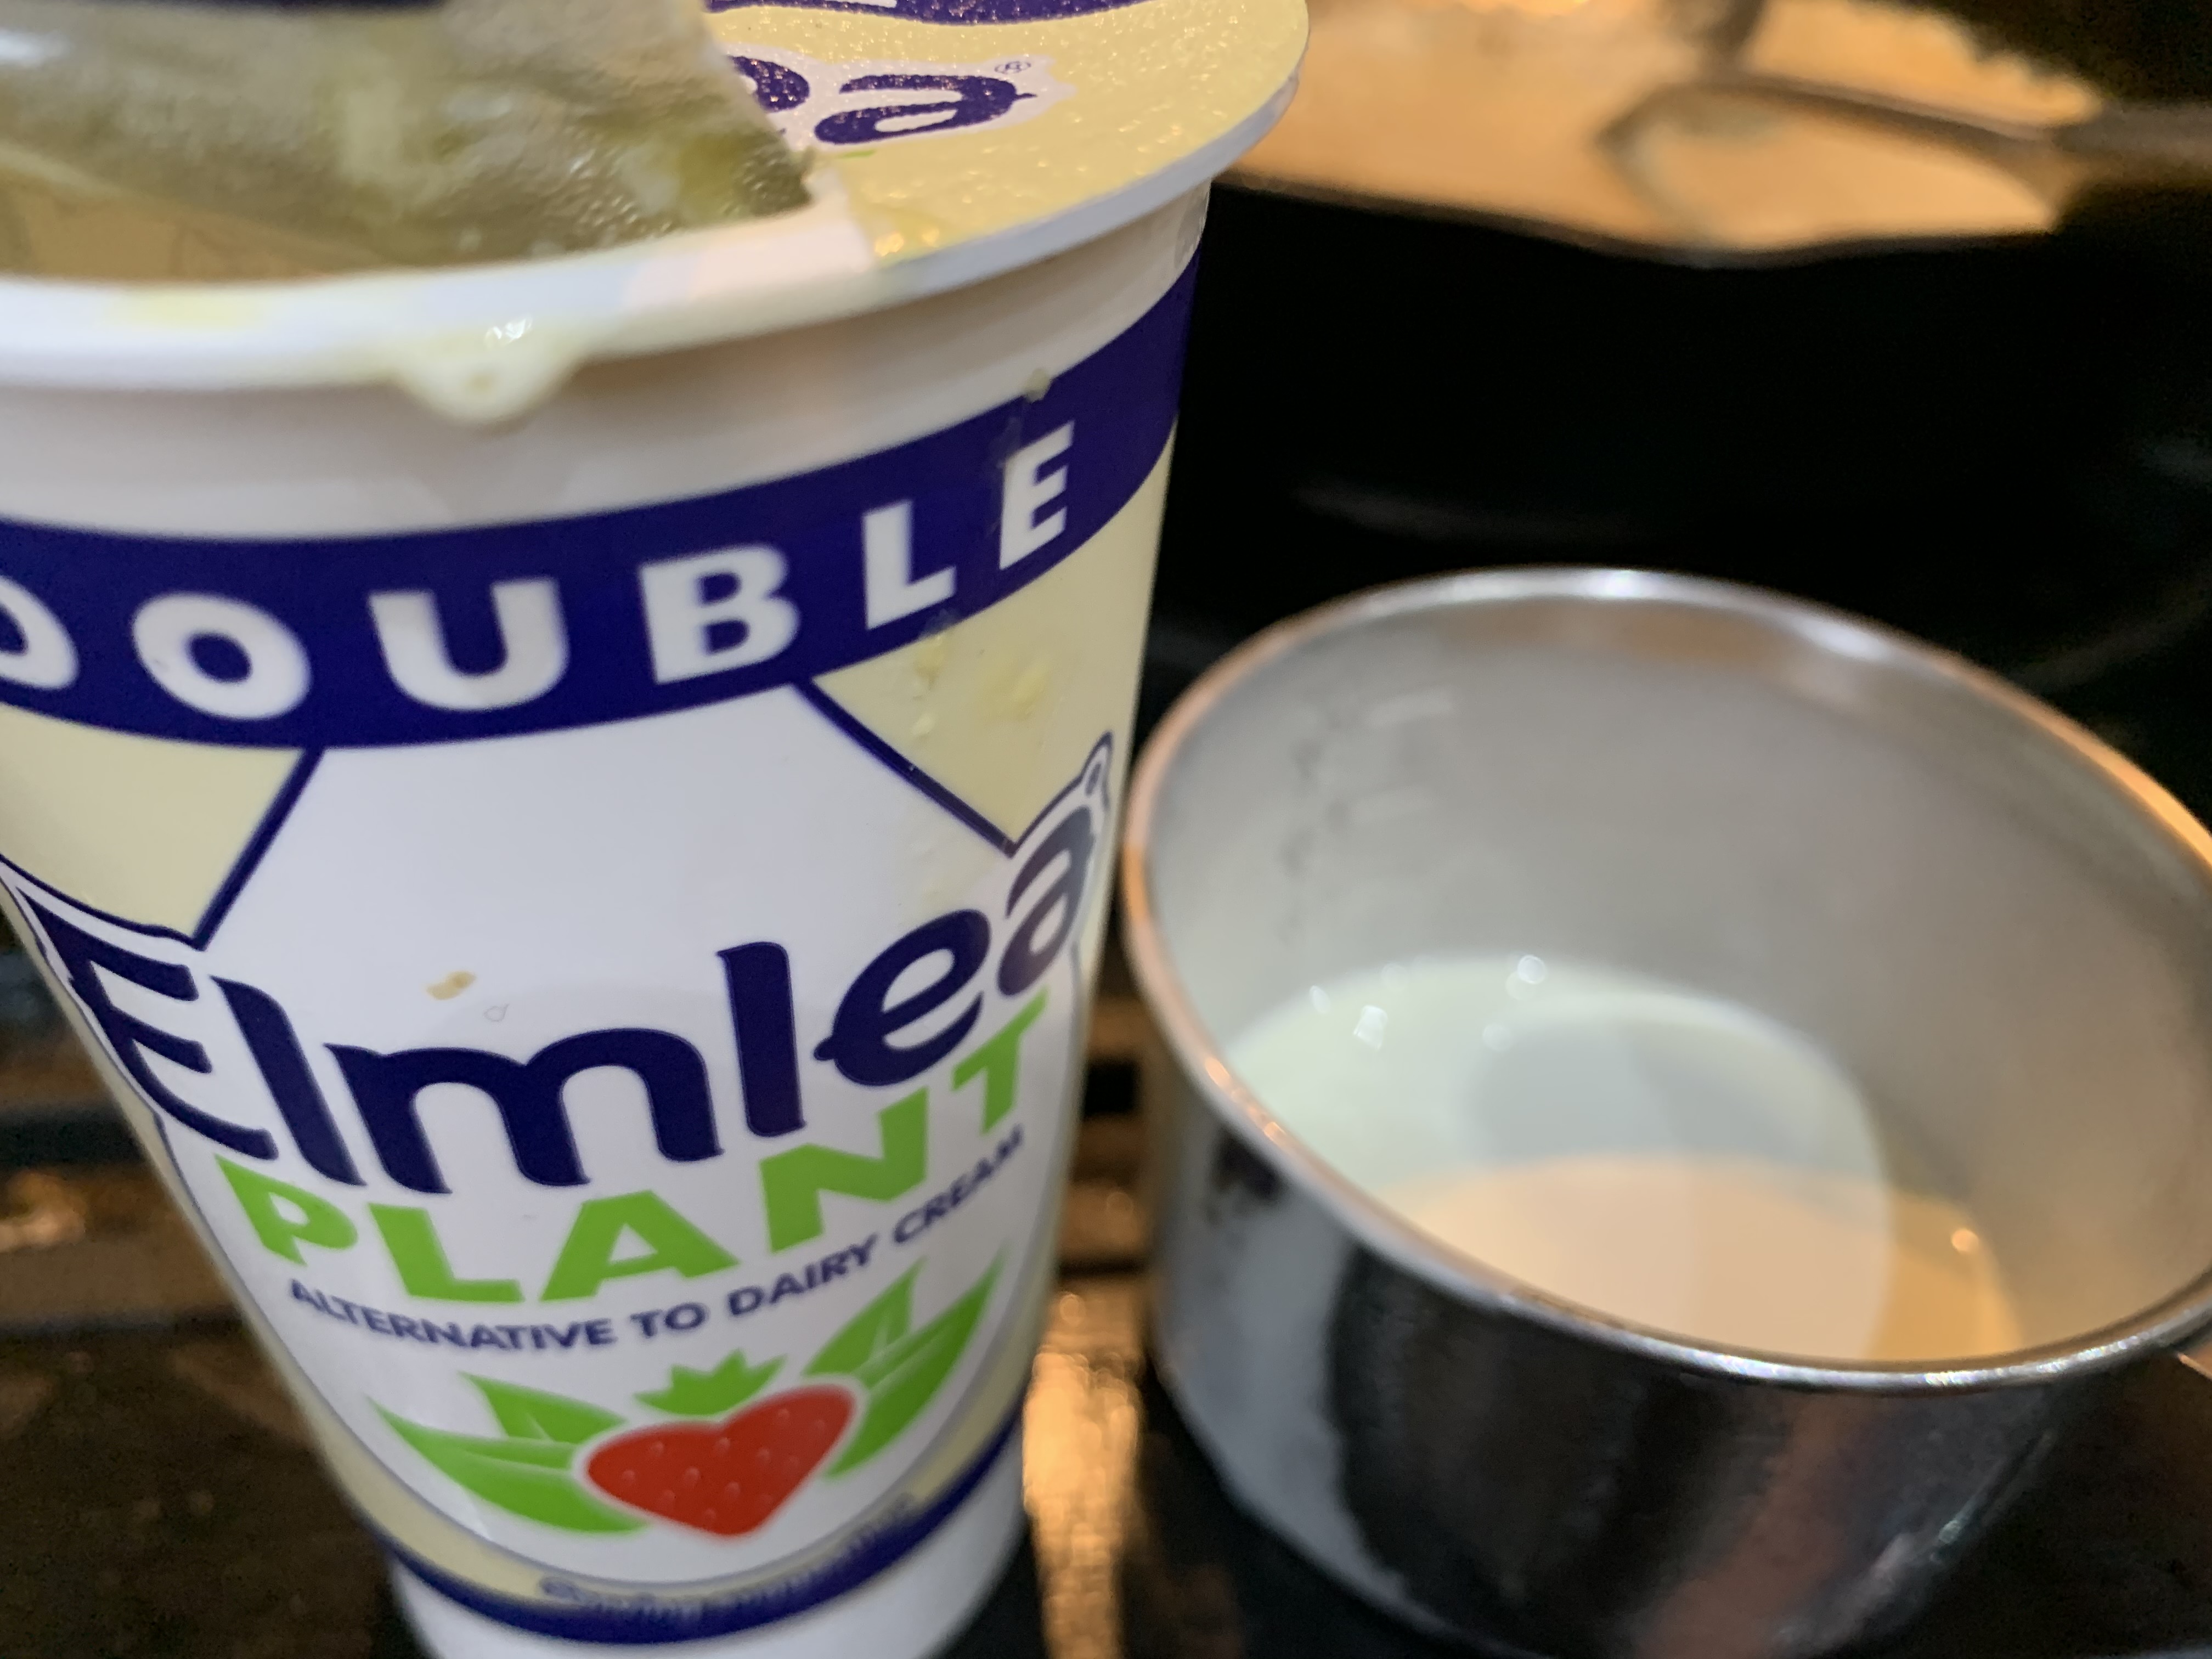
  • Cup of double cream (I used plant-based double cream)
  • 1/2 cup of lemon curd (see recipe above)
  • 1 (12g) sachet of gelatine granules
  • 1/4 cup of fresh lemon juice (optional)

Note: taste the mixture when prepared for balance of sweet and sourness. If necessary whisk in a little more finely ground erythritol if needed. Be careful as you need the contrast between the cake and the filling.

Method

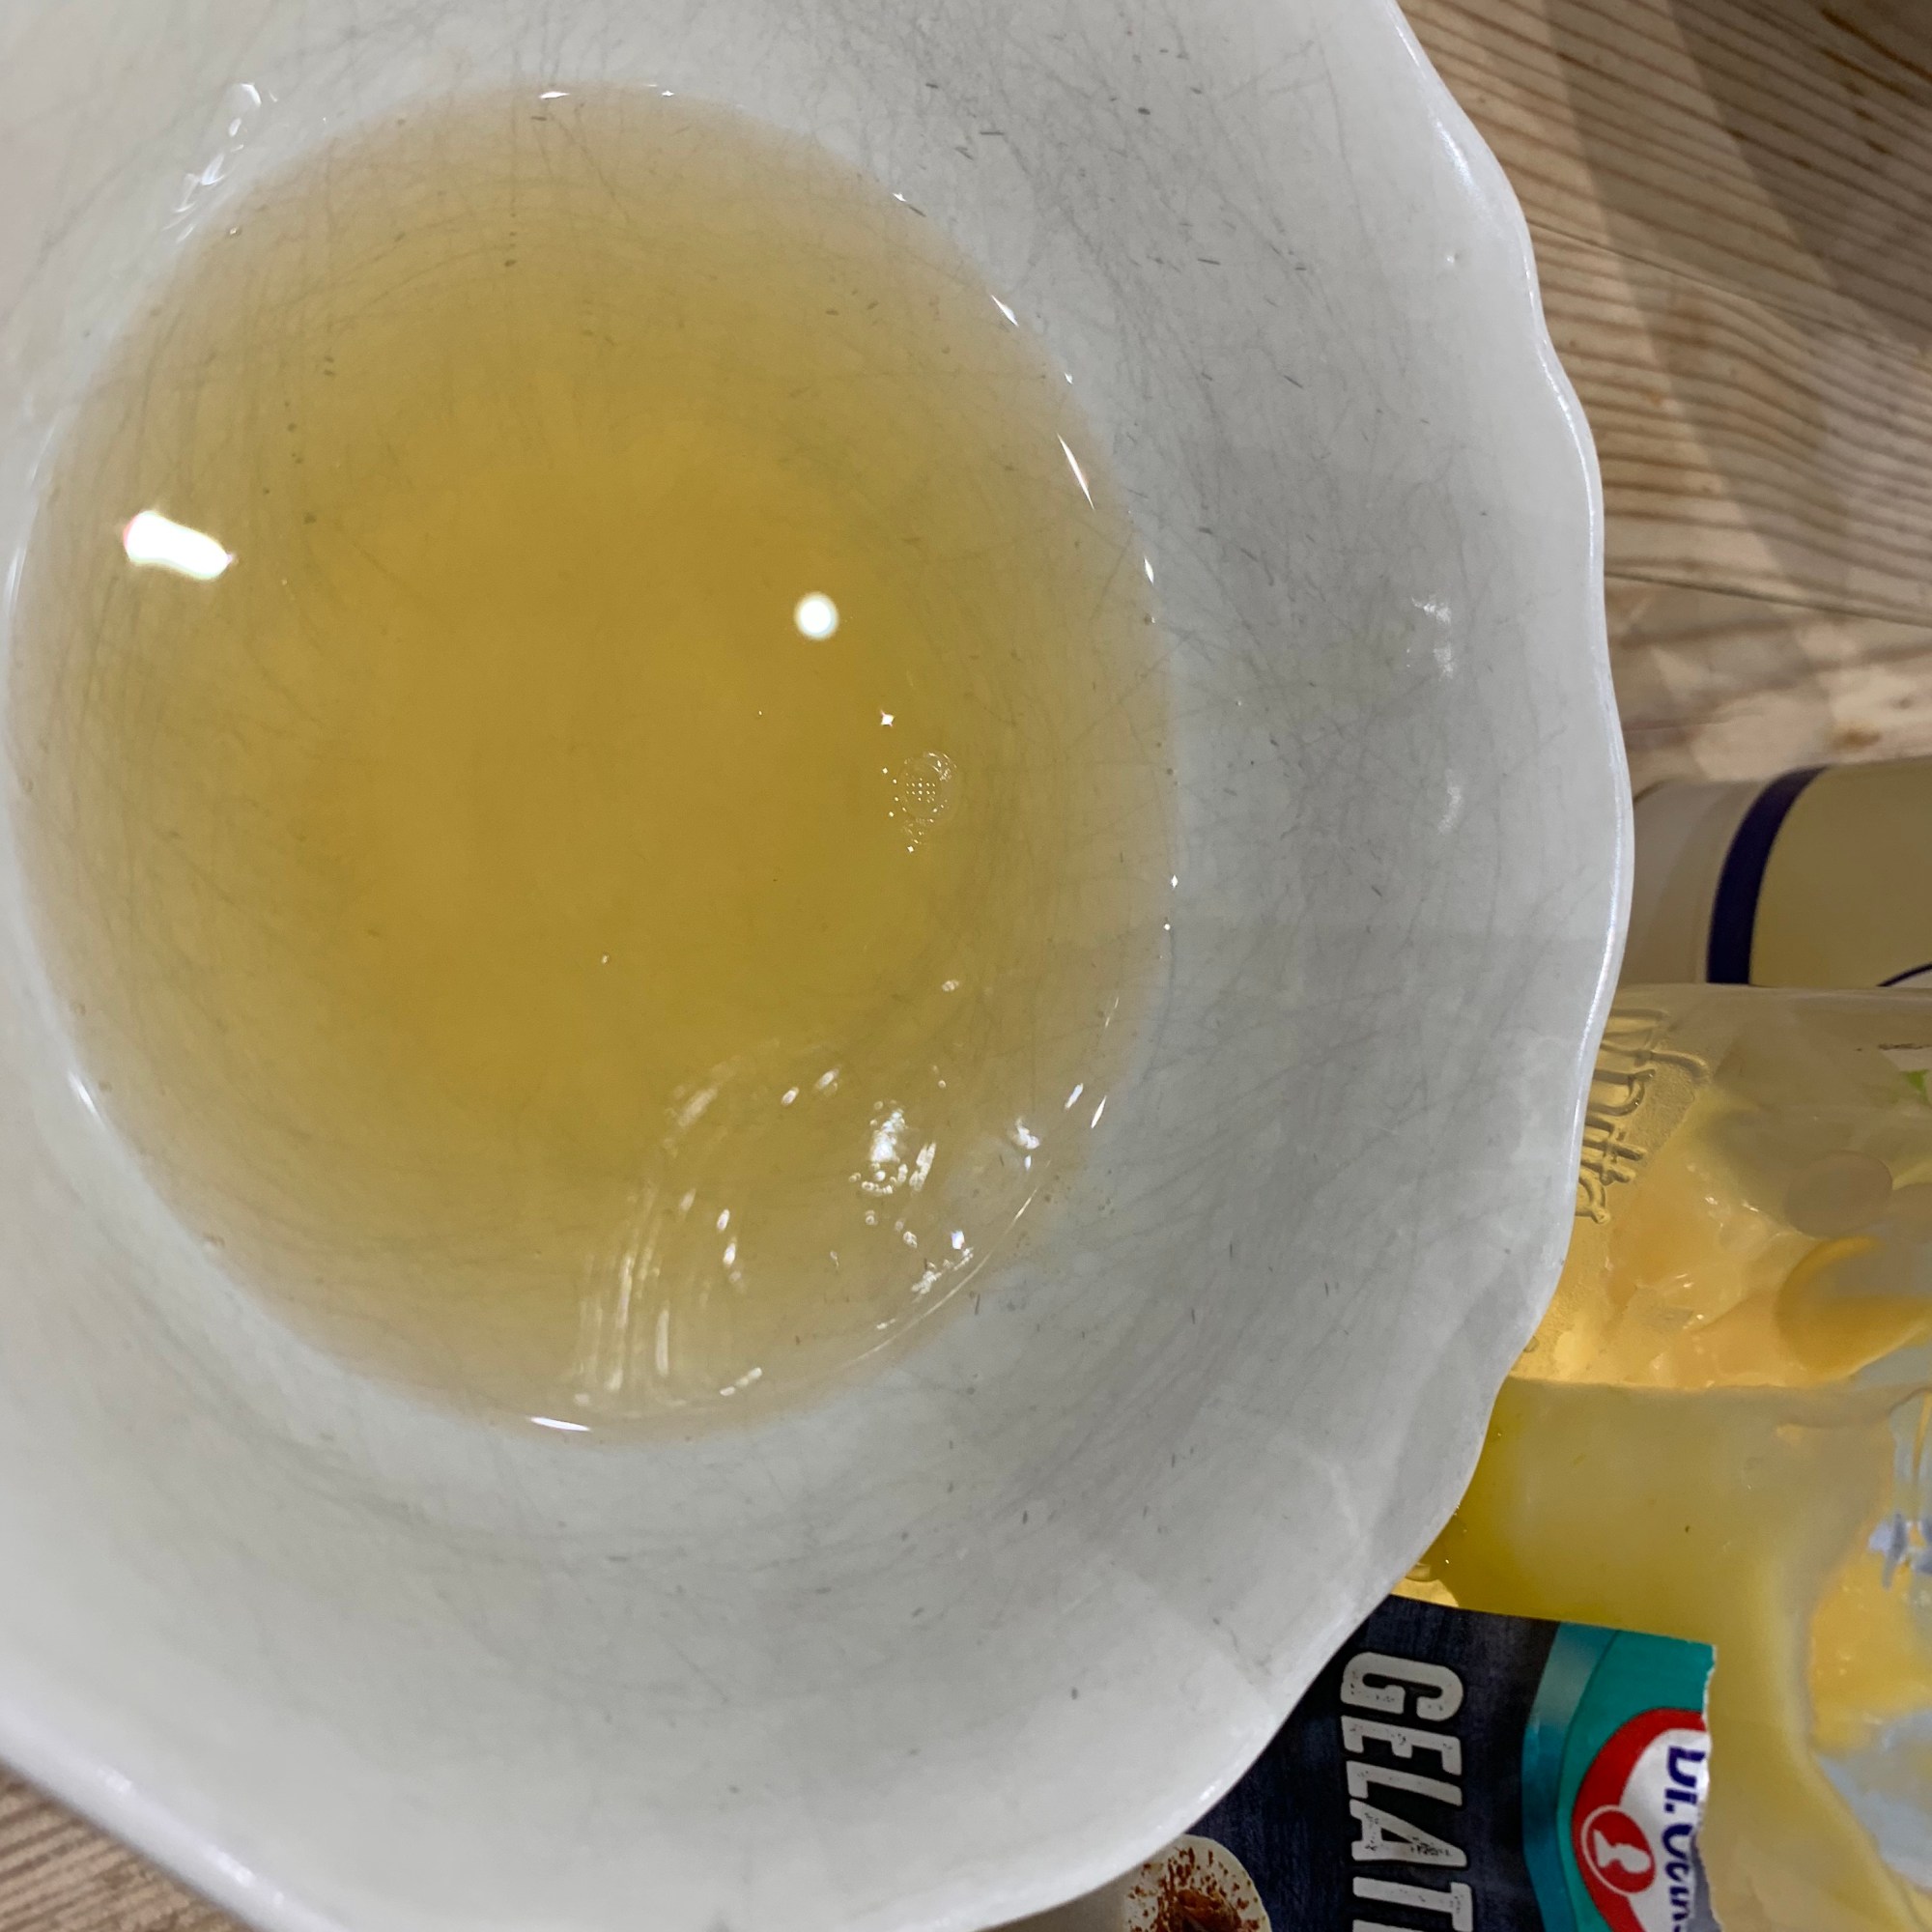
  • Sprinkle the gelatine into a little hot water in a small bowl (approx. 8tbsp). Stir briskly until thoroughly mixed. You may need to put the bowl into a pan of hot water to help the gelatine to dissolve fully.
  • Note 1: 12g gelatine will set approximately 1 pint of ‘liquid’.
  • Note 2: Always add the gelatine to the hot liquid and not the other way round.
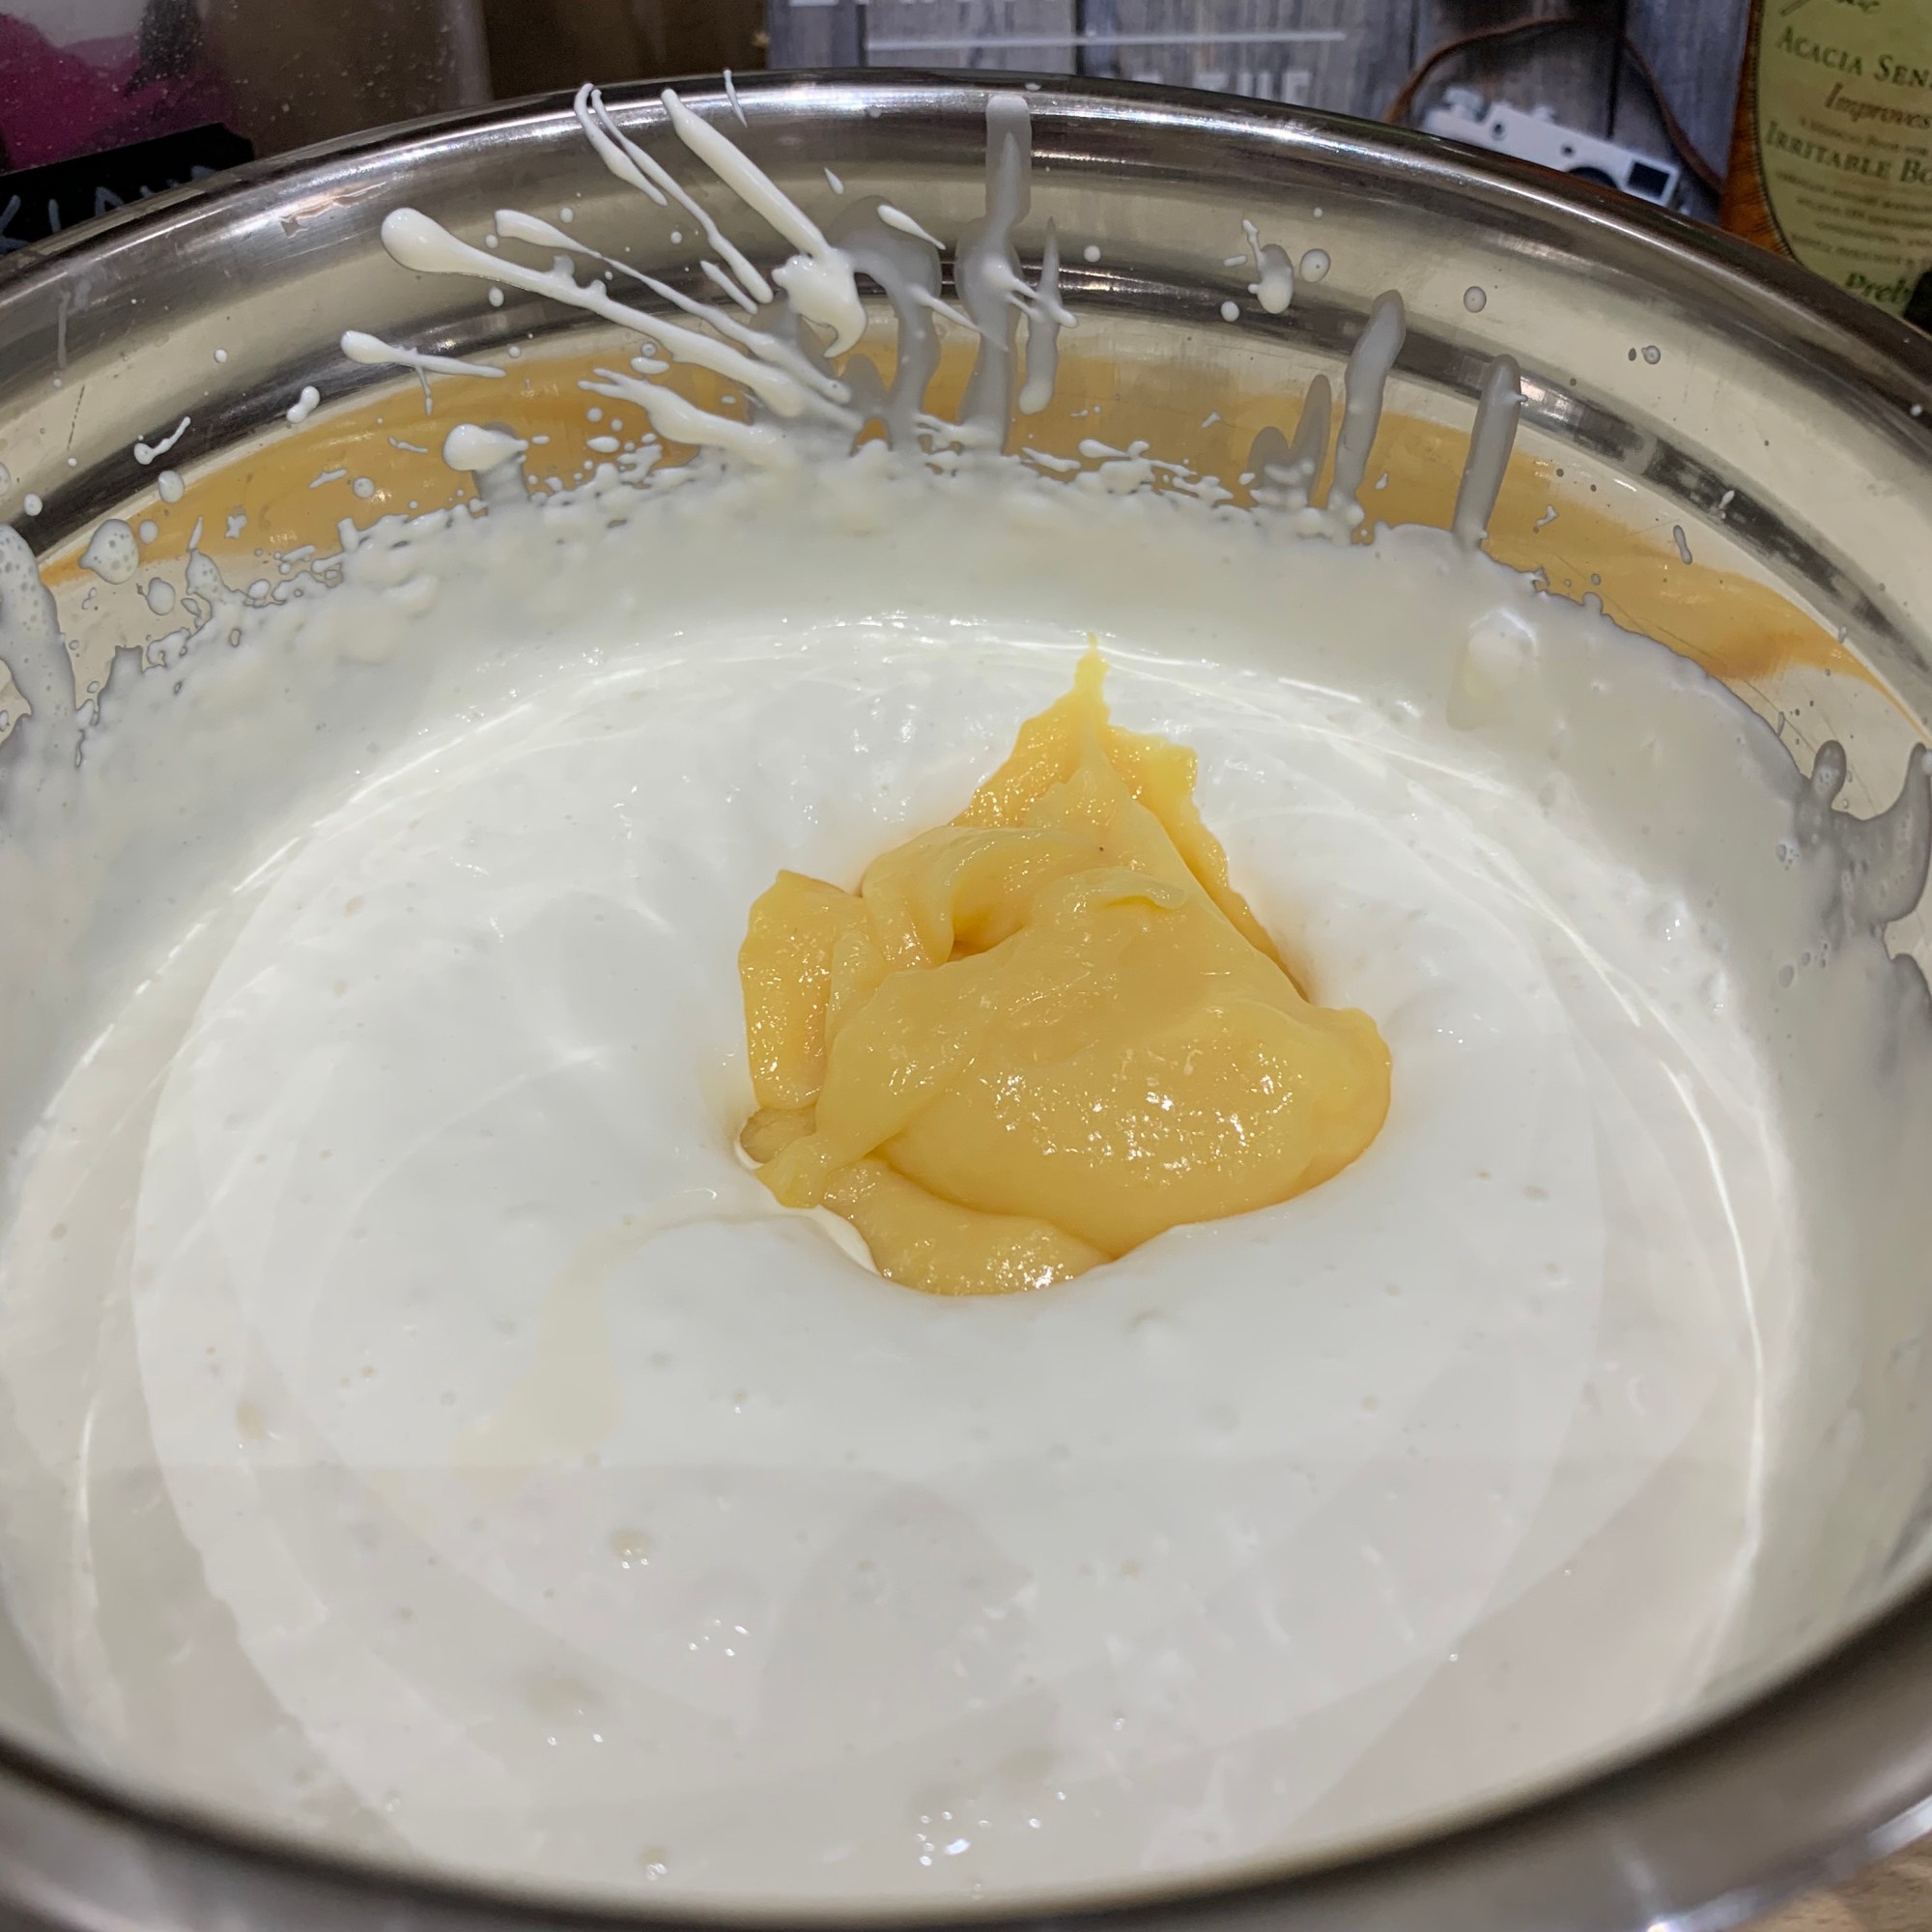
  • Whisk together the cream cheese and double cream until thickened.
  • Then, whisk in the lemon juice and lemon curd.
  • Continue to whisk and slowly add the gelatine a little at a time until it’s mixed in. I always drizzle the gelatine into a mixture at the side of the bowl.

Putting the cake together

  • Slice the cake horizontally when cool.
  • Place the bottom part of the split cake back into the baking tin lined with tinfoil or greaseproof paper with an over hang so you can lift the mousse cake out of the tin. Ideally this should be a loose bottomed baking tin but mine broke and I haven’t replaced it.
  • Pour the mousse filling over the bottom of the cake and smooth it out. Then, put in the fridge for a few hours to set.
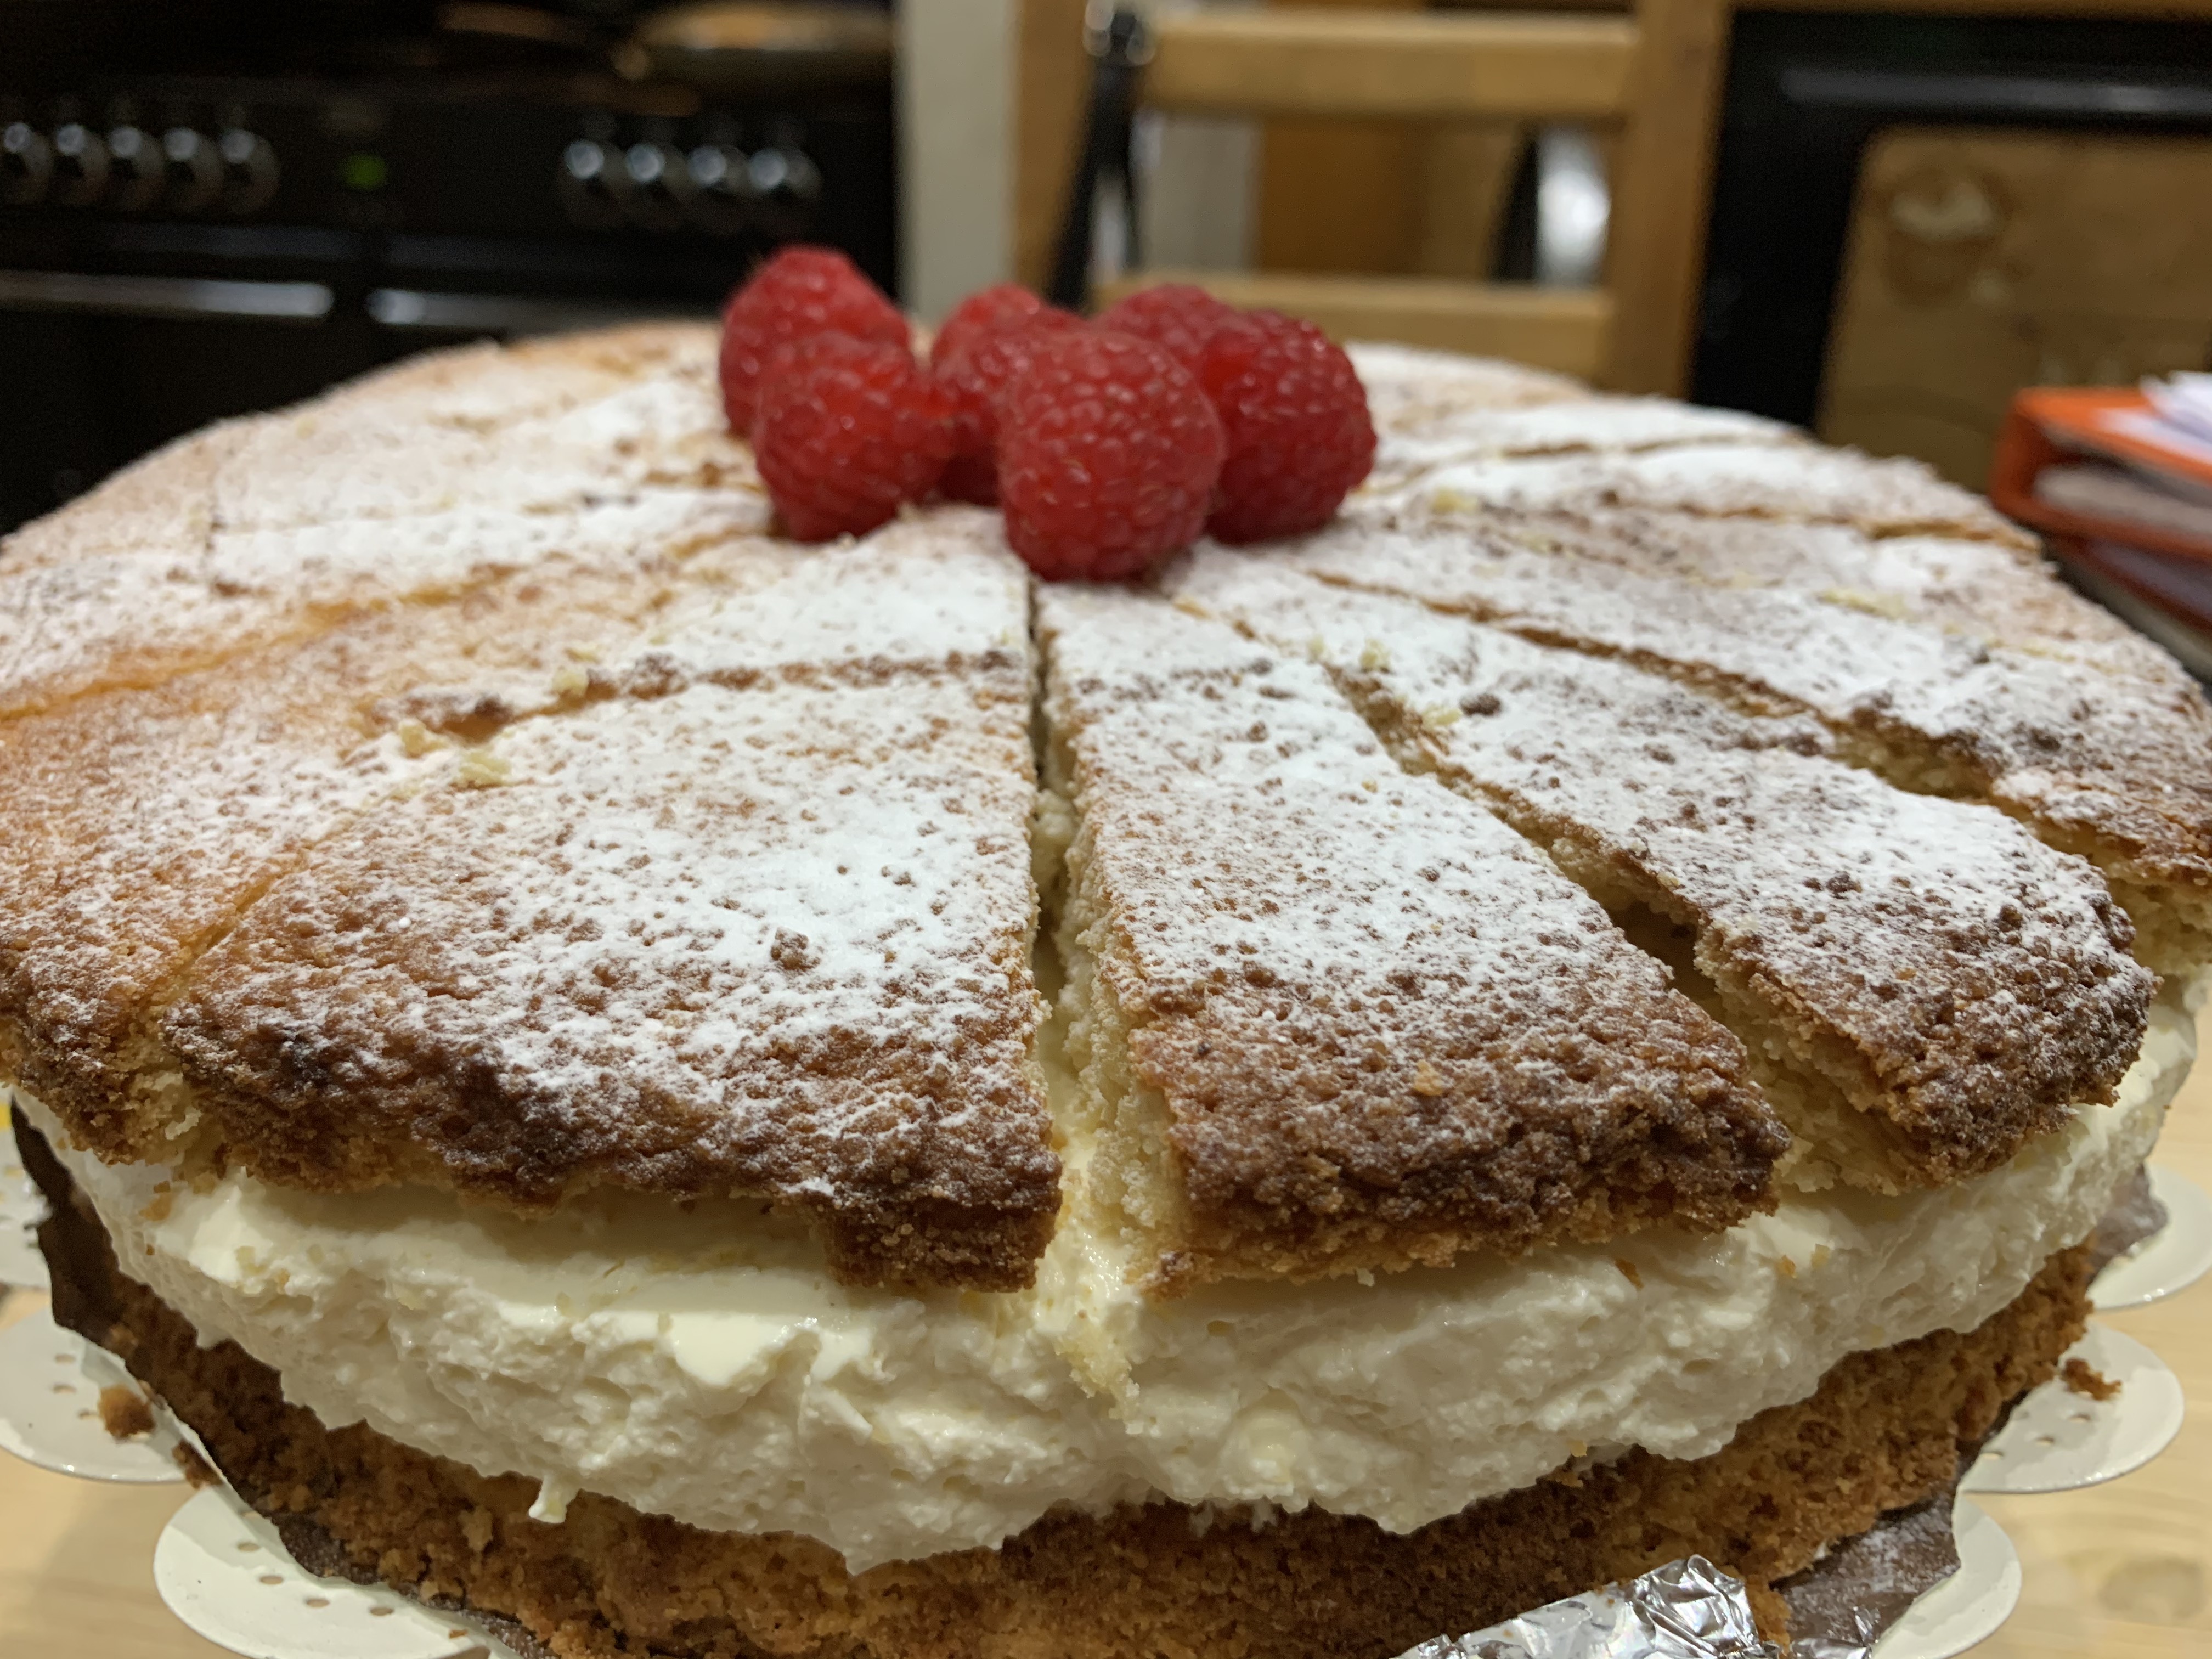
  • Split the cake top into 16 pieces ready for completing the cake.
  • When the filling is set, remove from the fridge and place the 16 pieces of cake on to the mousse filling. Dredge with keto icing sugar. Store in the fridge until required.
  • This cake kept well for 4-5 days, covered in the fridge. It really is a wonderfully luscious cake for a celebration.
  • Enjoy!

Keto Brownies

This is a very easy recipe. The brownies are delicious and have a great texture. I cut them into 20 as they were a Valentine’s Day dessert. I decided to put a chocolate icing on top; I following this frosting recipe which uses cream cheese (lactose free) but I left the butter out as I wanted it as a glaze. The brownies are delicious with or without the frosting. Each serving of the original recipe minus the frosting is 0.7 Net Carbs. Try them and enjoy!

We had a special dinner and we all exchanged flowers, chocolate or wine. Those who couldn’t be here had flowers sent to them. It’s interesting that in lockdown we have more celebration dinners with those in our safe ‘bubble’. Sometimes the toast is just ‘Happy Wednesday’ or whatever day it happens to be. I see it as a form of gratitude and valuing what we have. Once we are allowed to meet up with my aunt and her family, we will have a Thanksgiving meal.

Can I introduce Fae, my 11 weeks-old old cross-breed poodle. Fae means loyalty in Medieval English. In Gaelic it means mischievous creature. She is cute and very naughty. I like her lying quietly next to me while I watch a film. I’m not so keen on the chewing or licking of feet. No chocolate for her though as it’s poisonous to dogs!

Nutritional information (25 servings): Cals 51 | total fat 4.8g | Total Carbs 1.6g | Fibre 0.9g | Net Carbs 0.7g | Protein 1.2g |

Ingredients

  • 1 cup fine almond flour
  • 1/4 cup cocoa powder
  • 2 tbsp dutch cocoa or additional regular. (I used additional dark cocoa powder)
  • 1 tsp baking powder
  • 1/2 tsp salt
  • 1/3 cup melted coconut oil or butter (I used lactose-free butter)
  • 3 tbsp water or additional oil (I used water)
  • 2 eggs, or 2 flax eggs
  • 2/3 cup granulated erythritol or regular sugar (I used brown granulated erythritol)
  • 1 tsp pure vanilla extract

Method

  • Preheat the oven to 350 F./ 176C, 156C (fan assisted).
  • Mix all ingredients well. Spread evenly into the pan. Smooth down, using a second sheet of parchment if needed.
  • Bake 20 minutes on the centre rack, then let cool completely and they will continue to firm up.
  • They also firm up even more if you refrigerate very loosely covered overnight.

Crazy Keto Dough (For Everything!)

I have had my eye on this dough for a while, not least because it’s a mix of almond and coconut flour. That mix of flours to me gives a far superior result. See the original recipe here which gives guidance on using the dough to make tortillas, naan bread, pizza, cinnamon rolls, pasta, ravioli and hot pockets. All I’ve made so far is pizza. None of us like pizza made from Keto Fathead dough or cauliflower. This is just like a very good ‘normal’ pizza. One person in the household finds standard pizza boring but said this was the best pizza ever and was mooching round trying to get me to surrender my last piece. I suggested they should try chewing rather than inhaling it. The crust of this pizza was crisp without being dense. It tastes really good with a great chewy texture. We all loved it. It is easy to make as you just follow the steps and use the food processor. I really recommend it. Please note though that I doubled the quantity to make a 12 inch pizza in a cast iron skillet. I suggest that after the initial bake of the pizza base, you remove the parchment paper. Then when you do the second bake with toppings the base crisps up more. This is an accurate recipe.

My topping was made of 4 Tablespoons of tomato paste with water added which I heated up until it reduced and thickened enough to spread and not bleed into the base. If you watch the Great British Bake Off, you will know that no-one likes a ‘soggy bottom’! When the sauce was thick enough, I added a sprinkle of erythritol until the acidity was balanced. Then added Italian herbs, a little garlic powder and onion powder, salt, black pepper and red pepper flakes. I did this slowly and tasted until I liked the taste. It was spicy. The topping included a cup of sliced brown mushrooms, 3 ounces of finely sliced thick cooked ham and 5 ounces of cheese. Finally a drizzle of olive oil and a little more freshly ground black pepper. The main ingredient tomato paste is 2 Net Carbs per Tablespoon. I have to repeat that it was the best meal ever and we ate it with a spinach, rocket (arugula) and watercress salad.

Nutrition (serving is 1/8th of the basic recipe): cals 89 | fat 6g | Saturated fat 1g| Carbs 4g | Fibre 2g | Net Carbs 2g | Protein 3g |

Ingredients:

  • 96 g almond flour 
  • 24 g coconut flour
  • 2 teaspoons xanthan gum
  • 1 teaspoon baking powder (I use gluten-free)
  • 1/4 teaspoon kosher salt depending on whether sweet or savory
  • 2 teaspoons apple cider vinegar
  • 1 egg lightly beaten
  • 3-5 teaspoons water as needed

Method:

  • Add almond flour, coconut flour, xanthan gum, baking powder and salt to food processor. Pulse until thoroughly combined. Note: you can alternatively whisk everything in a large bowl and use a hand or stand mixer for the following steps. 
  • Pour in apple cider vinegar with the food processor running. Once it has distributed evenly, pour in the egg. Followed by the water. Stop the food processor once the dough forms into a ball. The dough will be sticky to touch. (This is essential for elasticity, mine was not as sticky as it should have been)
  • Wrap dough in cling film and knead it through the plastic for a minute or two. Think of it a bit like a stress ball. Allow dough to rest for 10 minutes (and up to 3-4 days in the fridge). (I was able to roll this dough out but next time definitely will be lots of ‘next times’, I will make sure the dough is more sticky before I rest it)

To make pizza:

Preheat oven to 350°F/180°C/160C (fan–assisted).

Line a baking tray with a baking mat or parchment paper.

If making pizza, you’ll want to blind-bake the crust without toppings until lightly golden (10-13 minutes).

Add the toppings and bake for an additional 10-15 minutes.